Before Demolition Day: 7 Site-Planning Decisions That Make Renovation Cleanup Easier
Discover 7 site-planning decisions that make renovation cleanup easier, from protecting surfaces and managing debris to improving workflow before demolition day.

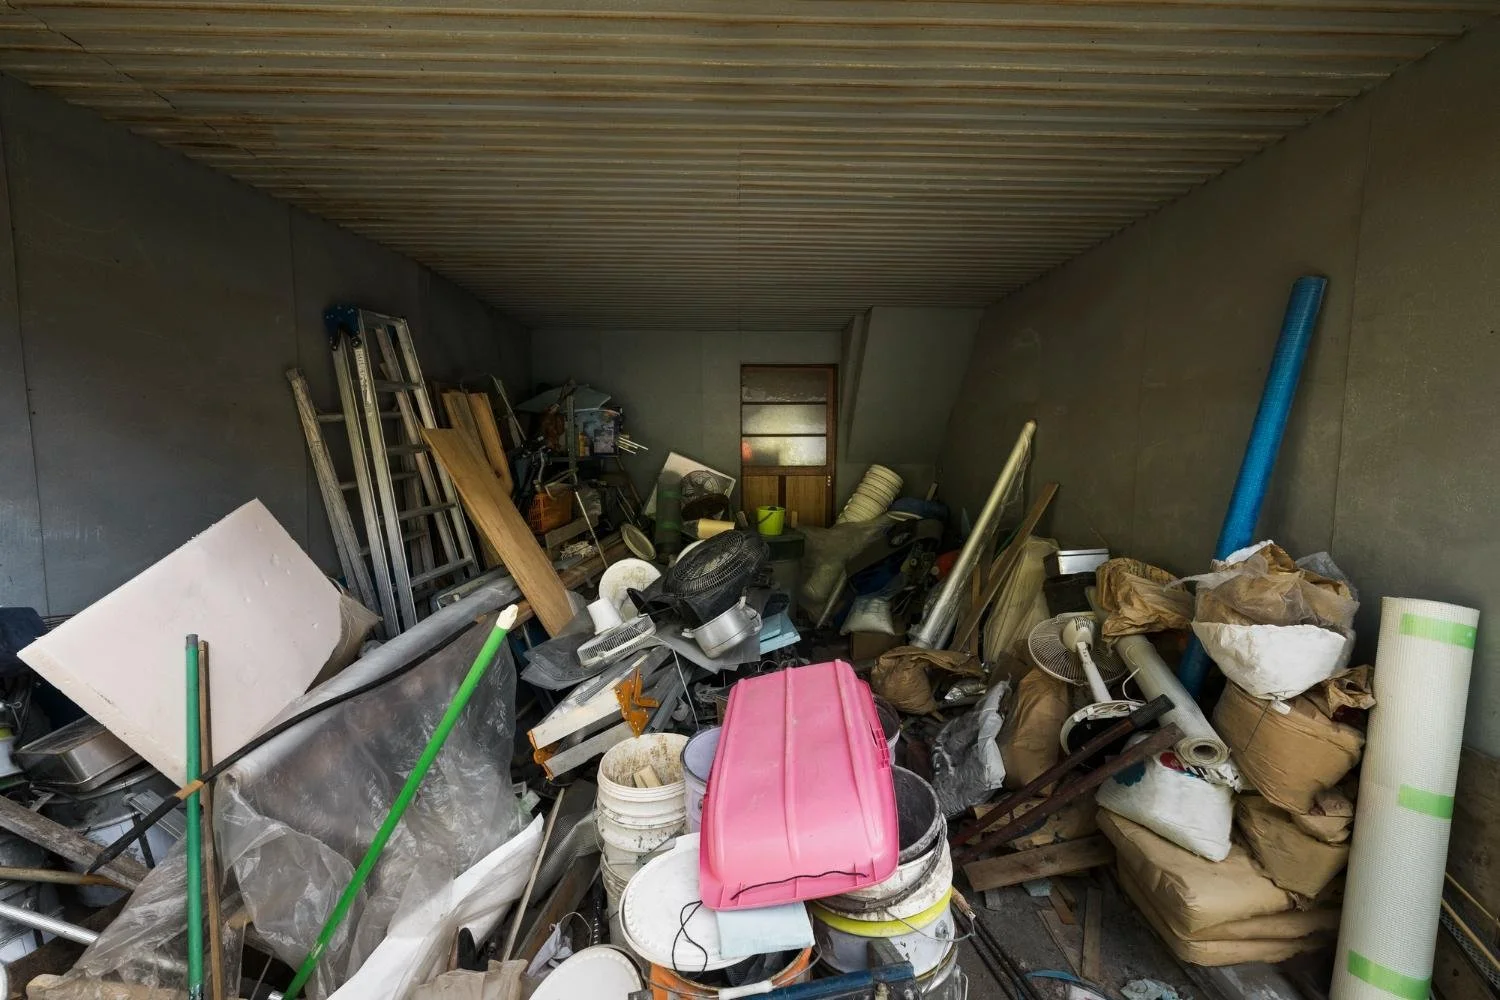
A renovation can be beautifully designed and still become frustrating if the site itself is poorly organized. Long before the new cabinets, flooring, fixtures, or finishes are installed, demolition creates a steady flow of debris that has to move out of the home without interfering with deliveries, trades, access, or the parts of the property that are staying.
The easiest time to solve those problems is before demolition begins. A few practical site-planning decisions can reduce repeated handling, keep work areas clearer, and make cleanup feel like part of the project rather than an interruption to it.
1. Map the Route From the Work Area to the Disposal Point
Start by tracing the path debris will take from the renovation area to its final collection point. If old cabinets, drywall, flooring, tile, and packaging have to travel through finished rooms, narrow hallways, or occupied areas, those routes may need temporary protection before work starts.
The goal is to avoid creating a series of temporary piles. Every time debris is moved from the work area to a garage, then to a driveway, and finally into a container, labor is being spent handling the same material again. One clear route is usually cleaner and more efficient.
2. Decide Where the Container Fits Into the Overall Site
A roll-off should be treated as part of the construction layout, not simply dropped wherever there is open pavement. A residential provider such as EcoBox Dumpsters can be incorporated into the site plan so the container location is considered alongside truck access, contractor parking, deliveries, garage use, landscaping, and the path workers will use to remove debris.
The best location is often a compromise: close enough to reduce carrying distance, but positioned so it does not block the activities that will become more important later in the renovation.
3. Estimate the Debris Before Choosing the Size
Renovation debris is deceptive because volume and weight are not the same thing. Removed cabinets and trim may consume a lot of space without being especially dense, while tile, plaster, concrete, roofing material, and other heavy debris can reach weight limits much faster.
Make a basic list of what is being removed and how much of the home is affected. A single-room refresh may require a very different setup than a multi-room renovation or larger demolition phase.
For projects expected to generate a larger volume of approved renovation debris, a 20-yard dumpster rental may be worth evaluating, depending on the material type, access conditions, local requirements, and the rental provider's loading rules.
Choosing the size based on the actual waste stream helps avoid paying for unused capacity or discovering halfway through demolition that the container is already full.
4. Separate What Is Leaving From What Is Staying
Demolition day should not be the first time the project team decides what is trash, what may be reused, and what needs special handling. Cabinets, doors, hardware, fixtures, appliances, lumber, and architectural elements may have donation, resale, or salvage value.
At the same time, paint, chemicals, batteries, electronics, certain appliances, hazardous materials, and other restricted items may require separate disposal. Identifying these categories early keeps inappropriate material out of the general debris stream and protects reusable items from accidental damage.
5. Protect Delivery and Staging Space
One of the most common site-planning conflicts occurs when demolition debris occupies the same area needed for incoming materials. Flooring, cabinetry, stone, appliances, fixtures, and finish materials often require clean, dry staging space, while demolition creates exactly the opposite conditions.
Reserve those areas before work begins. If the garage is needed for cabinetry, do not allow it to become the temporary debris room. If a section of the driveway is needed for deliveries, position the waste container so trucks can still reach the property.
6. Build Cleanup Milestones Into the Schedule
Cleanup does not need to wait until the end of the project. On larger renovations, removing debris between major phases can make the next phase easier to start.
A useful schedule might clear demolition waste before rough trades arrive, remove packaging before finish work begins, and confirm final debris pickup before landscaping or exterior restoration closes off the access route. Treating cleanup as a milestone helps prevent the site from gradually becoming more congested.
7. Keep the Pickup Route Open Until the End
The site that exists on delivery day may look completely different several weeks later. Contractor vehicles shift locations, pallets appear, temporary fencing goes up, new landscaping begins, and completed work may occupy previously open space.
The truck that eventually removes the container still needs safe, practical access. Keeping the approach clear throughout the project can prevent a routine pickup from turning into an avoidable delay at the end of a construction phase.
A Better Renovation Starts With Better Logistics
Homeowners naturally spend more time thinking about the finished renovation than the temporary construction site. But the organization of that temporary site influences how smoothly the finished project comes together.
When debris has a defined route, the container has a deliberate location, incoming materials have protected staging space, and pickups are coordinated with the schedule, the jobsite becomes easier to manage. Waste planning may not change the design, but it can make the process of getting there considerably cleaner and more efficient.
Stay up to date with our latest ideas!