Explore seven essential details that help custom built-ins succeed, from initial design planning and material selection to precise measurements and professional installation.

A wall of custom cabinetry can look flawless in a rendering. On site, the ceiling may drop toward one corner, the floor may slope, and an existing molding may project farther than the drawings suggest. Add outlets, heating equipment, and a doorway that needs clearance, and the installation becomes a different problem from the one shown on screen.
That gap between design intent and built reality is where planning matters most. Custom built-ins have to satisfy the architecture, their everyday purpose, and the practical conditions of fabrication and installation. The following seven decisions are worth resolving before cabinet components enter production, whether you're coordinating a residential project or commissioning cabinetry for your own home.
1. Start With Accurate Field Measurements
An architectural floor plan is a useful starting point, but it is not a substitute for measuring the finished space. Wall thicknesses may change during construction, ceilings may vary in height, and existing buildings rarely offer perfectly plumb corners.
Measure the installation area at multiple points, including widths near the floor, middle, and ceiling. Record floor levels, ceiling changes, out-of-square corners, and any conditions that affect how panels will meet adjacent surfaces. A floor-to-ceiling cabinet that fits at one end of a wall may be too tall or leave an uneven gap at the other.
The survey should also locate window casings, doors and their swing paths, baseboards, radiators, outlets, switches, and visible pipes. Photograph conditions that are difficult to explain with dimensions alone.
Before final shop drawings are issued, confirm which measurements have been verified on site and whether unfinished surfaces will change. That distinction helps avoid fabricating to dimensions that no longer exist.
2. Design Around How the Space Will Be Used
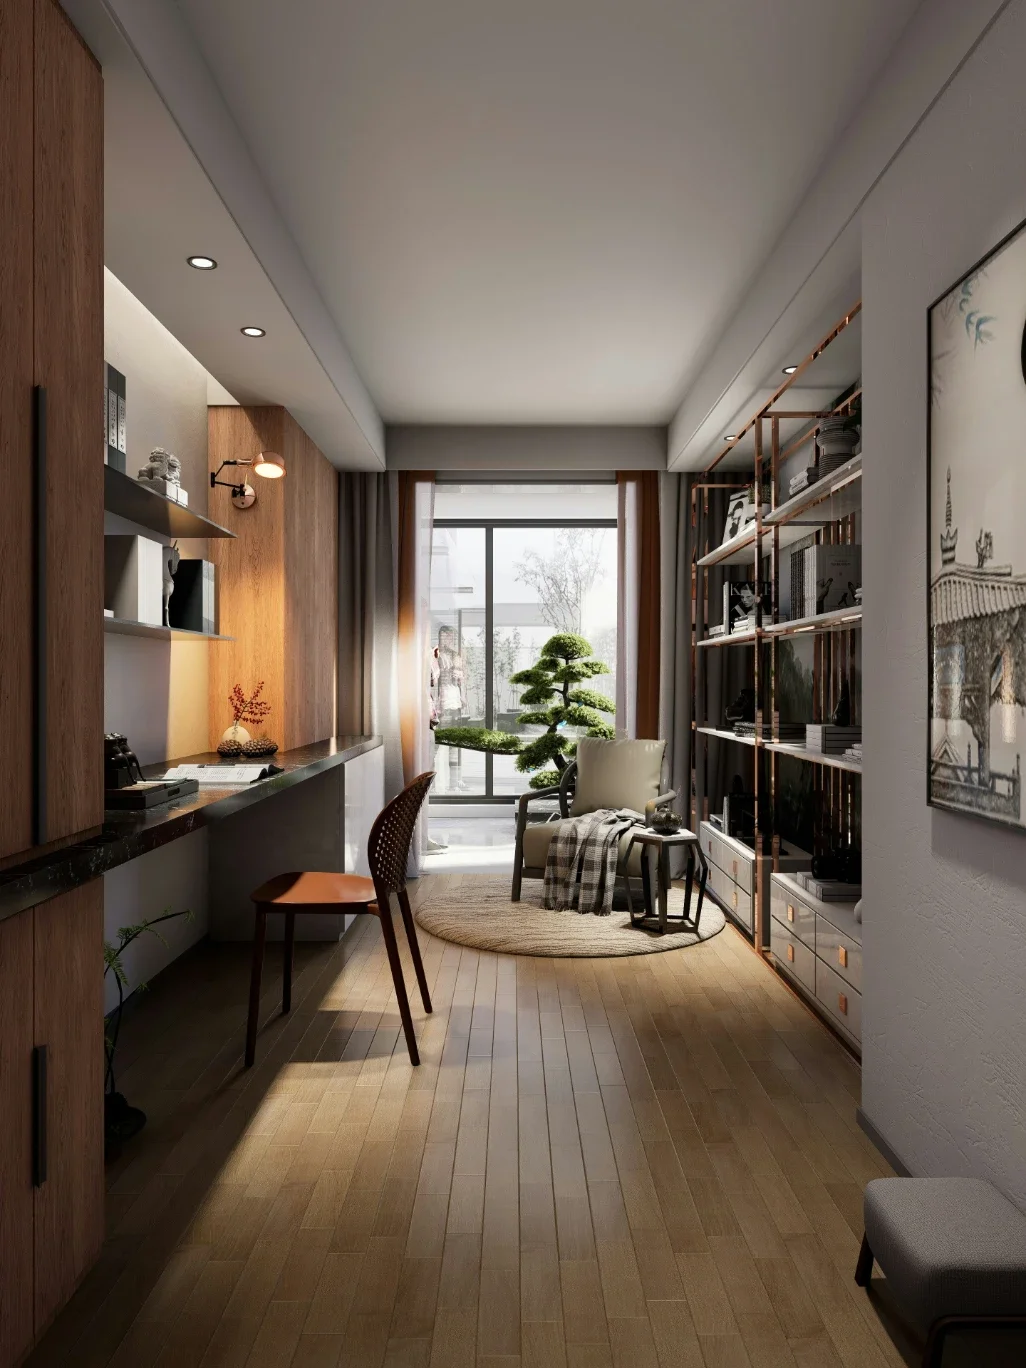
The contents of a cabinet should determine much of its layout. A library wall needs shelves suited to the height, depth, and weight of the books it will hold. A media wall needs space for the television, soundbar, receivers, and cables. A home office may require a desk surface, printer storage, file drawers, and room for a chair to move.
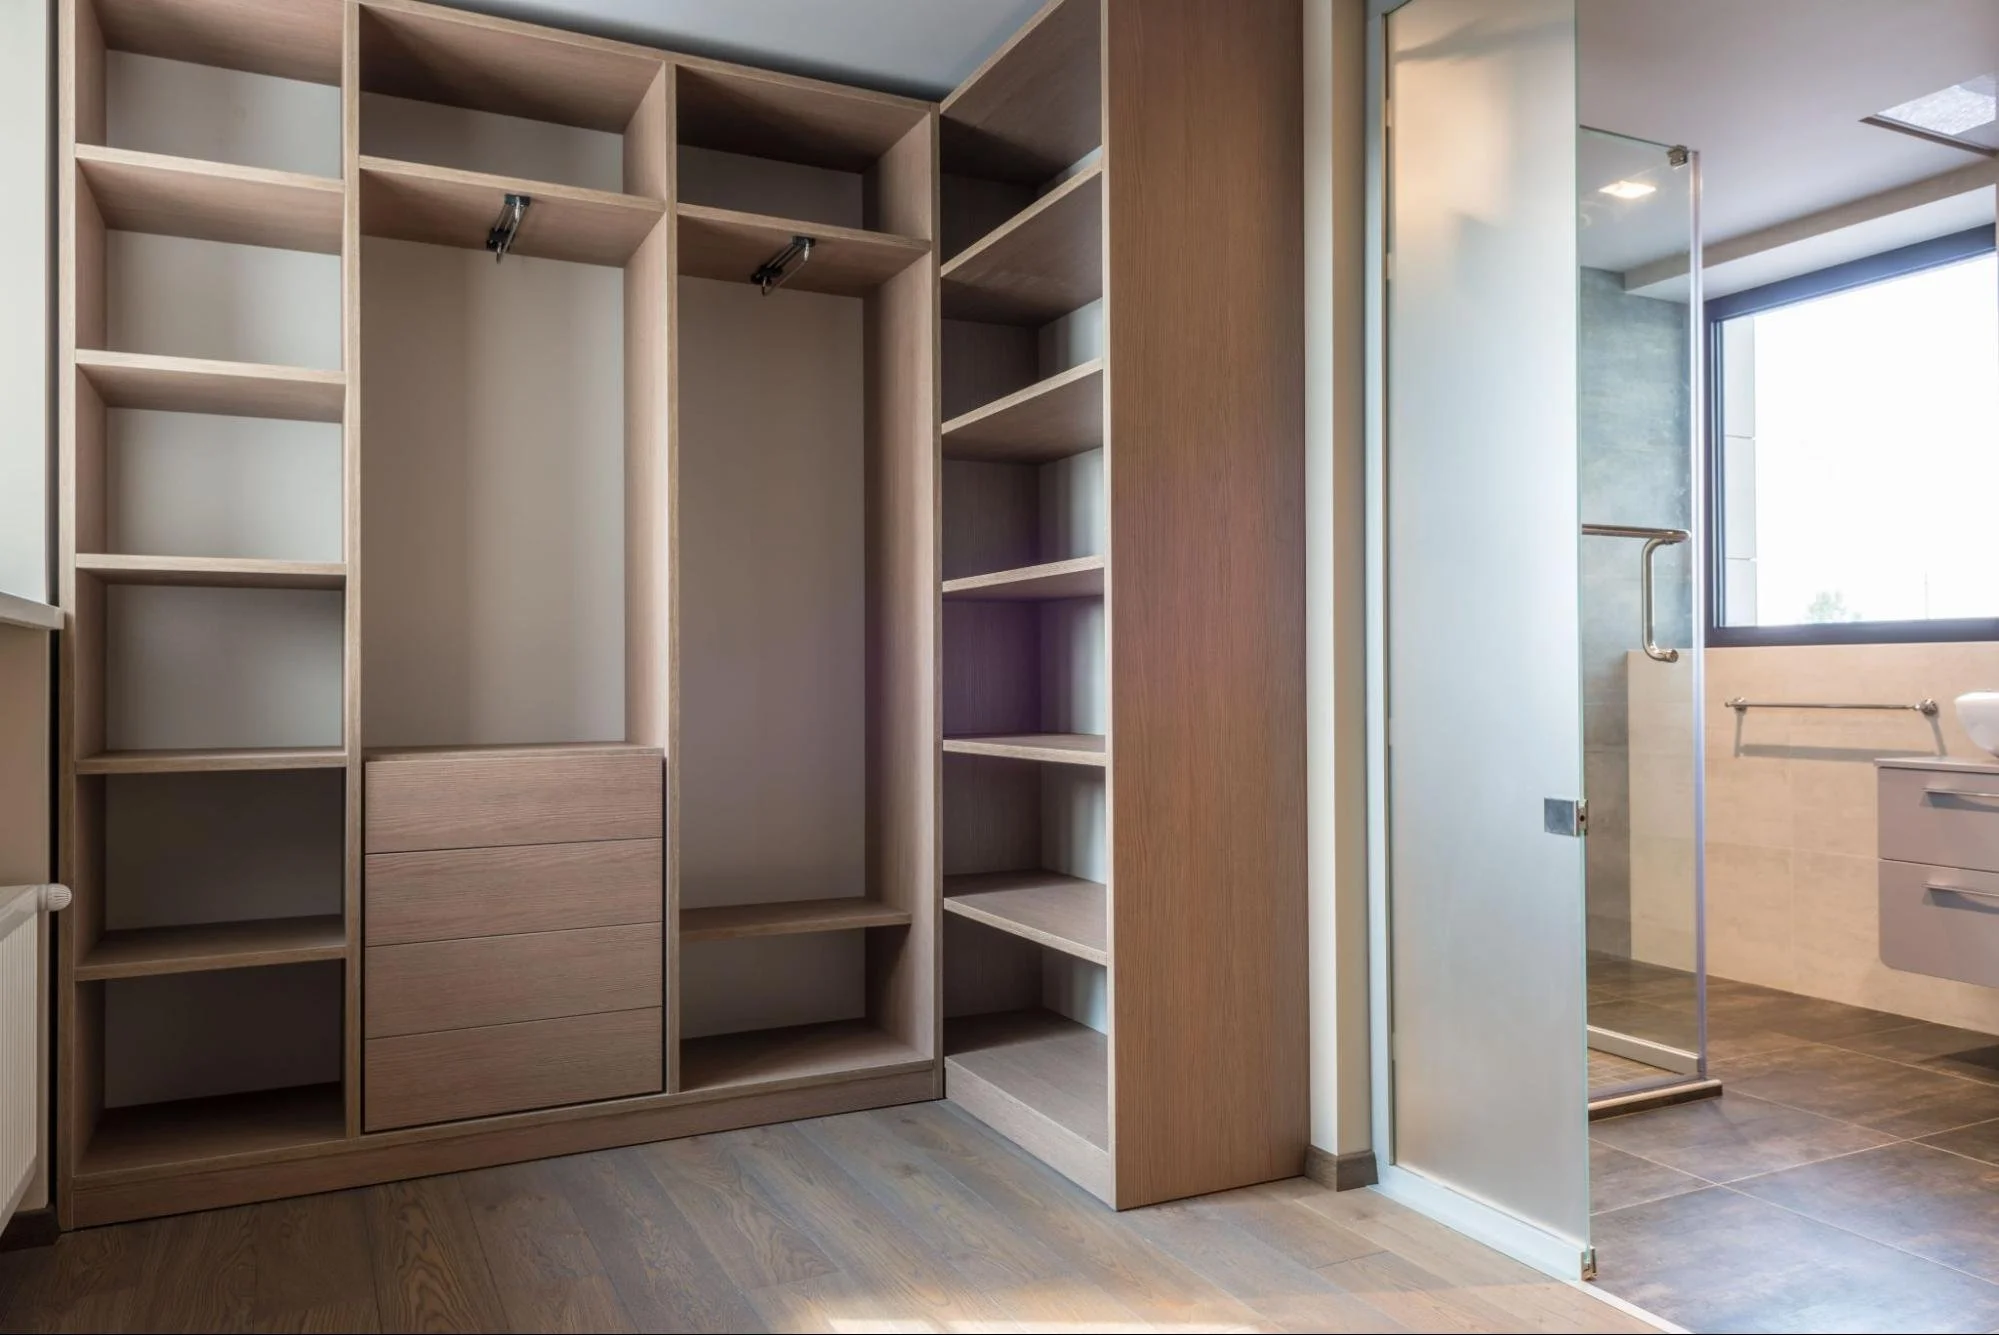
Begin by identifying what should remain on display and what belongs behind doors. Open integrated shelving works for books and objects, while closed compartments can conceal paperwork, equipment, and less attractive everyday items. Neither should be added merely to balance a rendering.
Check dimensions against the actual possessions and equipment, not generic cabinet proportions. Think about reach, door opening space, and whether shelves need to adjust as storage needs change. For heavy loads, the designer and fabricator should also review shelf spans, supports, and suitable materials before committing to a clean, uninterrupted look.
3. Resolve Drawings and Technical Details Before Fabrication
A concept elevation explains the appearance of a built-in; shop drawings need to explain how it will be made and installed. They should establish cabinet dimensions, panel thicknesses, shelf locations, door and drawer configurations, visible reveals, and how the unit terminates against walls, floors, and ceilings.
Clearances deserve their own review. A drawer beside a wall may need enough room to clear the casing. A cabinet door can conflict with a sconce, a projecting handle, or an adjacent door. Hinges and slides must suit the intended opening and load.
Where lighting or media equipment is involved, drawings should identify cable routes, power locations, access panels, and ventilation provisions. The cabinetry team should coordinate those details with the appropriate trades rather than assume they can be resolved during installation.
Mark revisions clearly and obtain approval of the final drawing set before fabrication. A change to one shelf, outlet, or panel line can affect several adjoining components.
4. Coordinate Materials, Finishes and Architectural Details
Built-in cabinet design succeeds visually when the new work relates to what surrounds it. That includes window trim, baseboards, crown molding, door profiles, flooring, and the proportions of nearby architectural millwork. A cabinet that simply touches the ceiling is not necessarily integrated; the junction still needs to be deliberately detailed.
Finish samples should be viewed near the materials they need to match and, when possible, under the room's actual lighting. Painted doors, stained wood, and veneers respond differently to changes in light. Veneer grain direction and matching should be specified, especially across broad panels or repeated doors. Hardware finish and scale matter too.
Materials must also suit the intended construction. Substrate selection, edge treatments, and finishes influence durability, appearance, and fabrication methods. Discuss movement and stability where solid wood is proposed.
Finally, decide how irregular surfaces will be handled. Carefully planned scribe pieces, fillers, and trim transitions can make cabinetry appear continuous without pretending the building is perfectly straight.
5. Plan for Radiators, Outlets and Service Access
An uninterrupted wall of cabinetry can conceal equipment that still needs air, power, or maintenance. Identify those constraints before finalizing the face of the built-in.
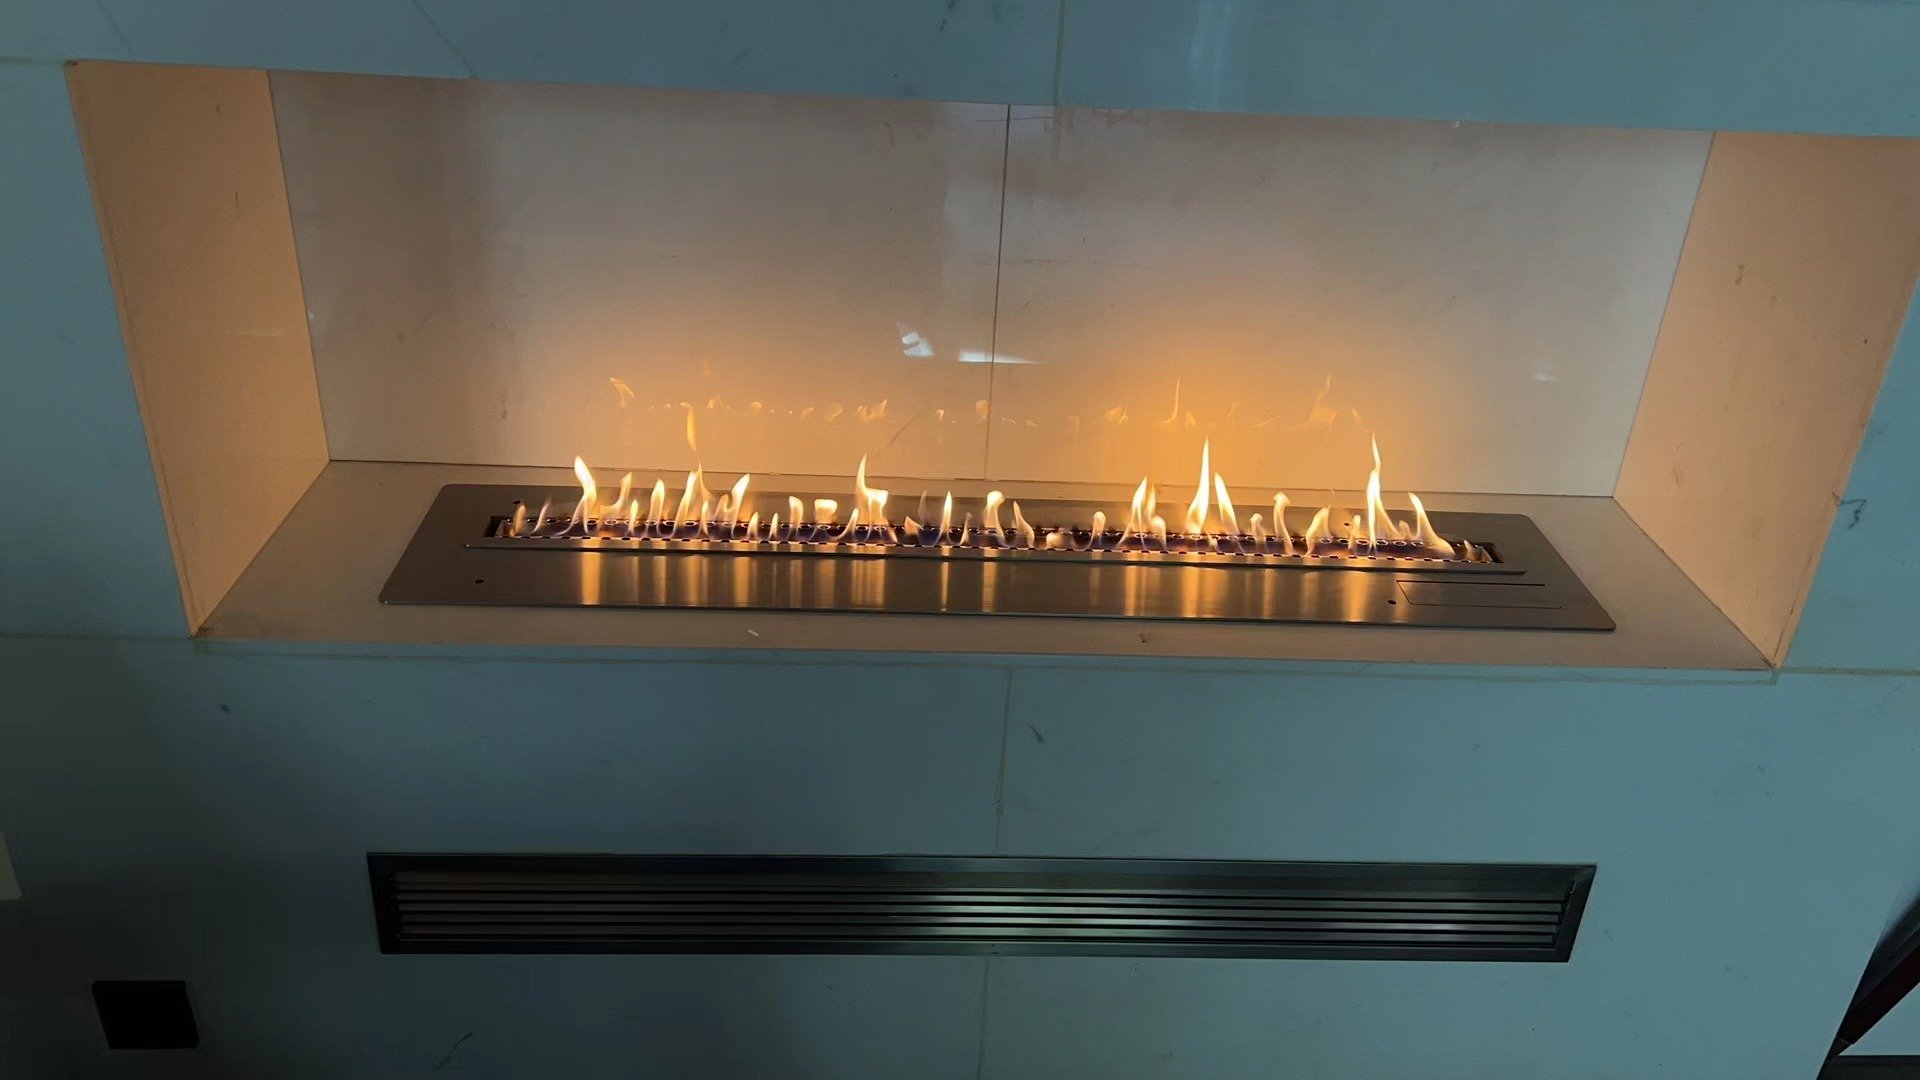
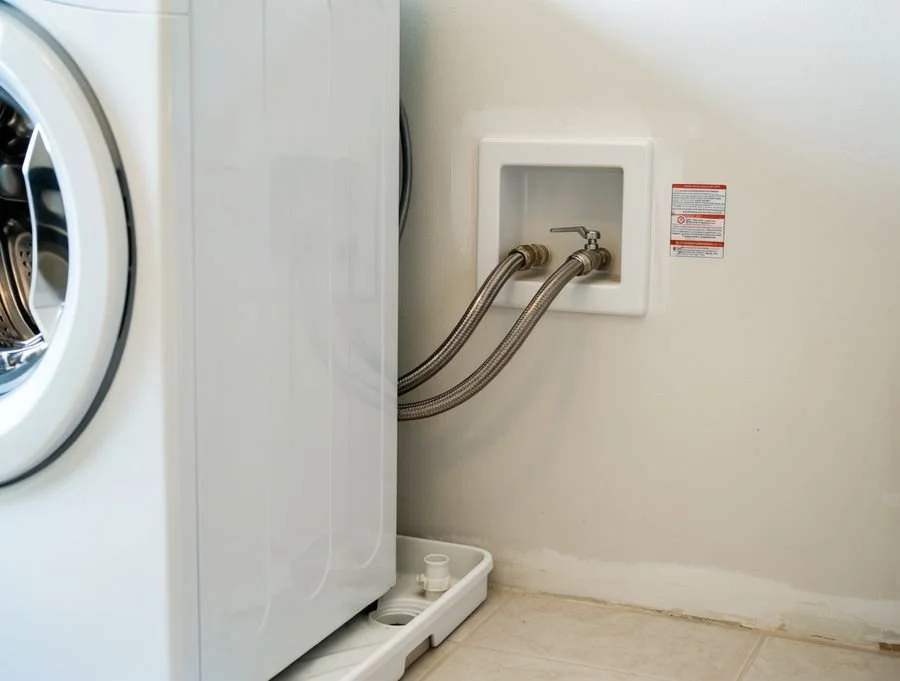
Radiators and HVAC units have airflow and clearance requirements that depend on the equipment. A cover should not obstruct heat distribution, intake or discharge openings, valves, filters, or controls. Use the manufacturer's requirements and relevant trade guidance rather than applying a universal clearance figure to every installation.
Media equipment can generate heat and may need ventilation and access for replacement. Electrical devices and connections should be located and coordinated with qualified trades; cabinetry panels should not make them inaccessible. Removable sections may be preferable to permanently fixed panels where service is expected.
A useful review question is simple: if something behind this cabinet needs attention two years from now, how will someone reach it without damaging the millwork?
6. Understand How Fabrication and Installation Connect
Approval of the shop drawings is the handoff from planning to millwork fabrication, but it does not eliminate the need for coordination. Material selections, hardware specifications, and finishes should be checked against the approved documents before components are made.
Installation also needs a realistic site plan. Confirm that the room is ready, finished surfaces can be protected, and large components can pass through doors, hallways, elevators, or stairs. In New York co-ops and condos, delivery windows, freight elevator reservations, insurance documentation, and building work rules may affect the sequence.
At the site, installers align and secure cabinetry, fit scribed edges and trim, adjust doors and drawers, and check the consistency of reveals. Lighting and other coordinated elements are then reviewed with the responsible trades where applicable.
The final inspection should test movement and access, not only appearance. Doors should open as intended, drawers should run correctly, and removable sections should remain usable.
7. Make Collaboration Between Designer and Fabricator Easier
Designers, architects, fabricators, installers, and other trades may each work from different documents. Problems arise when a finish changes in one email, an outlet moves on site, and the cabinet drawings remain unchanged.
Before production, agree on one current drawing set, approved finish samples, hardware choices, equipment dimensions, and responsibility for electrical or mechanical coordination. Record who can approve changes and when approvals must occur. For installation, clarify site readiness, delivery restrictions, trade sequencing, and the person responsible for resolving field questions.
Companies working across the design-to-install process can help make these dependencies visible. For example, Ivenko Studio describes a custom built-in workflow for New York homes that connects field measurements, cabinetry drawings, materials, fabrication, and installation, including coordination with architects and interior designers.
The useful lesson is procedural: decisions should travel with the project. If a field condition changes, everyone affected needs the updated information before components are manufactured or installed.
Final Thoughts: Built-Ins Should Feel Like Part of the Architecture
Well-executed custom built-in cabinetry tends to look straightforward because the difficult decisions have already been made. Cabinet faces align with the room, storage fits its contents, and the installation accommodates the irregularities and equipment that were there before it.
Before approving a design, ask to see the measured conditions, the shop drawings, finish samples, equipment requirements, and the proposed installation sequence. Confirm how doors, drawers, panels, and service points will work in everyday use. A beautiful elevation is a useful beginning, but architectural integration depends on what happens after it: coordinated decisions, precise fabrication, and careful fitting on site. Those details deserve attention before the first cabinet is built.
Stay up to date with our latest ideas!