How to choose shutters, shades and blinds for Pacific Northwest homes: seasonal light, moisture, louver sizes, frames, room-by-room tips and measuring advice.

Windows in the Puget Sound region work hard. They bring in the soft light of a long gray winter, frame views of water, mountains and evergreens, and face some of the longest summer days of any major American city. Choosing what covers them has less to do with trends and more to do with understanding how each room is used, which direction it faces, and how the window itself is built. This guide walks through the practical decisions that lead to window coverings that look good and work well for years, with a closer look at shutters, shades and blinds in a Northwest setting.
Why Northwest Light Calls for Flexible Control
Seattle sits at roughly 47 degrees north latitude, and that position shapes daily life indoors. Around the winter solstice the sun sets at about 4:20 p.m., and daylight lasts less than eight and a half hours. By late June the sun rises shortly after 5 a.m. and sets after 9 p.m., giving close to sixteen hours of daylight. A window covering that offers only "open" or "closed" has trouble with that range. The goal is control that adjusts in small steps: admitting as much daylight as possible on a dim January afternoon, then darkening a bedroom completely at dawn in June.
Orientation matters as much as season. East-facing bedrooms catch the earliest summer light. West-facing living rooms, especially in homes overlooking Lake Washington or Puget Sound, receive low afternoon sun reflected off the water, which creates strong glare on screens and can fade furniture and floors. North-facing rooms get steady, cool light and rarely need heavy coverage, while south-facing rooms benefit from treatments that diffuse light rather than block it. Mapping each window by direction before looking at products makes nearly every later decision easier.
Moisture, Condensation and Older Frames
The region's mild, damp winters bring a less obvious consideration. Cool glass and warm indoor air produce condensation, particularly on single-pane or aluminum-framed windows found in many older ramblers and split-levels. In bathrooms, kitchens and laundry rooms, steam adds to that moisture. Natural wood and some fabrics can swell or warp with persistent humidity, so matching the material to the room is one of the most valuable choices a homeowner can make in this climate.
Older homes add another variable. Craftsman bungalows and early twentieth-century houses often have deep window casings and wide fir trim, but a century of settling can leave openings slightly out of square. Newer construction frequently has shallow drywall returns that limit how deep a product can sit inside the frame. Both situations are easy to handle once they are identified by careful measuring rather than assumed.
Shutters as Part of the Architecture
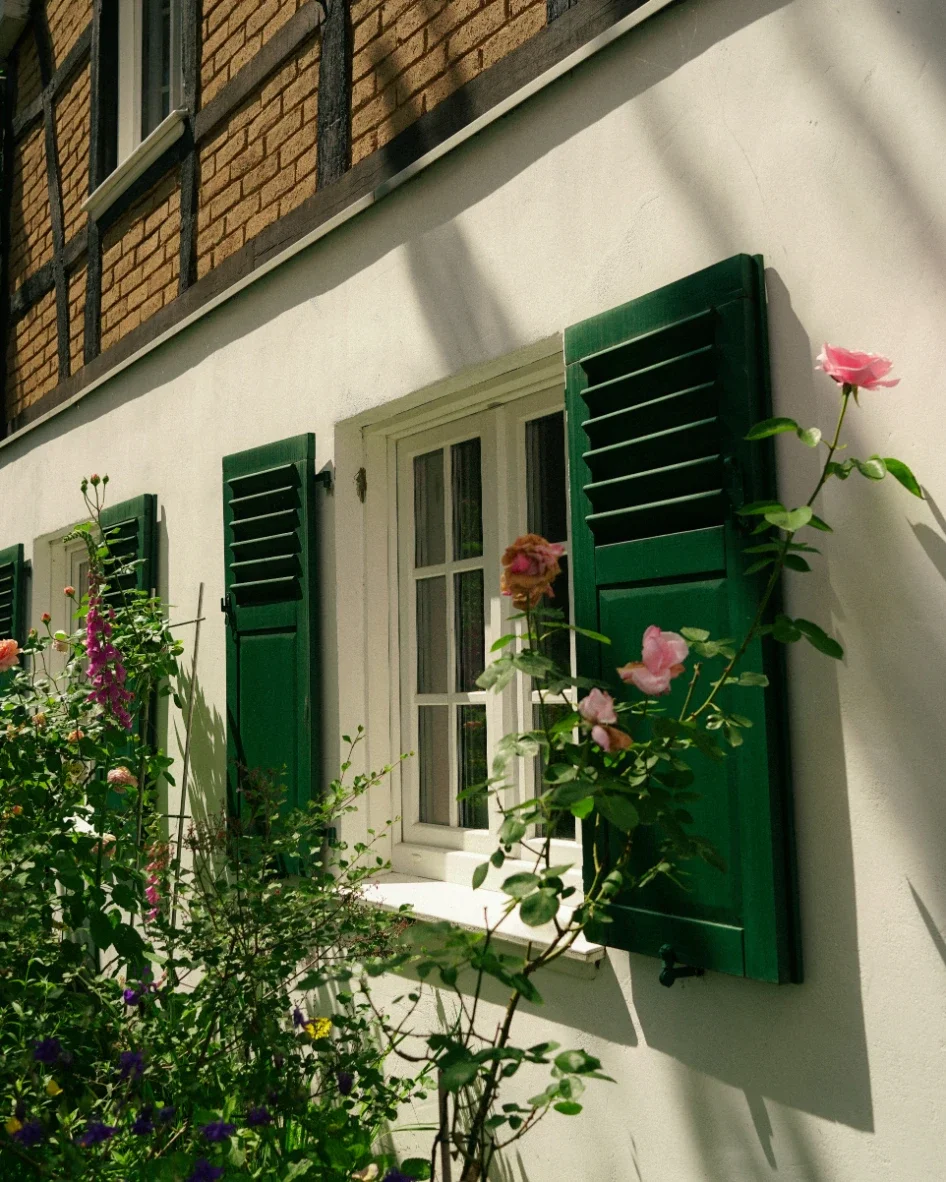
Shutters stand apart from other window coverings because they are built as a framed unit attached to the opening, closer to trim or cabinetry than to a hanging product. Each panel, louver and frame is sized for one specific window, which is why well-planned custom shutters for Seattle homes look as though they were installed when the house was built. Their louvers tilt to fine-tune light and privacy, they have no cords, and the fixed frame holds a layer of still air against the glass that helps older windows feel less drafty. Several design choices determine how they will look and function.
Louver Size and Home Style
Louvers commonly range from about 1 7/8 inches to 4 1/2 inches wide. Narrow louvers suit small windows and the divided-light sashes of Craftsman and Four-Square homes, where they echo the scale of the original woodwork, and a stain matched to existing fir trim keeps the interior consistent. Mid-century ramblers with large picture windows tend to look balanced with louvers around 3 1/2 inches in a soft white. Contemporary townhouses and newer builds with tall windows and painted millwork pair well with 4 1/2-inch louvers, which open up the view when tilted flat. A useful rule of thumb: the larger the window, the wider the louver it can carry without looking busy.
Frames, Mounting and Tilt
The frame determines how shutters meet the wall. A Z-frame overlaps the casing and works nicely on the deep openings of prewar homes. An L-frame or direct mount suits the shallow returns of recent construction. Tilt can be controlled with a visible tilt rod for a classic look or a hidden mechanism at the side of the panel for a cleaner profile. Split tilt, where upper and lower louvers move independently, is especially helpful on street-facing windows in dense neighborhoods: the lower louvers stay angled away from the sidewalk while the upper section lets daylight pour in.
Panel Layouts for Doors and Unusual Shapes
Layout matters as much as louver size. Full-height panels cover the entire window and give the most uniform appearance. Café-style panels cover only the lower portion, providing street-level privacy while the upper glass stays open to the sky. Tier-on-tier designs divide the opening into upper and lower panels that swing independently, a good match for ground-floor bedrooms and tall sash windows. Sliding glass doors use panels that glide on a track, either bypassing one another or folding into a compact stack at the side. Arches, circles and angled tops are built from a template of the actual curve, so they can match neighboring windows in color and louver size.
Composite or Hardwood
Composite shutters, made with a dense core and a durable factory finish, resist cracking, chipping and yellowing, and they hold their shape through humid winters. They are a sensible choice for kitchens, children's rooms and busy family spaces. Hardwood shutters bring natural grain and can be stained to complement oak floors or original trim, which makes them a lovely fit for living rooms, dining rooms and studies where wood character is part of the design. For bathrooms and laundry rooms, moisture-resistant shutter materials are made to handle steam and splashes without swelling.
Choosing Coverings Room by Room
Most homes are best served by combining products rather than using one type everywhere. Thinking about how each room is used narrows the options quickly and leads to window treatments tailored to your home instead of a uniform approach that fits some rooms well and others poorly.
Bedrooms and Nurseries
With summer dawn arriving before 5:30 a.m. for several weeks, bedrooms usually benefit from real light blocking. Blackout cellular shades and roller shades with blackout fabric are popular choices, and an outside mount or side channels reduce light gaps around the edges. Shutters with tightly closing louvers also darken a room well, and some homeowners layer a blackout shade behind shutters for complete control. In nurseries and children's rooms, cordless operation is the recommended standard for safety, and cordless lift systems, wand controls and motorization all meet it. Blackout fabric also helps keep nap schedules steady during bright summer evenings.
Living Rooms and View Windows
Many homes in the region face water, mountains or forest, and the view is part of what makes the room special. Solar shades reduce glare and filter ultraviolet light while keeping the view visible. They are rated by openness factor, usually from about 1 to 10 percent: a lower openness blocks more glare and adds daytime privacy, while a higher openness keeps the outlook clearer. Top-down bottom-up shades offer another graceful solution, lowering from the top to admit sky light while the lower part of the window stays covered.
Kitchens, Bathrooms and Laundry Rooms
Moisture-ready materials shine in these spaces. Faux wood blinds, moisture-resistant shutters and easy-to-wipe roller fabrics handle steam and frequent cleaning well. In kitchens, check the clearance around faucets, window cranks and backsplash tile before deciding on an inside mount, since a few fractions of an inch can determine whether a product operates smoothly.
Wooded Lots and High Windows
Where tall firs and cedars surround a house, rooms can stay dim even at midday. Light-filtering fabrics and top-down shades usually serve these rooms better than heavy blackout options, because preserving daylight is the priority. Two-story great rooms and clerestory windows present a different situation: they are out of reach. Motorized shades powered by rechargeable batteries in the headrail can be operated by remote, wall switch, phone app or voice assistant, and schedules can lower west-facing shades each afternoon automatically. During a remodel, running low-voltage wiring before the drywall goes up keeps hardwired options available later.
Comfort and Insulation
Window coverings also contribute to year-round comfort. Cellular shades trap air in honeycomb-shaped pockets, and double-cell designs add a second insulating layer. In winter this slows heat loss through the glass, and in summer it reduces heat gain on sunny exposures. Shutters provide a similar effect through their fixed frame and closed louvers. In older homes with single-pane windows, the difference in how a room feels on a cold morning can be very noticeable.
Measuring and Planning at Home
Even when a professional takes the final measurements, a little preparation helps clarify what each window can accommodate:
Measure the width of each opening at the top, middle and bottom; for an inside mount, the narrowest figure is the one that counts.
Measure the height on the left, center and right, and note the shortest.
Check the frame depth to see whether a product can sit flush inside the opening or will project into the room.
Compare the two diagonal measurements; a noticeable difference means the opening is out of square, which affects inside-mount fit.
Note handles, cranks, alarm sensors and anything else that a covering must clear.
Record which direction each window faces and how the room is used throughout the day.
Seeing physical samples in the room's own light is just as valuable. Colors and fabrics look different under soft northern light than in a photograph, and a white that appears crisp on a screen may read cooler or warmer next to existing trim and flooring. Viewing samples at different times of day gives the most accurate impression.
Caring for Window Coverings in a Damp Climate
Good care keeps window treatments looking fresh for many years. Shutters need only a quick weekly dusting and an occasional wipe with a damp cloth. Fabric shades stay clean with gentle vacuuming using a brush attachment. In rooms prone to condensation, wiping moisture from sills and glass on cold mornings and keeping air moving helps prevent moisture from collecting behind the covering. Opening coverings for part of each winter day also lets the glass dry and keeps the room bright.
For homeowners who would like to explore further, Papablinds.com offers helpful overviews organized by room and window type, from sliding glass doors and bay windows to skylights and arched openings, which make a convenient starting point when comparing materials and styles. With a clear picture of how each room faces, how much moisture it sees and how it is used, choosing window coverings becomes an enjoyable design project, and the result is a home that feels comfortable and welcoming through every season of the Northwest year.
Stay up to date with our latest ideas!