What Homeowners Should Know Before Starting a Roof Replacement
Learn what homeowners should know before starting a roof replacement, from costs and materials to timing, permits, contractors, preparation, and warranties.
Why Planning a Residential Roof Replacement Matters
A roof replacement is one of the largest investments a homeowner will make. Yet most people start the process without knowing what to look for, what questions to ask, or what to expect once work begins. That gap leads to surprises — unexpected costs, wrong material choices, and contractors who leave more problems than they solve. Whether you're dealing with aging shingles, storm damage, or a roof that's simply past its useful life, going in informed makes a real difference. This guide walks through everything you need to know before a single shingle comes off your home.
We'll cover how to tell whether you need a full replacement or just a repair, how material choice affects your long-term budget, what the installation process actually looks like, and how to prepare your home and finances before work begins. Homeowners in older housing markets — like those across North and Central New Jersey, where pre-1950s construction and harsh freeze-thaw winters accelerate roof wear — face a particular set of challenges. Resources like LGM Roofing offer region-specific guidance built around those exact conditions.
By the end of this guide, you'll have a clear, practical roadmap for planning a residential roof replacement with confidence.
How to Tell If Your Roof Needs Replacement or Just Repairs
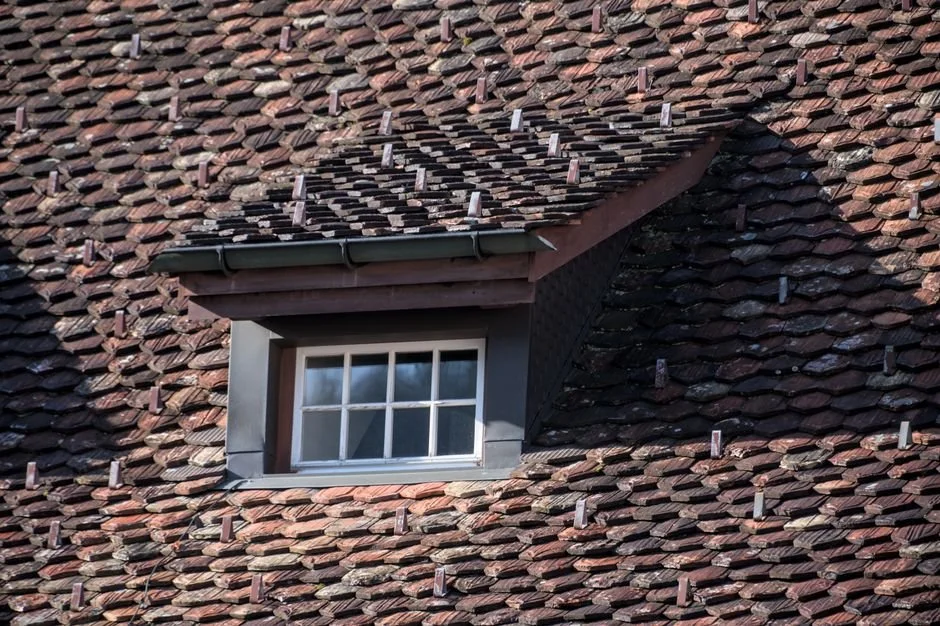
The decision between repairing and replacing a roof comes down to three factors: the extent of the damage, the age of the materials, and the comparative cost of each option. A useful benchmark many roofing professionals apply is the 30% rule — if the estimated cost of repairs approaches or exceeds 30% of what a full replacement would cost, replacement is typically the more financially sound choice. Similarly, if your roof is approaching or past the 20- to 25-year mark for asphalt shingles, replacement planning should begin even if visible damage hasn't yet appeared.
That said, knowing what to look for before calling a contractor helps you walk into that first conversation with realistic expectations.
Warning Signs Visible From the Ground
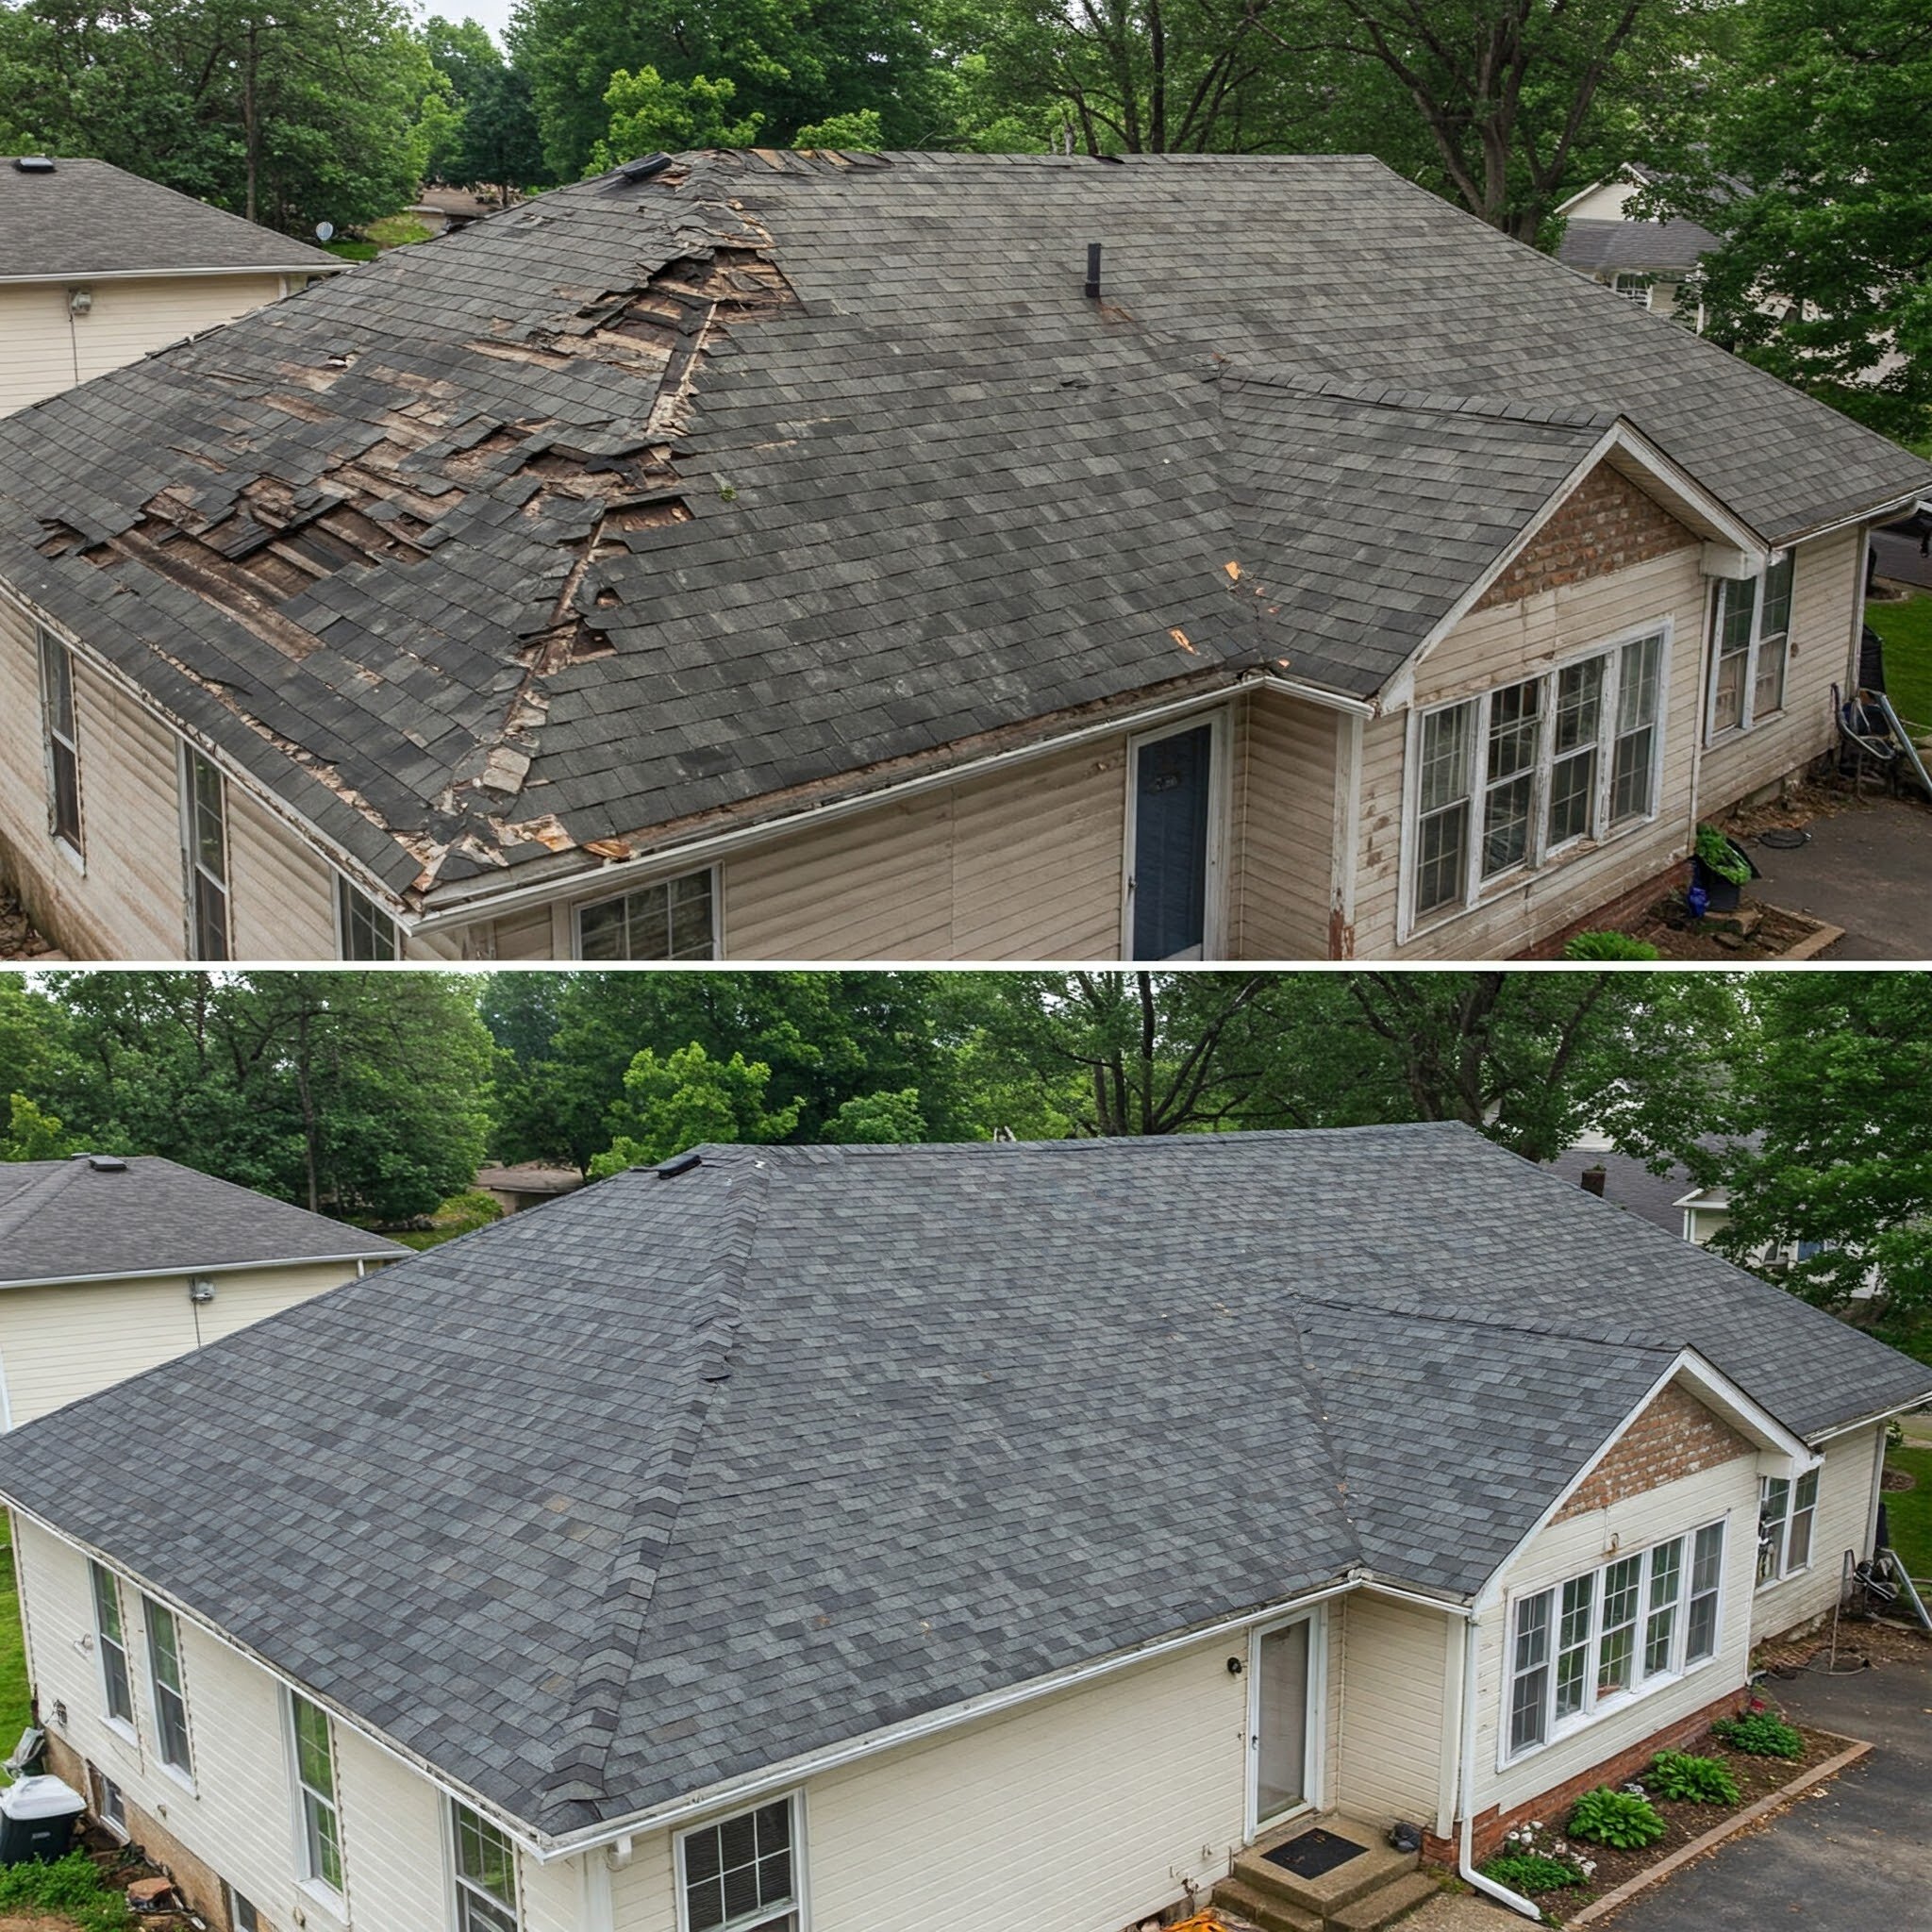
Several indicators of roof trouble can be spotted without ever leaving your yard. Curling shingles — where the edges lift upward or the center buckles — signal that the material has lost its flexibility and is deteriorating. Missing shingles are a more obvious concern, as they expose the underlying deck directly to rain, wind, and UV radiation.
A sagging or uneven roofline is one of the more serious signs. This typically points to structural compromise in the decking or support framing beneath, often caused by prolonged moisture exposure. If the roofline appears to dip or wave, a professional inspection should happen quickly.
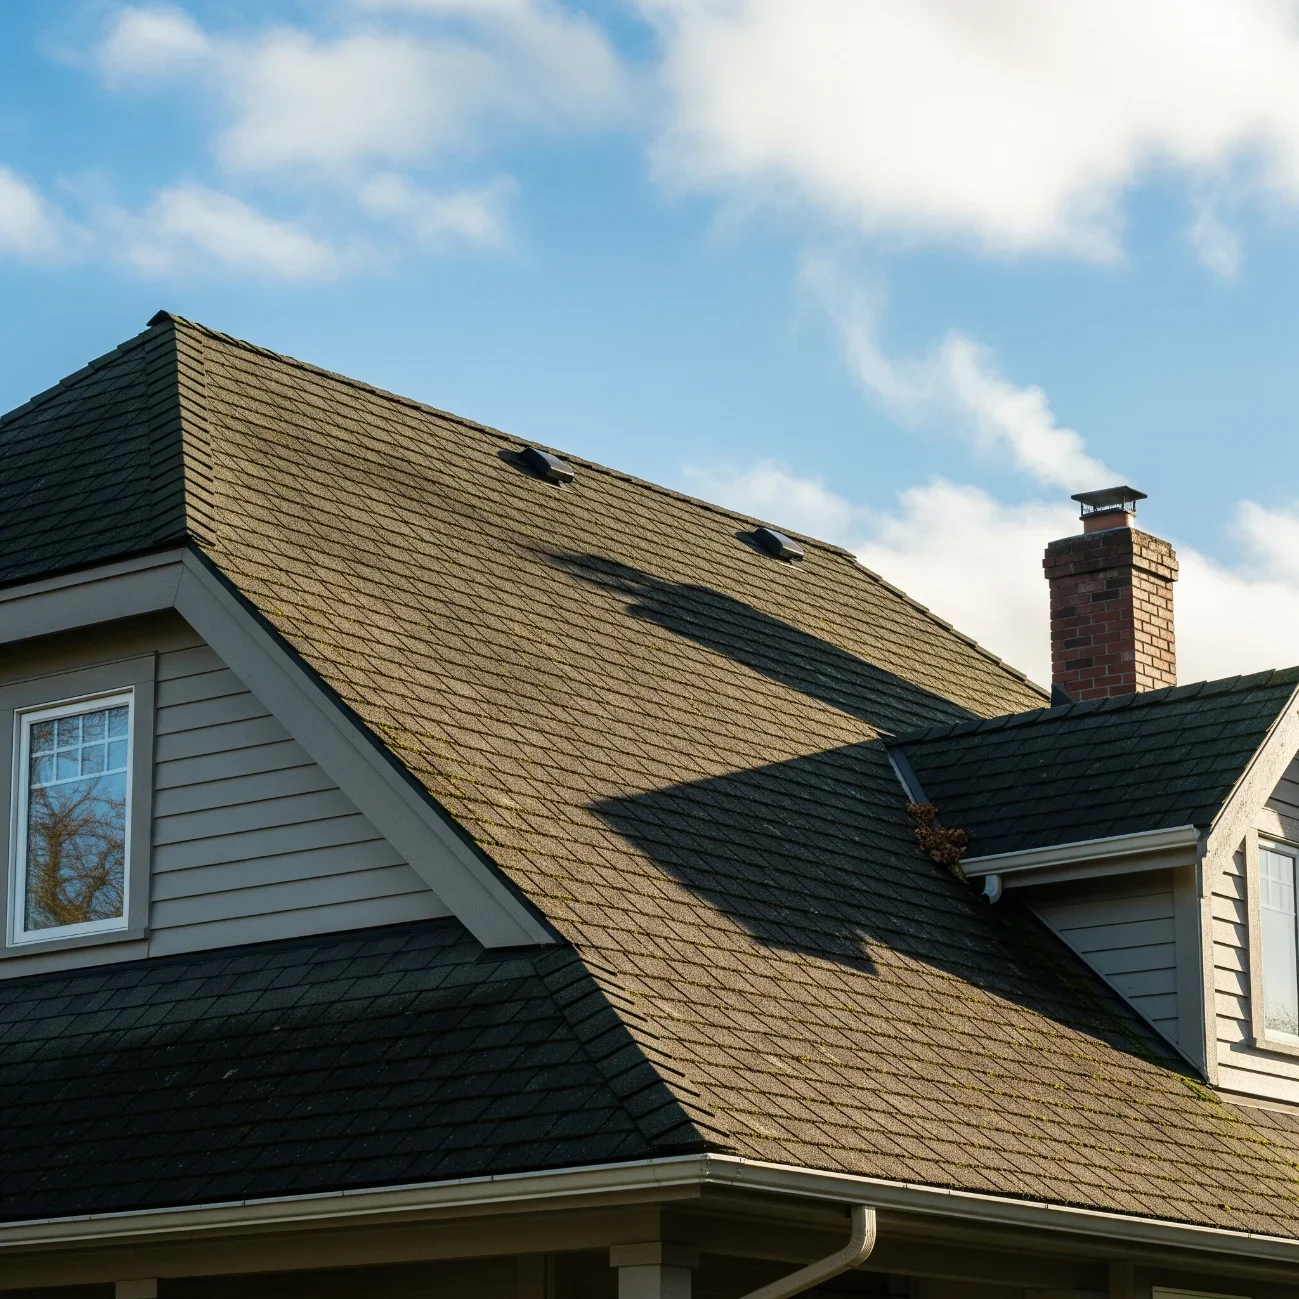
Algae streaks — those dark, discolored lines running down the slope — are usually cosmetic on their own, but moss growth is a different matter. Moss actively roots into shingle granules, lifting the material and holding moisture against the deck. Over time, this accelerates decay in ways that aren't always visible until significant damage has already occurred. Damaged or missing flashing around chimneys, skylights, and vents is another ground-level warning sign worth noting, as flashing failures are among the most common sources of water intrusion.
Warning Signs Found in the Attic
Some of the most telling evidence of roof failure is found not on the roof itself, but in the space directly beneath it. On a bright day, head into your attic and look up at the underside of the roof deck. Pinpricks of daylight coming through the boards indicate gaps where moisture and pests can enter just as easily. It's worth noting that some older homes were built with spaced decking boards, so small gaps between slats may be normal — but water stains around those gaps or warped wood are not.
Water stains on the attic ceiling or rafters, damp insulation, and a persistent musty odor all point to active or recurring moisture intrusion. If you've had leaks repaired multiple times and they keep returning, that pattern suggests system-wide deterioration rather than isolated damage — a strong signal that repairs have reached their limit.
How Roof Material Choice Affects Planning a Residential Roof Replacement
Material selection shapes nearly every other decision in the replacement process — from the total project cost and installation timeline to how the roof performs over the next several decades. Understanding the core options before meeting with a contractor allows you to have a more informed conversation about what's right for your home, your climate, and your long-term budget.
Asphalt Shingles: The Most Common Choice
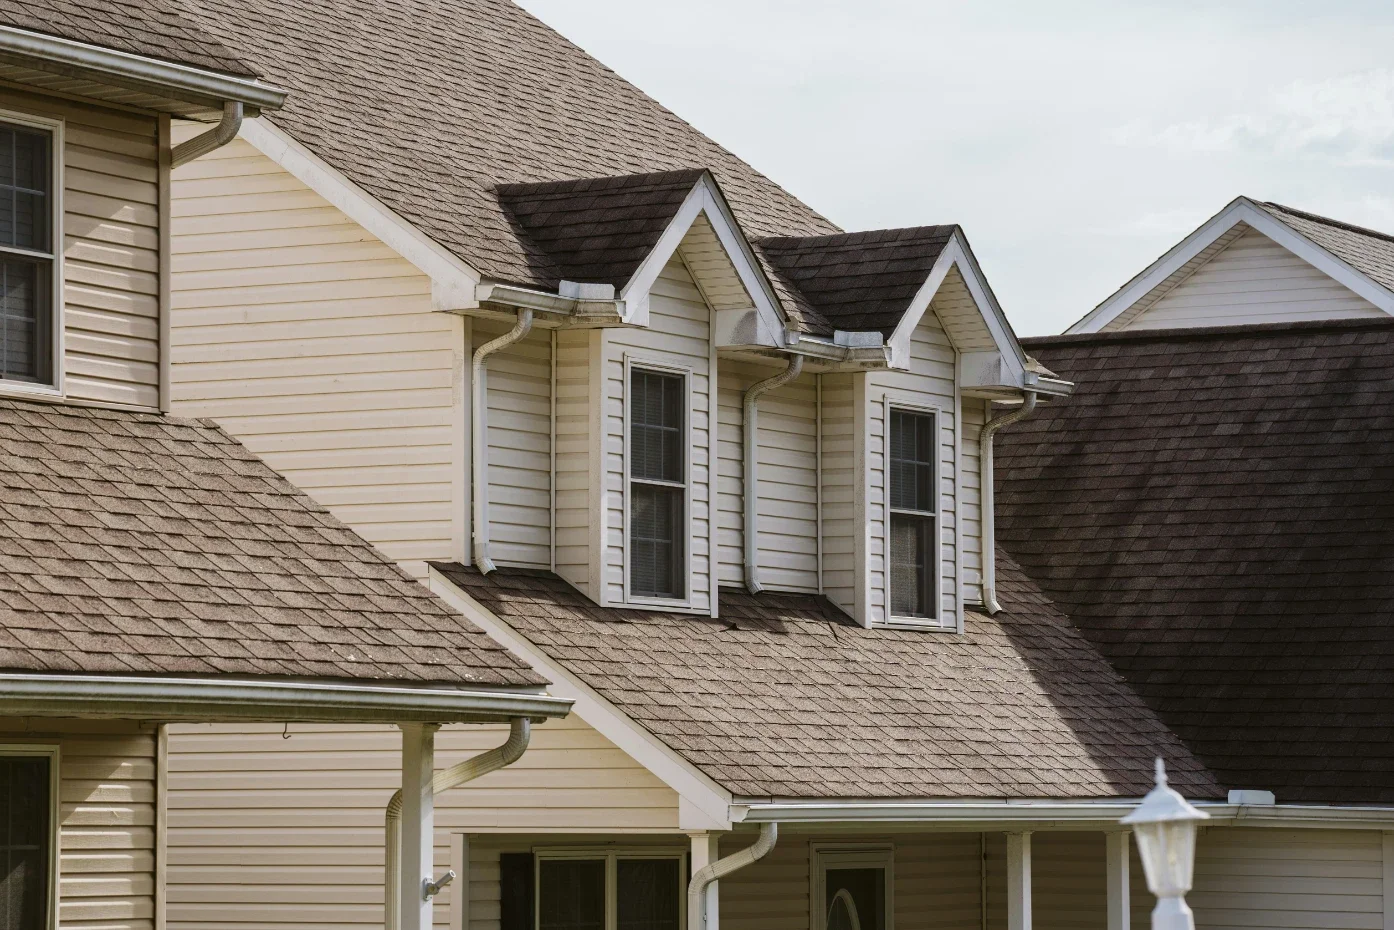
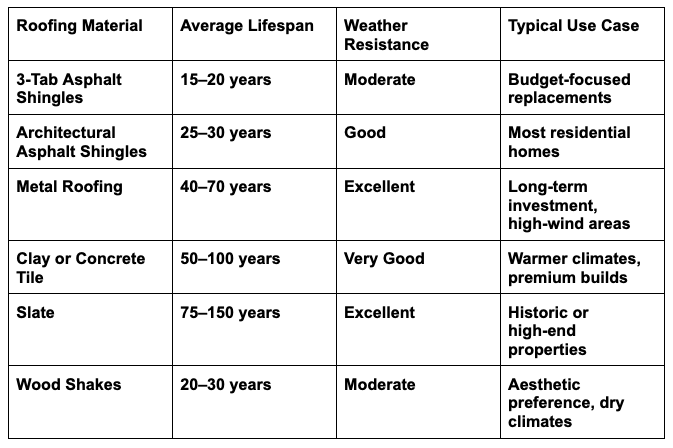
Asphalt shingles remain the dominant choice for residential roofing across the country, and for practical reasons. They're widely available, relatively straightforward to install, and come in a broad range of colors and styles. Within this category, there's an important distinction between 3-tab shingles and architectural (also called dimensional or laminate) shingles.
Three-tab shingles are the thinner, flat option with a uniform appearance. They carry a shorter lifespan — typically 15 to 20 years — and offer less wind resistance than their architectural counterparts. Architectural shingles are thicker, more durable, and better suited to the kind of weather variability that homeowners in colder climates deal with regularly. Their layered construction gives them a richer visual profile and a lifespan that can extend to 30 years under good conditions.
Granule loss is the primary aging indicator for asphalt shingles. As granules wash away over time, the underlying mat becomes exposed to UV radiation, which causes brittleness and cracking. Finding a heavy accumulation of granule material in your gutters — particularly several years after installation — is a reliable signal that the protective layer is wearing thin.
For homeowners seeking enhanced performance within the asphalt category, products like the GAF Timberline HDZ offer algae resistance and extended manufacturer warranties, though access to the highest-tier warranty coverage depends on the certification level of the contractor performing the installation.
Metal, Tile, and Slate: Longer-Lasting Alternatives
For homeowners planning to stay in their home long-term, or those dealing with particularly demanding climate conditions, the higher upfront investment in metal, tile, or slate roofing often makes financial sense when evaluated over the full lifespan of the material.
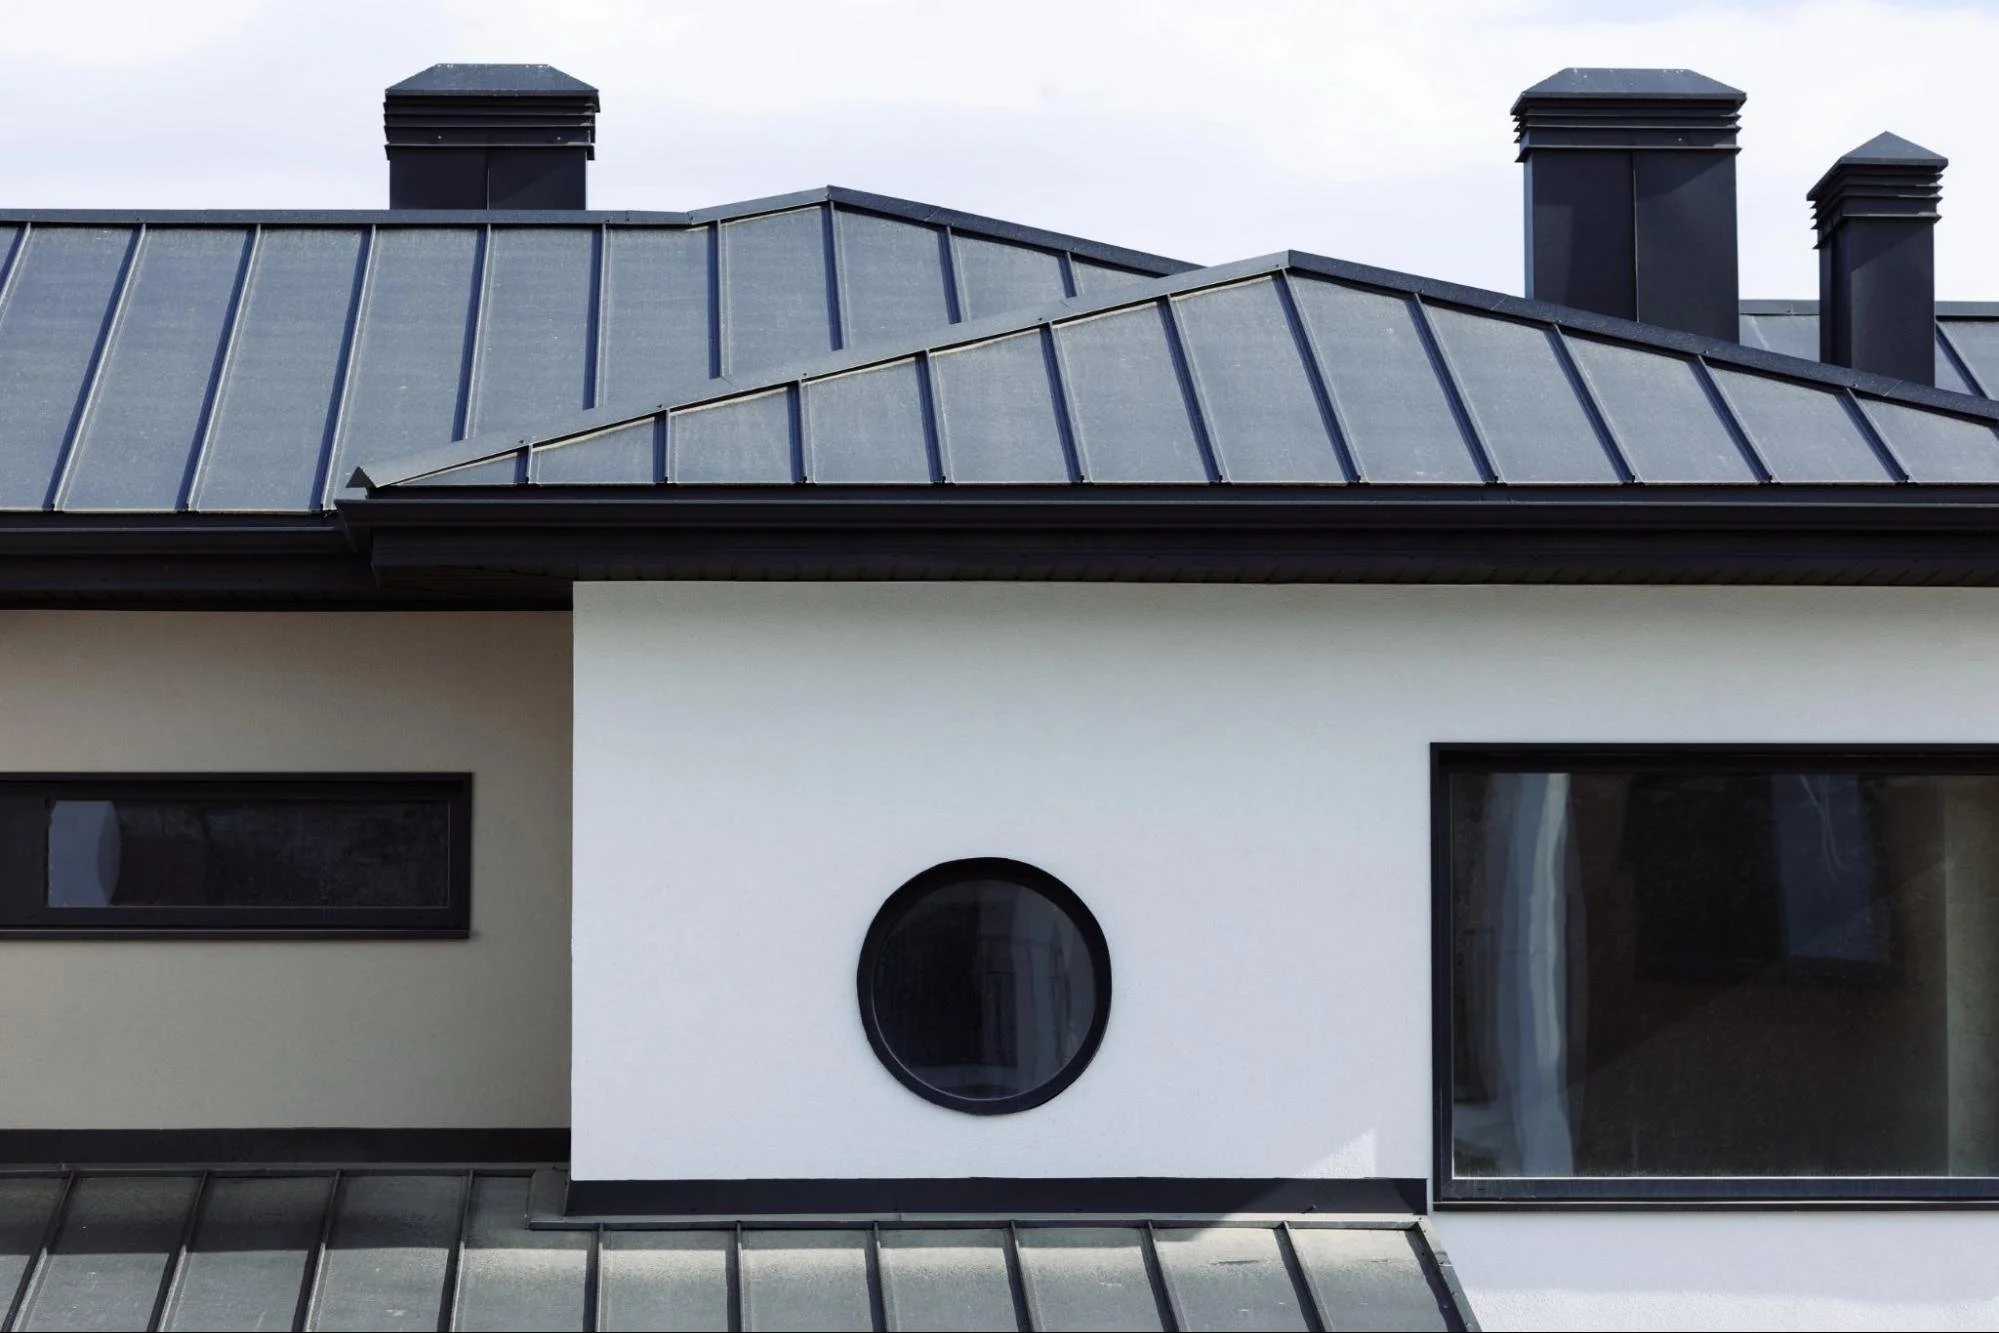
Metal roofing spans a wide range of products — from standing seam panels to metal shingles — and carries an average lifespan of 40 to 70 years. It performs well in high-wind environments and sheds snow and ice more readily than asphalt, which makes it an appealing option in regions with significant winter weather. The trade-off is a higher initial cost and the need for contractors experienced in metal installation.
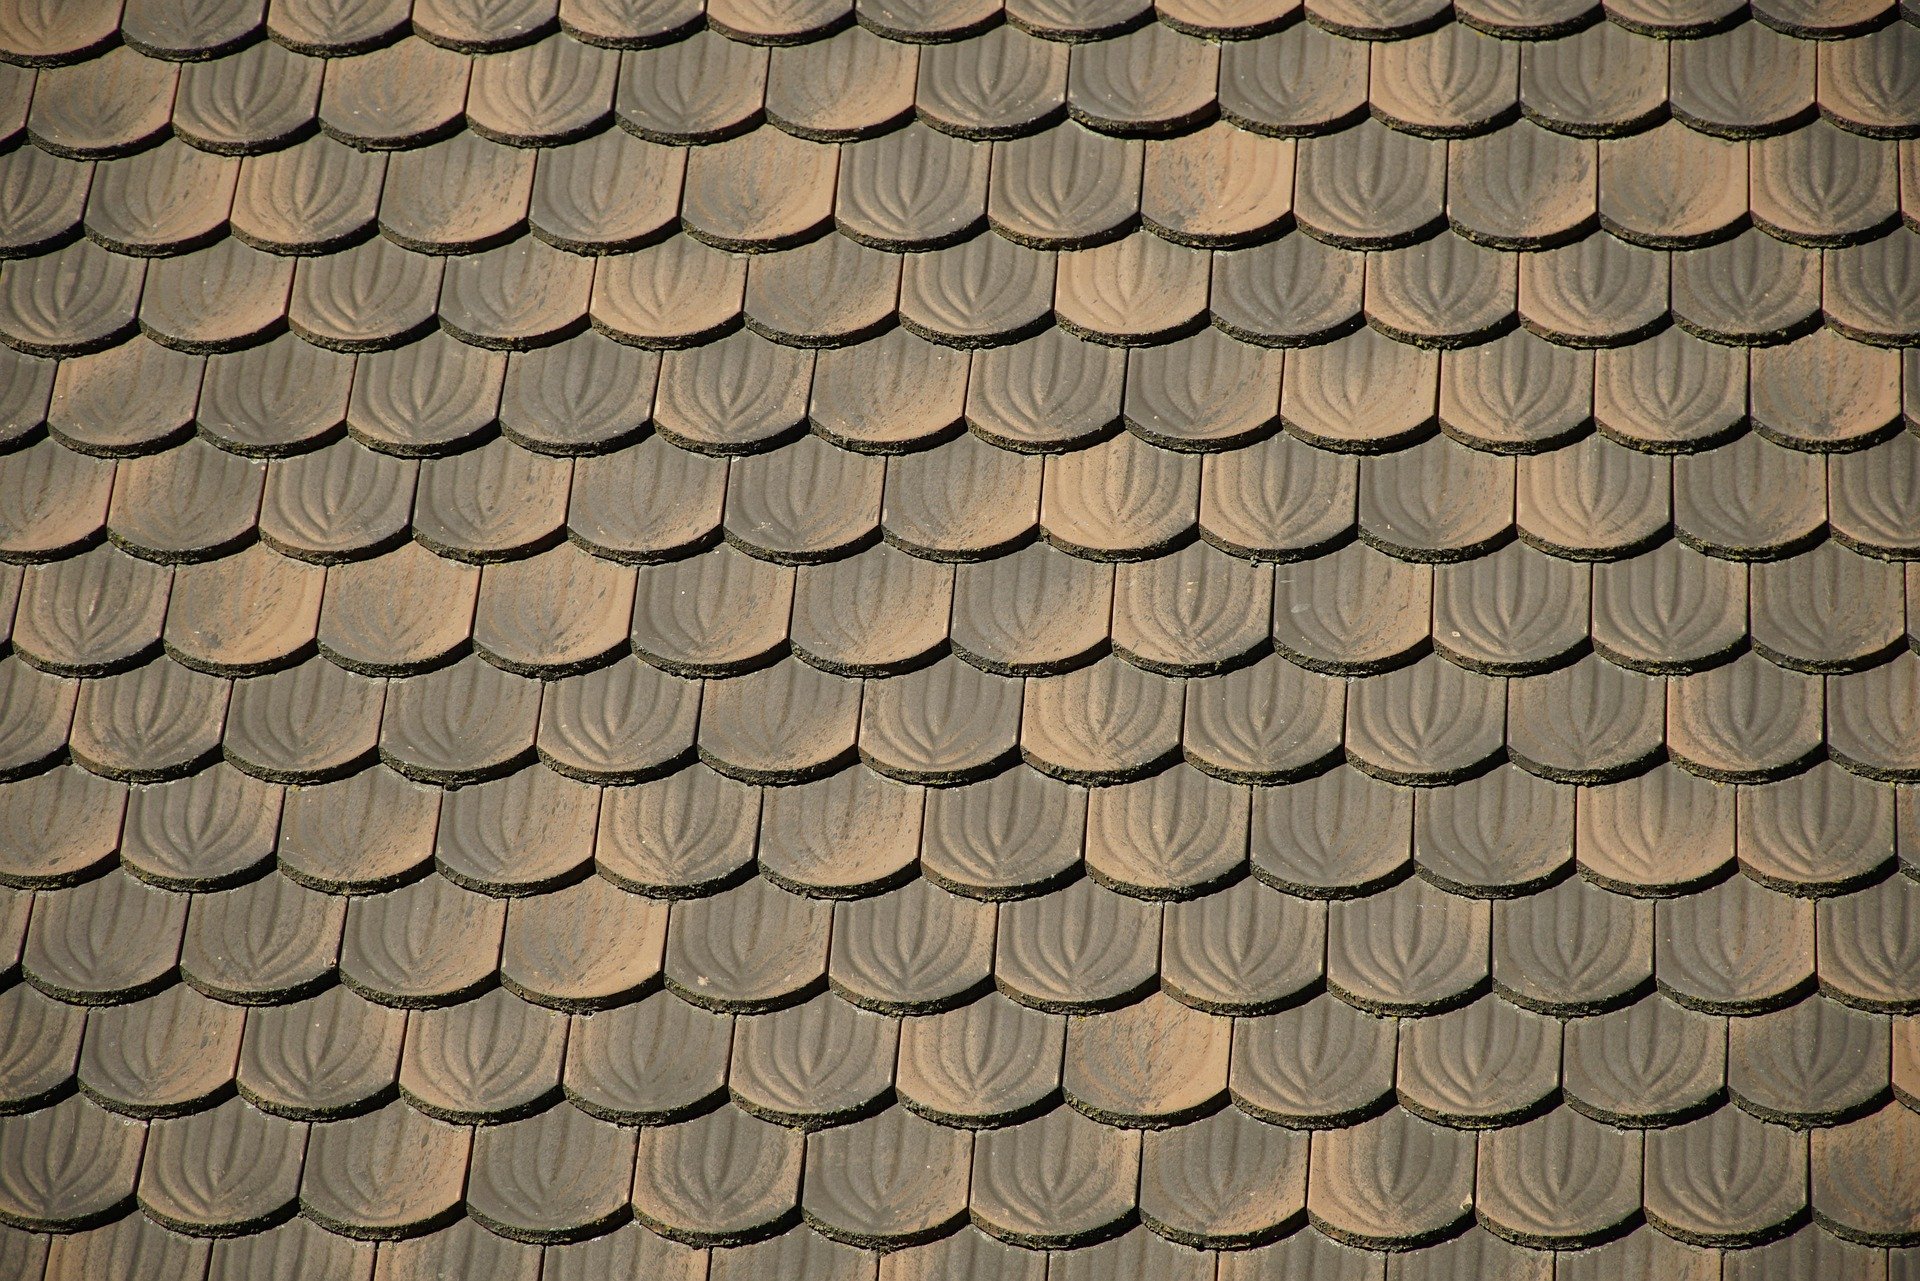
Clay and concrete tile can last 50 to 100 years, but they're heavier than other materials and require structural assessment to confirm the home can support the added load. They also perform differently in freeze-thaw cycles — a relevant consideration for homeowners in colder climates, where repeated freezing and thawing can cause cracking in materials not designed for that stress.
Slate is among the most durable roofing materials available, with lifespans that can exceed a century when properly maintained. It's also among the most expensive and requires specialized installation expertise. For historic homes where preserving architectural character matters, slate can be an appropriate choice — but it demands careful contractor selection.
What the Roof Replacement Process Actually Looks Like
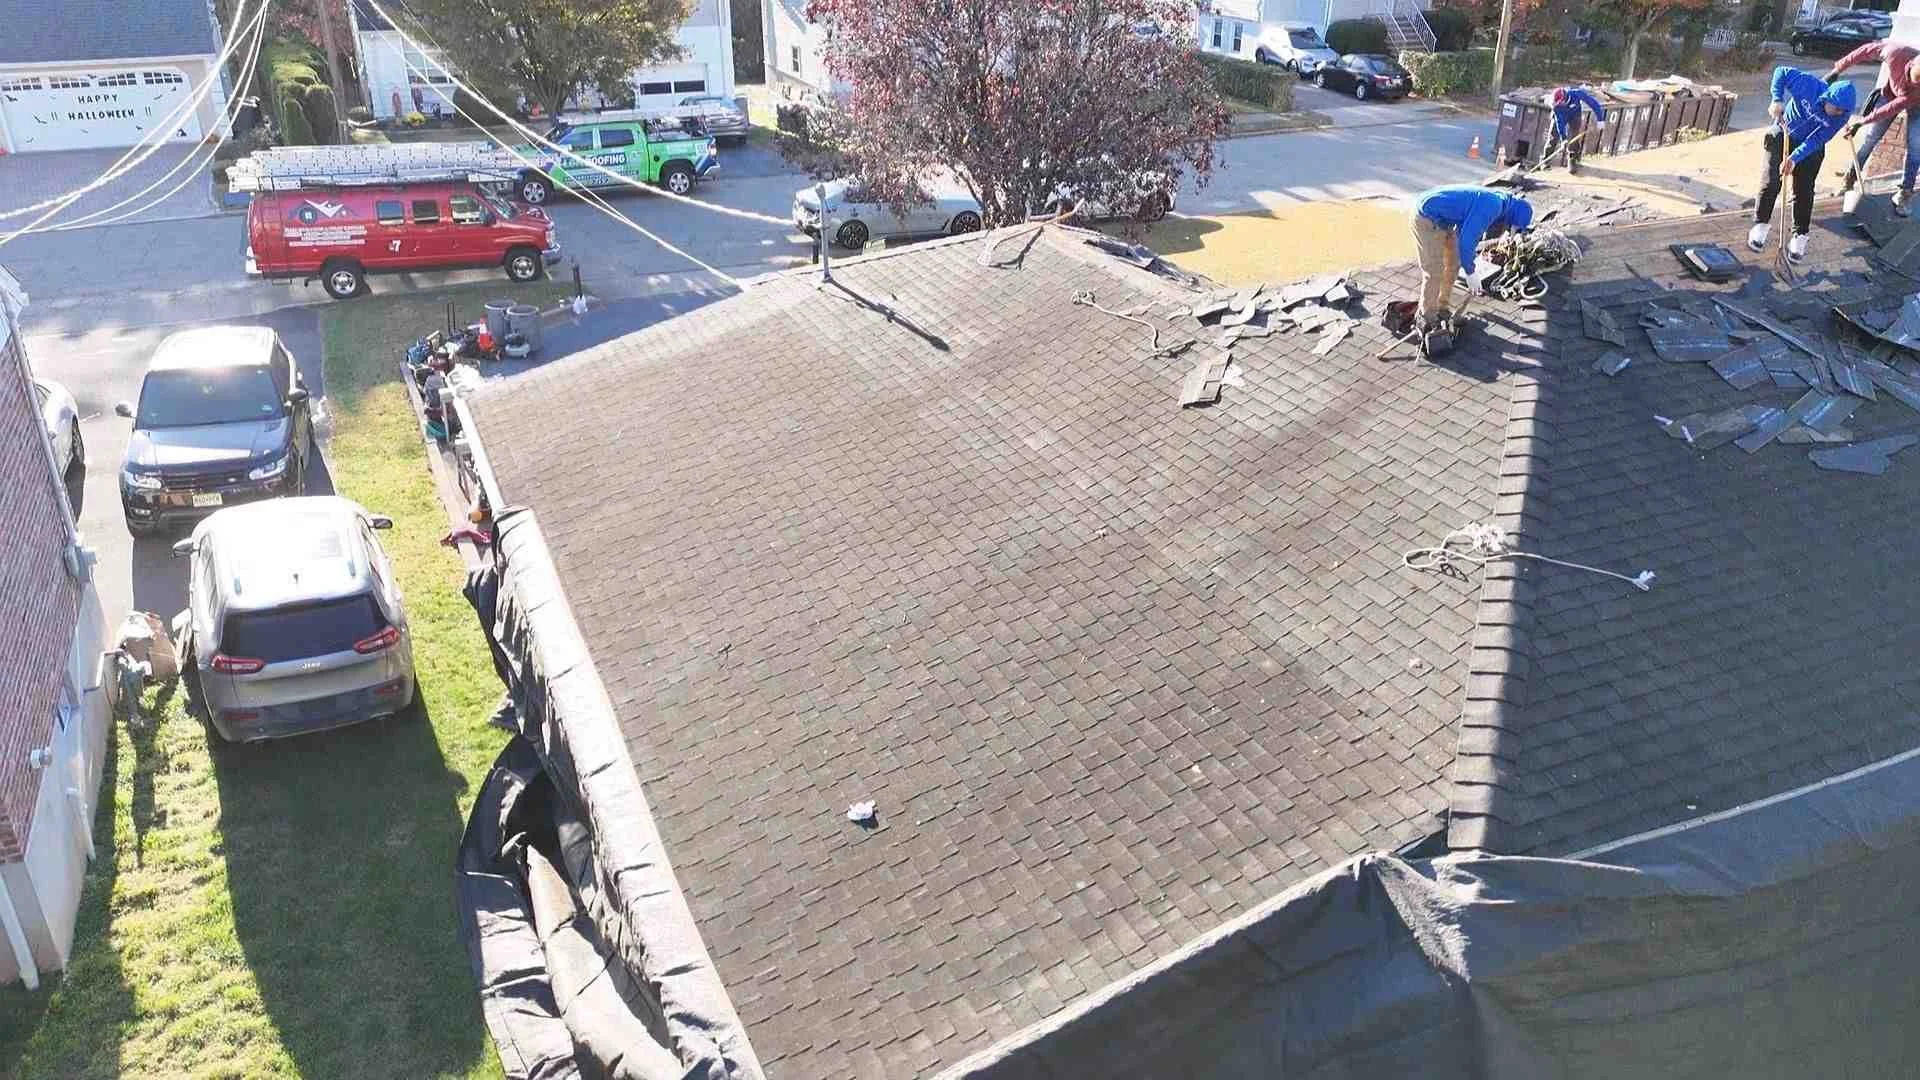
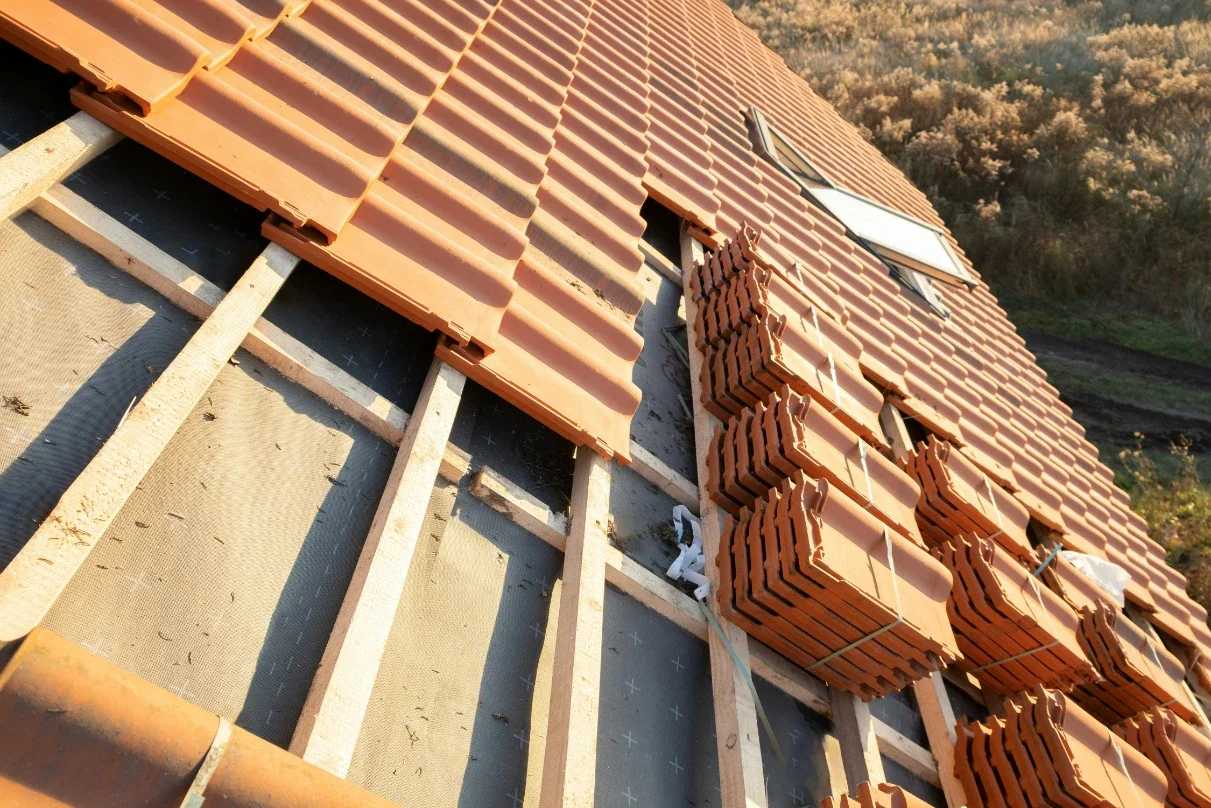
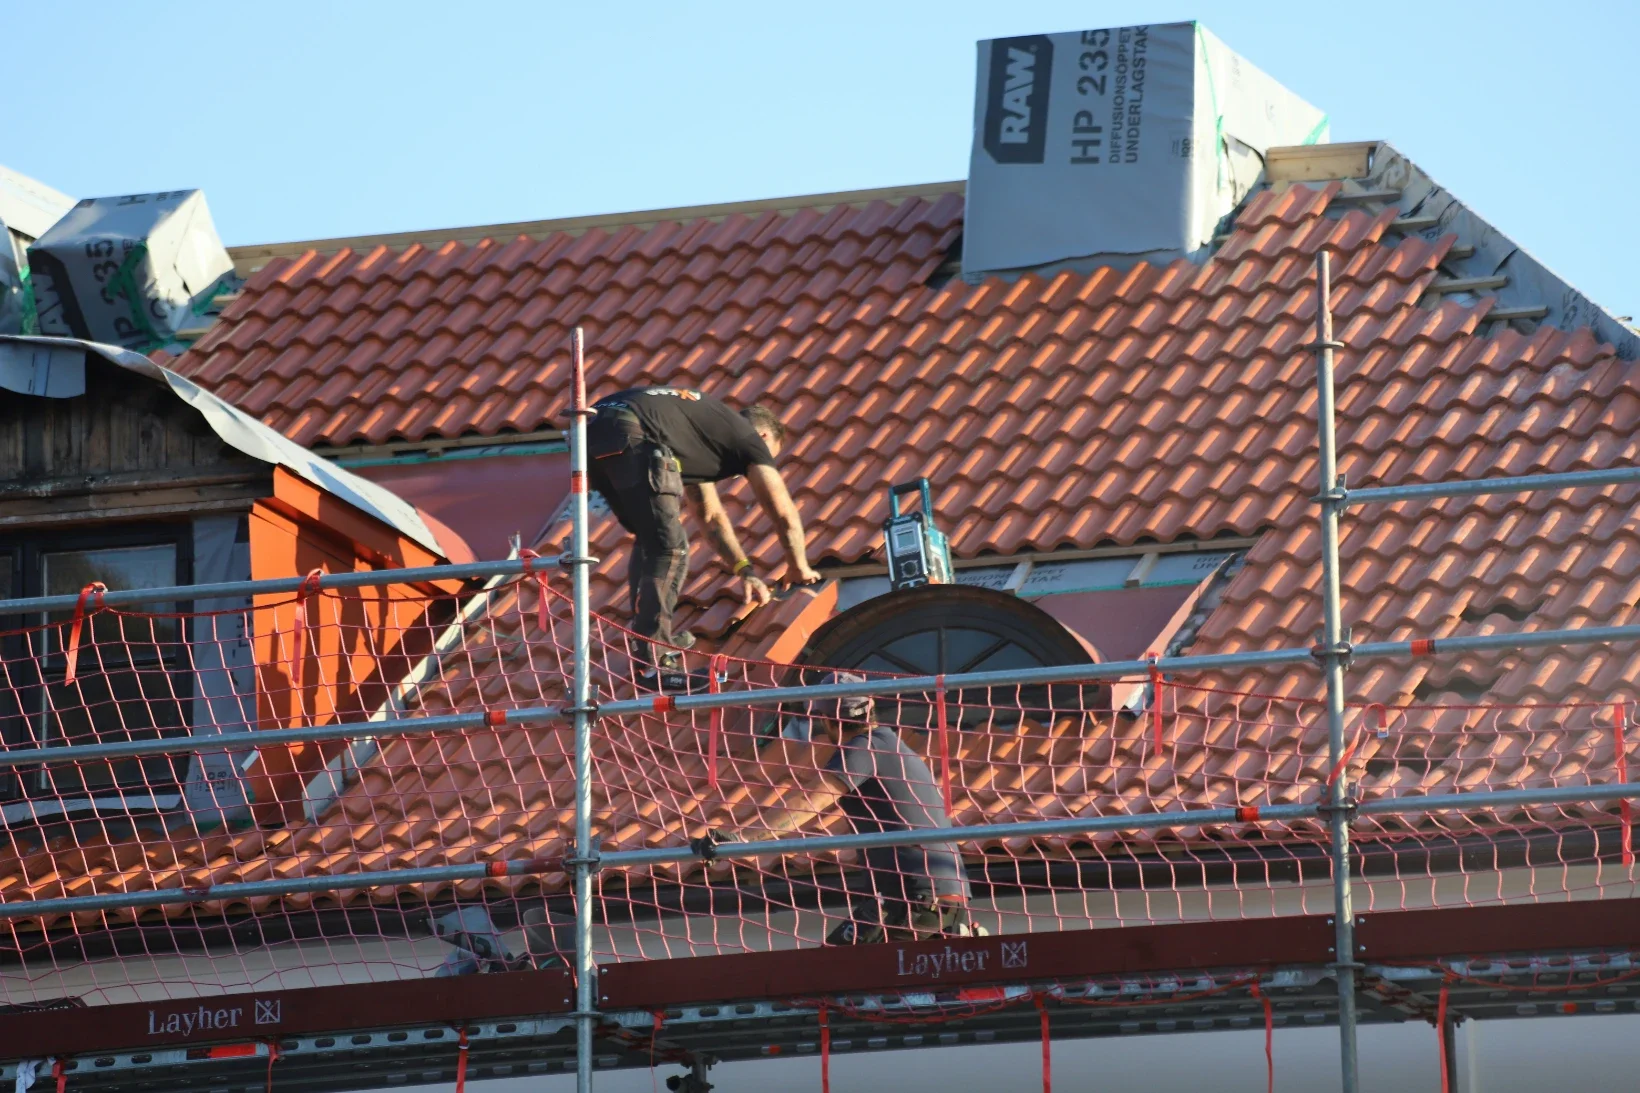
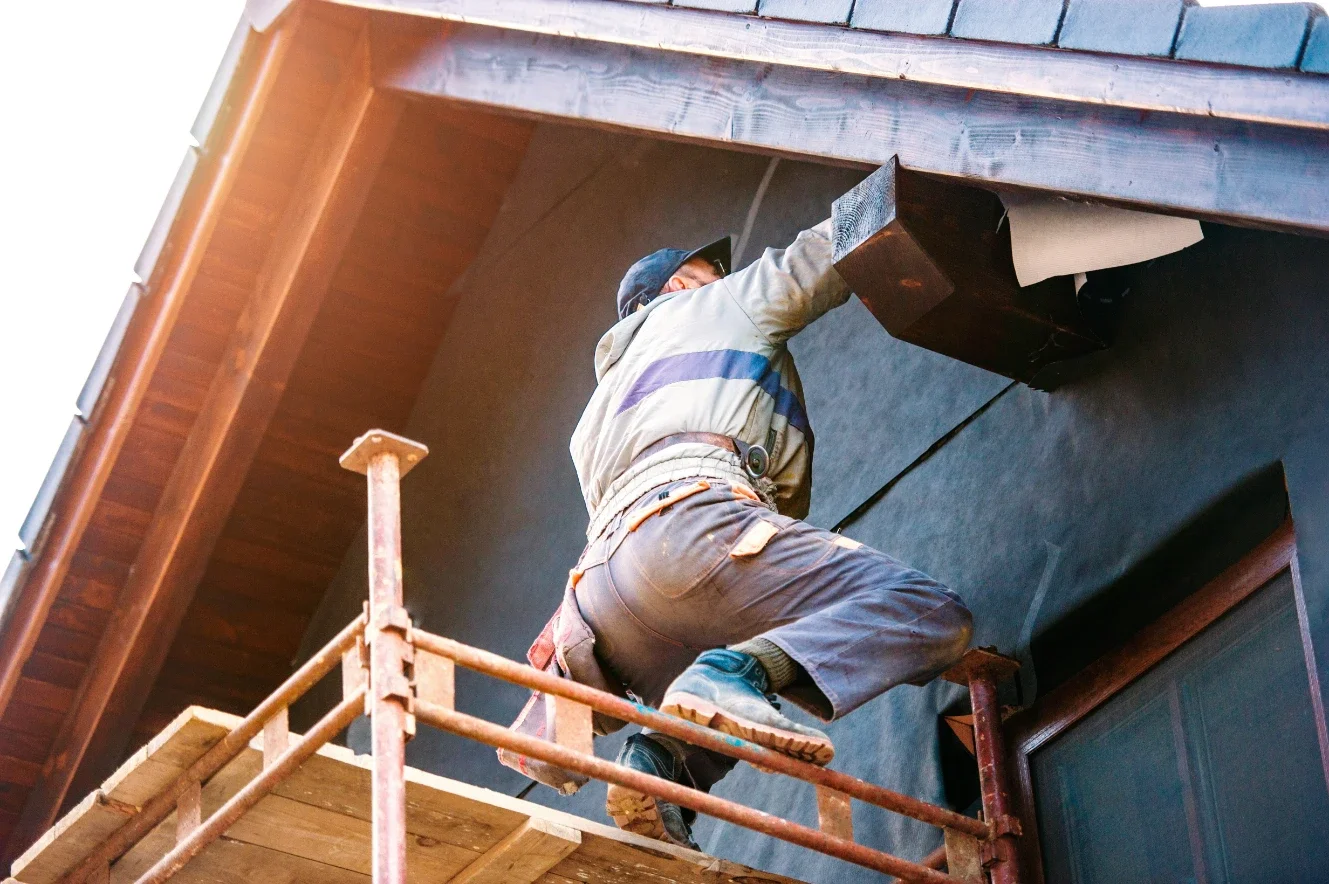
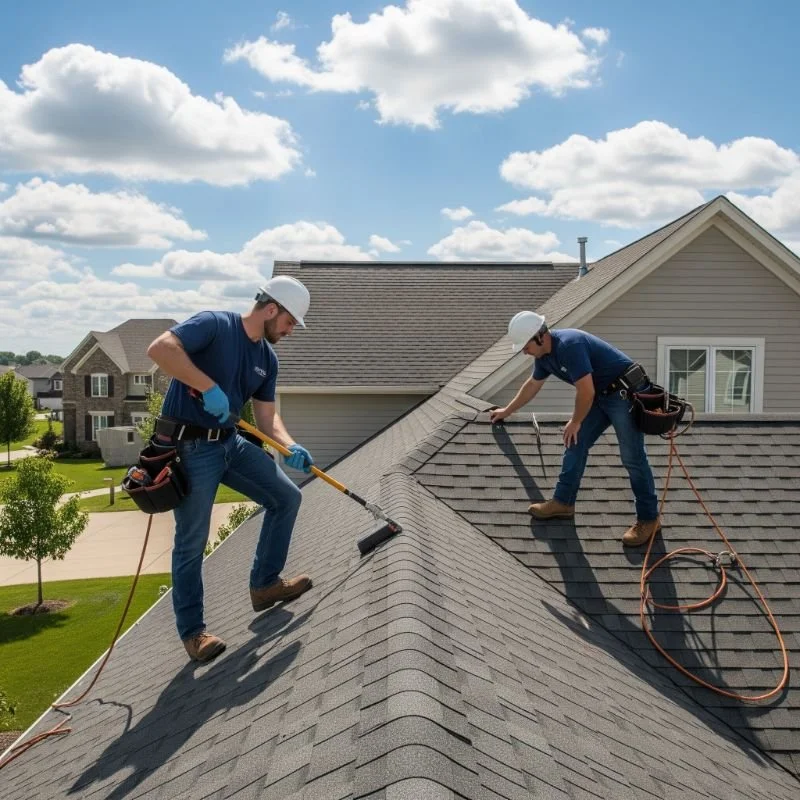
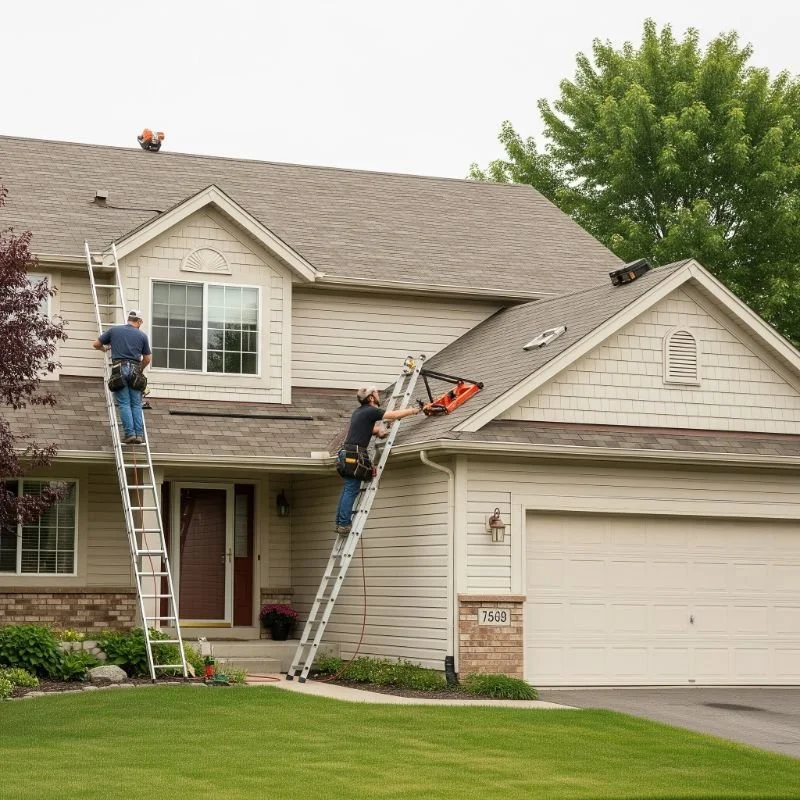
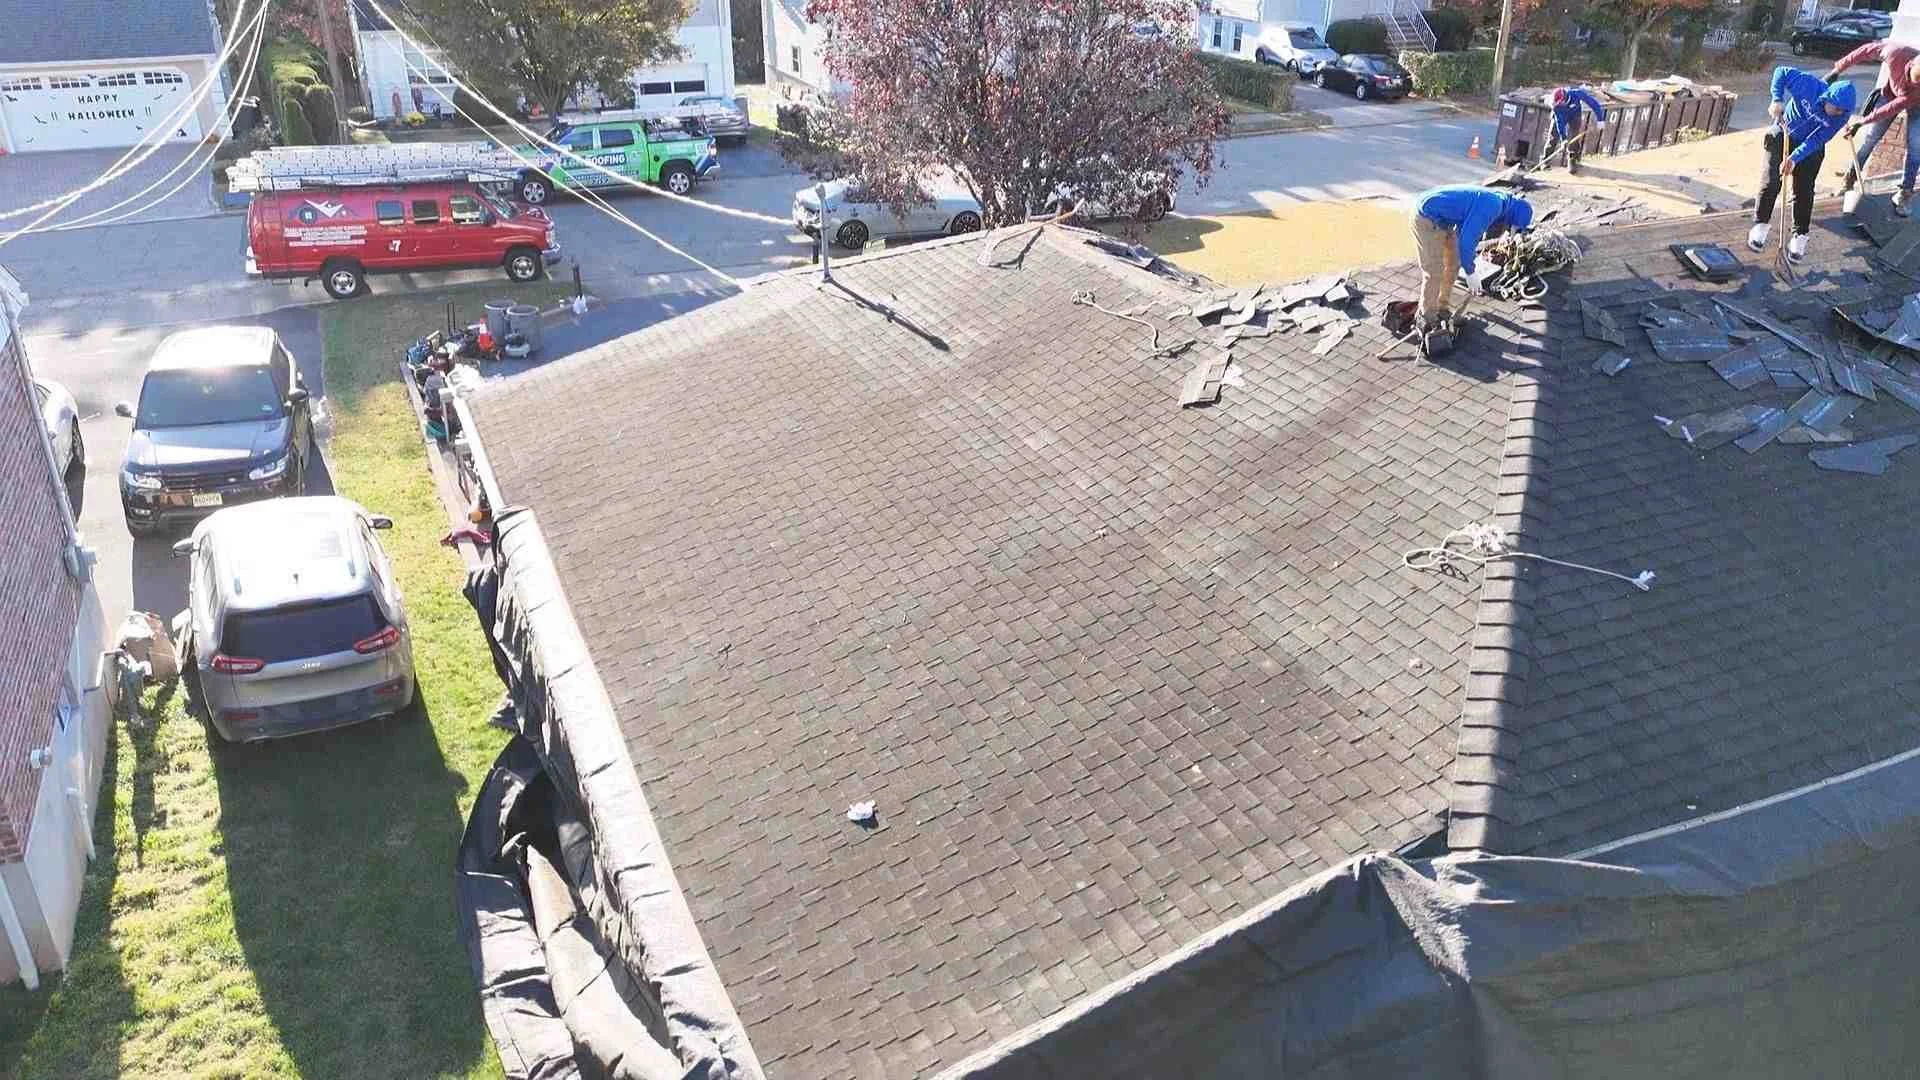
Understanding the sequence of a roof replacement helps homeowners know what's happening at each stage and what questions to ask. A full replacement isn't simply a matter of laying new shingles over old ones. It begins with a complete tear-off — removing all existing shingles, underlayment, and flashing down to the deck. Once the deck is exposed, the crew inspects it for rot, soft spots, or structural damage that wasn't visible before. Any compromised decking is replaced before new materials go on.
From there, the installation sequence typically follows this order: a waterproof underlayment is applied to the deck, followed by ice and water shield in vulnerable areas, then drip edge along the eaves and rakes, then the primary roofing material, and finally ridge vents and any other ventilation components. Flashing is installed or replaced around all penetrations — chimneys, vents, skylights, and valleys.
Planning a Residential Roof Replacement Around NJ Climate Requirements
For homeowners in New Jersey and similar cold-weather markets, climate-specific requirements add layers to the planning process that don't apply in milder regions. New Jersey falls within Climate Zone 5A, which carries specific code requirements for ice and water shield installation — including a minimum 24-inch extension past the exterior wall at the eaves. This is the primary defense against ice dam damage, where meltwater backs up under shingles and seeps into the home's interior.
Ice dams form when heat escaping from a poorly insulated or inadequately ventilated attic melts the snowpack on the roof. That water runs down to the colder eaves, refreezes, and creates a solid ridge that traps subsequent meltwater. The resulting freeze-thaw cycle physically degrades building materials and forces water into wall cavities and insulation.
Preventing ice dams requires more than just the right underlayment. Proper attic ventilation — specifically a balanced system of intake vents at the soffits and exhaust vents at the ridge — is what keeps the roof deck temperature consistent and interrupts the melt-refreeze cycle. Many older homes, particularly those built before modern building science understood this dynamic, lack adequate intake ventilation even when ridge vents are present. Correcting this during a replacement project is far less disruptive and expensive than addressing it separately.
Nor'easters add another dimension to the planning conversation. High-velocity wind events test the adhesive seals on shingles and the fastening patterns used during installation. Proper fastening technique and wind-rated materials are worth discussing with your contractor before work begins.
For homeowners navigating these specific regional requirements, working with a contractor who understands North Jersey's climate profile and local code environment makes a meaningful difference. Resources like those offered by LGM Roofing — a GAF Master Elite contractor serving North and Central New Jersey since 2006 — are built around exactly these conditions, from ice and water shield placement to attic ventilation upgrades on pre-1980s homes.
Timeline and Disruption: What to Expect Day to Day
For most standard residential roofs, a full replacement takes between one and three days to complete. That window expands with roof complexity — steep pitches, multiple dormers, or intricate hip-and-valley configurations all add time. Material type also plays a role; asphalt shingle installations move faster than metal or tile, which require more precision and specialized handling.
The process is noisy. Hammering, nail guns, and the movement of heavy materials across the roof generate vibrations that travel through the entire home. Fragile items — framed photos, mirrors, decorative pieces — should come down from walls before work begins, particularly on upper floors where the vibration is strongest.
If you have pets, plan for them to be somewhere quiet and contained during work hours. The noise level and the presence of unfamiliar workers can be stressful for animals, and an open job site presents real safety hazards. It's also worth giving your immediate neighbors a heads-up before the project starts — a brief conversation goes a long way toward maintaining goodwill when a dumpster appears in your driveway at 7 a.m.
If your property is governed by an HOA, check whether you need to notify the board or receive approval before work begins. Some associations have specific requirements around contractor scheduling, material color choices, or waste disposal.
How to Budget and Prepare Your Home Before Work Begins
Budgeting for a roof replacement requires accounting for more than just the base cost of materials and labor. Permit fees, disposal of old roofing materials, and the potential for hidden structural damage all affect the final number. A widely used guideline is to set aside an additional 10 to 15 percent of your expected project cost as a contingency buffer. This isn't pessimism — it's practical planning. Once old shingles are removed, decking issues that weren't visible during the initial inspection sometimes emerge, and addressing them mid-project is both necessary and unavoidable.
Before committing to a project, review your homeowner's insurance policy. Damage caused by wind, hail, or falling trees may be covered, which can significantly offset the cost. Wear-and-tear replacements generally are not covered, as insurers treat normal aging as an expected and inevitable outcome. If your roof sustained storm damage, document it thoroughly and contact your insurer before any work begins.
Getting the Most Out of Your Contractor Estimate
A well-structured estimate is one of the most useful tools in the planning process. When reviewing quotes, look for clear separation between materials and labor costs, explicit confirmation that tear-off and disposal are included, and a written description of the scope of work. Vague estimates that bundle everything into a single number make it difficult to understand what you're actually paying for or to compare quotes meaningfully.
Warranty terms deserve close attention. There are two distinct types: the manufacturer's warranty on the materials themselves, and the contractor's workmanship warranty covering the installation. These are not interchangeable. A manufacturer's warranty only covers material defects — if the installation is faulty, that warranty won't help you. A separate workmanship warranty from the contractor is what protects you against installation errors.
Contractor certification matters here in a practical way. GAF's Master Elite designation, for example, is held by roughly 2% of roofing contractors nationwide. It requires ongoing compliance with insurance, licensing, and customer service standards, and it's the only pathway to offering GAF's highest-tier warranty coverage — including the Golden Pledge warranty — which covers both materials and workmanship. Homeowners working with a non-certified contractor simply cannot access that level of warranty protection, regardless of what products are used.
Getting at least three itemized quotes gives you a realistic picture of local pricing and helps you identify anything that looks out of place — whether that's an unusually low bid that may signal cut corners, or a scope that's missing items other contractors have included.
Preparing Your Property for Installation Day
A few practical steps before the crew arrives make the project run more smoothly and protect your property in the process.
Clear the driveway and the perimeter of your home. Roofing crews need access around the entire structure, and dumpsters or material deliveries need space to park. Move vehicles, bikes, grills, and any patio furniture well out of the work zone. Cover landscaping, flower beds, and shrubs near the foundation with tarps — falling debris and nails are an inevitable part of the process, and protecting plantings saves cleanup time later.
Inside the home, take down anything hanging on walls — particularly on upper floors and in the attic. Remove or cover items stored in the attic itself. Once work is complete, do a thorough walkthrough with your contractor before they leave. Confirm that the site has been swept for nails, that gutters and the driveway have been cleared of debris, and that the finished work matches what was outlined in the written scope. Wait until you're confident all vibration and work has ended before returning fragile items to their original places.
Frequently Asked Questions About Planning a Residential Roof Replacement
How do I know if my roof needs a full replacement or just a repair?
Age is one of the most reliable indicators. Asphalt shingles typically have a functional lifespan of 20 to 25 years depending on climate and maintenance. If your roof is approaching or past that range, replacement planning is worth starting even if damage isn't yet widespread. When damage is present, the extent matters as much as the severity — isolated issues in one area of an otherwise sound roof may be repairable, while the same damage appearing across multiple sections suggests system-wide deterioration. A professional inspection is the most reliable way to assess what's happening beneath the surface, particularly when it comes to decking condition and hidden moisture damage that ground-level observation won't reveal.
How long does a residential roof replacement typically take?
Most standard residential replacements are completed within one to three days. The variables that extend that window include roof size, pitch steepness, the number of dormers or valleys, and the material being installed. Asphalt shingle projects on straightforward rooflines move faster than metal or tile installations on complex architectural forms. Weather is another factor — most contractors schedule around dry windows, and a mid-project rain event can pause work temporarily. When you're scheduling, build in some flexibility around the start date rather than locking in a hard deadline.
What should I look for when choosing a roofing contractor?
Start with verifiable credentials. Licensing and insurance are baseline requirements — ask for documentation before signing anything. Beyond that, look for contractors with demonstrated local experience in your specific climate and housing stock. GAF Master Elite certification is one of the more meaningful third-party indicators of contractor quality, given that it requires ongoing compliance with insurance, licensing, and customer service standards and is held by only about 2% of roofing contractors nationally. Ask about workmanship warranty terms specifically — not just what the manufacturer covers, but what the contractor stands behind independently. Photo documentation of work in progress, written estimates with itemized scopes, and clear communication about timeline and cleanup procedures are all signs of a contractor who operates transparently.
Conclusion
Planning a residential roof replacement well before work begins is what separates a smooth project from a stressful one. Knowing how to read the warning signs, understanding how material choices affect long-term performance, and going into contractor conversations with the right questions puts you in control of a process that can otherwise feel overwhelming.
The fundamentals are consistent regardless of where you live: get a professional inspection, understand what your warranty actually covers, budget for the unexpected, and prepare your property before the crew arrives. For homeowners in older housing markets with demanding climate conditions — particularly those dealing with freeze-thaw cycles, ice dam risk, and aging pre-code construction — the planning process carries additional layers worth understanding before a single shingle comes off the roof.
A well-executed replacement, done with the right materials and a contractor who stands behind their work, is an investment that protects your home for decades. Going in informed is the first step toward getting there.
Stay up to date with our latest ideas!