Roof Storm Damage Checklist: Essential Steps for Homeowners
Protect your home with this essential roof storm damage checklist. Learn what to inspect and the steps to take after severe weather hits.

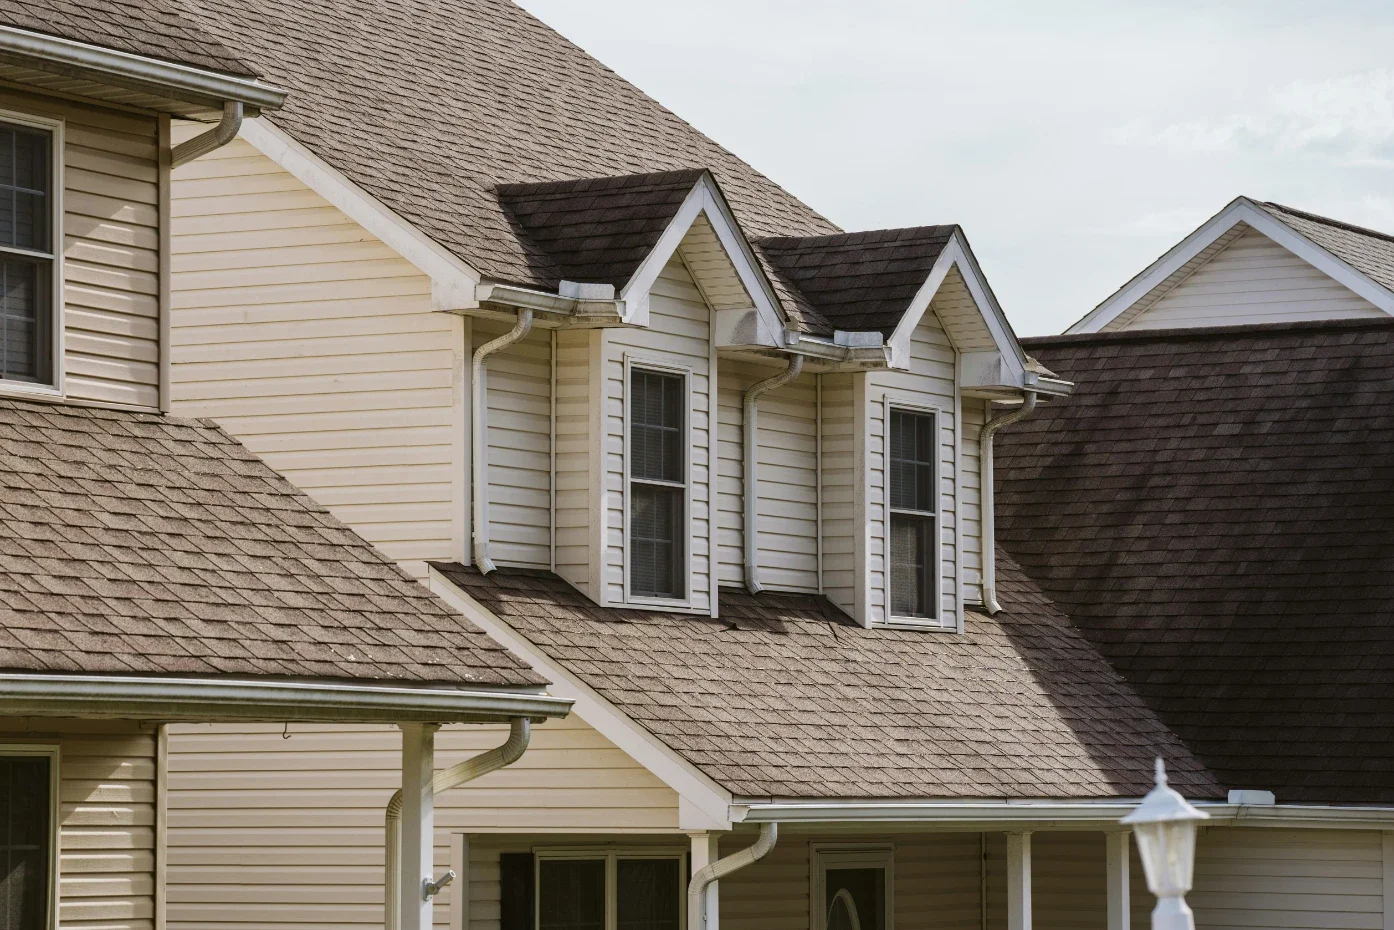
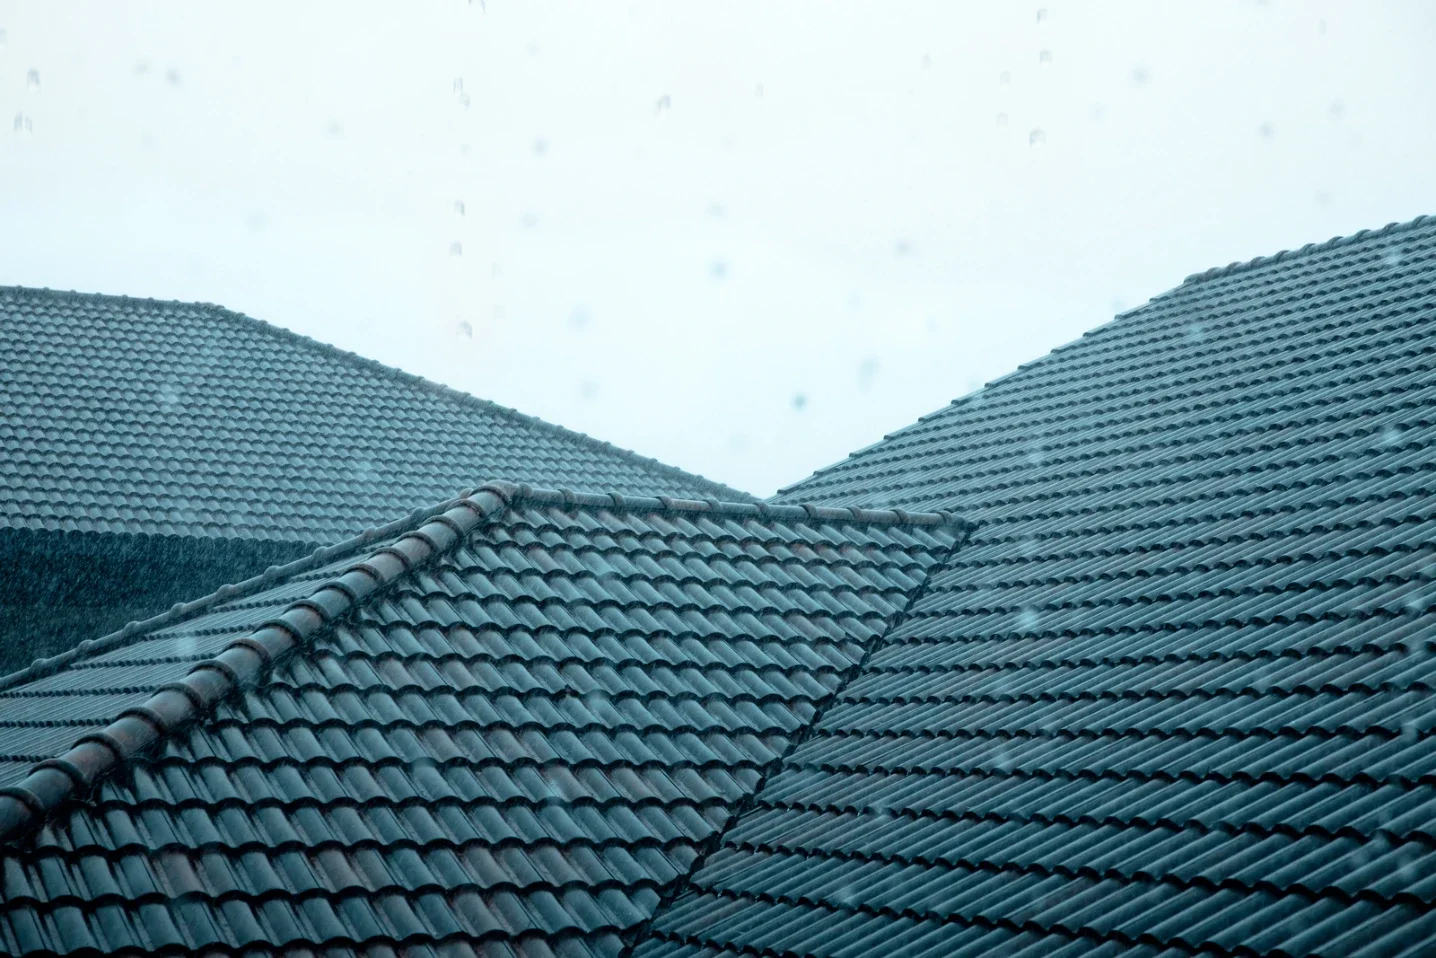
Storms can be incredibly destructive, and the roof of your home is one of the most vulnerable parts of your property.
After a major storm, it’s essential to conduct a thorough roof inspection to assess damage and make timely repairs.
This roof storm damage checklist from Best Exteriors Inc will guide you through the inspection process, helping you identify potential issues, document them for insurance claims, and understand the steps to take toward roof damage repairs and replacement.
Why Roof Storm Damage Inspections Are Essential
After a storm, many homeowners are eager to return to normalcy, but inspecting the roof should be one of the first steps.
Roof damage from storms can lead to leaks, water damage, and structural issues that worsen over time if not addressed promptly. Here’s why a roof storm damage inspection is critical:
Safety First
The aftermath of a storm can leave your roof and other areas of your home vulnerable to further damage. Whether it’s falling debris, broken shingles, or damaged flashings, inspecting your roof early allows you to take preventive action and avoid additional risks.
Insurance Claims
Proper documentation of roof damage from storms is essential for insurance claims. Insurance companies often require detailed evidence of the damage, so a thorough inspection will help you provide the necessary documentation to secure compensation.
Preventing Further Damage
Roof damage from storms, if left unchecked, can lead to leaks, mold growth, and other issues that could cause long-term damage to your home. Early detection and timely repairs will prevent these problems from escalating and help keep repair costs down.
Step-by-Step Roof Storm Damage Inspection Checklist
1. Conduct a Preliminary Ground-Level Inspection
Before climbing up onto your roof, it’s best to begin your inspection from the ground. This initial look will help you identify visible signs of damage:
Missing Shingles: Look for any shingles that are missing or blown off by the wind. Check the area around your home for fallen shingles in the yard or driveway.
Granule Loss: Check your gutters for a buildup of granules, which are small particles that come off asphalt shingles over time. Excessive granule loss is a sign of roof deterioration.
Debris and Tree Damage: Inspect your yard and roof for fallen branches, limbs, or other debris that could have damaged the roof during the storm
This initial look will give you a sense of the potential damage, but it’s important to proceed carefully when inspecting the roof itself.
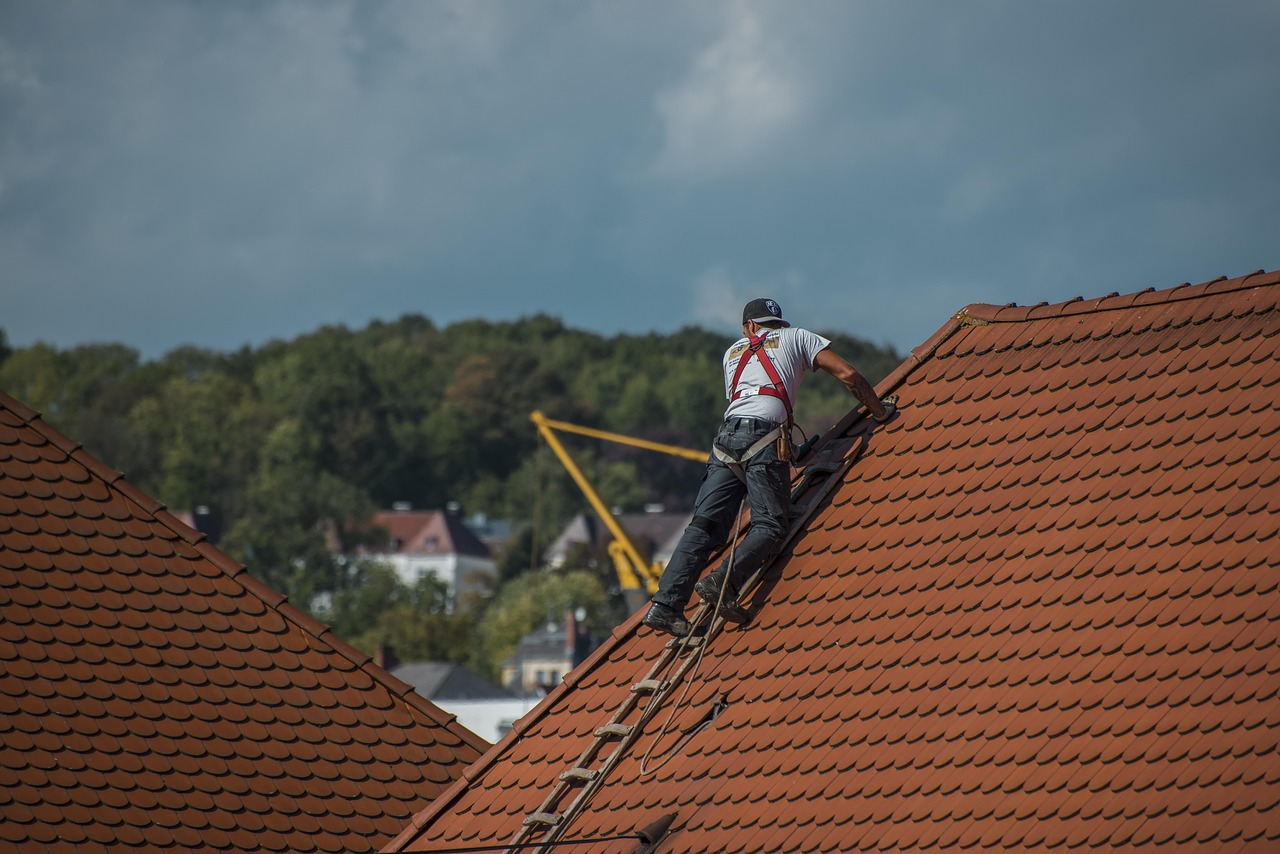
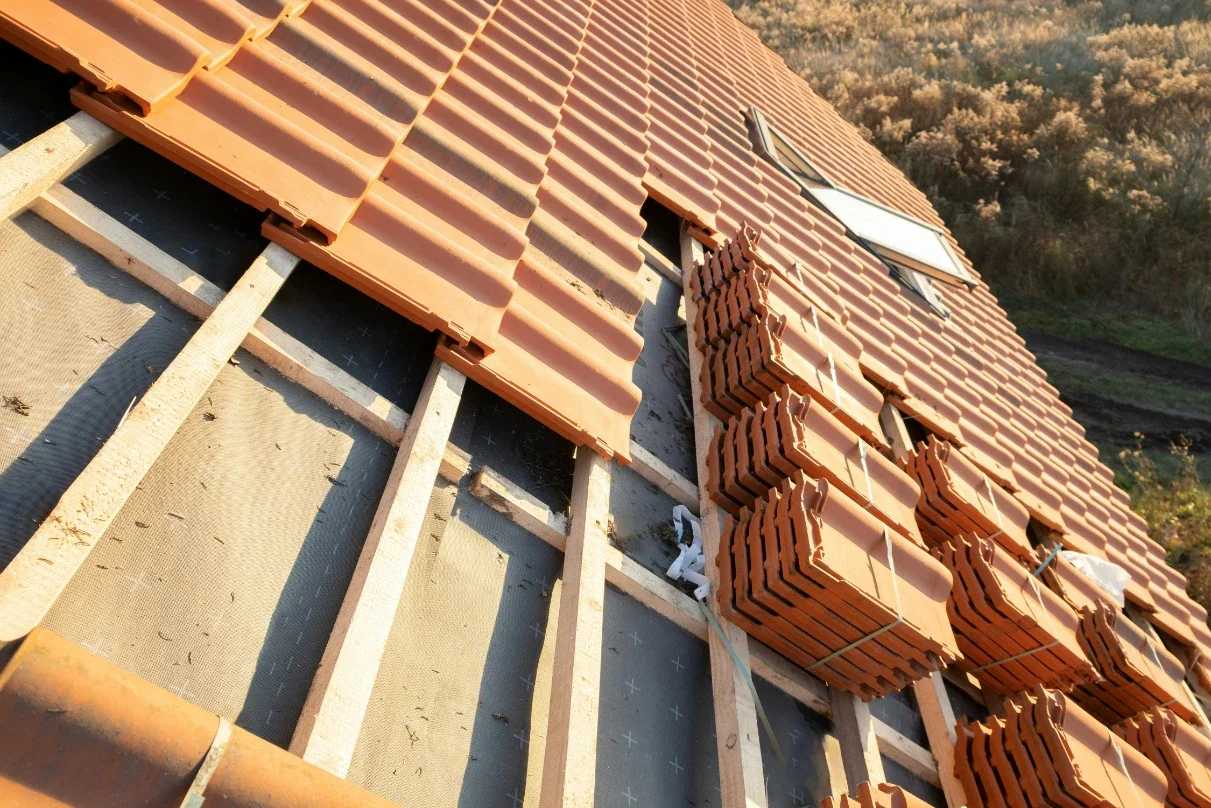
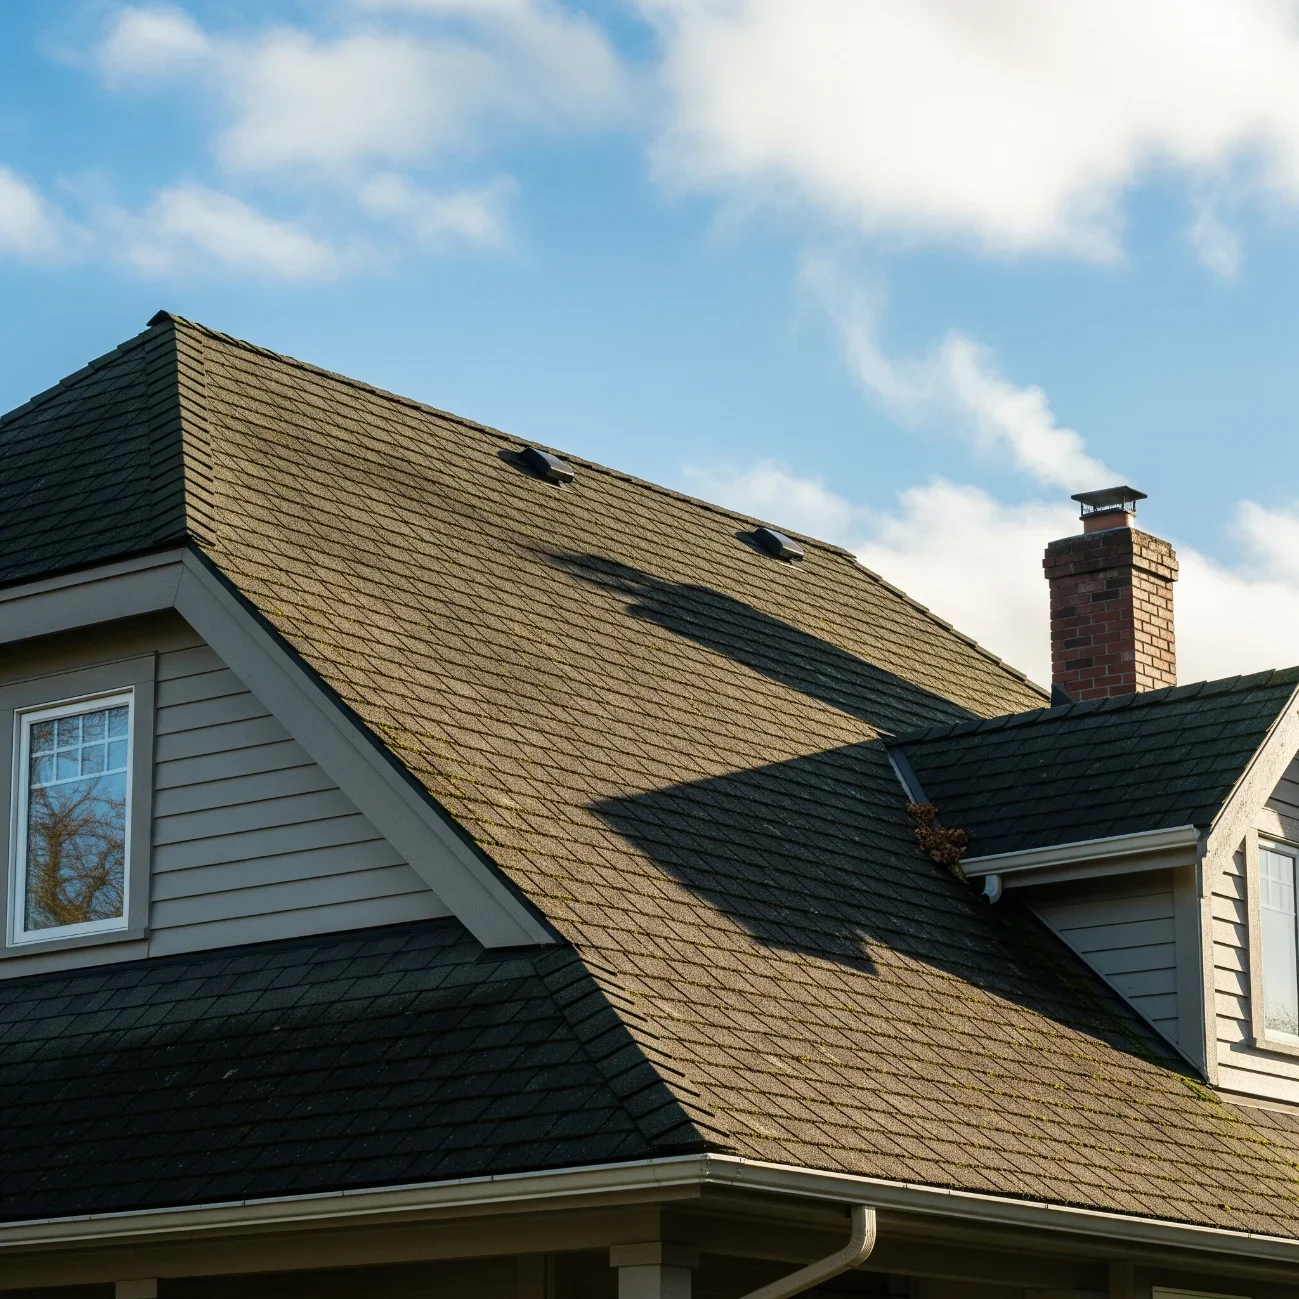
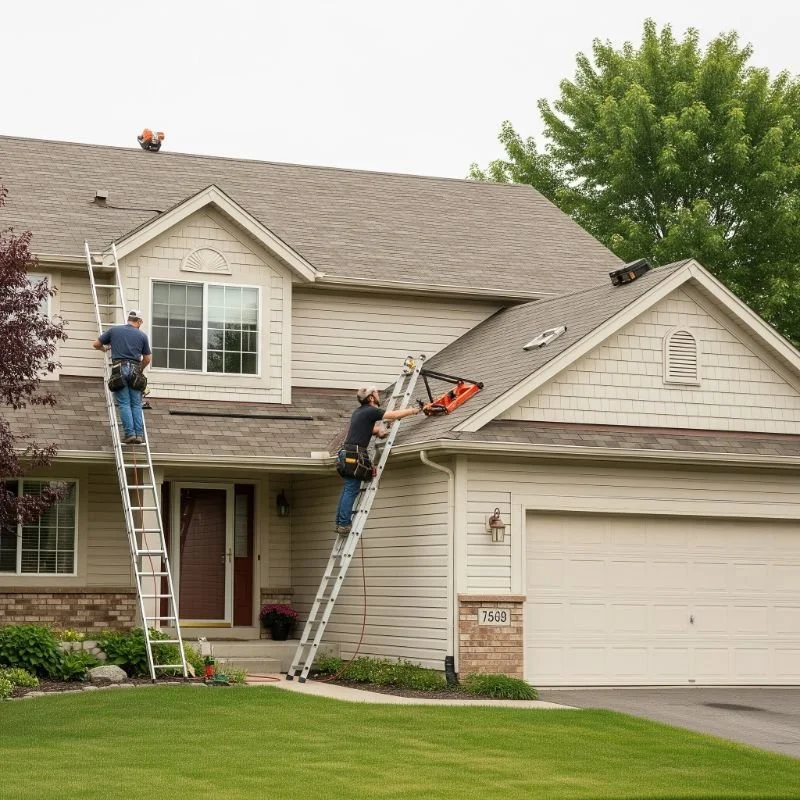
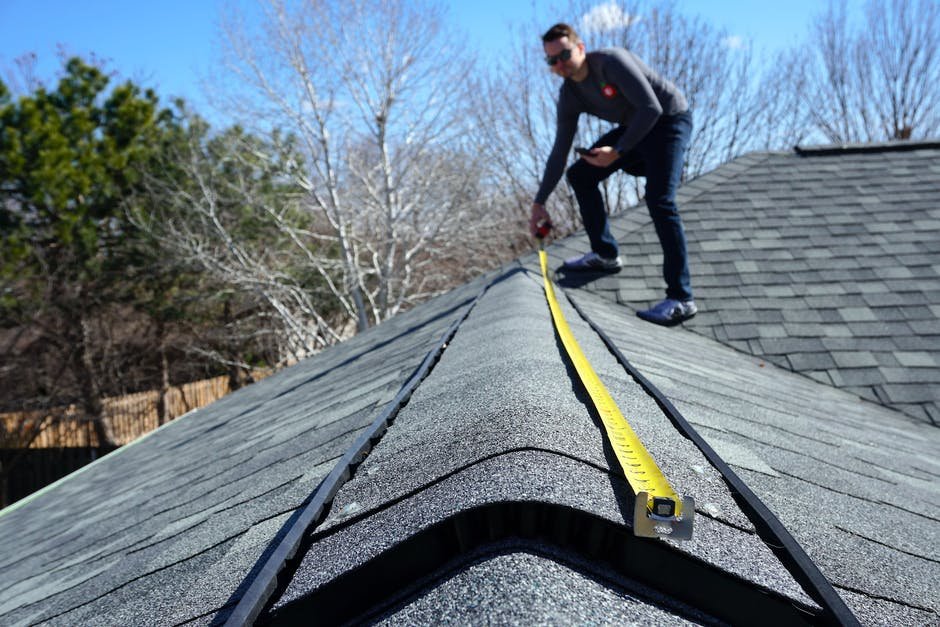
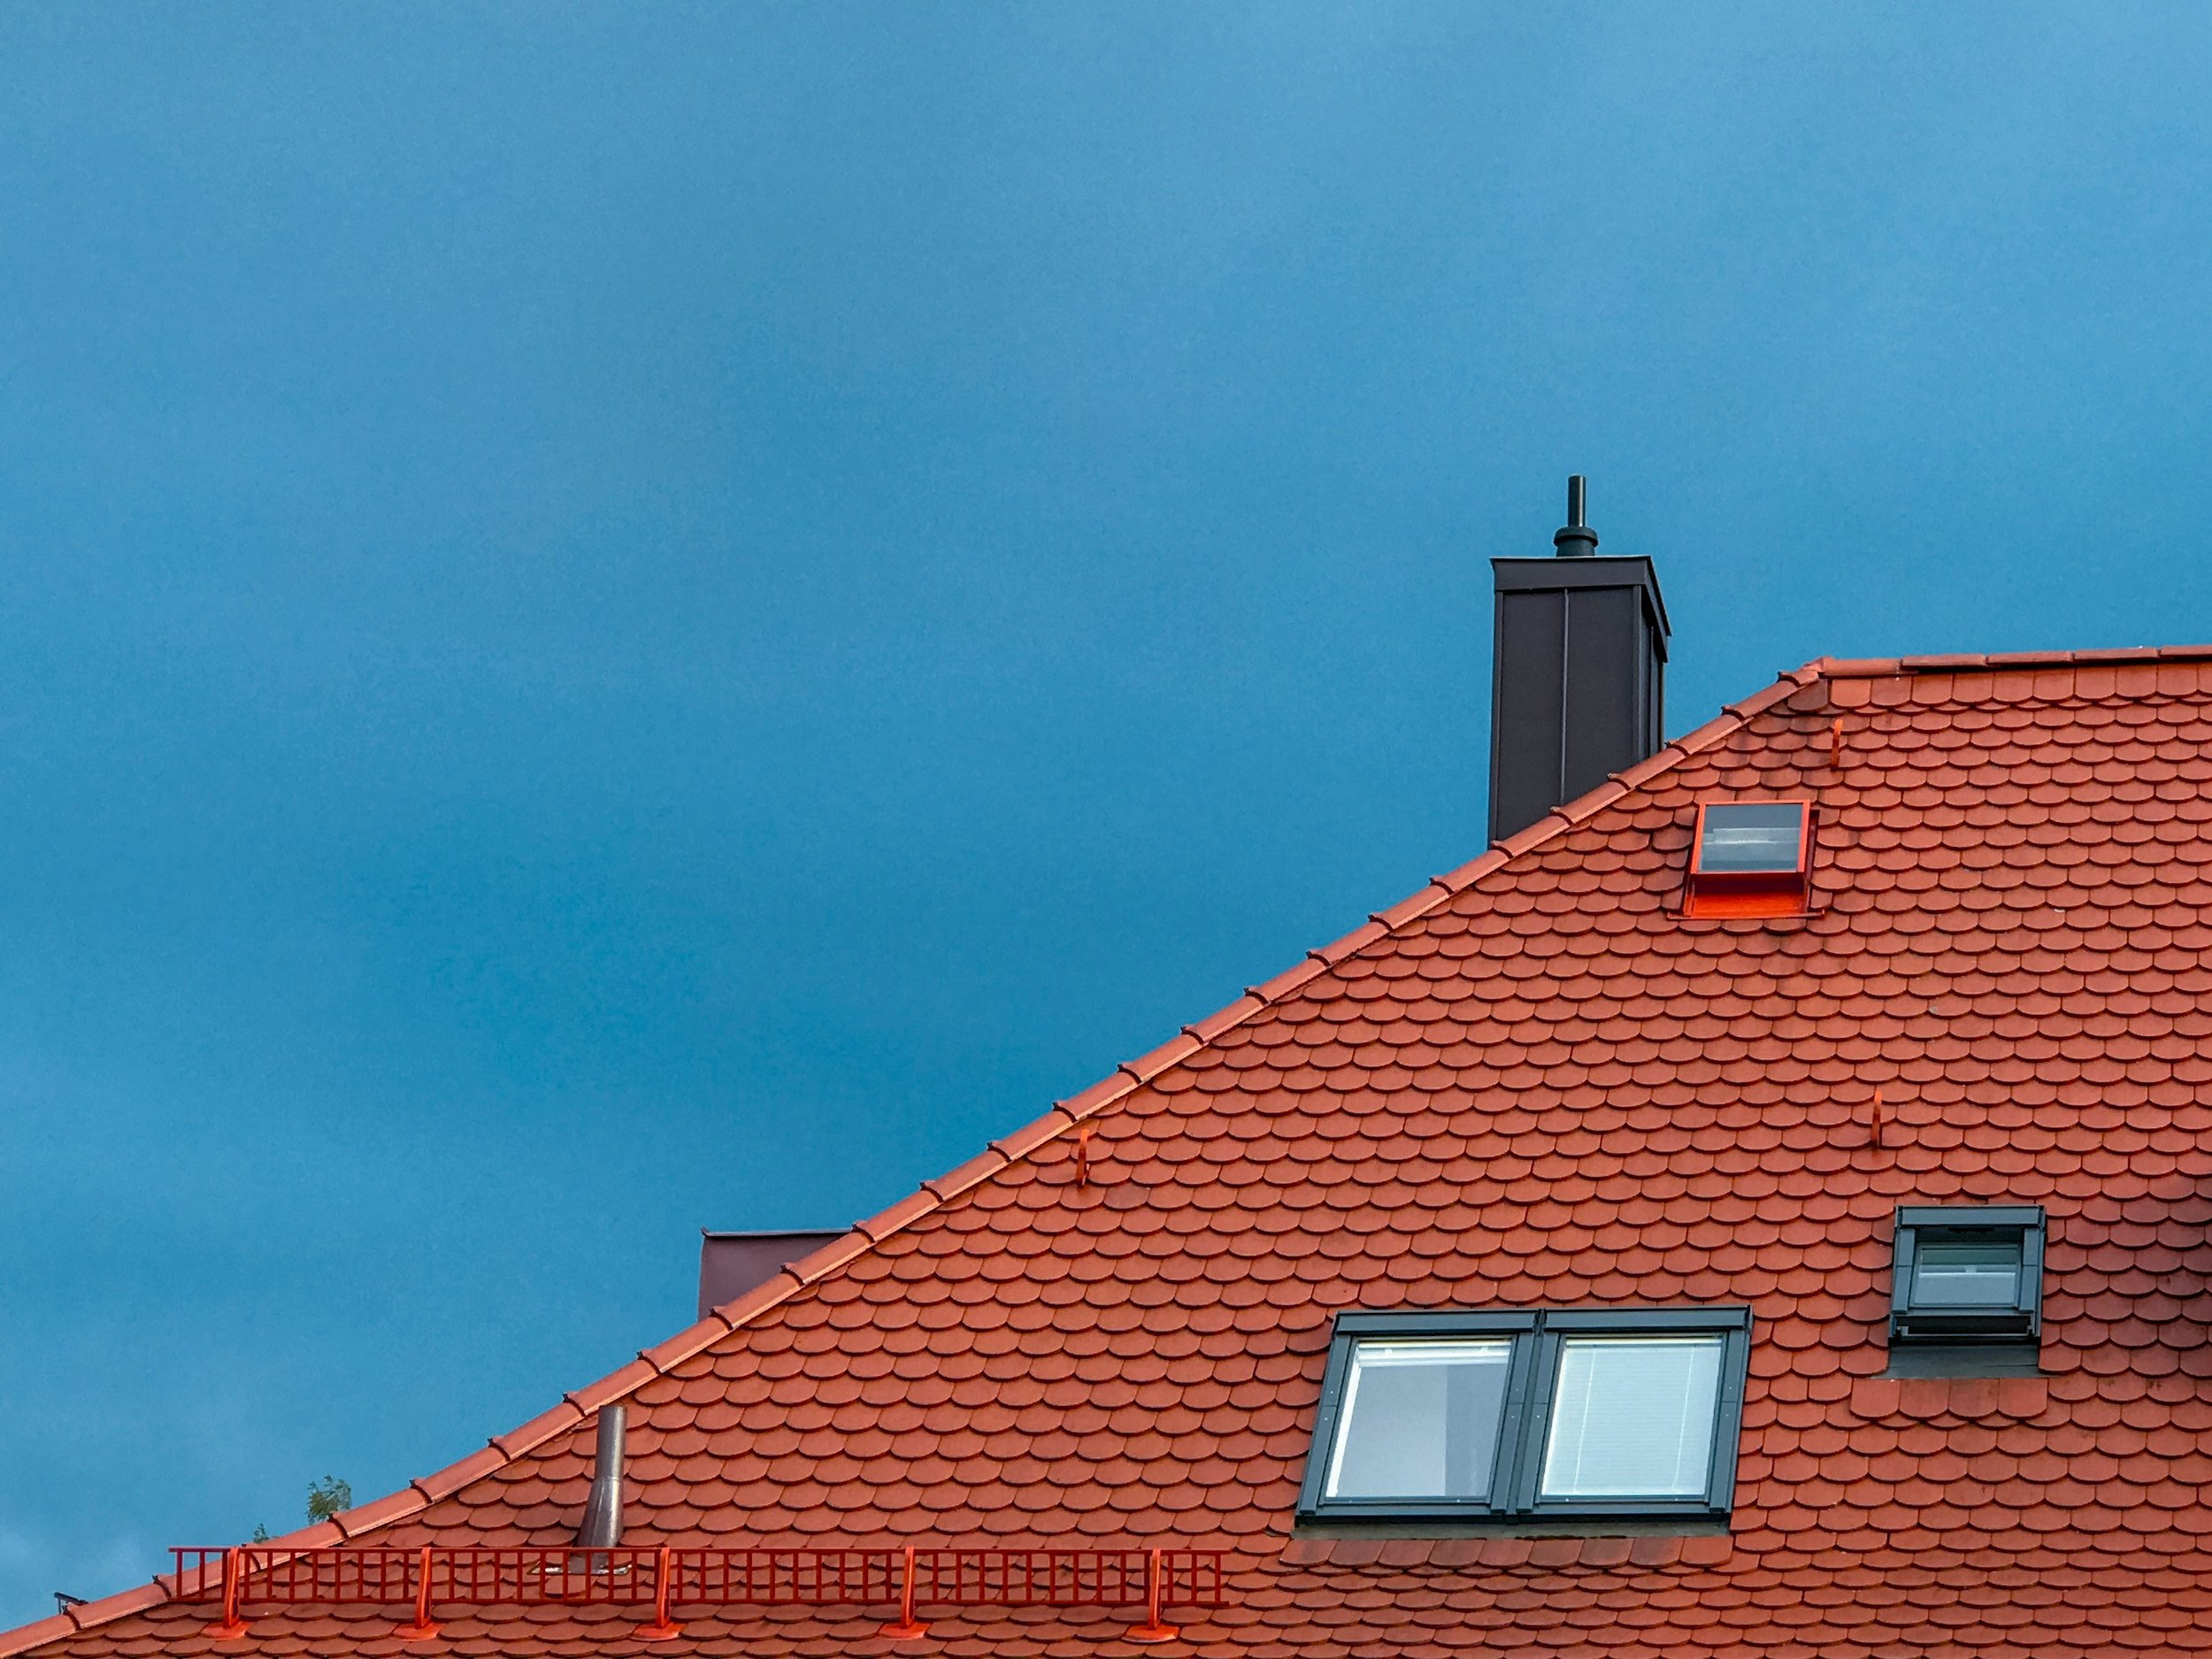
2. Safely Inspect the Roof Up Close
Once you've completed your ground-level inspection, it’s time to take a closer look at your roof. It’s important to use a sturdy ladder and take all necessary safety precautions, especially if the roof has been damaged:
Shingle Condition: Check for missing, cracked, or curled shingles. These are common signs of storm damage that leave your roof vulnerable to leaks.
Flashing and Vent Inspection: Check the metal flashing around chimneys, vents, and skylights. If the flashing is bent, cracked, or damaged, water can seep into your home, causing leaks and further damage to your structure.
Gutter and Downspout Check: Make sure that gutters and downspouts are secure and free of blockages. Poor drainage due to clogged gutters can lead to water pooling on the roof and damage to the shingles.
Debris Removal: Remove any debris like branches, leaves, or dirt from the roof’s surface to ensure there are no obstructions that could cause further damage during heavy rainfall.
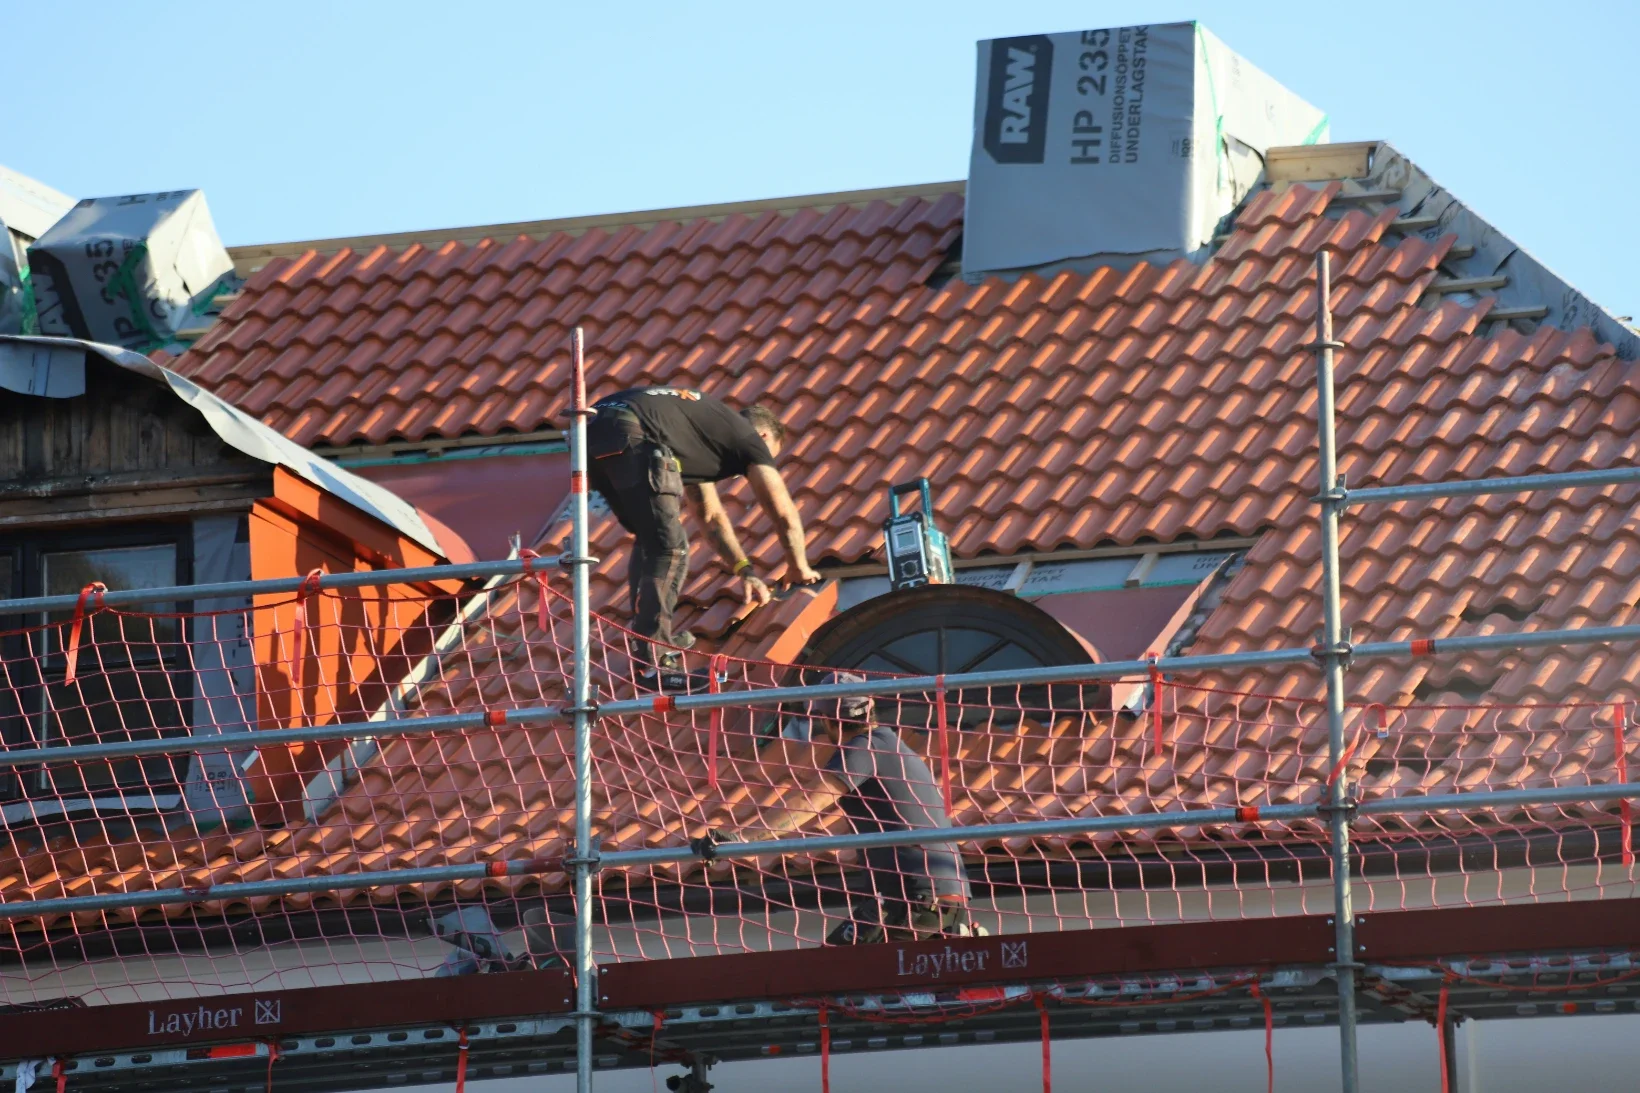
If you don’t feel comfortable getting on your roof, consider calling in a professional inspector who can assess the damage safely and thoroughly.
3. Examine the Attic for Signs of Leaks
The attic is one of the first places to show signs of roof storm damage. Look for:
Water Stains: Water stains on the ceiling or walls indicate a leak in your roof. Staining or discoloration is often a sign that water has already made its way through the roof and into your home.
Mold or Mildew: Mold growth in your attic or on ceiling beams is a clear indication of water infiltration. Mold thrives in moist conditions and can quickly spread, causing significant damage if not addressed.
Light Penetration: Check for visible light coming through holes or cracks in the roof. If you can see daylight in your attic, your roof has likely been compromised, and further damage may be imminent.
4. Documenting the Damage for Insurance Claims
Thorough documentation of roof damage is essential for insurance purposes. Be sure to:
Take Clear Photos and Videos: Capture all damage from various angles and include close-up shots of missing shingles, broken flashings, and any other visible issues. If you can, take videos as well to give a more comprehensive view of the damage.
Note the Extent of Damage: For each area of damage, make detailed notes about its location, severity, and possible underlying causes (e.g., tree branch fall, strong winds, etc.). This documentation will be helpful for your insurance adjuster.
Keep Receipts for Temporary Repairs: If you’ve made any temporary fixes (such as putting up a tarp to cover a hole), keep receipts and document the work for insurance purposes.
How to Address Roof Storm Damage: Temporary and Long-Term Solutions
Temporary Repairs
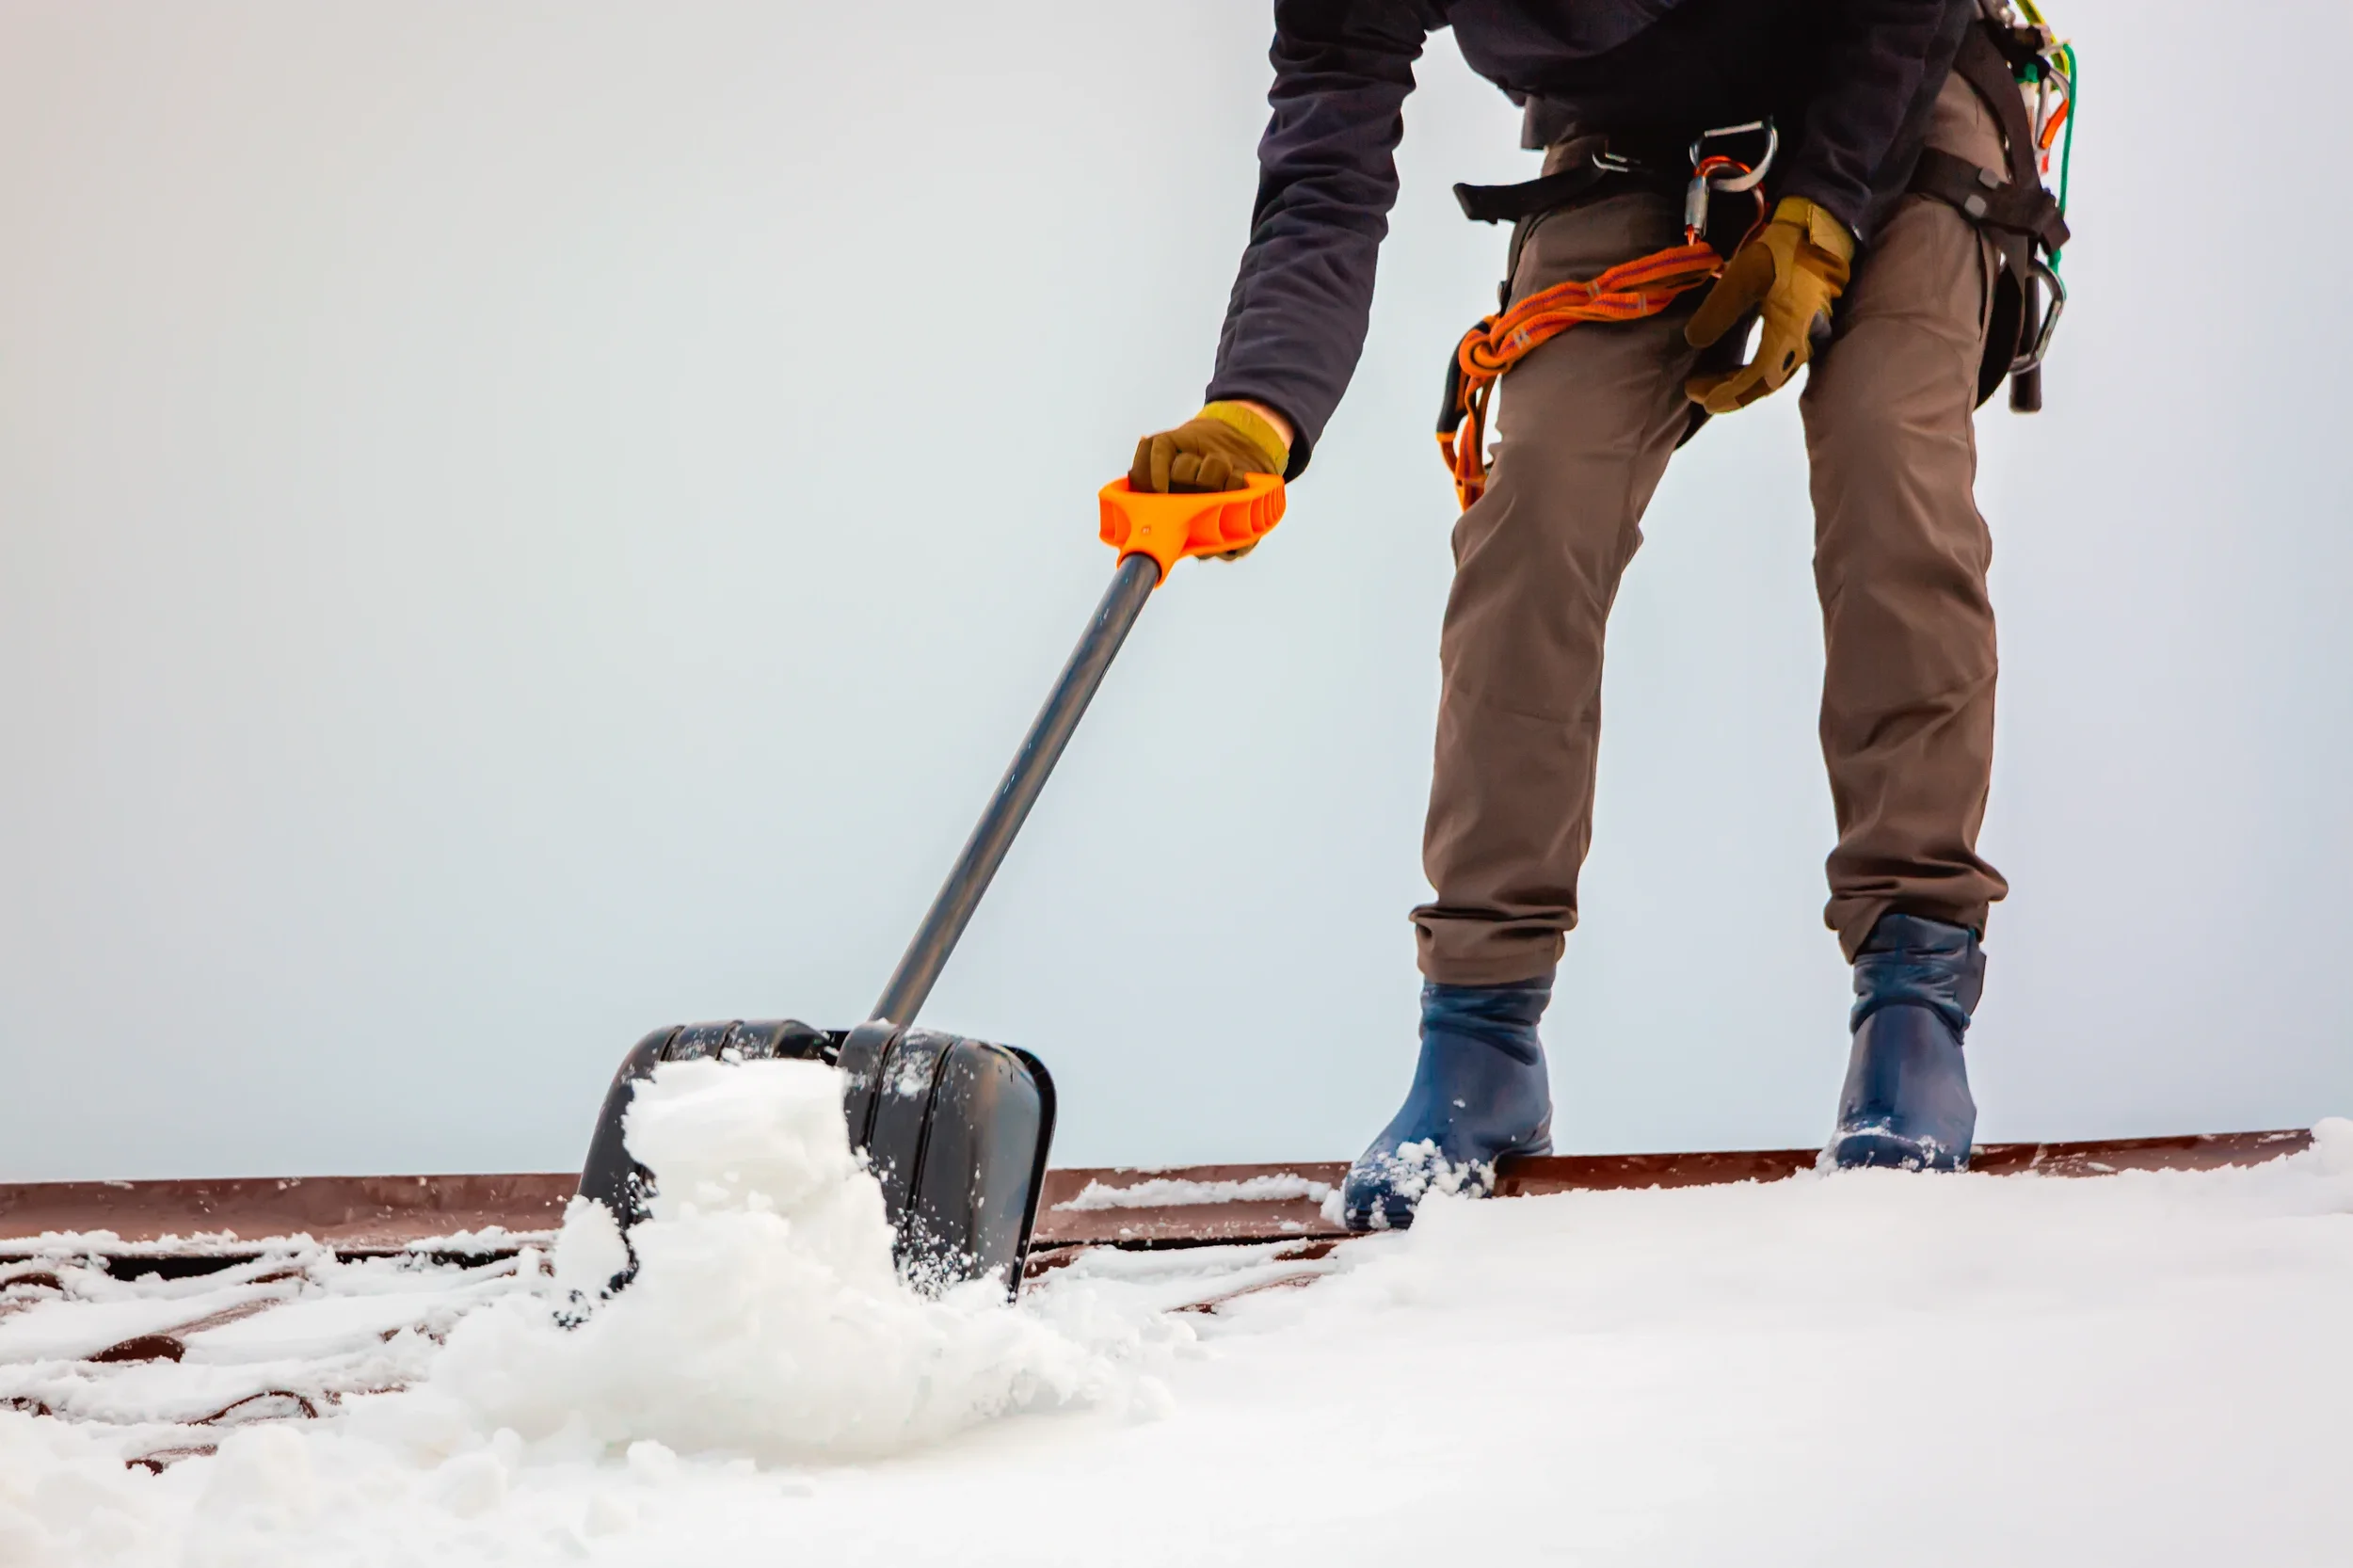
If you notice any immediate issues, such as leaks or holes in the roof, take action quickly to prevent further damage:
Cover Exposed Areas: Use a tarp or plastic sheeting to cover any holes or gaps in the roof. Secure it with heavy-duty tape or rope to keep it in place until a professional roofer can fix the damage.
Secure Loose Components: If flashings or shingles have become loose, temporarily secure them to prevent further damage. However, avoid trying to do major repairs yourself unless you have experience.
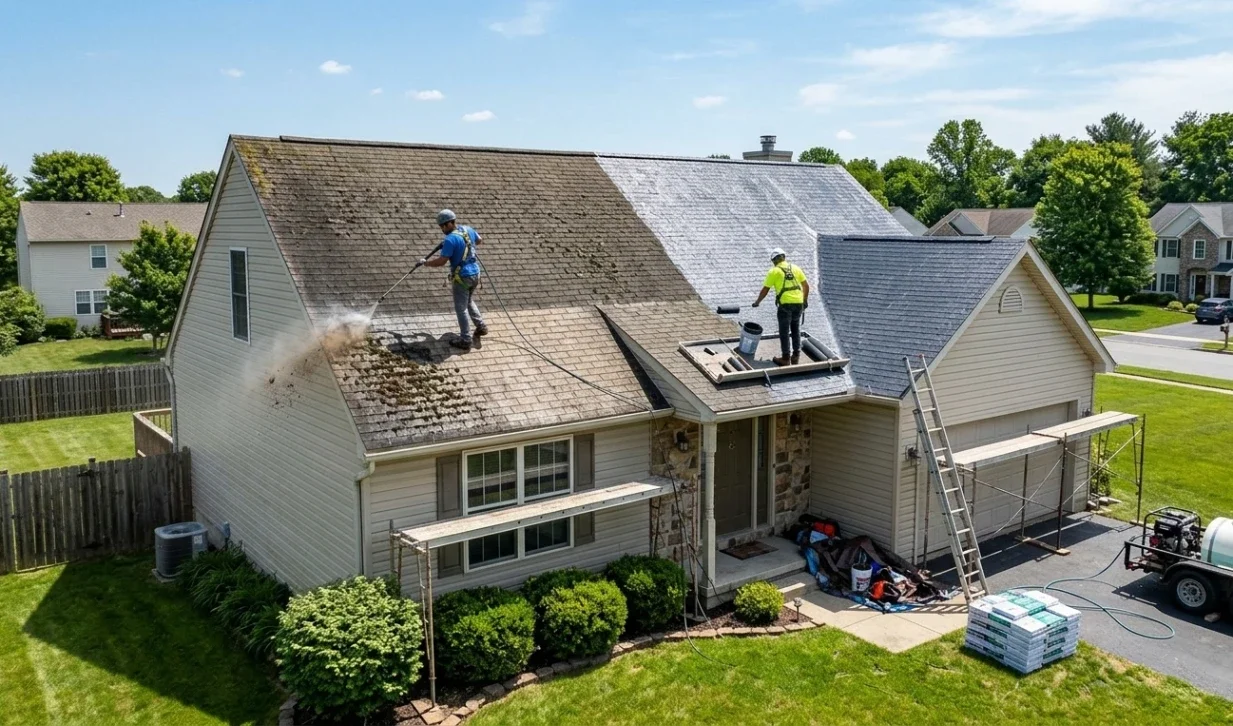
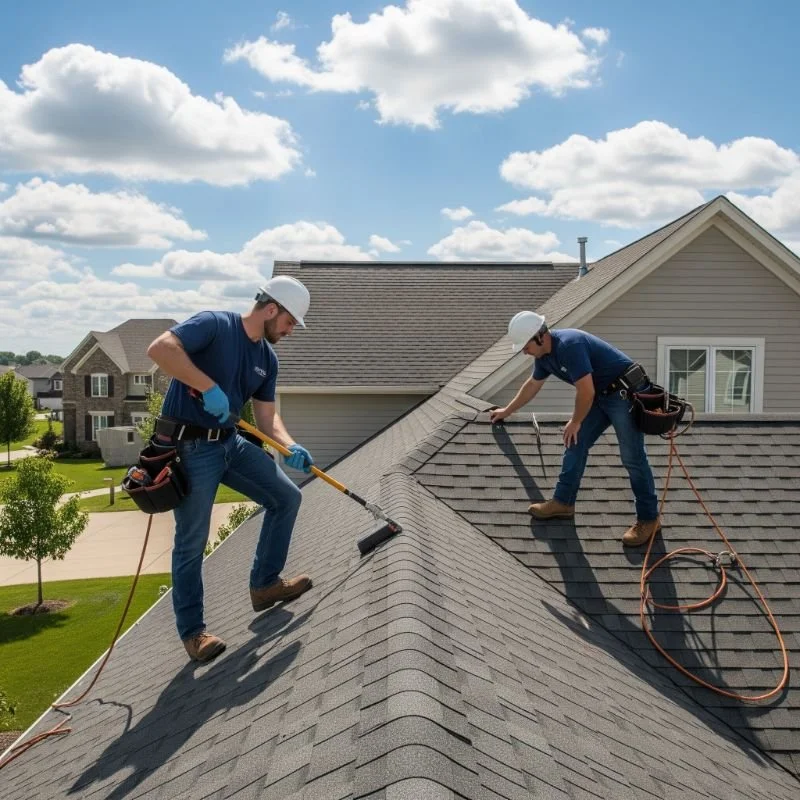
Professional Roof Inspection and Repairs
Once the immediate threat has been mitigated, hire a professional roofer to conduct a full inspection and provide repairs:
Professional Assessment: A licensed roofer will conduct a thorough inspection to assess the extent of the damage. They can identify areas that might not be visible from a simple ground inspection.
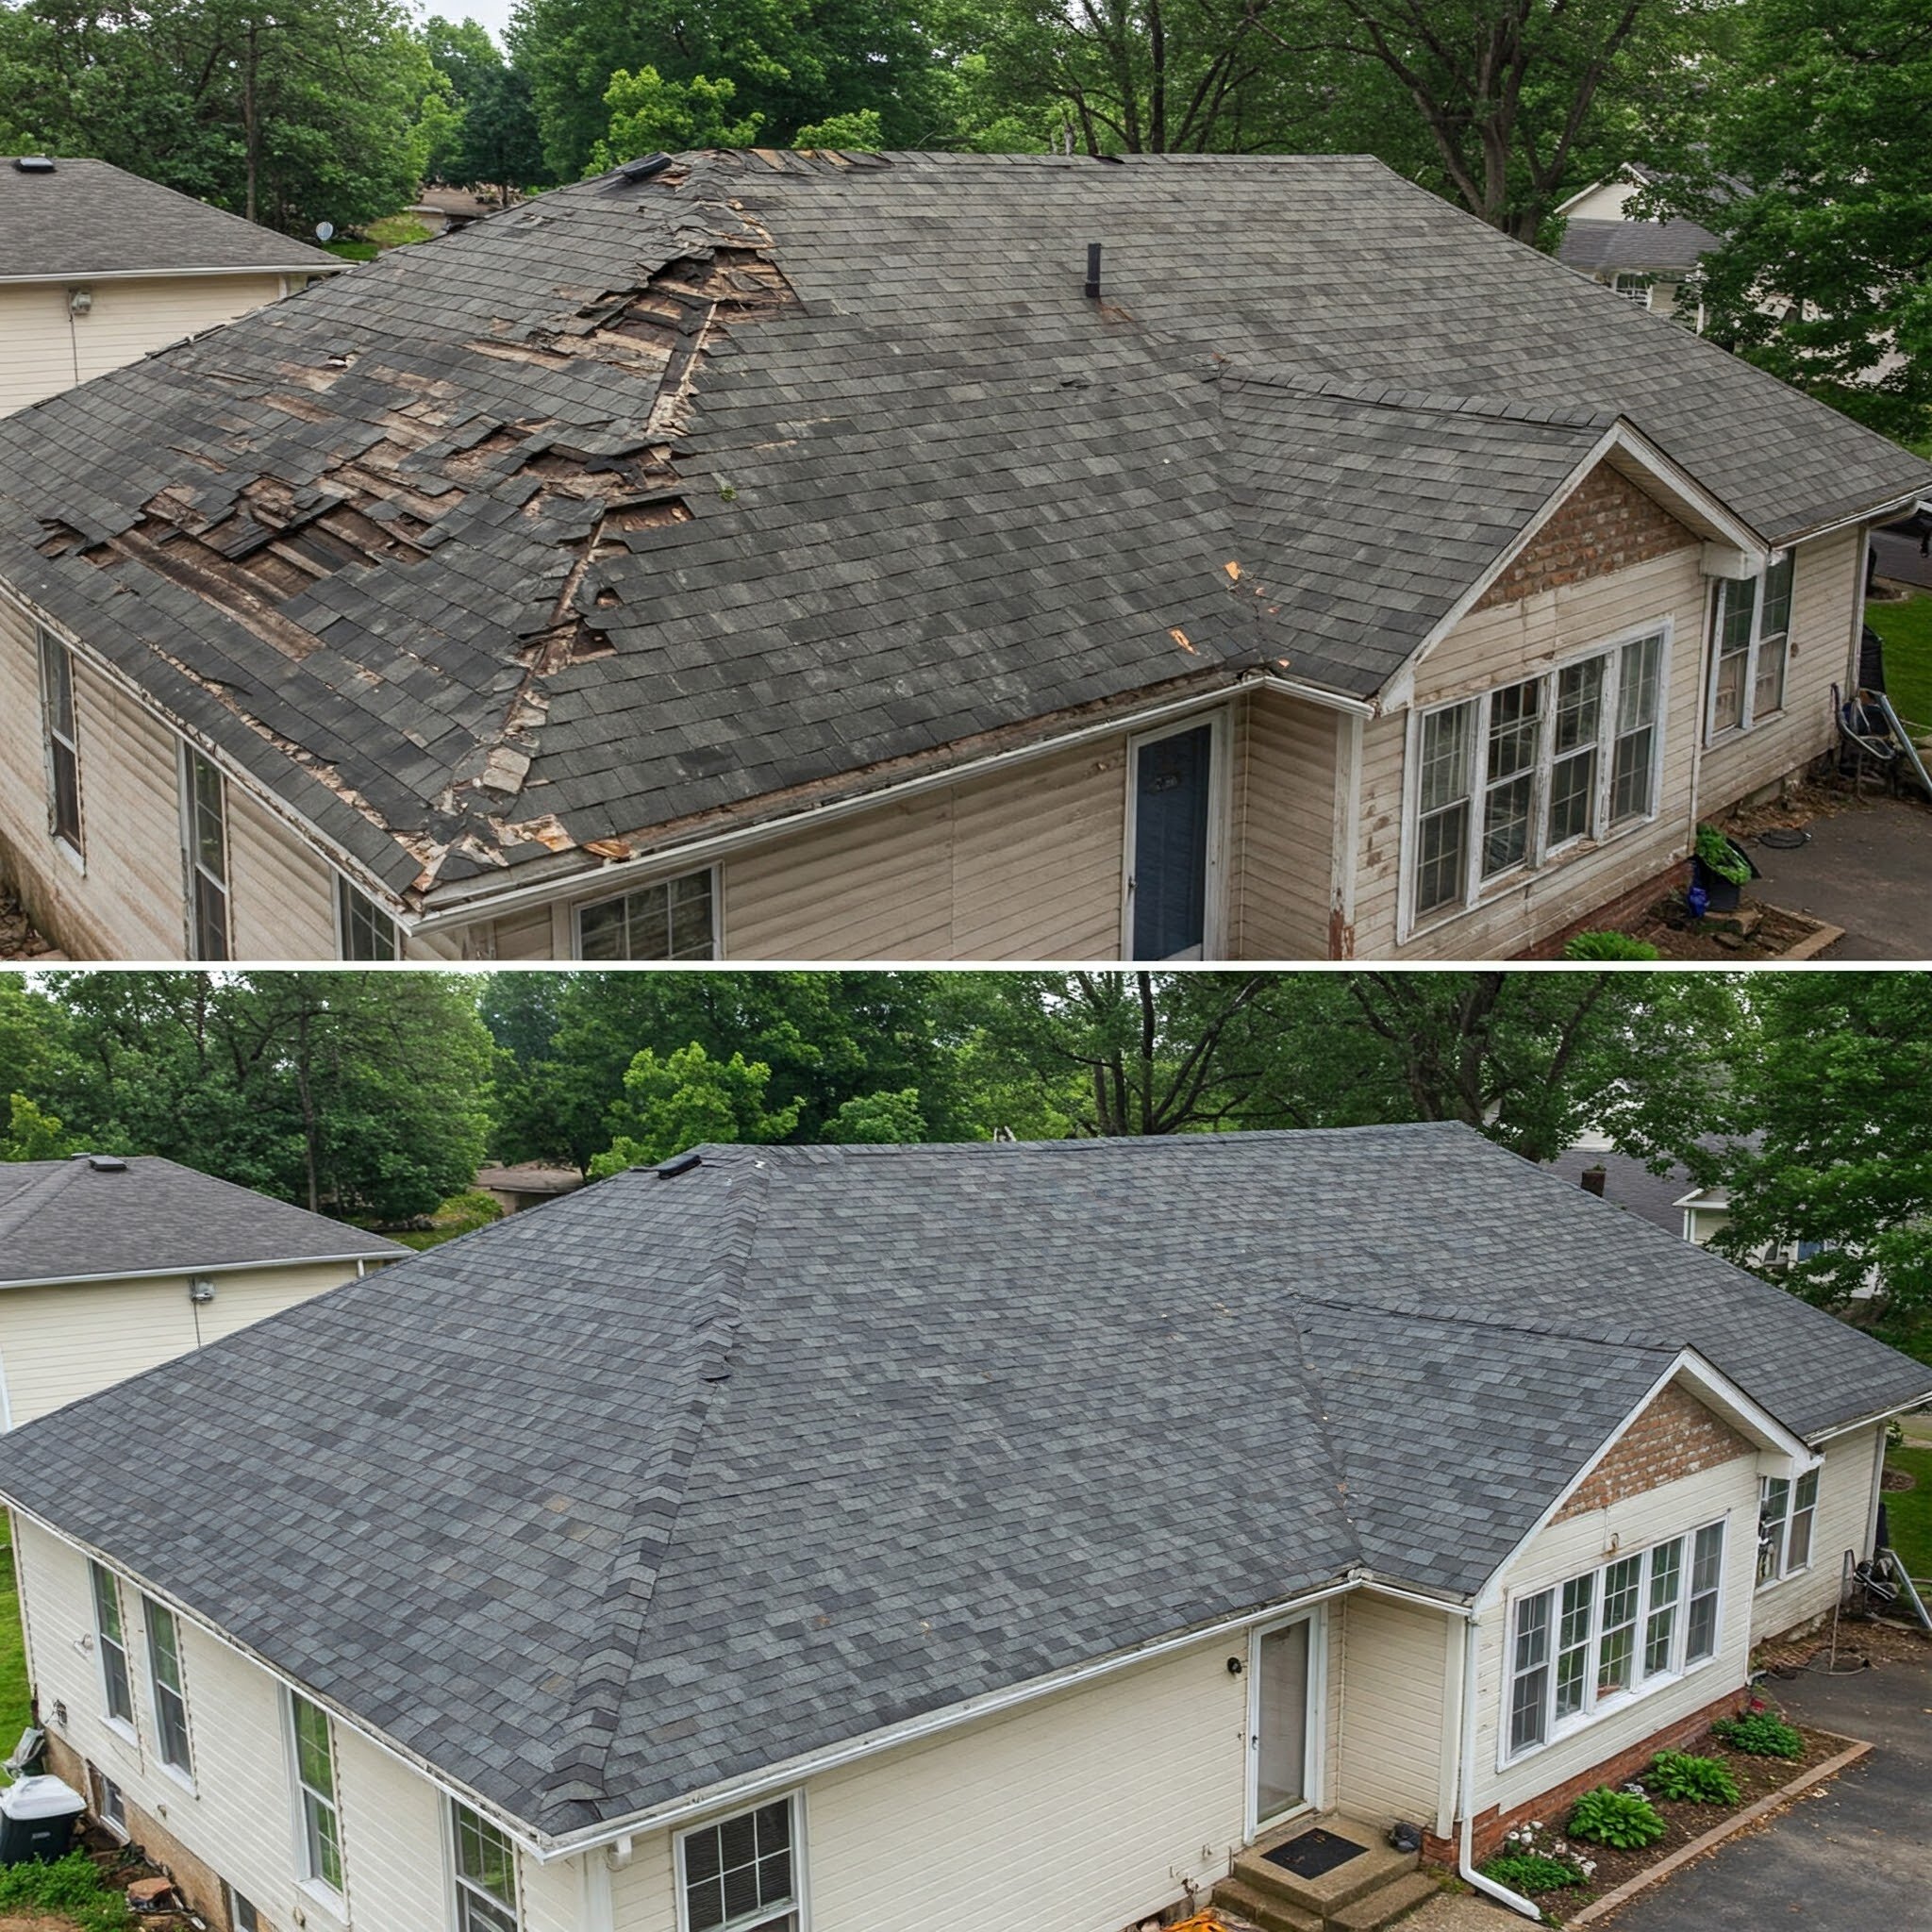
Storm Damage Roof Replacement: If your roof has suffered significant damage, it might need a full replacement. Roofers will help you determine whether a partial repair is sufficient or whether a full replacement is necessary. Consider the longevity of the roof when making this decision, as some materials may not hold up well in the long run after significant damage.
Insurance Claims: Filing for Roof Storm Damage Repairs
When dealing with roof storm damage, you’ll likely need to file an insurance claim. Here are some steps to follow:
Report the Damage Quickly: Contact your insurance company as soon as you notice significant damage. Most policies have time limits for filing claims.
Provide Documentation: Use the photos, videos, and notes from your inspection to support your claim. The more detailed your documentation, the easier it will be for your insurance adjuster to process the claim.
Understand Your Policy: Review your insurance policy to ensure that storm damage is covered. If you're uncertain about your coverage, contact your insurer to clarify any questions.
Conclusion: Ensuring Your Roof’s Integrity After a Storm
Roof storm damage is inevitable for many homeowners, but acting quickly and thoroughly inspecting your roof after a storm can save you time, money, and potential long-term issues.
By following this checklist and ensuring proper documentation, you can address the damage promptly and take the necessary steps toward repairs or replacement.
Don’t delay in getting your roof inspected—early intervention can protect the long-term integrity of your home.
Stay up to date with our latest ideas!