Function Before Finish: Small Window and Door Problems That Disrupt a Renovation
Discover how small window and door problems can disrupt a renovation, from alignment and sizing issues to leaks, hardware problems, delays, and costly rework.

A renovated room can look complete in photographs and still feel unfinished in daily use. The fresh trim is crisp, the wall color is right, and the new shades suit the space, but a door rubs the frame or a window lock requires two hands. Those small conflicts matter because good design is experienced through movement as much as appearance.
The best final check follows a simple order: use every window and door, fix fit or hardware problems, and only then complete the decorative layer.
First Pass: Use Every Window and Door
Test windows and doors after the dusty work is complete but before final touch-ups. Open each window all the way, close it without extra force, and try the lock. Swing each door slowly and let it meet the frame without lifting, slamming, or pulling sideways.
Listen and look as well as feel. A scrape along one edge, a latch that reaches only after pressure is applied, or a sash that slows as it opens or closes gives a more useful clue than a general note that the window is "stiff." Write down the exact spot and what happens before anyone adjusts the hardware.
This check often reveals details that appearance alone can miss. New flooring may reduce the space beneath a door. Paint buildup can narrow a moving edge. Dust can collect in an accessible track. These problems should be handled before the final finish work hides them.
Second Pass: Check Gaps and Fit
Spacing around a window or door is part of the room's visual order. Uneven gaps attract the eye beside clean new trim, but they may also explain why a latch misses or a sash binds.
Check whether a closed door sits evenly in the frame and whether the two window sashes meet without being pushed into position. Look for contact marks, compressed seals, or hardware that appears to have shifted. Avoid using extra paint, caulk, or trim to hide a moving joint until you know why the gap has changed.
Blinds, shades, and trim work best when the window or door itself operates properly. When a door adjustment is needed, Chicago homeowners can turn to CapaHome for repairs before adding the finishing touches.
That order protects the decorative work. A repair made after the room is styled can change clearances, reveal unfinished edges, or leave newly installed treatments in the way.
Third Pass: Make Sure Hardware Fits the Design
Handles, locks, cranks, hinges, and closers all take up space. Lower a blind while the window is closed, then raise it and operate the window. Confirm that the treatment clears the lock and that the lock remains easy to reach. Open doors fully and check whether levers, closers, or stops conflict with nearby trim or built-ins.
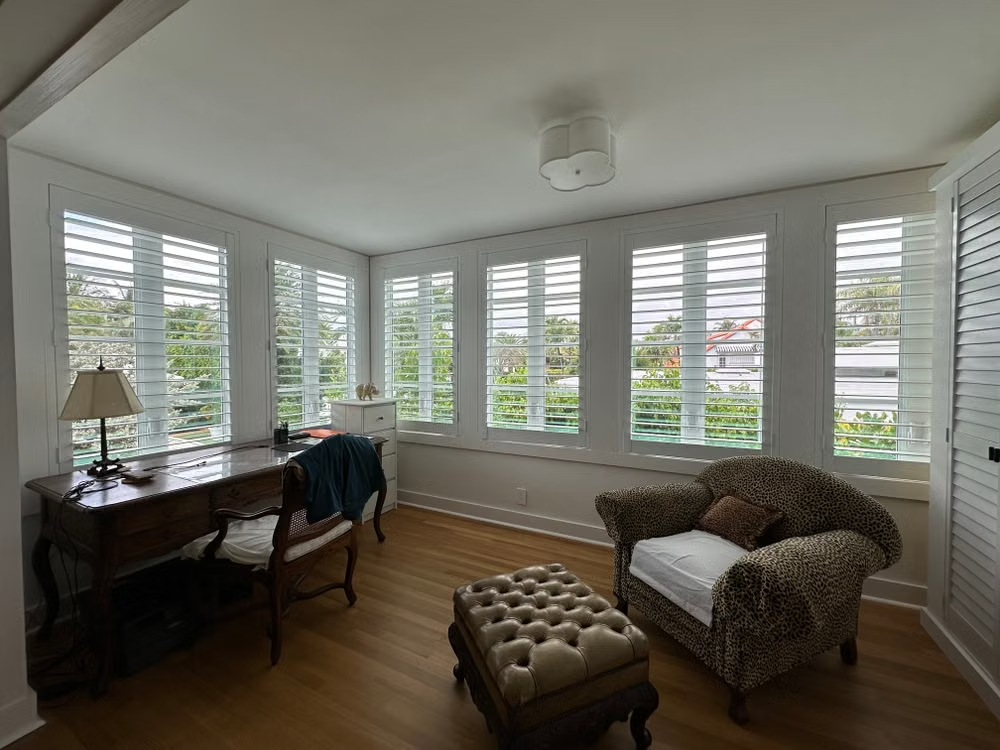
Layered treatments deserve a combined test. Curtains should move without catching a blind, while the blind should operate without blocking access to the window hardware. If one part works only when another is held aside, the room is not quite finished.
The goal is not to hide every visible piece of hardware. It is to let the moving parts sit naturally within the design instead of feeling like obstacles added at the end.
Finish Surfaces After Everything Moves Properly
Once each window and door moves and locks correctly, inspect the surrounding finish. Check caulk joints, paint edges, bracket locations, trim transitions, and repaired surfaces. Touch-ups made now are more likely to remain intact because the moving parts are in their final positions.
Look at the room from two distances. From across the space, check proportion, alignment, and visual balance. Up close, operate everything again. A polished room should hold together from both viewpoints.
Use a Four-Question Final Check
Before calling the space complete, ask:
Does every window and door open and close fully without unusual force?
Do locks and latches engage when the window or door is naturally closed?
Can blinds, shades, curtains, and hardware move without colliding?
Are trim, caulk, paint, and mounting surfaces intact after the repair work?
This final check is short, but it changes what "finished" means. The room is not merely ready to photograph. Its decorative choices are supported by windows and doors that work as cleanly as the renovation looks.
Stay up to date with our latest ideas!