Using a Background Remover for Magazine-Worthy Home Photos
Turn everyday home photos into polished shots with smart background removal. Learn how to clean up clutter and create magazine-worthy images.
Your home photos don’t always need a professional shoot to look straight out of a magazine. Here’s how a background remover helps you create that polished, editorial look.
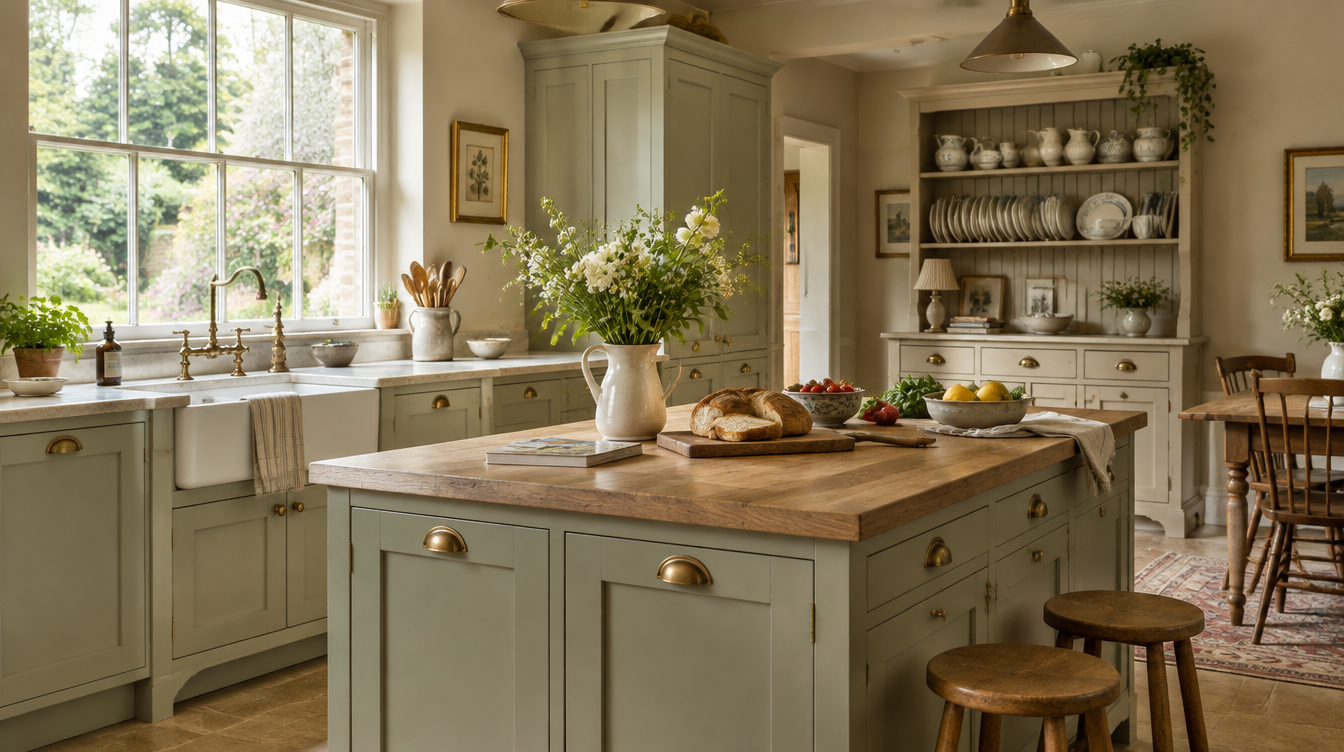
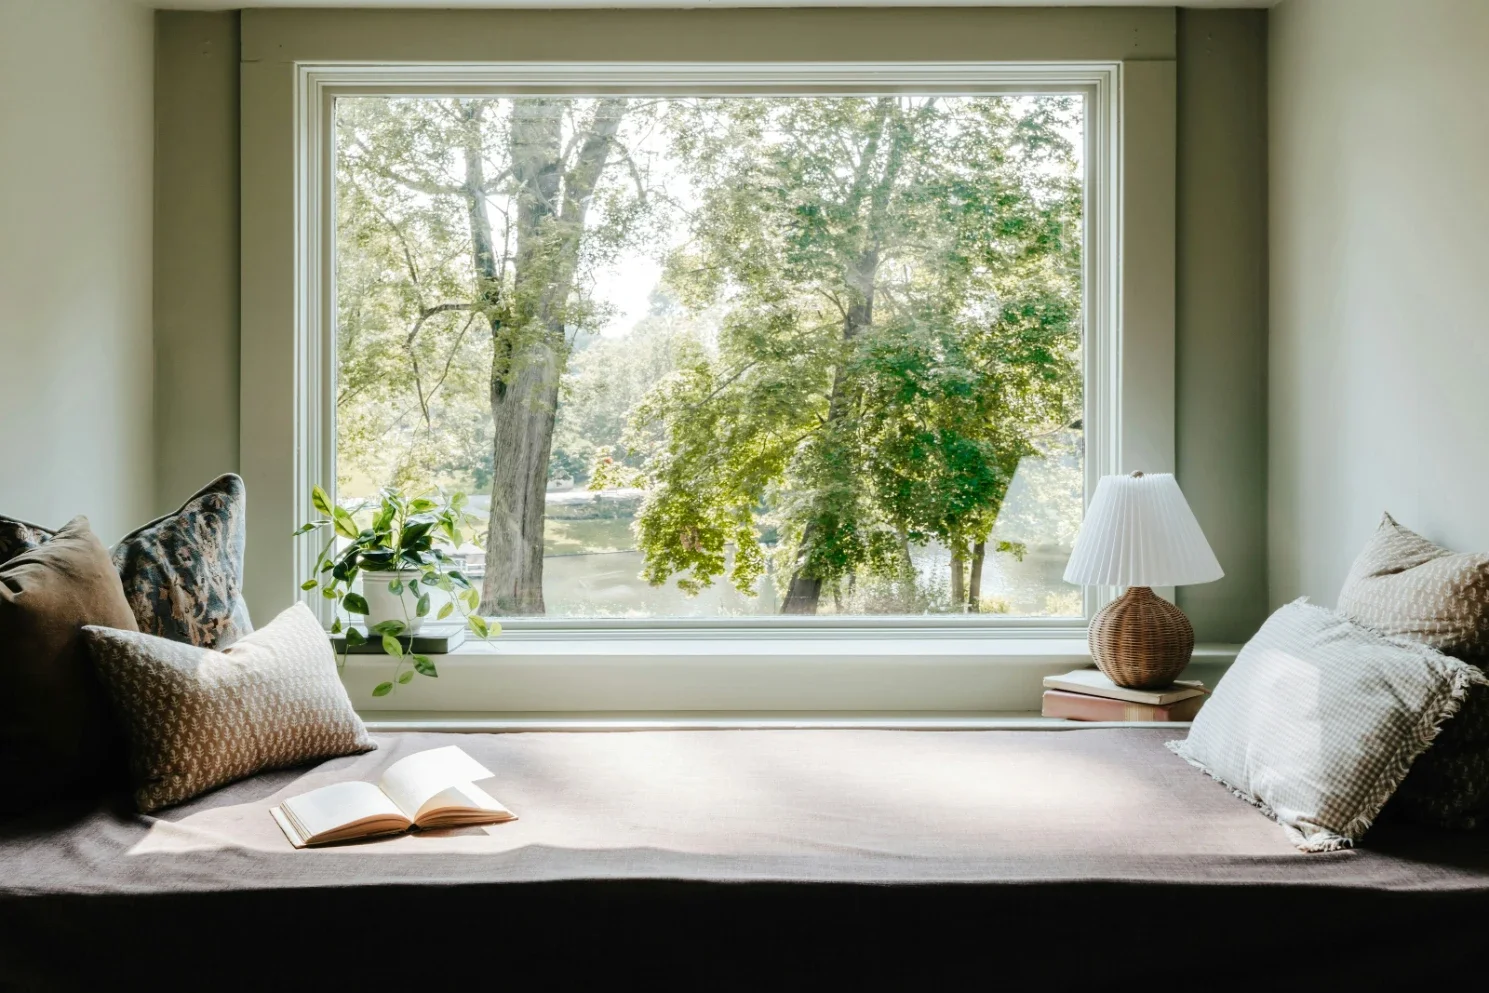
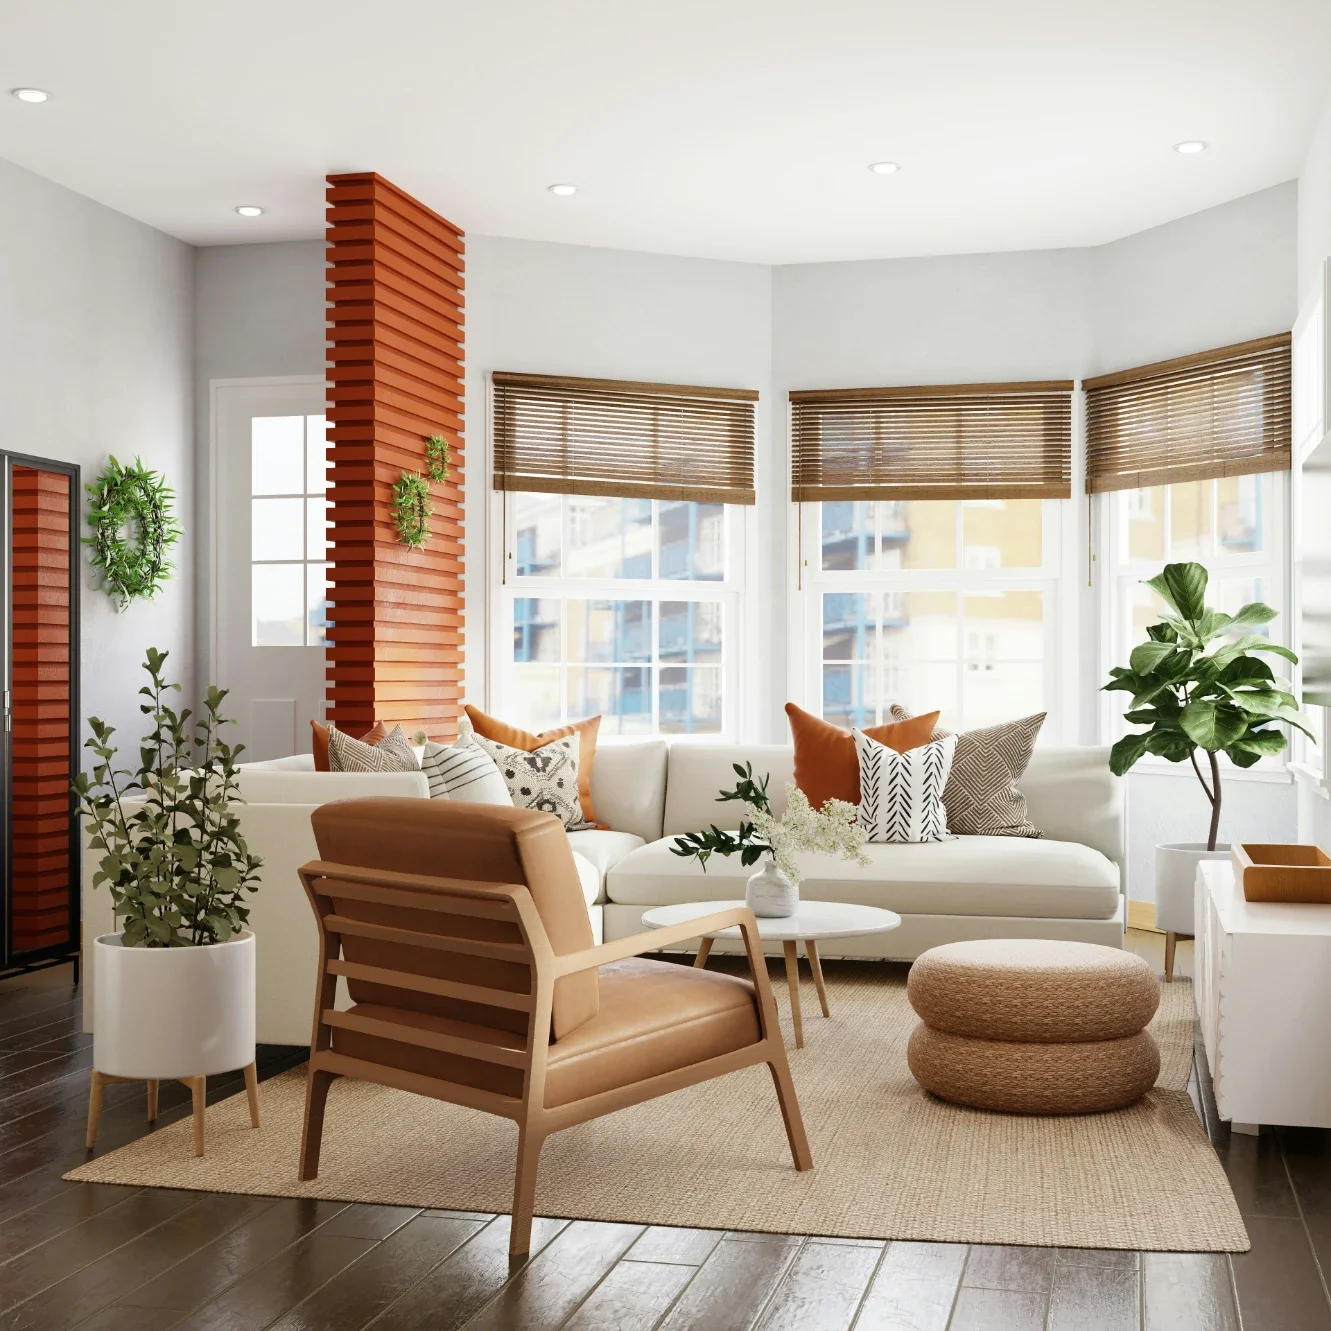
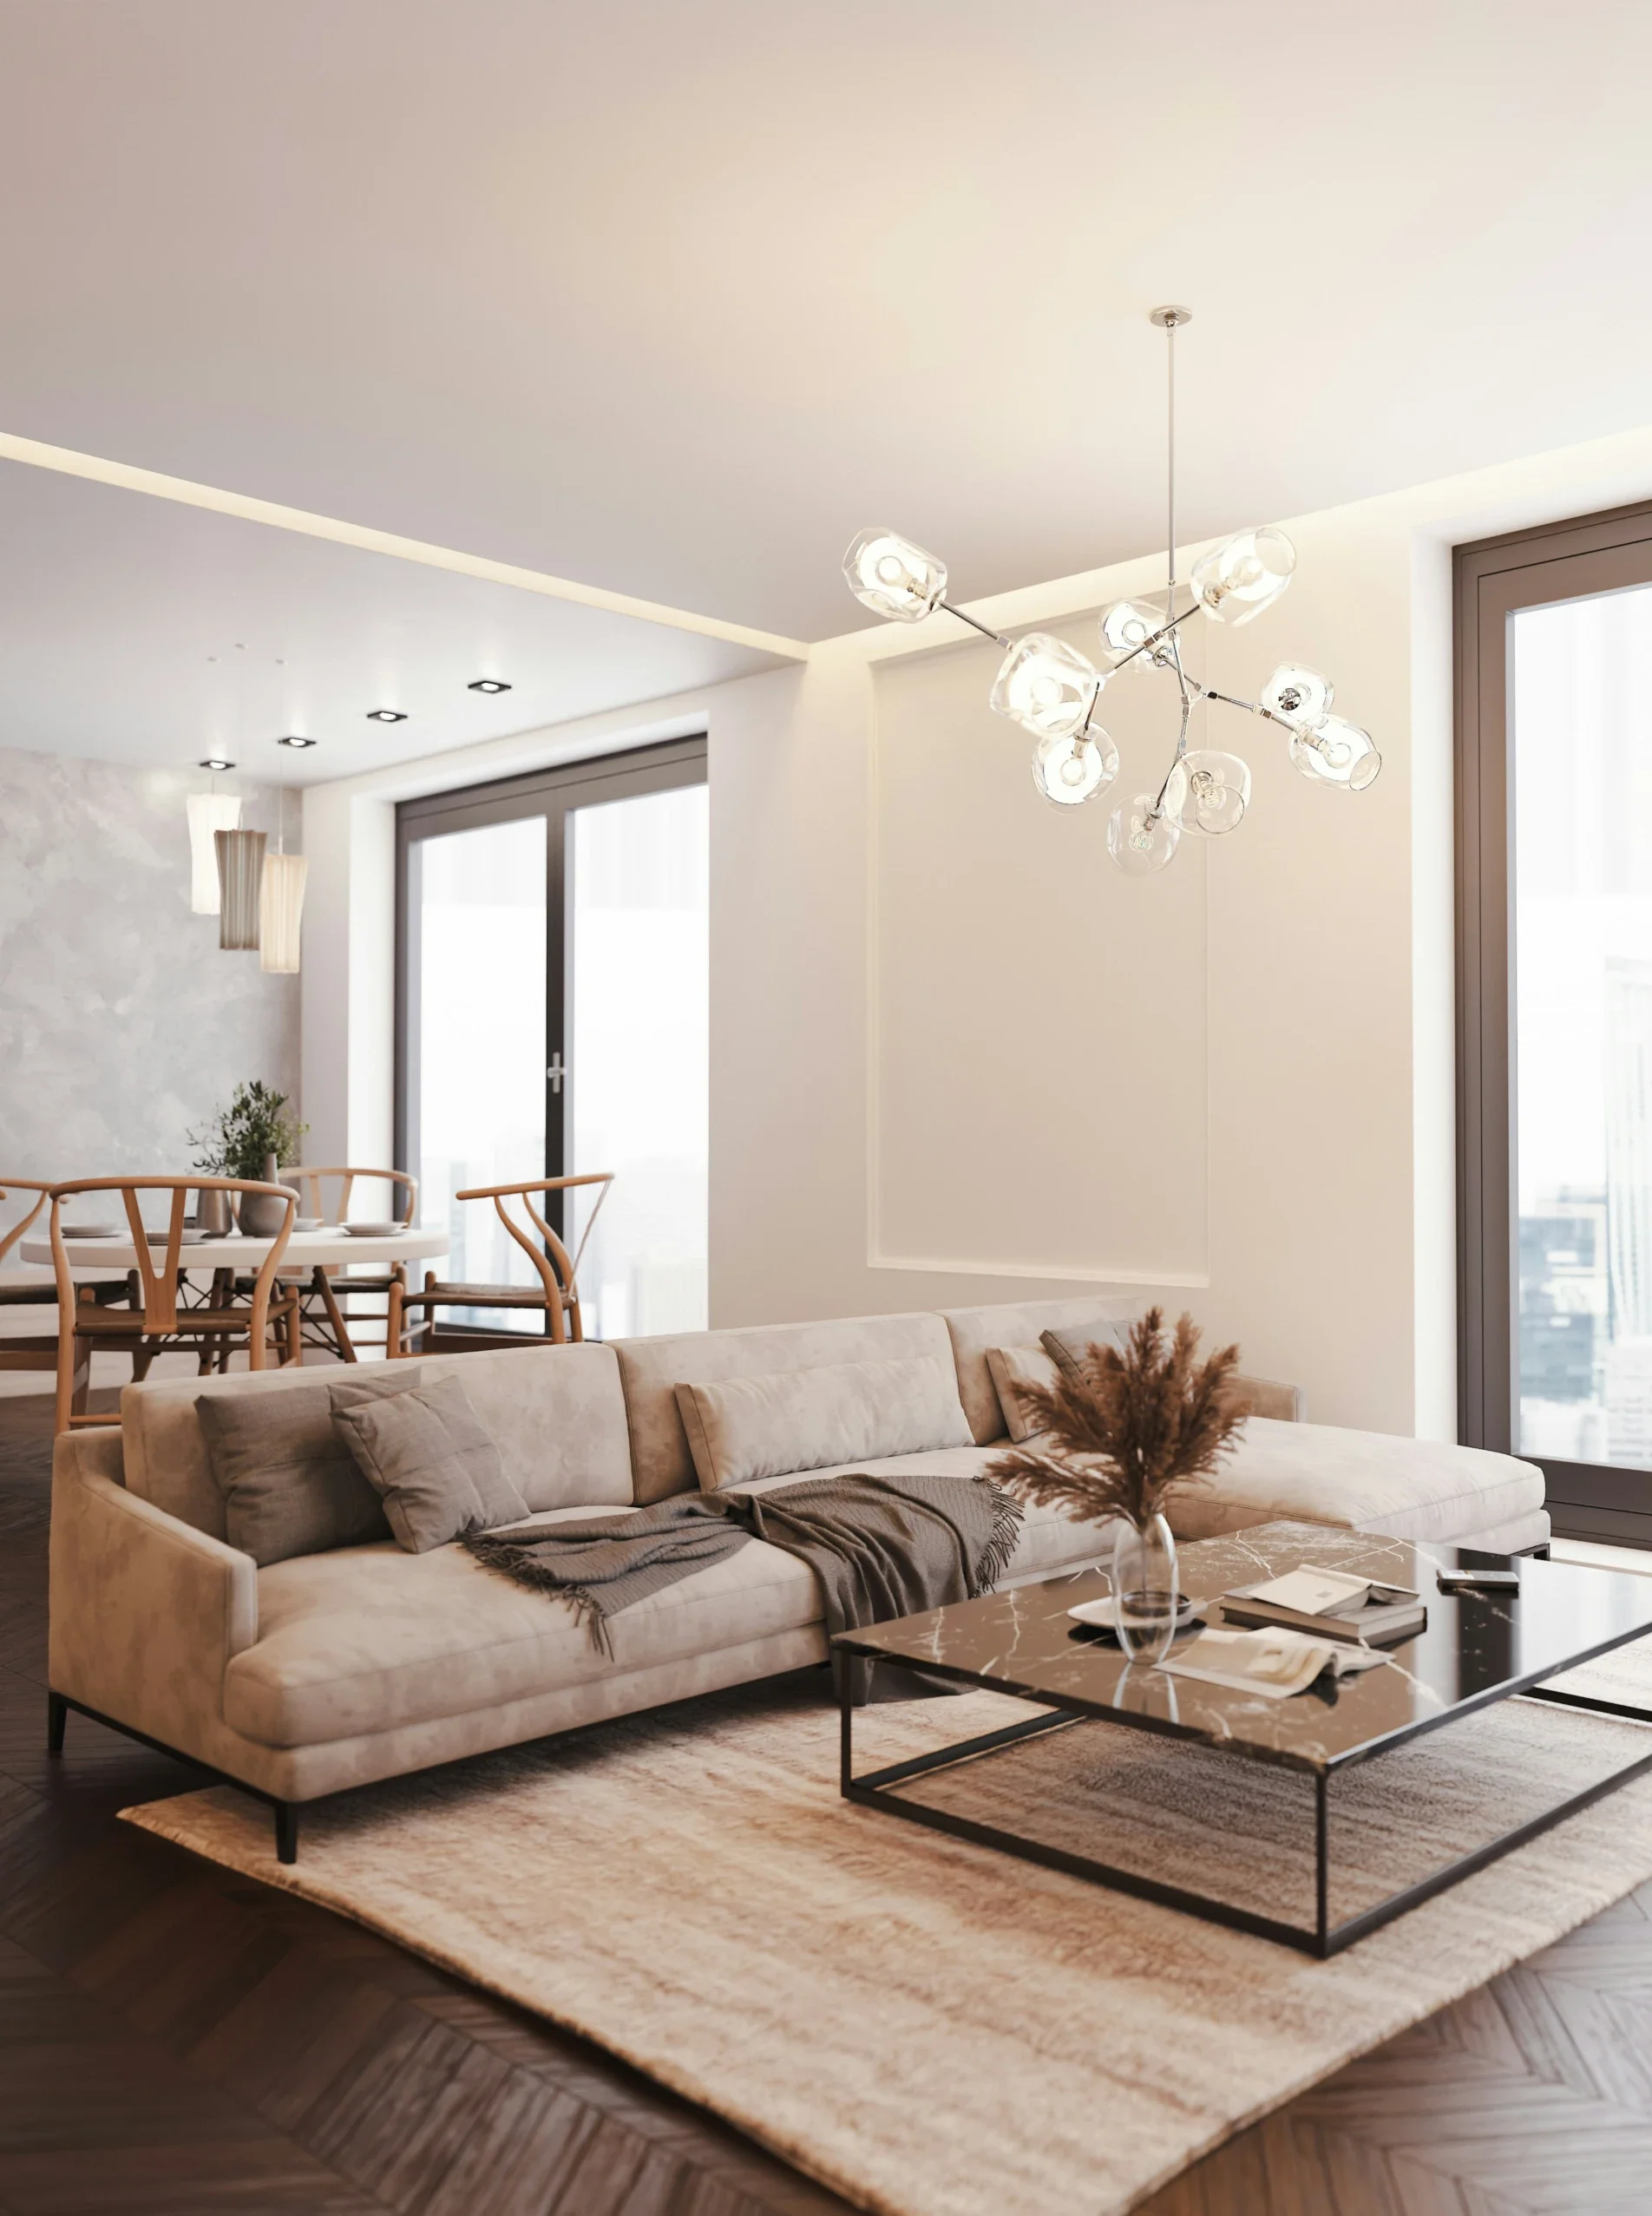
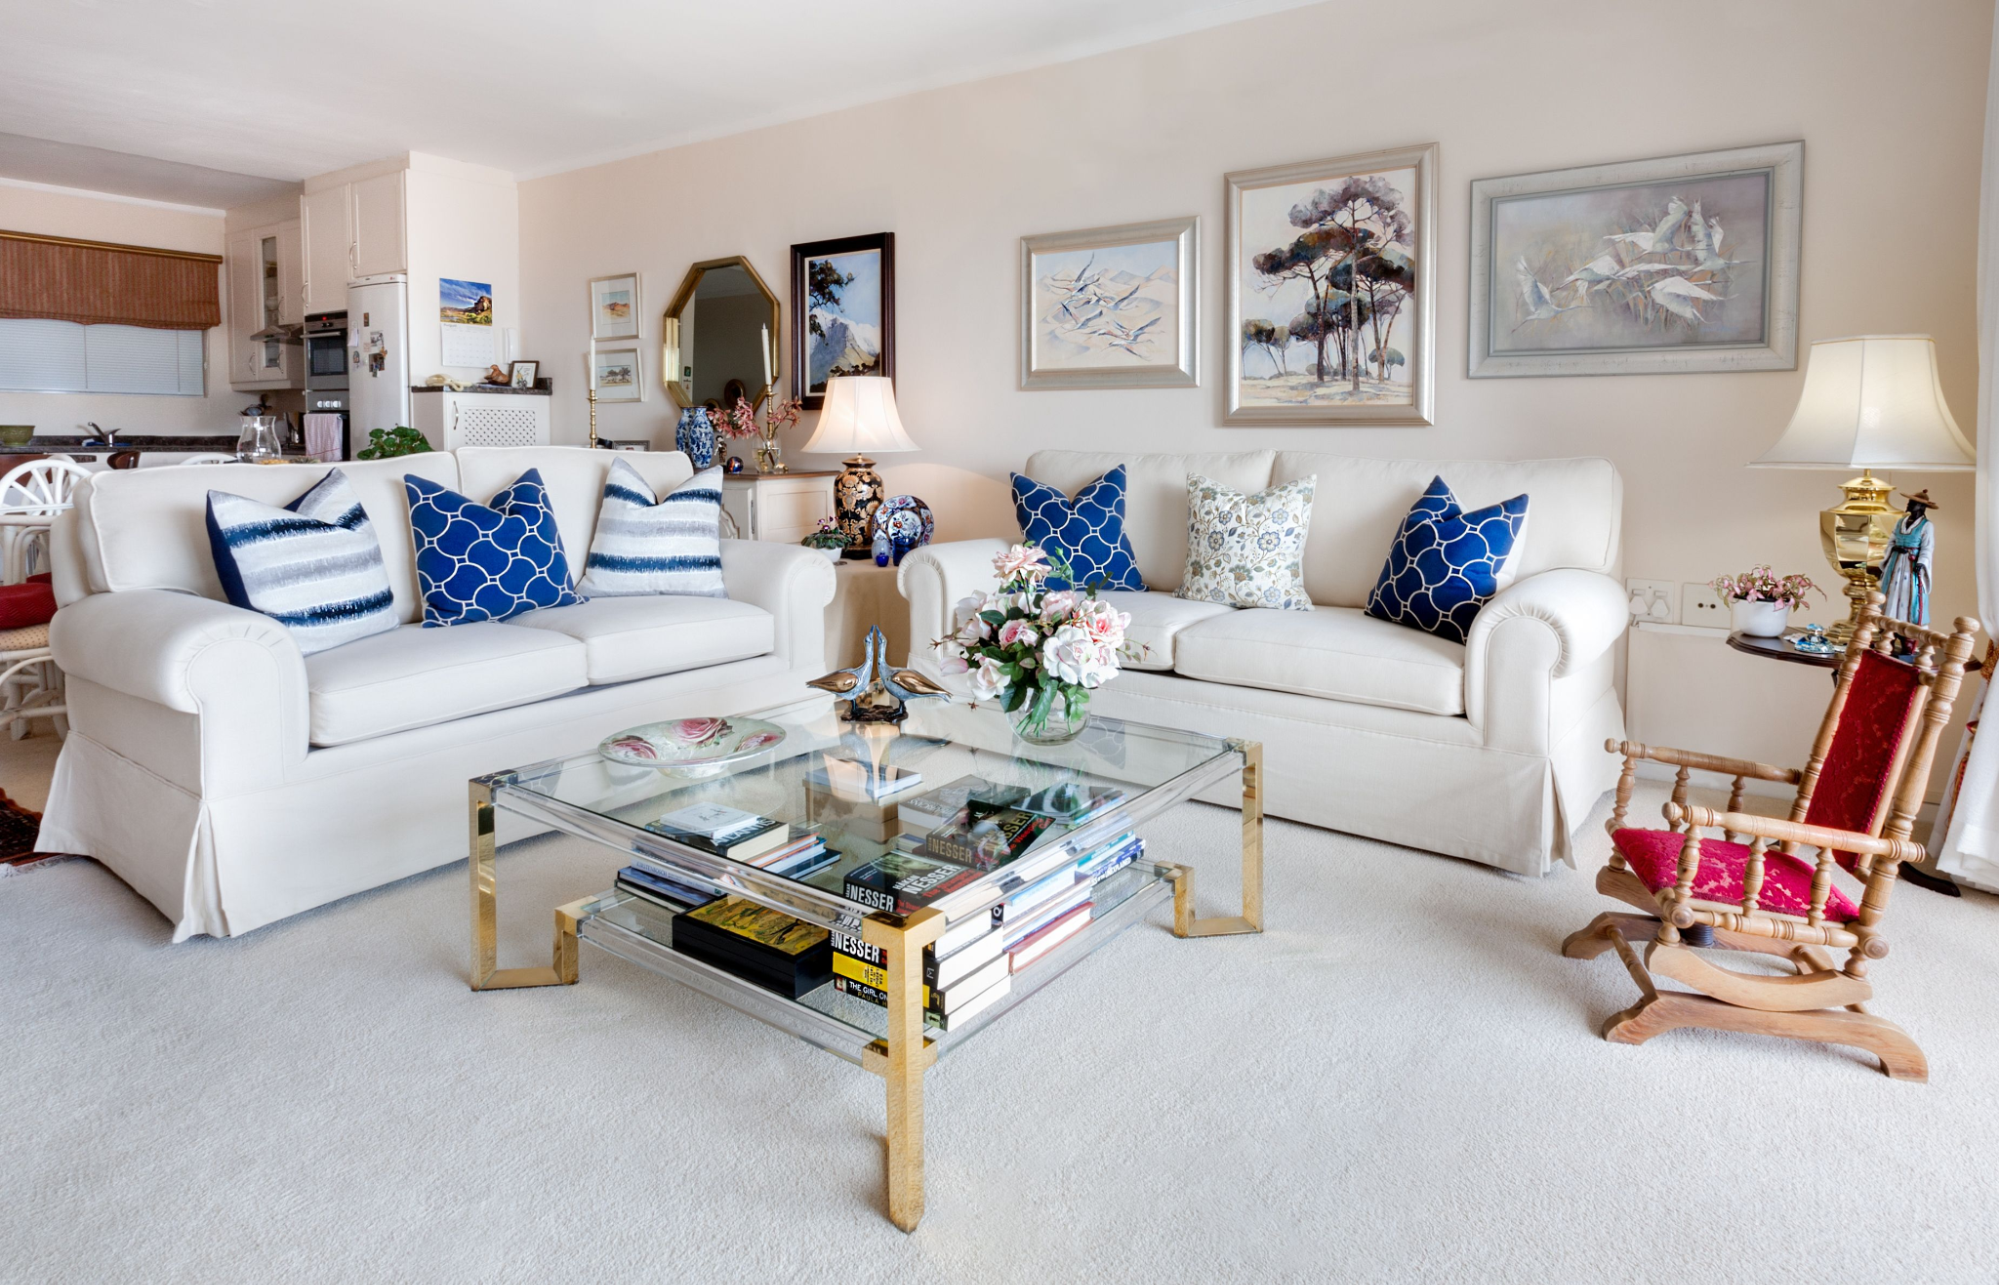
Ever notice how a magazine photo of a home can make an ordinary room feel like somewhere you desperately want to live? The secret is rarely one spectacular piece of furniture, but the way the image is composed.
The right details catch your eye, distracting ones disappear, and every object seems to have a reason for being in the frame. You can bring some of that into your own home photography with a background remover.
Instead of treating it as a tool for deleting whatever you don’t like, use it to shape the image. Remove visual distractions, isolate furniture or decor, create cleaner backdrops, or give a carefully chosen detail more room to breathe.
The point is to make the photo show what makes the space special. Below, we briefly go over how to use background removal thoughtfully and combine editing with better styling and composition for magazine-worthy home photos.
Start With the Photo, Not the Background Remover
Before you open an editing tool, look at the photo itself. Ask what you want someone to notice first.
Decide What the Photo Should Show
Every strong home interior photo has a focal point. It could be a statement sofa, fireplace, artwork, pendant light, or a carefully styled corner. Identify that before you shoot.
Every element in the frame should support that focal point. If something doesn't help the story, it hurts it. Think of the photo as a small piece of visual storytelling. You are showing someone what makes the space interesting, not simply proving that the room exists.
Remove Physical Distractions First
Editing shouldn’t be your first response to clutter. First, move the cables, hide the remote, shift the bin, and put away the things that do not belong in the shot. Then, take a quick test photo.
Objects often look more distracting on camera than they do in person. In other words, style the room first, edit second. This simple fix saves you a lot of unnecessary editing later.
Know When Background Removal Helps
Background removal isn’t the same as removing everything behind the subject. The right edit depends on the type of home photograph you’re working with.
Use It for Detail and Furniture Shots
Background removal works particularly well when the photograph has a clear subject that can be isolated. A statement chair can look far more striking when it’s separated from a busy room.
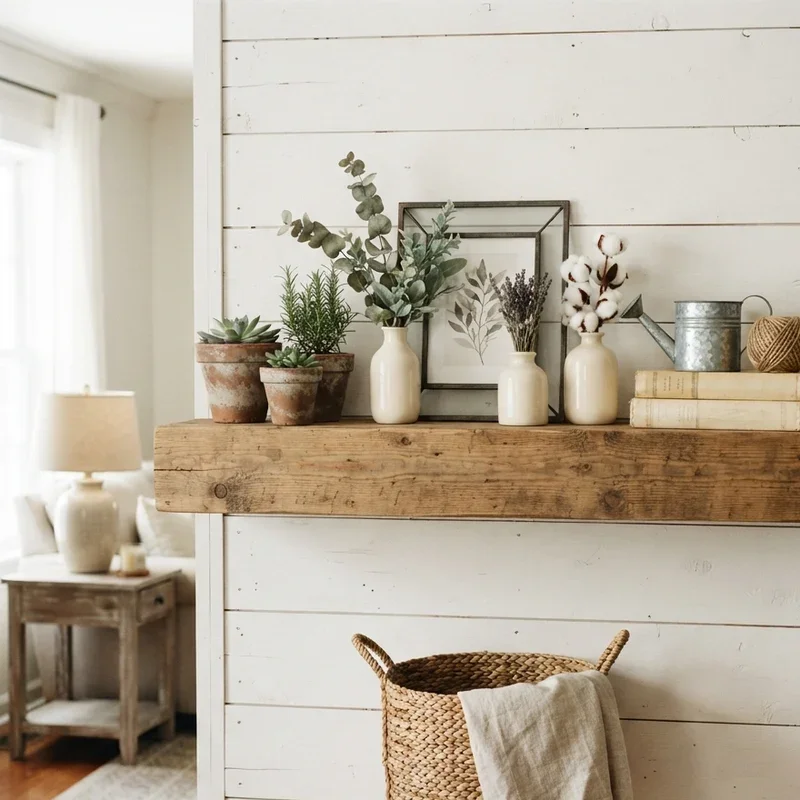
The same goes for a lamp, artwork, decorative object, or small furniture vignette. Removing the background creates negative space around the subject. That gives the eye fewer places to wander.
Tools like Pixelcut’s background remover handle these isolated subject shots well. It automatically separates the subject from its surroundings, then lets you refine the cutout if needed.
Don’t Strip the Room From a Room Photo
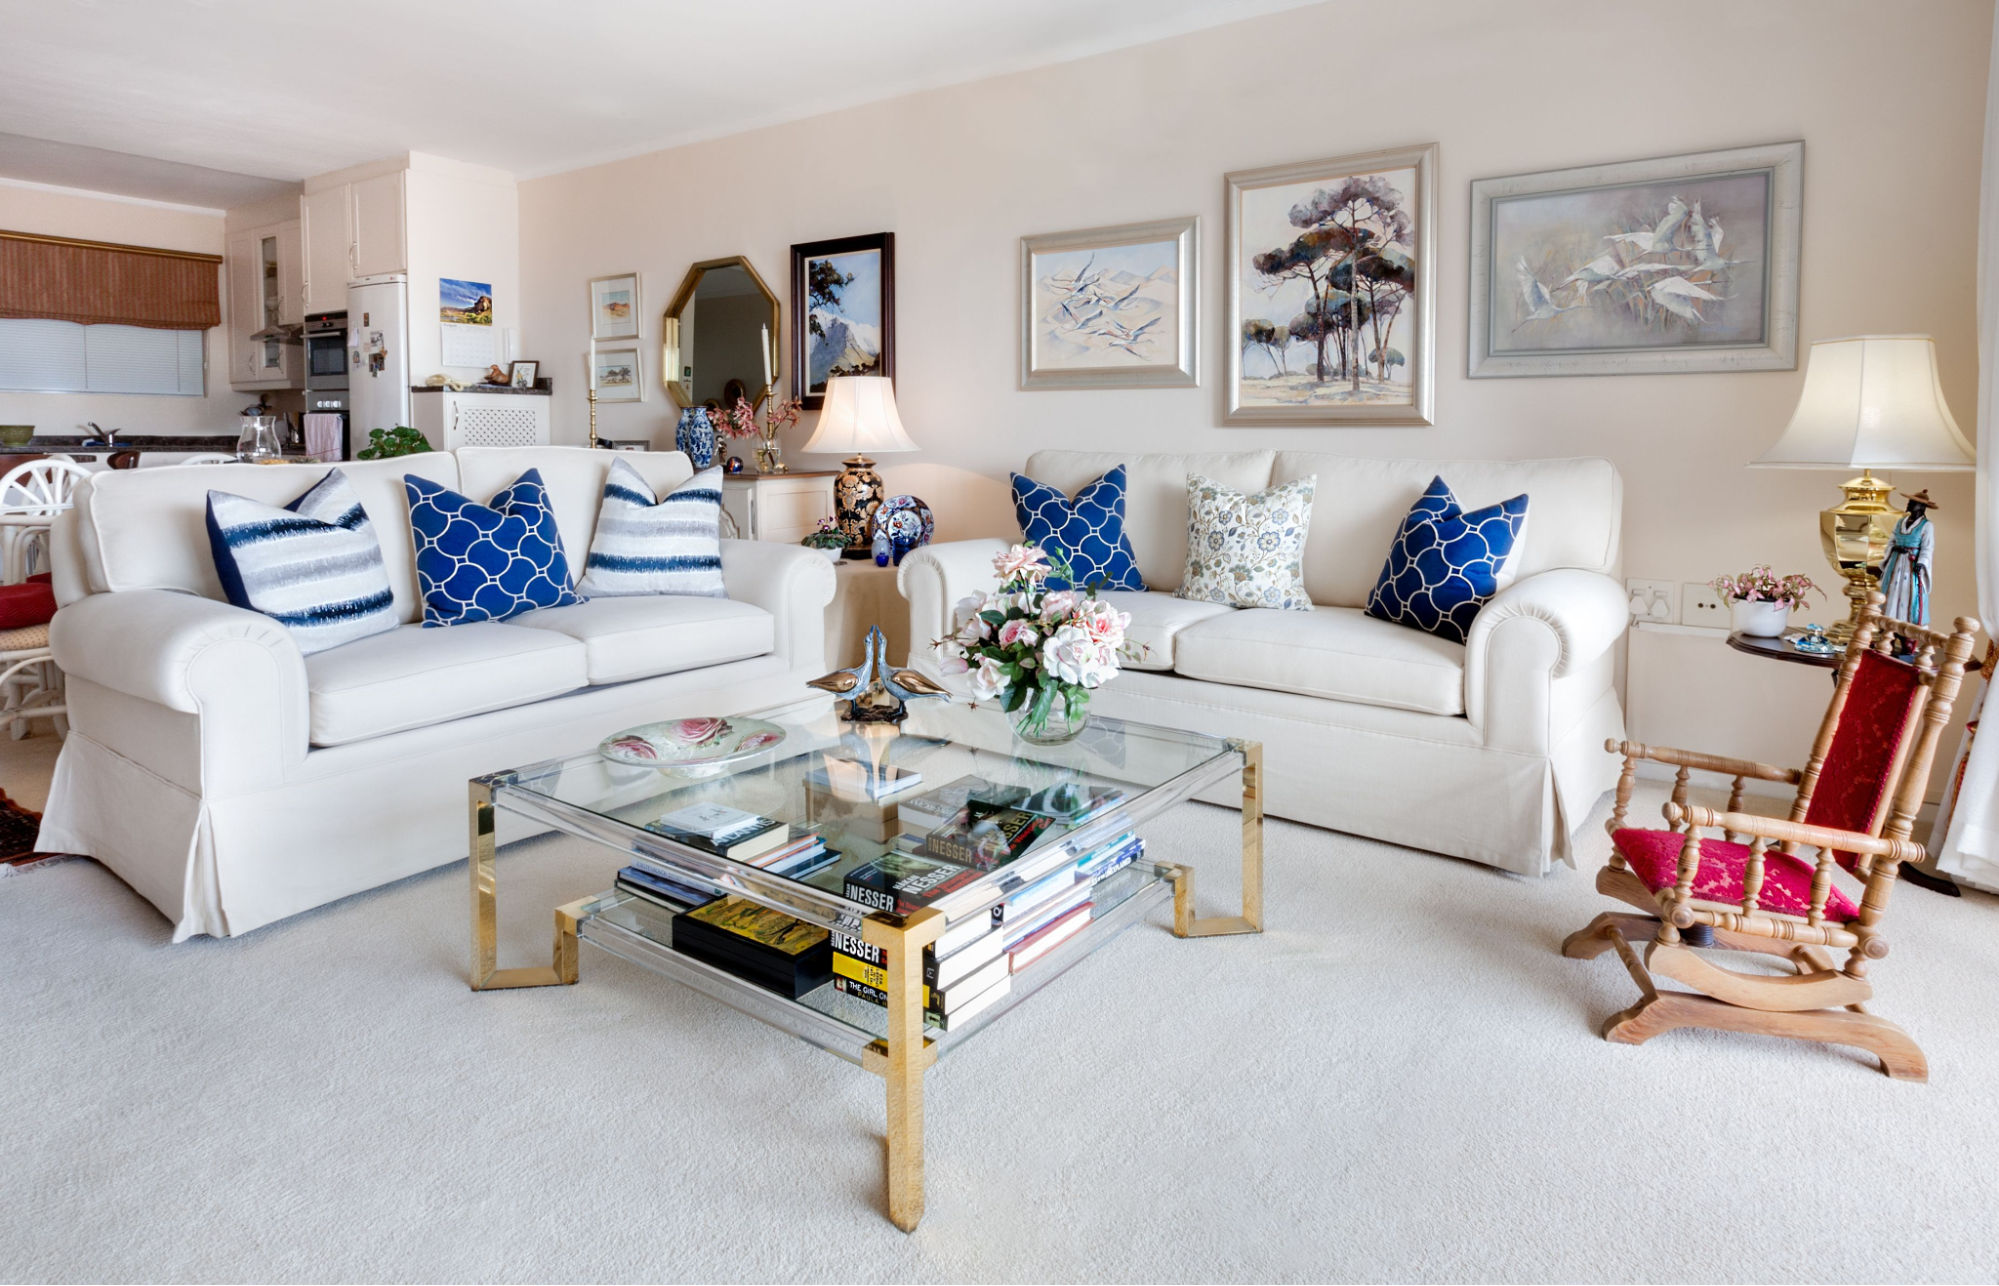
A wide interior photograph depends on context. Walls, windows, flooring, furniture placement, and architectural features all help tell the story.
Remove all of that, and the image may end up looking artificial or disconnected. Like a furniture catalog cutout pasted onto a blank page. For these images, cropping or object removal often makes more sense.
The key distinction is fairly simple: background removal isolates a subject. Object removal cleans up a scene.
Build a Magazine-Worthy Composition Before Editing
You can rescue a mediocre photo with editing, but you can’t reliably turn a badly composed shot into a great one. Here are two simple composition principles that make a real difference.
Keep Lines Straight and the Frame Simple
Start by keeping your phone or camera level and parallel to the walls. Straight vertical and horizontal lines make an interior feel much more polished.
Avoid extreme wide-angle or fisheye effects whenever possible. They can make walls bend, and furniture look oddly stretched. Apartment Therapy gives similar advice for home photography, recommending straight shots and warning against wide-angle and fisheye distortion.
You also don’t need to squeeze the entire room into one frame. Use negative space intentionally. Leave some breathing room when the composition calls for it.
Shoot Both the Room and Its Details
A useful shot hierarchy is:
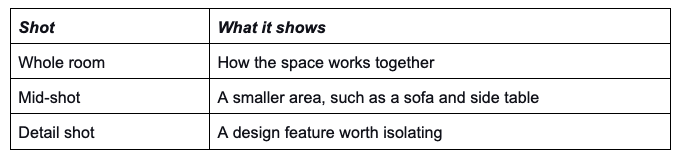
This gives you more options when you edit later.
The British Institute of Interior Design recommends this same mix of whole-room, mid-shot, and detail photography. Detail shots, in particular, can work like small still-life studies.
Use Background Removal to Refine the Home Photo Story
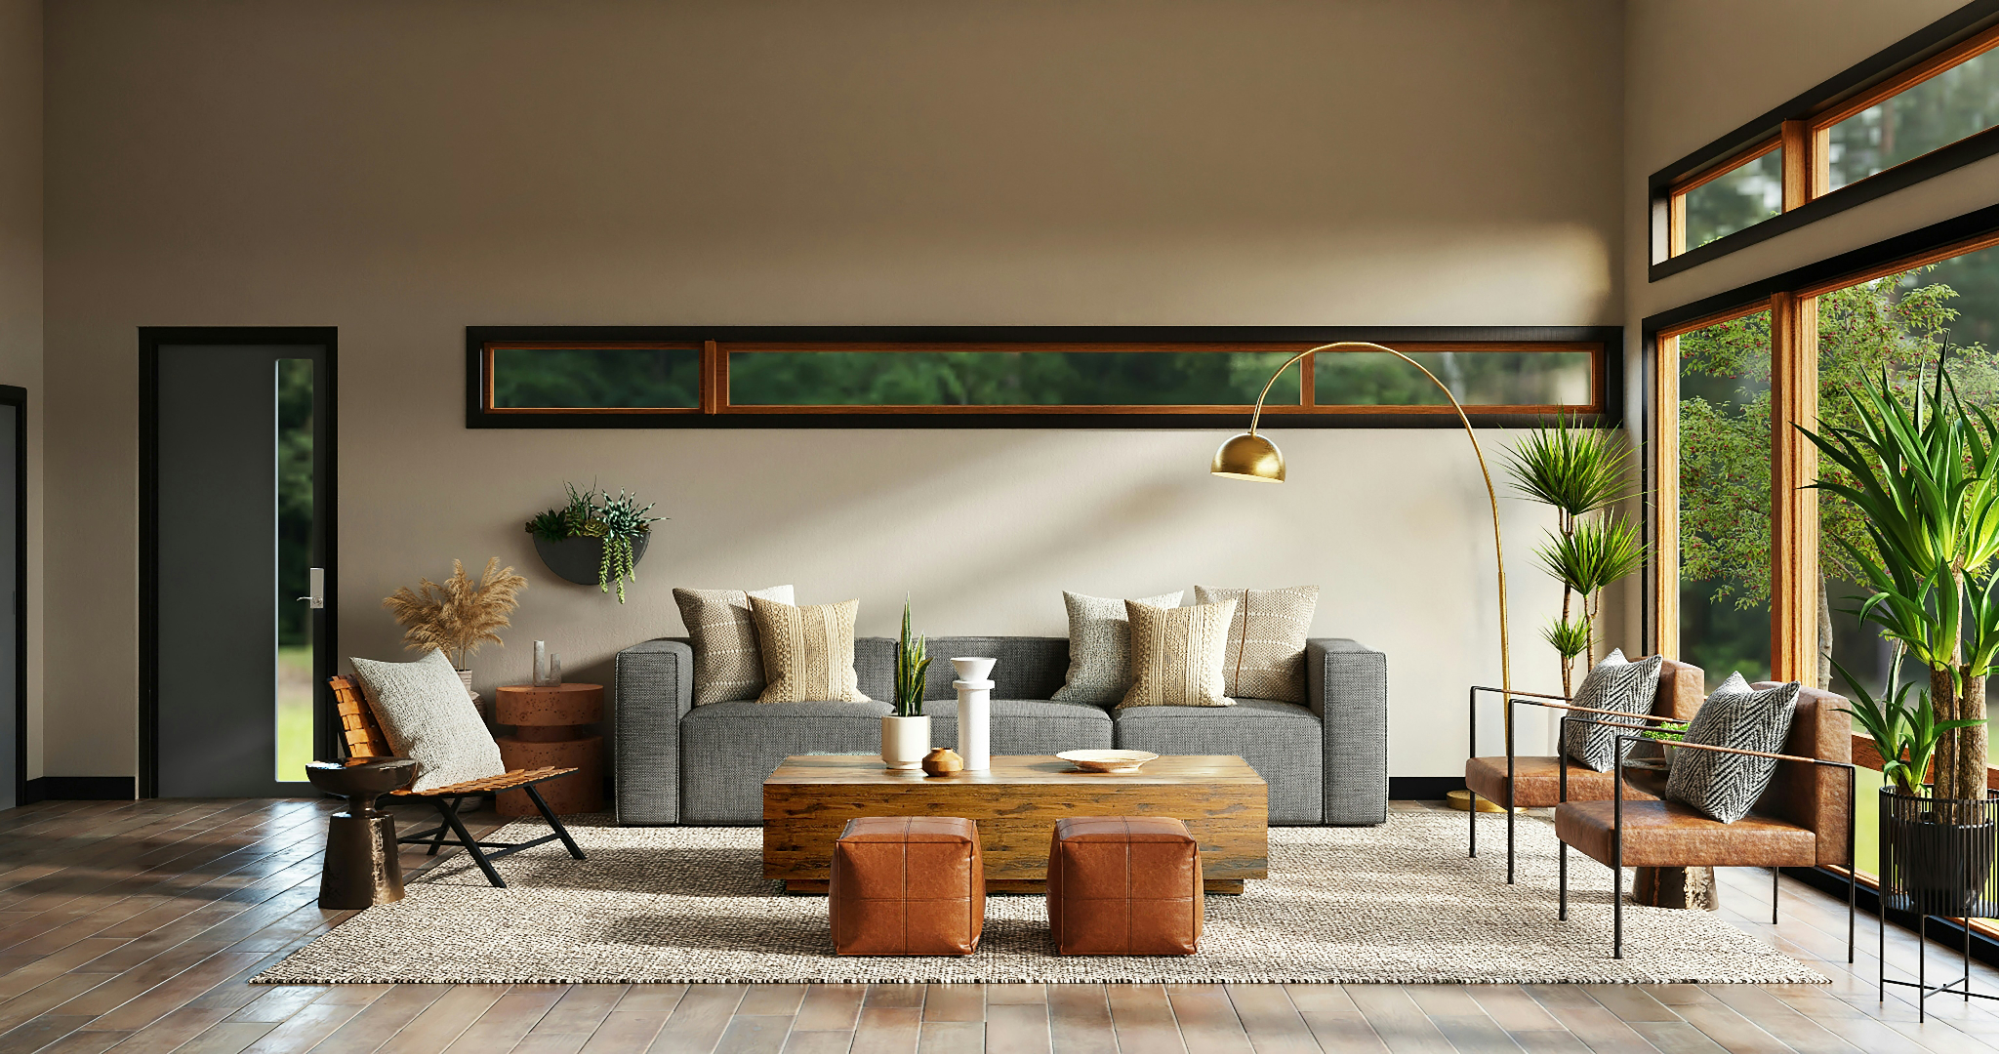
This is where the actual editing happens. But remember the goal. You’re refining the story, not erasing the room.
Remove What Competes With the Hero
Identify objects that pull attention away from your focal point and remove them to avoid disrupting an otherwise clean composition.
Subtraction beats addition in most home photos. That said, don’t automatically remove everything that looks imperfect. Some details give a home its character.
Check the Edges After Removal
This is the step that separates a convincing edit from an obvious one. Zoom in around:
Furniture legs and arms
Plant leaves
Lamps and thin fixtures
Shelves and decorative objects
Fine edges and overlapping objects
Look for halos, missing pieces, strange shadows, repeated textures, or edges that look too clean for the scene. Always compare the edited version with the original before you save it. And remember a useful rule: if the edit becomes more noticeable than the distraction, undo it.
Key Takeaways
A background remover is most useful when it helps people notice what matters. Start with the composition. Style the physical space before you reach for an editing tool.
Use background removal for subjects that benefit from isolation, and use object removal when the room itself needs to stay intact.
Then ask one final question: “Does this edit make the room or design detail easier to appreciate?” If yes, keep it. If the edit is now the first thing you notice, chances are, you’ve gone too far.
Stay up to date with our latest ideas!