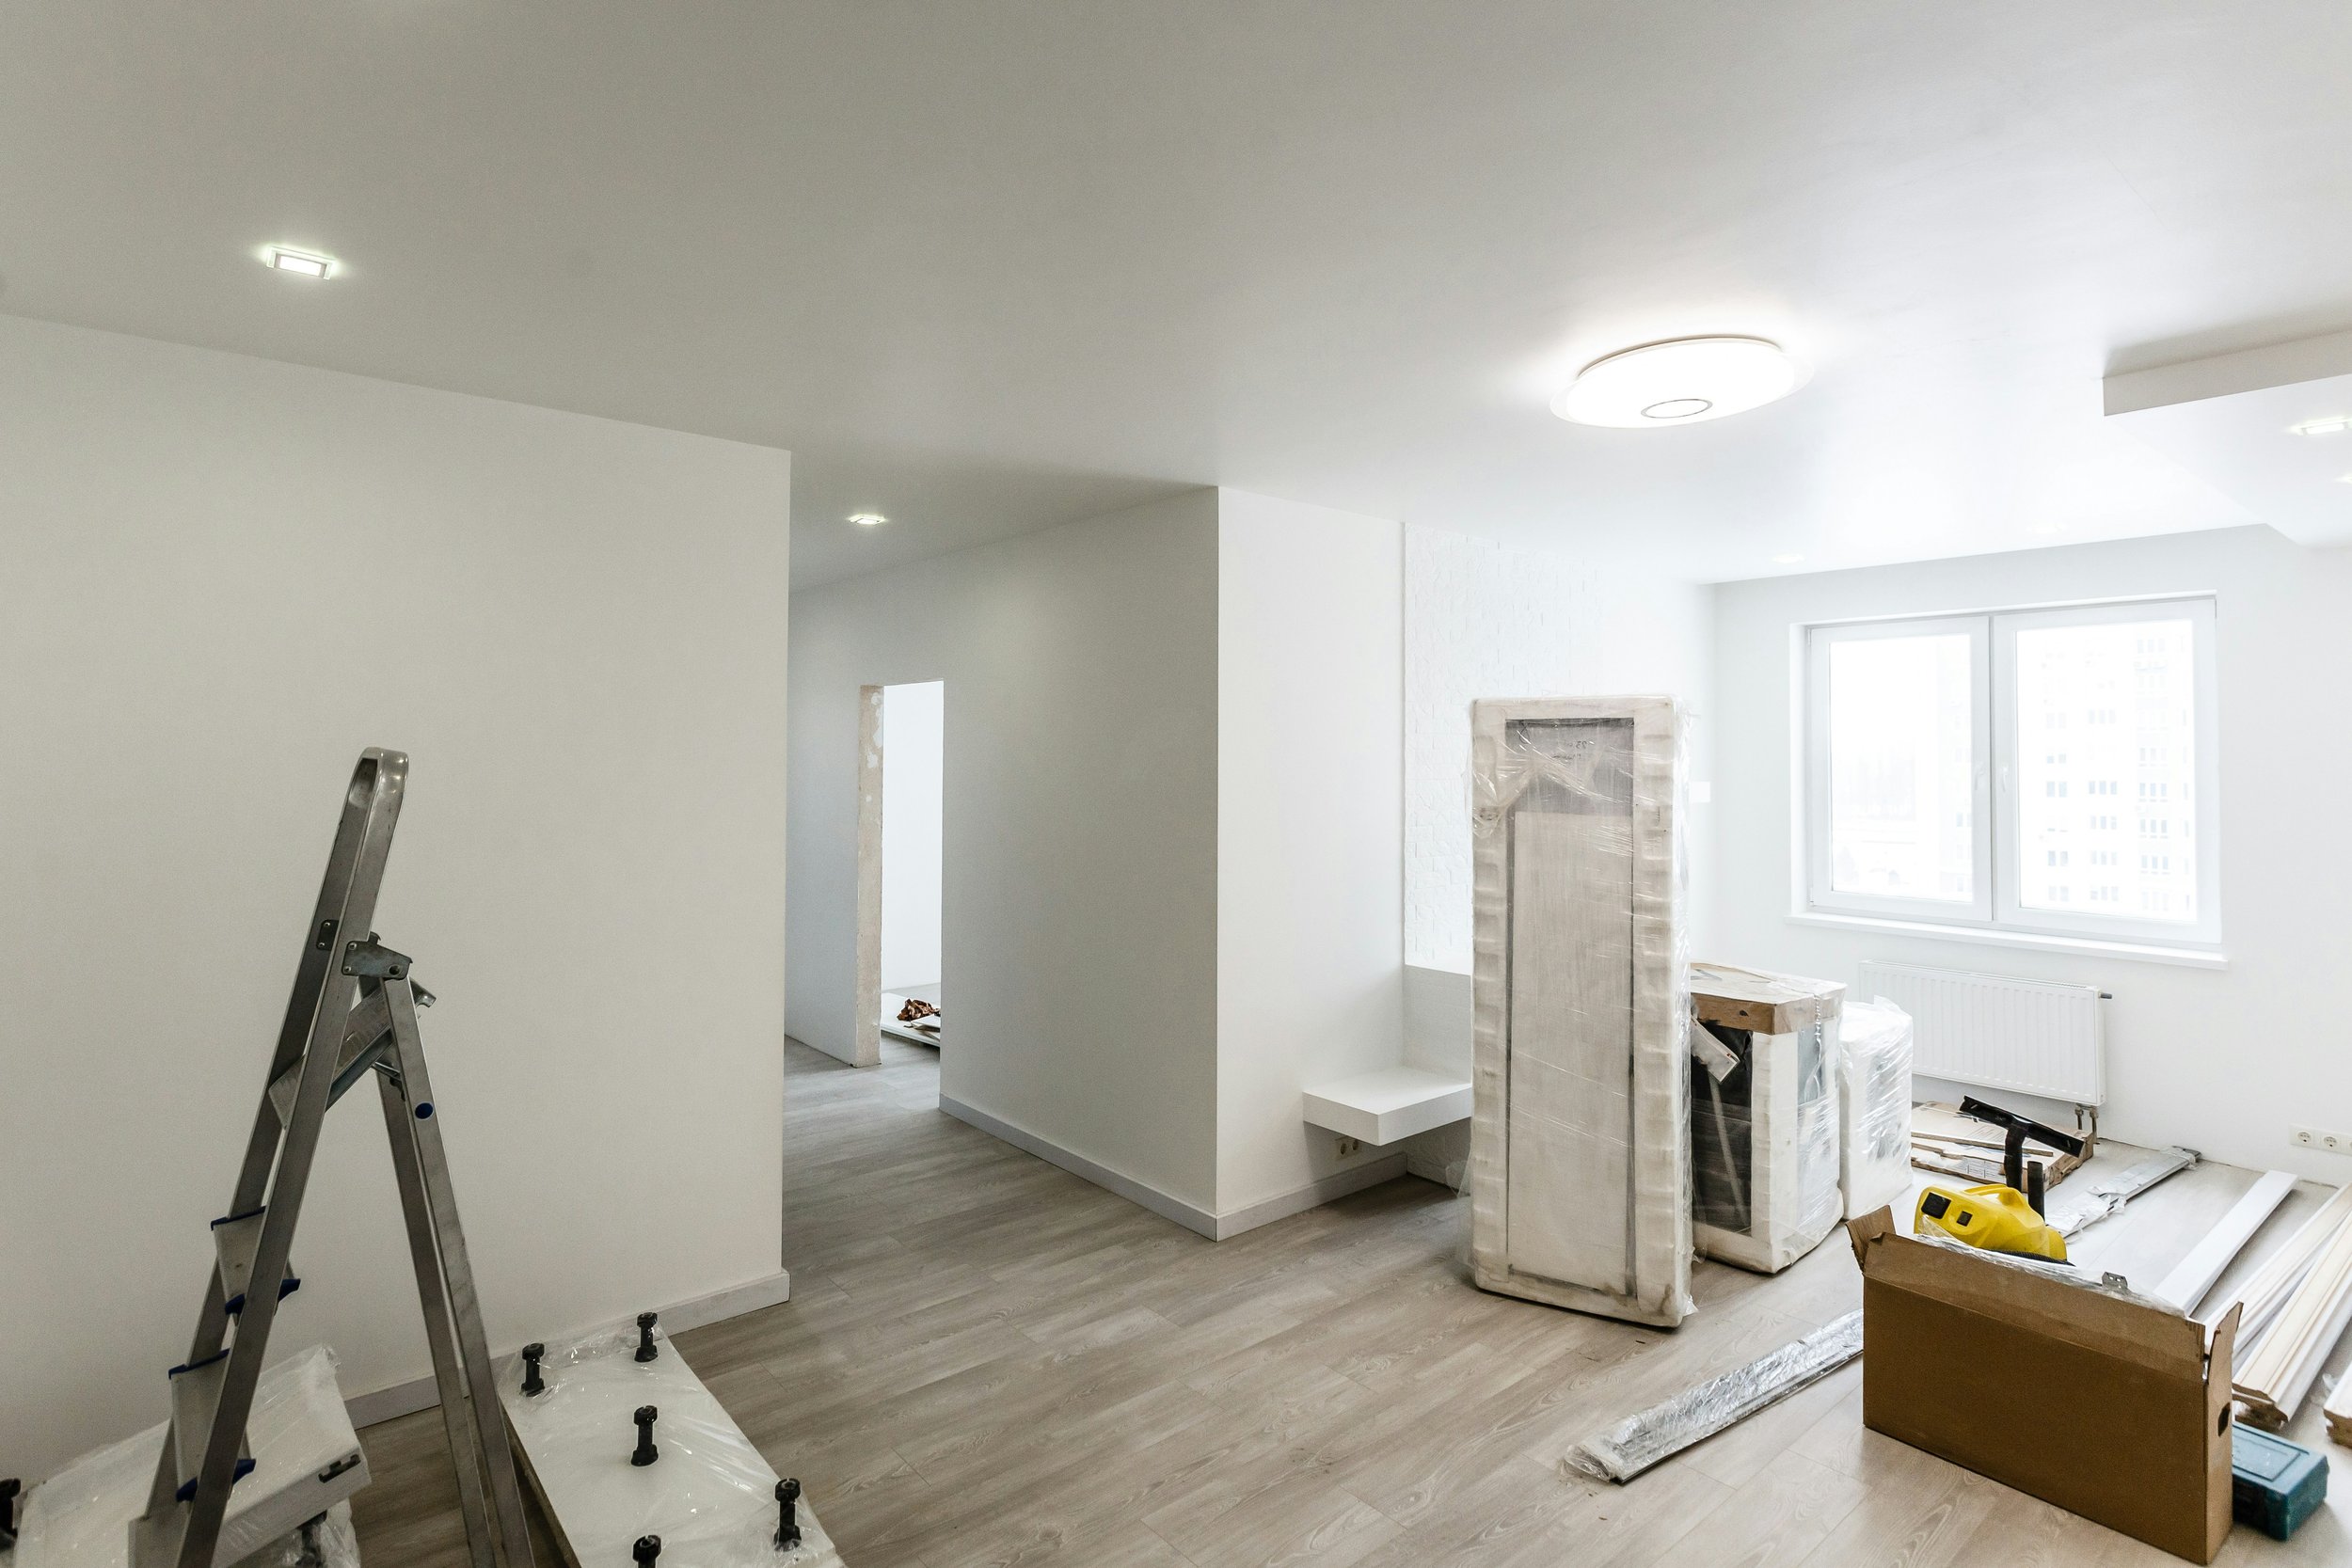
Builder's Renovation Checklist: Specifying Aluminum Cabinet Door Frames and Garage Systems Before Handover
Learn how builders can specify aluminum cabinet door frames and garage systems before handover, with tips for quality, fit, finishes, and installation.

Most renovation delays don't come from the big items. A cabinet door profile gets specified late, a finish doesn't match across rooms, or the garage door still binds on the day of the final walkthrough. Each is a small item on its own, but any of them can hold up a handover and cost you the client's confidence.
This checklist walks through a renovation in five phases and shows where two easily overlooked items belong in your schedule: the aluminum cabinet door frame and the garage system.
Phase 1: Planning and Specifications
Settle the design language before anything is ordered. Aluminum-framed doors suit contemporary kitchens, bathroom vanities, built-in storage, and commercial interiors, so confirm early that the look fits the project.
Checklist:
Choose a frame profile that matches the design intent. You may choose from local manufacturers or online stores, or consider aluminum cabinet door frames at AluminumXDesign and similar manufacturers, which offer five profiles: IS-954 IKS (wide), ISM-956 Mini IKS (narrow, classic-style), VR-5020 (solid), VR-2020 (slim), and SG-4521 (compact).
Confirm the finish. Options include matte black, grey, silver, bronze, sand, and gold anodized, but not every finish comes in every profile, so check the profile page before you promise a finish to a client.
Decide on infill. The frames accept clear, bronze, grey, and frosted glass, so settle whether each door shows or hides what's behind it.
Confirm you can buy. The supplier works with trade professionals only (cabinet makers, furniture manufacturers, designers, builders), so the order has to go through your trade account or your cabinet maker.
Check volume thresholds. Volume pricing starts at 100 sq ft, which is useful for multi-unit or whole-home projects.
Tip: If the client is unsure about finishes, the supplier's Chatsworth, California showroom is open by appointment, and visitors can compare finishes side by side and take samples. A sample in the client's hand settles a lot of second-guessing.
Phase 2: Ordering and Lead Times
Custom components should be locked in before demolition ends, not after.
Checklist:
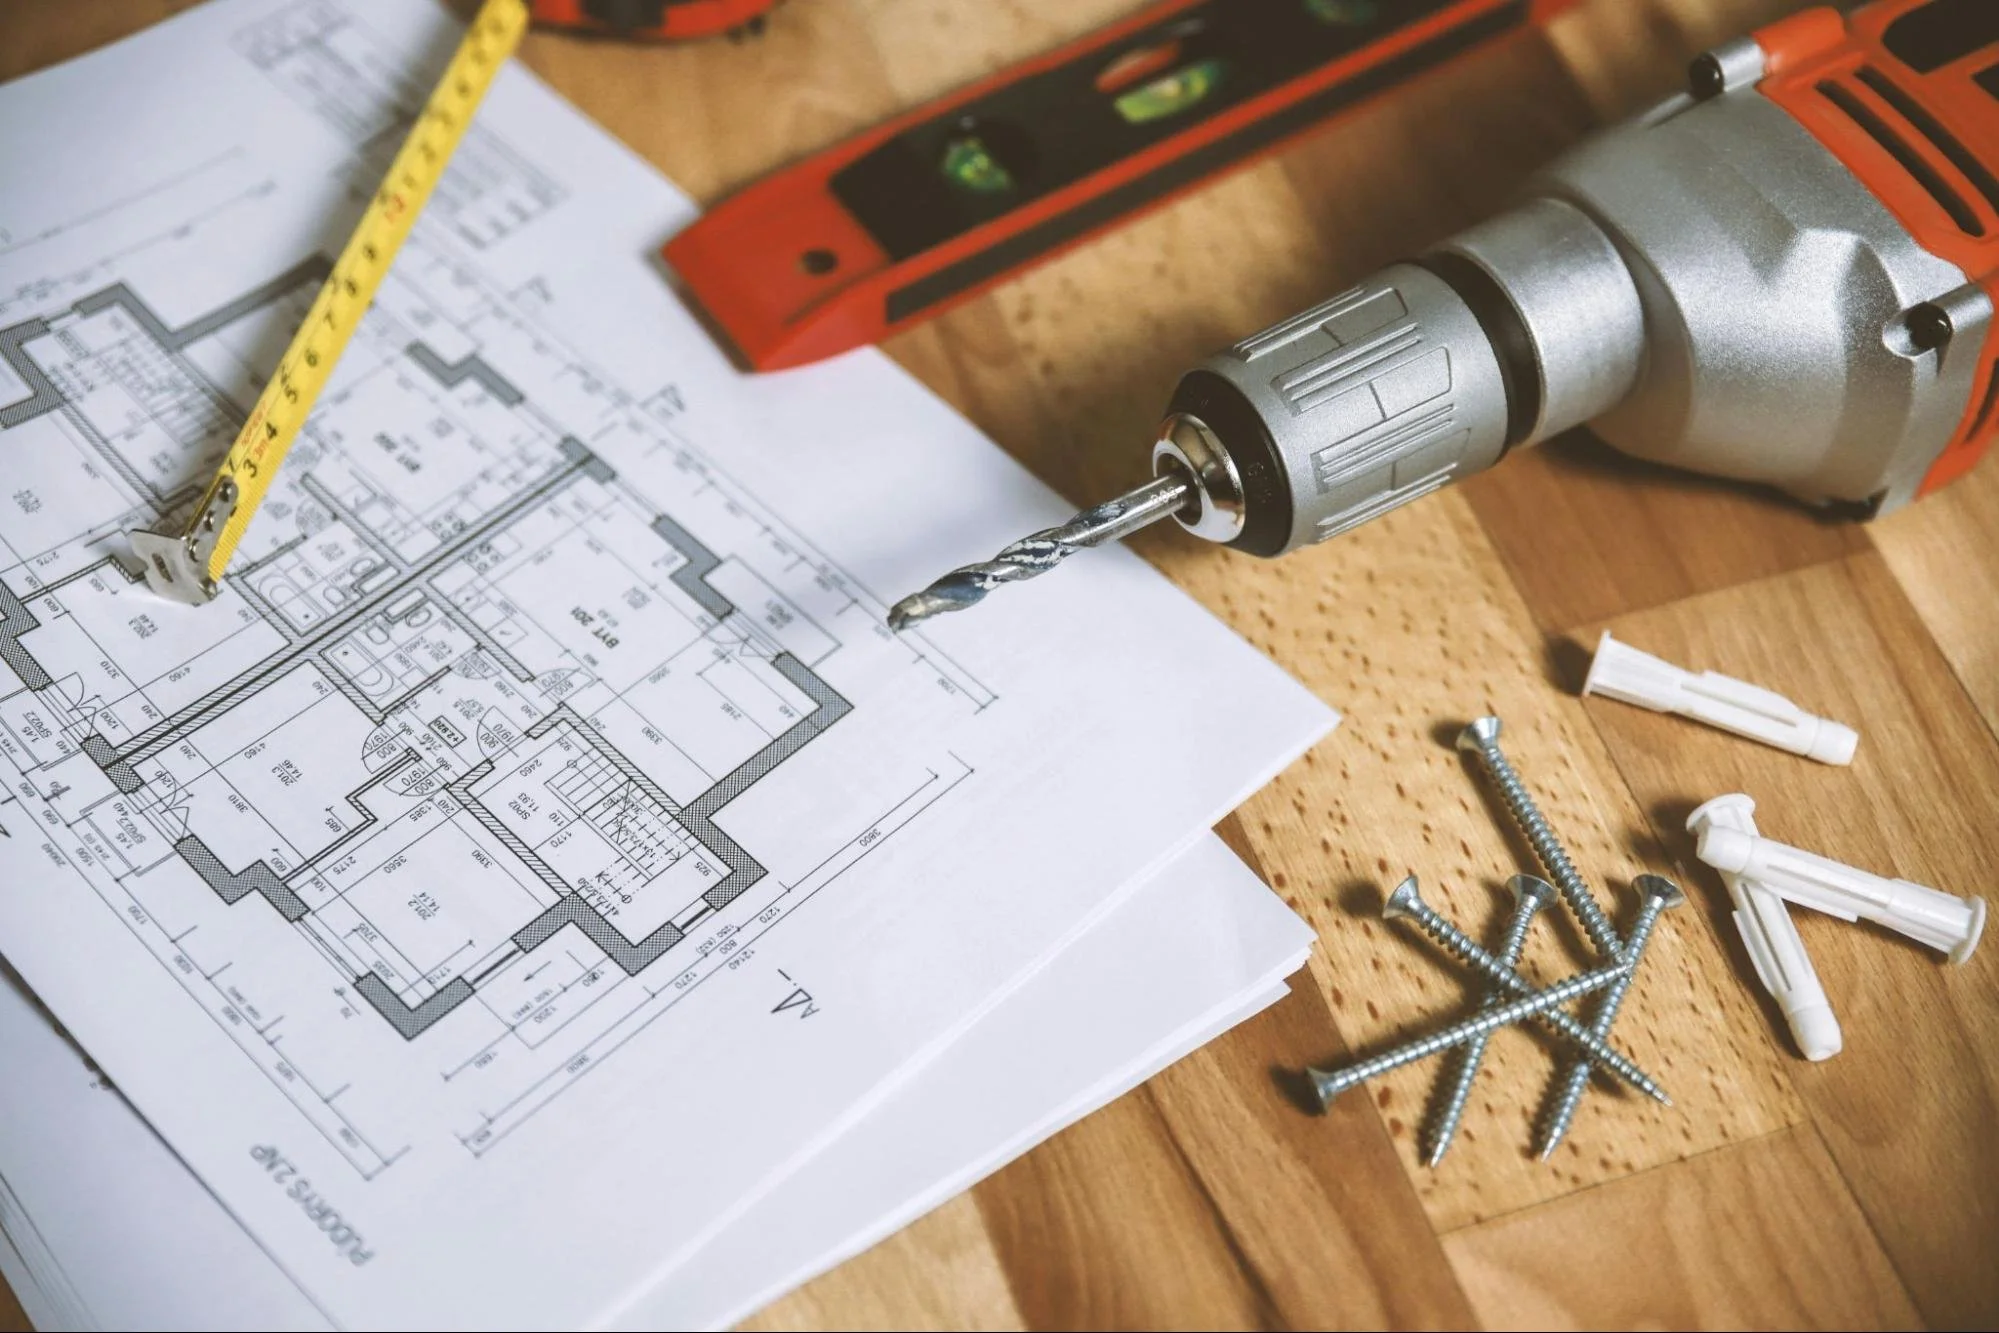
Finalize door dimensions from field measurements, not drawings.
Confirm glass thickness and type with your glazier.
Place the order with enough float. The supplier states roughly 10 business days for most orders shipped within the continental US, but build in a buffer for shipping and for any change orders.
Record the profile code, finish, and quantity in your project file so replacements or additions match later.
Phase 3: Installation Coordination
The wrong sequence causes the most avoidable rework. Anodized finishes and fresh flooring are easy to scratch, so plan the order of trades deliberately.
Checklist:
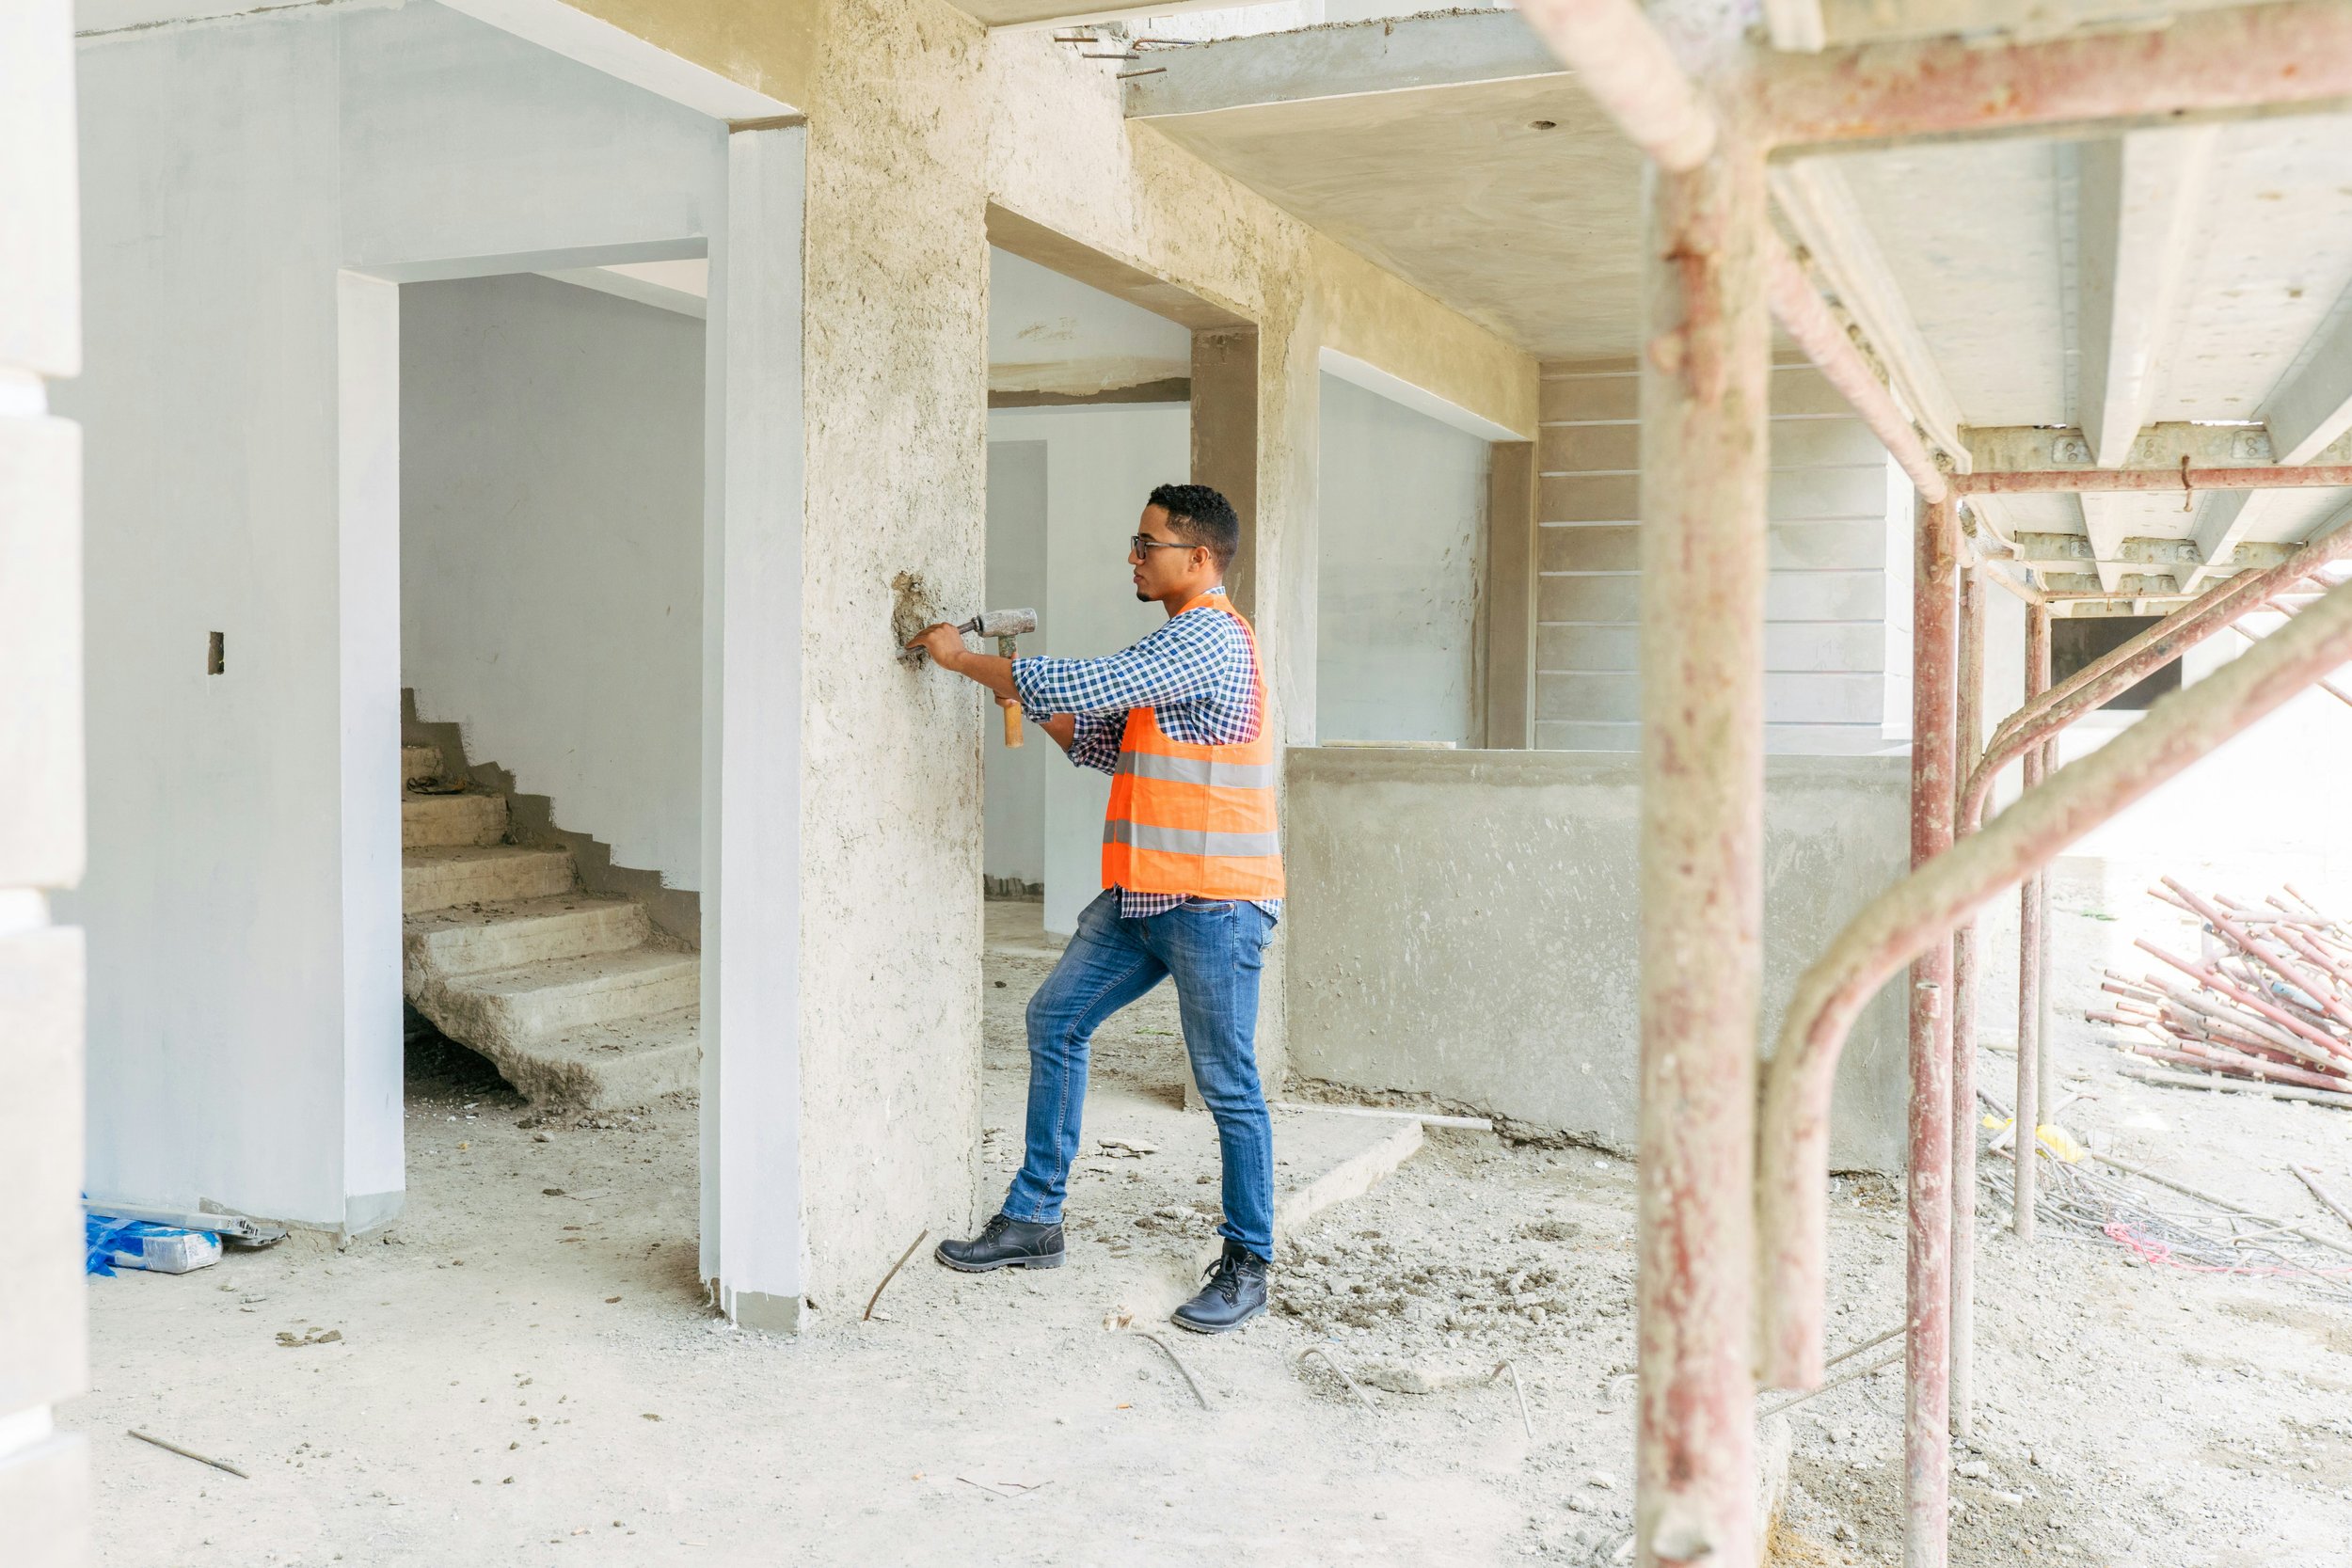
Complete heavy trades (framing, drywall, flooring prep) before delivering finished doors to site.
Store frames flat and protected until installation.
Install cabinet doors after painting and before final flooring protection comes off.
Check reveals and alignment as you go rather than all at the end.
Phase 4: Garage and Utility Systems
The garage is often the last space anyone looks at, and it's where a handover quietly goes wrong. A door that sticks, a sensor that doesn't register, or a spring near the end of its life becomes a callback within weeks. If the garage doubles as a workshop, gym, or storage room, it also carries the same cabinetry and finish expectations as the rest of the house.
When repairs are needed, easy garage door repair in Houston can cover common issues such as spring, cable, track, and panel repairs, along with opener service and sensor alignment. The same service can also include new door installation and garage epoxy flooring. Trucks are stocked with commonly needed parts, so many routine repairs can be completed in one visit, while full replacements and custom doors usually need to be ordered ahead.
Checklist:
Inspect the existing door: panels, springs, cables, rollers, and tracks.
Decide between repair and replacement. A door that is 15+ years old, has multiple damaged panels, or needs recurring repairs is usually a replacement candidate.
Test safety sensors and the auto-reverse function.
Confirm the opener is compatible with the door's weight, especially if the door is being replaced.
Schedule epoxy flooring after heavy work is finished, so the new surface doesn't take damage from installers or equipment.
Ask about warranty terms on parts and labor and record them in the handover file.
For clients who want to bundle upgrades, ask about financing options, which some contractors offer to qualified customers.
Phase 5: Pre-Handover Inspection
Walk the job as the client will, not as the builder.
Final checklist:
Cabinet doors: open and close every door. Check alignment, reveals, finish consistency, and glass fit.
Finishes: confirm every aluminum frame matches the approved sample.
Garage door: run it through several full cycles. Listen for scraping or grinding, and watch for uneven movement.
Sensors and opener: test remotes, wall controls, and safety reversal.
Flooring: check for cured, uniform coverage, with no lifting at edges.
Documentation: hand over finish codes, profile numbers, warranty details, and contact information for each trade.
Final Thoughts
Specifying an aluminum cabinet door early, ordering with realistic lead times, and sequencing the garage work properly protects the schedule and the client relationship. These items rarely make the headline of a renovation, but they're the ones clients touch every day, and they're the ones that generate callbacks when overlooked.
Keep this checklist in your project template, adjust the phases to your workflow, and you'll have fewer surprises at handover.
Stay up to date with our latest ideas!