Master Your Makeover: 7 Digital Planning Hacks That Keep Your Renovation on Track – Without Burning Out
Stay stress-free during your renovation with 7 smart digital planning hacks that streamline your makeover and keep everything on track.

The average home renovation project runs 80% over budget and three months behind schedule. That’s not a fluke—it’s the product of chaotic planning, miscommunication, and stress overload. Ever stared at five versions of the same floor plan, unsure which one your contractor is following? Or tried to recall where you saved that exact shade of sage green you swore you'd paint the guest room? Renovations demand structure. But how do you bring order to design dreams without losing your mind? This article maps out seven digital planning habits that bring clarity, ease, and balance.
Define Before You Design
Every renovation starts with an idea—a mental snapshot of something better. But what begins as inspiration often spirals into confusion. People rush to shop for tiles, scroll Instagram for lighting trends, or sketch rough floor plans without truly clarifying what they want to improve—and why. The result? Expensive detours, endless product returns, and that uncomfortable feeling of "this isn’t quite right." A clear scope of work isn’t just a planning tool. It’s a compass. It defines the direction, avoids drift, and protects your energy.
Before you even think about browsing samples or comparing countertops, ask yourself: What’s the core issue with this space? Is it too dark, too cluttered, too loud, too formal? What works as is—and what feels outdated or dysfunctional? Who uses the room, and at what time of day? A single parent with two toddlers will need radically different solutions than a couple working from home. These answers shape everything from layout to lighting.
Instead of scattering your thoughts across notebooks, voice memos, and screenshots, centralize your vision digitally. Create a cloud folder—Google Drive, Notion, Dropbox, or your platform of choice. Set up subfolders by room. Upload everything: reference images, budget notes, floorplans, product links, and moodboard screenshots. Stay organized by naming files clearly: “GuestBath_WallTile_GreenHex” beats “IMG_2738.” This structure saves time—and sanity.
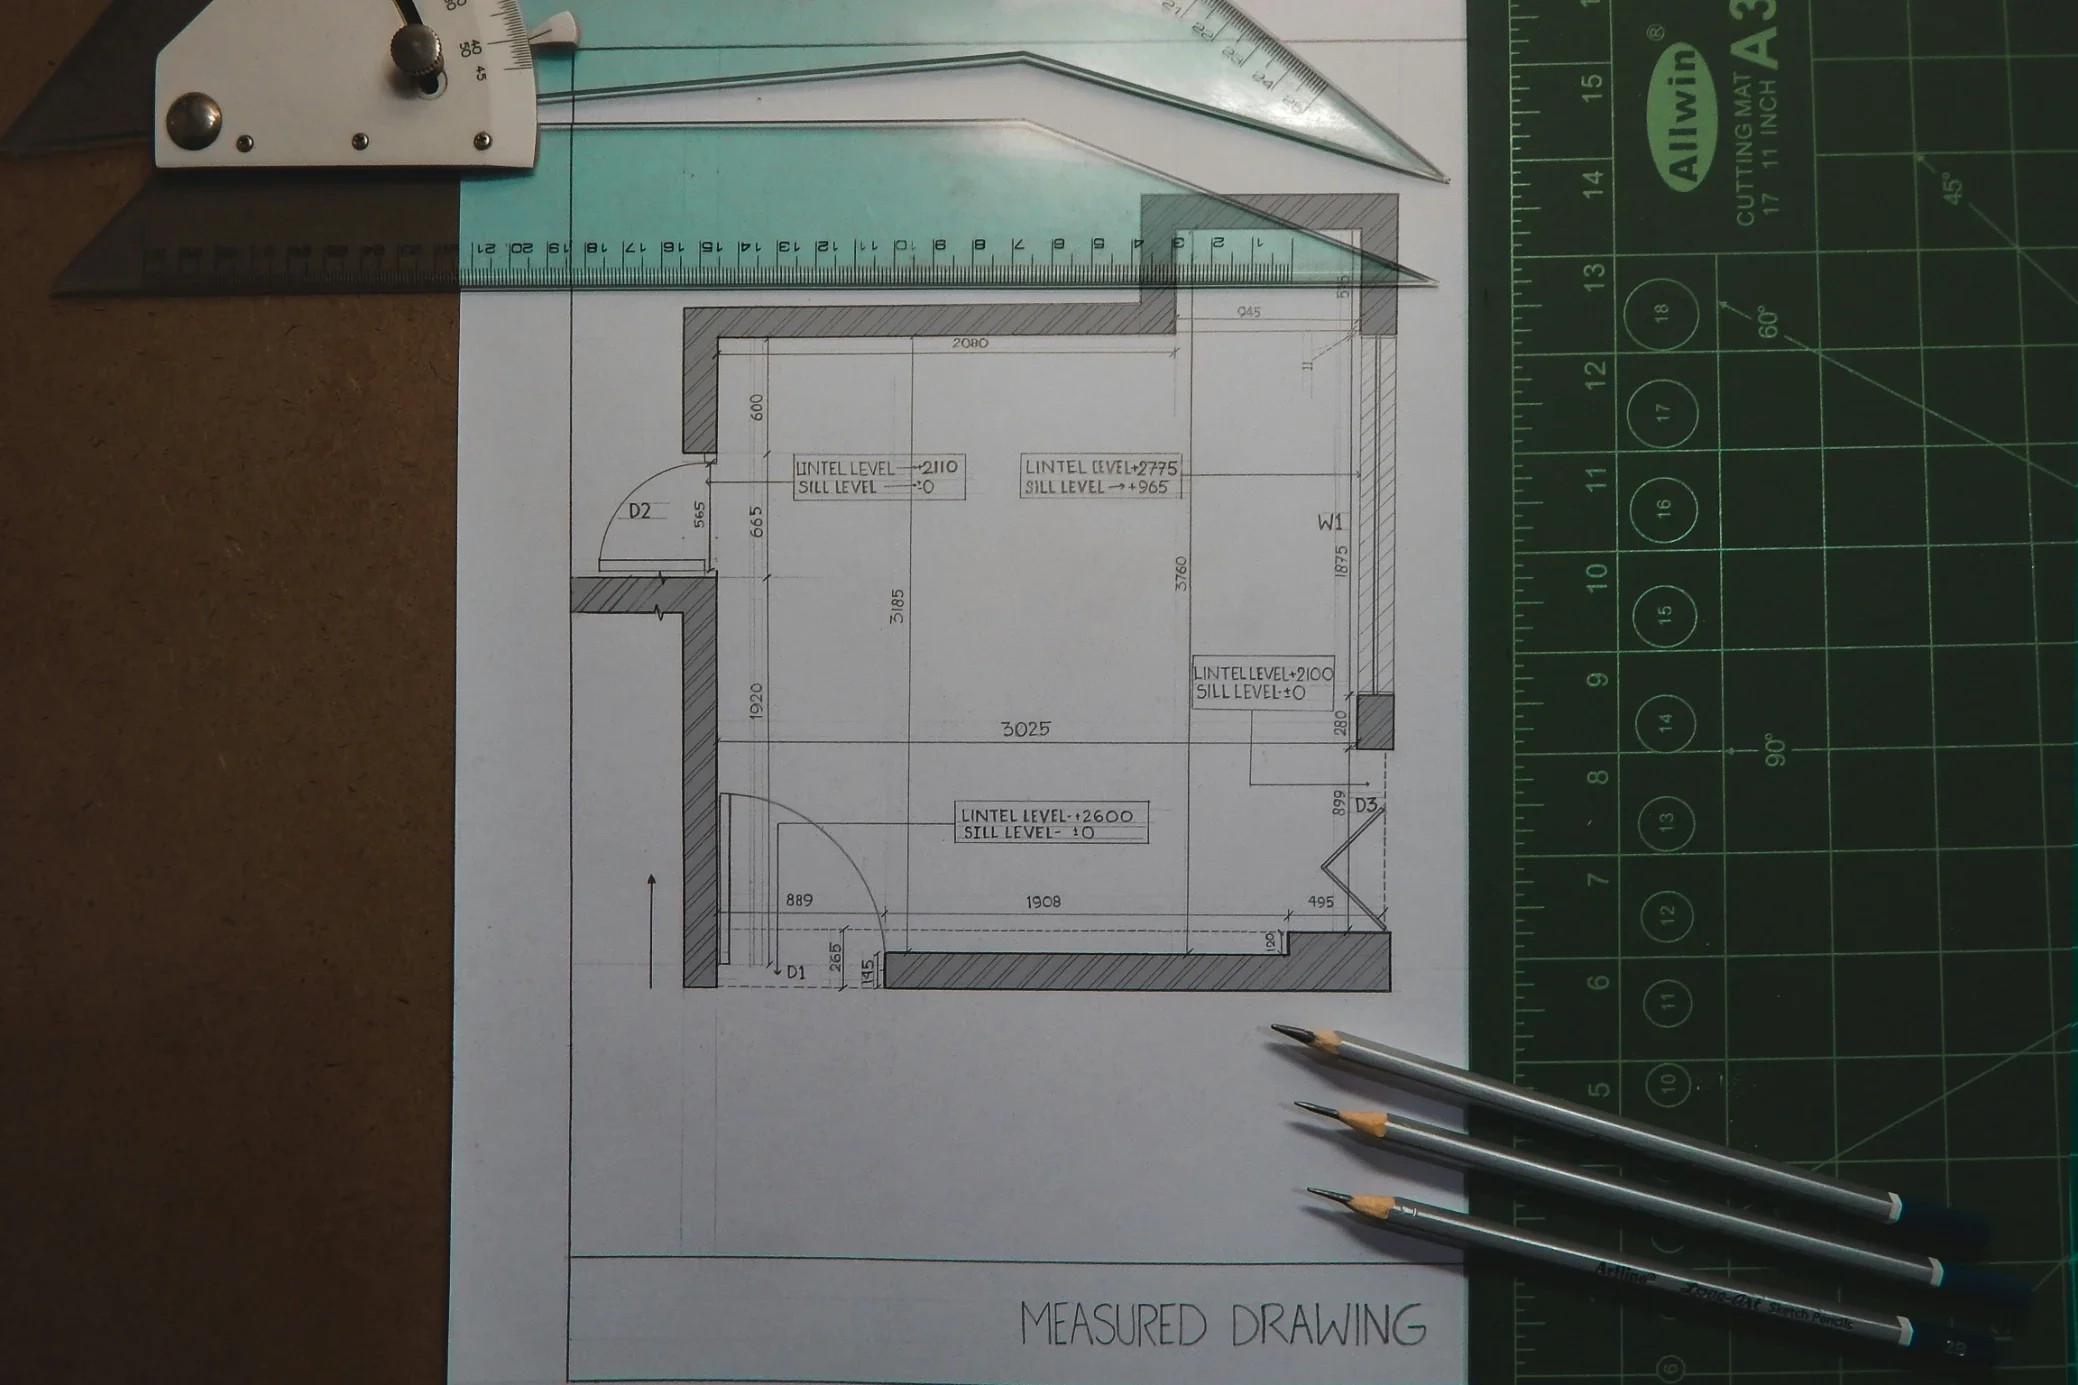
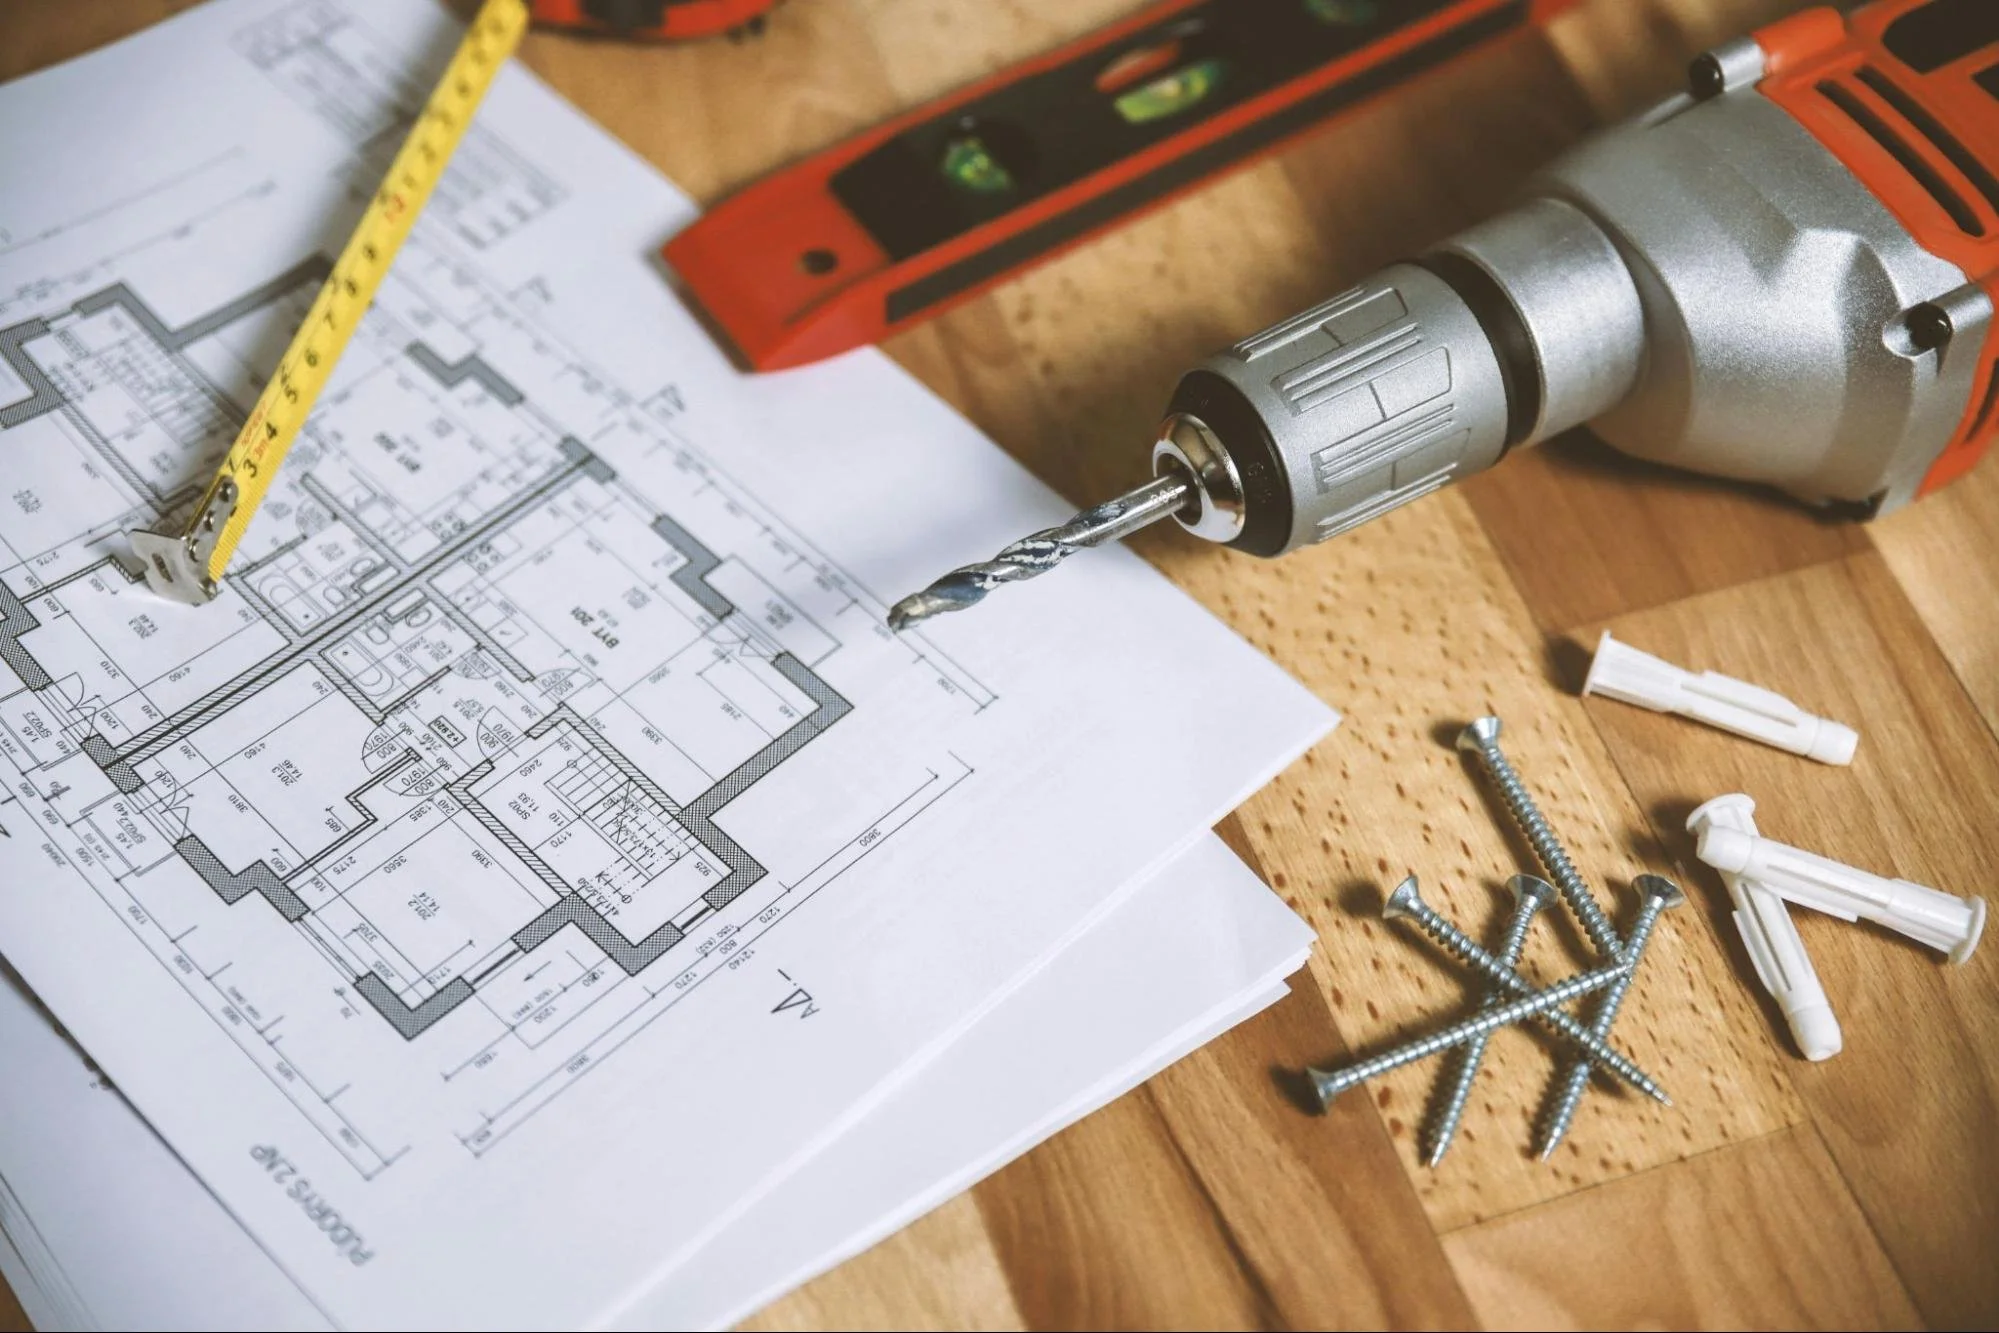
When it’s time to collaborate, clarity becomes even more crucial. Many renovation professionals now use PDF software for architects to communicate visually and efficiently. These tools allow you to open digital floor plans, highlight zones, insert dimensions, add annotations, and pin reference images directly onto the layout. If you're working with a contractor who’s off-site—or multiple trades who need different views—it’s a game changer. Think of it as a digital layer of post-its and notes that travel with your design, wherever it goes.
Prioritize Like a Pro
Not all renovations are created equal. Fixing a structural issue is obviously more critical than painting a bedroom wall, yet many homeowners burn out trying to do everything at once. Time, money, and energy are finite resources. Prioritize accordingly.
Start with your non-negotiables: safety issues, damaged systems (think plumbing or electrical), or anything impacting your daily quality of life. Then sort your “nice-to-haves.” Ask yourself: If the budget got tight, what would you cut first? This mental exercise is more liberating than limiting.
A great digital trick: color-coded labels. In your planning folder, tag files with red (urgent), yellow (optional), and green (easy win). Most digital project boards—like Trello, Asana, or Notion—offer this out of the box. It transforms chaos into clarity.
Build Your Visual Language
Design thrives on mood and texture. But saying "I want a cozy feel" doesn’t help your carpenter understand what you mean. Communicate visually. Moodboards are the single best tool for this. And no, they’re not just for Pinterest influencers.
Use platforms like Canva or Milanote to build drag-and-drop boards for each room. Pull in color swatches, tile samples, lighting shapes, hardware finishes. Include images that capture light, atmosphere, and use of space—not just pretty furniture. Think beyond aesthetics—add photos of real-life moments or spaces that evoke a feeling you want to recreate. These visuals guide your choices later, especially when fatigue tempts you to say yes to the wrong beige.
To take it further, create a “design DNA” slide per room. Define key adjectives (“sunken, earthy, quiet”), materials (linen, matte brass, honed stone), and rules (“no blue, no gloss”). This becomes your style compass—and your sanity check when indecision strikes at the tile showroom.
Schedule Breaks Like Install Dates
Burnout doesn’t just hit professionals. DIYers and homeowners feel it too—especially those juggling full-time jobs, school drop-offs, late-night tile research, and back-to-back delivery windows. Renovating your space is deeply personal, but it’s also deeply physical and mentally draining. When you're working, parenting, and making renovation decisions every day, your brain never really gets to shut off. That’s why recovery time isn’t a luxury—it’s part of the plan.
Schedule breaks with the same commitment you'd give to an appliance delivery or flooring install. Block out entire weekends. Set a no-renovation rule after 8 p.m.—not just for the work, but for the mental load. This is the time to shut down Pinterest, ignore contractor texts, and go for a walk without mentally reconfiguring your pantry layout. Give yourself permission to not think about grout types, wall texture, or budget spreadsheets every single day.
Use a shared digital calendar (Google, Outlook, or Cozi) to layer renovation milestones with “recharge” markers. Add small joys: a Sunday brunch, a walk in the woods, a night with no screens. Sync it with your partner, family, or housemates so they understand—and honor—the rhythm. You’ll find that momentum actually increases after true rest. You’ll return to your decisions more grounded, more clear-eyed, and far less likely to fall for that flash-sale tile you didn’t really need.
Organize Documents Like a Digital General Contractor
Renovations produce paperwork. Receipts, warranty sheets, invoices, permits, paint codes. If you’re storing them in email threads and junk drawers, stop now.
Set up a cloud-based "Home Reno Docs" folder. Subfolders? Yes, please: Plumbing, Electrical, Paint & Finishes, Permits, Invoices, Warranty Info. Snap photos of every receipt and name the file before uploading. Use date and category in filenames: "2024_03_Sink_Invoice.pdf."
Tools like Evernote or Notion can also store notes alongside documents. That way, you remember why you chose that matte nickel faucet or what the contractor said about your subfloor.
Revisit and Reflect Often
Design is rarely a straight line. It's more like a winding path filled with detours, pauses, and second thoughts. What seemed like the perfect choice a month ago—those blush pink terrazzo tiles, that sculptural brass faucet—may now feel off. That’s not a failure in taste. It’s a sign of growth. As your renovation unfolds, your perspective evolves. The key isn’t to lock yourself into every early decision—it’s to stay flexible and revisit your plan regularly with intention, not panic.
That’s where structured reflection comes in. Set a recurring 20-minute meeting with yourself or your household every week. Make it non-negotiable, like brushing your teeth or checking your bank account. Ask three questions: What moved forward this week? What felt frustrating or unclear? What’s coming up next—and are we ready for it? Keep it short. Brew tea, open your planning app or journal, and keep the tone constructive. These mini check-ins are powerful antidotes to overwhelm. They stop projects from drifting, help surface issues early, and give you a moment to breathe between all the decisions.
Prefer to keep things digital? Start a “Reno Journal” in Notion, Evernote, or a simple Google Doc. Create one page per week. Upload a snapshot of your progress—a painted wall, a delivery box, even a messy work-in-progress shot. Then add three bullet points: one win, one challenge, and one lesson. Maybe you learned that a matte finish hides fingerprints better, or that daylight hits differently at 4 p.m. than you expected. Over time, this journal becomes more than a project log. It’s a time capsule of creativity, effort, and problem-solving. And if you ever renovate again—or help a friend—you’ll have a real, honest roadmap to return to.
Create a Feedback Loop for Your Future Self
Finishing a renovation can feel like crossing a finish line—equal parts exhaustion and elation. But smart planning doesn’t end at the last coat of paint. The most valuable thing you can do once the dust settles? Capture what you’ve learned, while it’s still fresh. Because this won’t be your last project.
Set aside 30 minutes for a “project exit session.” Sit down with your Reno Journal, folders, and memory. Ask yourself: What worked beautifully? Where did things go sideways? What would I do differently next time?
Write down your contractor’s contact details (would you hire them again?), the store that gave amazing service, and the paint brand that actually lived up to its no-drip promise. Save the product links you loved—and the ones you regretted. Note which planning hacks were most helpful and which you skipped.
Now turn that reflection into a “Renovation Reference Kit” for future-you—or a friend who’s about to start their own project. Save it in a clearly labeled digital folder. Include your final budget, moodboard screenshots, favorite suppliers, and before–after photos. This isn’t just documentation—it’s design wisdom. You’ve earned it.
Stay up to date with our latest ideas!