The Lighting Layer That Finally Fixes Shadowed Kitchen Countertops
Discover the lighting layer that can fix shadowed kitchen countertops, with practical ideas for better task lighting, placement, brightness, and visibility.
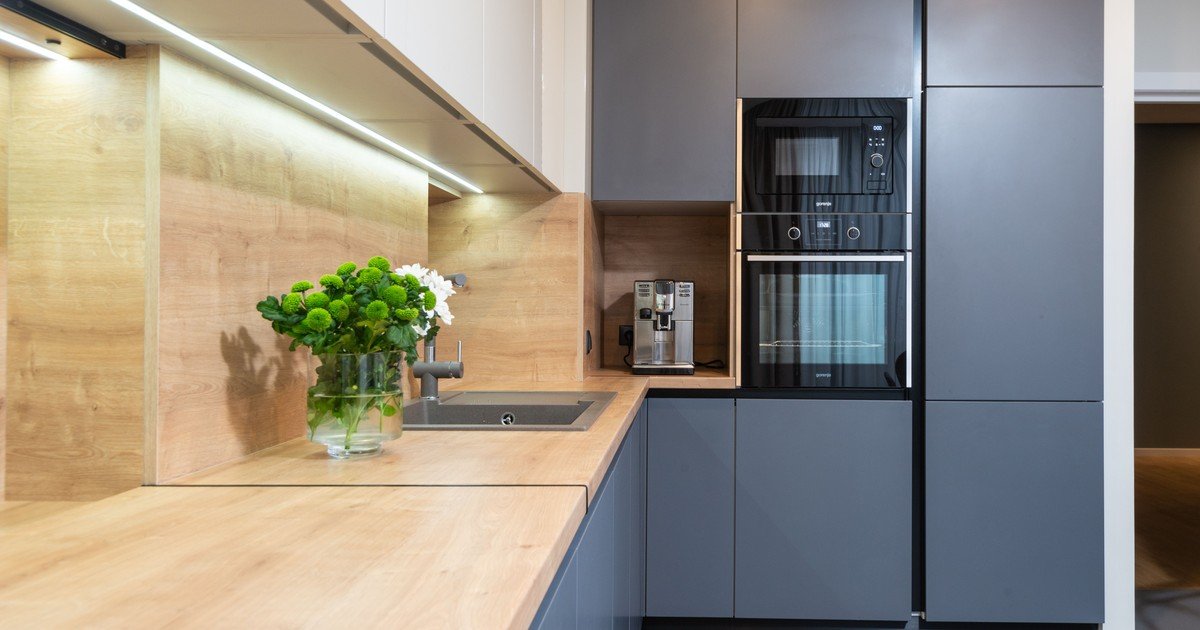
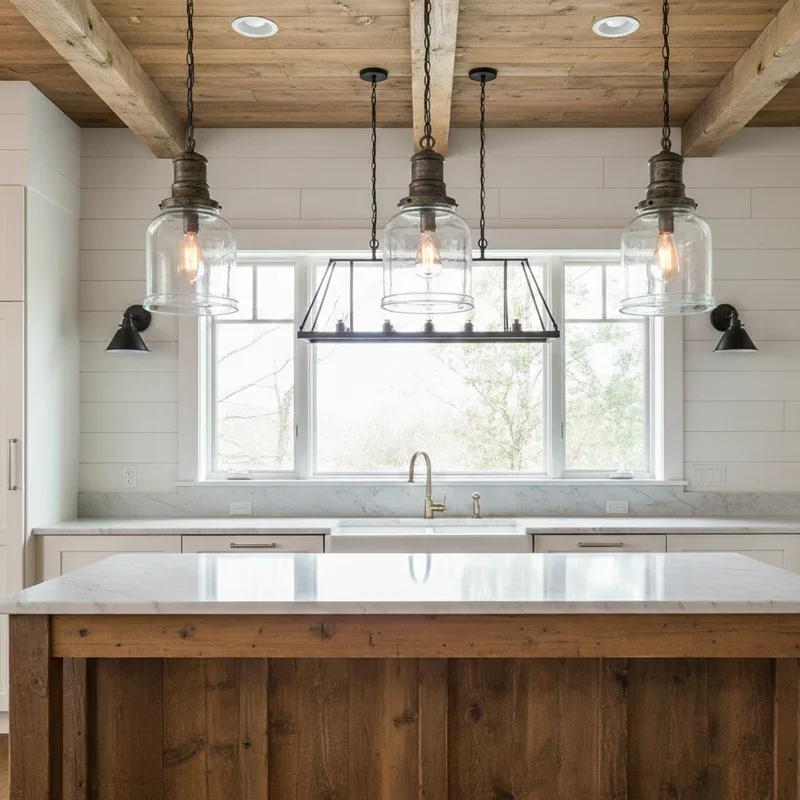
A kitchen can look bright from across the room while the main work surface still feels dim once food preparation begins. Shadowed kitchen countertops appear when overhead light is blocked by upper cabinets or by the person standing at the counter. The problem comes from where the light is placed and how it reaches the work surface. A dedicated layer closer to the countertop improves visibility, reduces harsh shadows, and supports detailed work at the counter.
Why Bright Kitchens Can Still Have Shadowed Countertops
A room can feel evenly illuminated while the work surface receives far less useful light, especially along counters that sit beneath long runs of wall cabinetry. Ceiling fixtures send light downward from a distance, and upper cabinets interrupt part of that path before it reaches the counter, particularly when fixtures sit farther toward the center of the room.
When someone steps forward to prepare ingredients or read a recipe, their head and shoulders block another portion of the beam. This creates a darker zone directly around the hands, even when the surrounding floor, walls, and open areas remain bright.
Why More Overhead Lighting Does Not Always Fix the Problem
Increasing the lumen output of ceiling fixtures makes floors, walls, and open areas appear brighter without changing the angle at which light reaches the counter. A person standing between the source and the work surface continues to cast a shadow over the preparation area. Adding more fixtures may improve general illumination, yet poorly planned placement introduces glare, uneven brightness, or excessive contrast across the room.
Separating ambient lighting from task lighting gives each layer a specific role and prevents fixture additions that fail to address the source of the shadow. Ambient fixtures establish overall visibility, while a dedicated task source places light closer to the counter where detailed activities take place.
How Under Cabinet Lighting Changes the Lighting Geometry
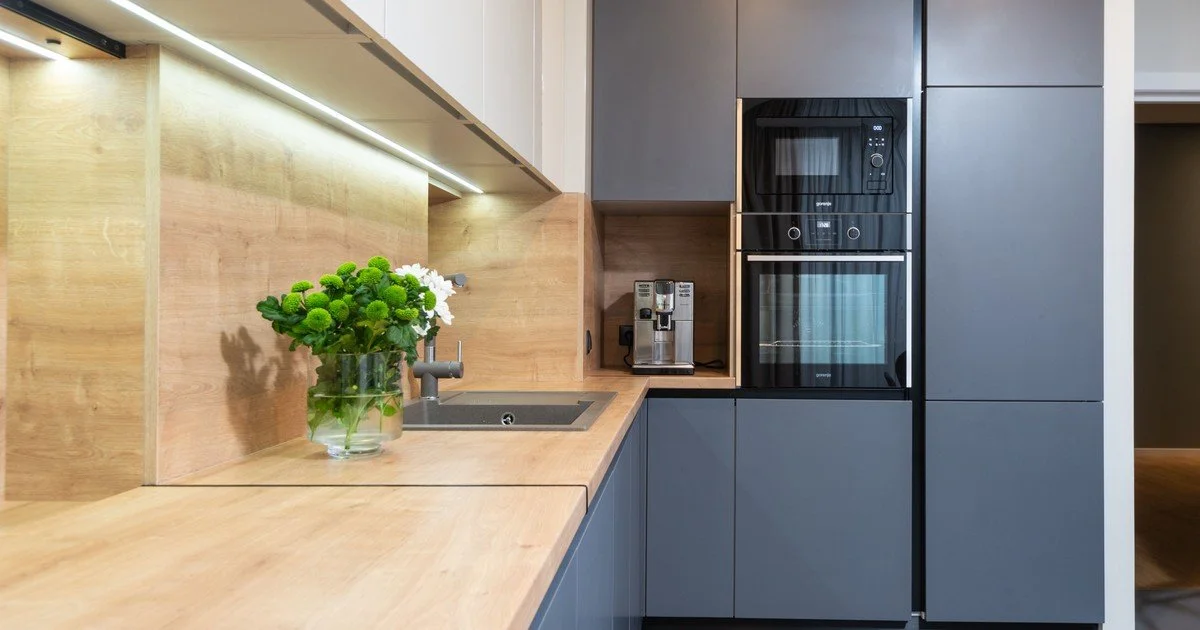
Under cabinet lighting moves the source closer to the work surface, changing how light reaches the area where hands, utensils, and ingredients are used. A fixture mounted beneath the upper cabinet directs illumination downward over a much shorter distance, so the body is less likely to interrupt the beam. This positioning creates a direct task layer without relying entirely on fixtures several feet above.
That shorter path fills the visual gap between the underside of the cabinets and the countertop. Rather than brightening an entire kitchen to improve one work area, the light concentrates where detailed activity takes place. Recessed fixtures continue to provide ambient illumination for circulation and general visibility, while the under cabinet layer handles focused work along the perimeter counters.
Where Under Cabinet Lights Should Be Positioned
Performance depends on where the fixture sits beneath the cabinet. Mounting it closer to the front edge directs more light toward the usable work surface, while a position near the backsplash sends a larger share of illumination onto the wall instead. The aim is to place the source where its beam reaches the center and front portion of the counter with minimal obstruction. On deeper counters, rear-mounted fixtures leave the front working zone darker.
Each cabinet section should be considered in relation to the countertop below it, including corners, appliance gaps, and areas used most often for preparation. Consistent spacing reduces abrupt bright spots and dim patches, while considered placement keeps light on the surface rather than creating glare on polished finishes. Resolving the layout before installation also makes it easier to select fixture lengths that suit each cabinet run cleanly.
Choosing the Right Light for Countertop Tasks
Useful countertop illumination depends on light quality as much as placement. A color temperature between 3000K and 4000K gives kitchen work areas a balanced appearance, with enough clarity for preparation while staying comfortable alongside common interior finishes.
High color rendering makes ingredients, dishes, and countertop materials appear more natural, which supports accurate visual judgment during preparation. Brightness should suit the short distance between the fixture and the work surface, since excessive output creates glare or harsh reflections on polished stone and glossy backsplashes.
Dimming allows stronger illumination during detailed tasks and softer light later in the evening, while a consistent color temperature across nearby fixtures keeps the kitchen visually coordinated.
Tips for Creating Even Coverage Across the Countertop
A single source brightens one preparation area while leaving the next cabinet section noticeably dimmer. Planning illumination across the full usable counter run creates a smoother transition between work zones and reduces isolated pools of brightness. Sinks, ranges, tall appliances, and cabinet breaks interrupt the layout, so each section may need its own fixture or connection strategy to maintain consistent coverage. Hardwired installations provide a cleaner integrated appearance during remodeling, with separate controls where countertop zones serve different tasks.
Bringing Better Light to the Work Surface
When countertops stay dim in an otherwise bright kitchen, the solution lies in better light placement. A dedicated task layer brings illumination closer to the work surface, reduces disruptive shadows, and creates a clearer, more comfortable surface for detailed work.
Stay up to date with our latest ideas!