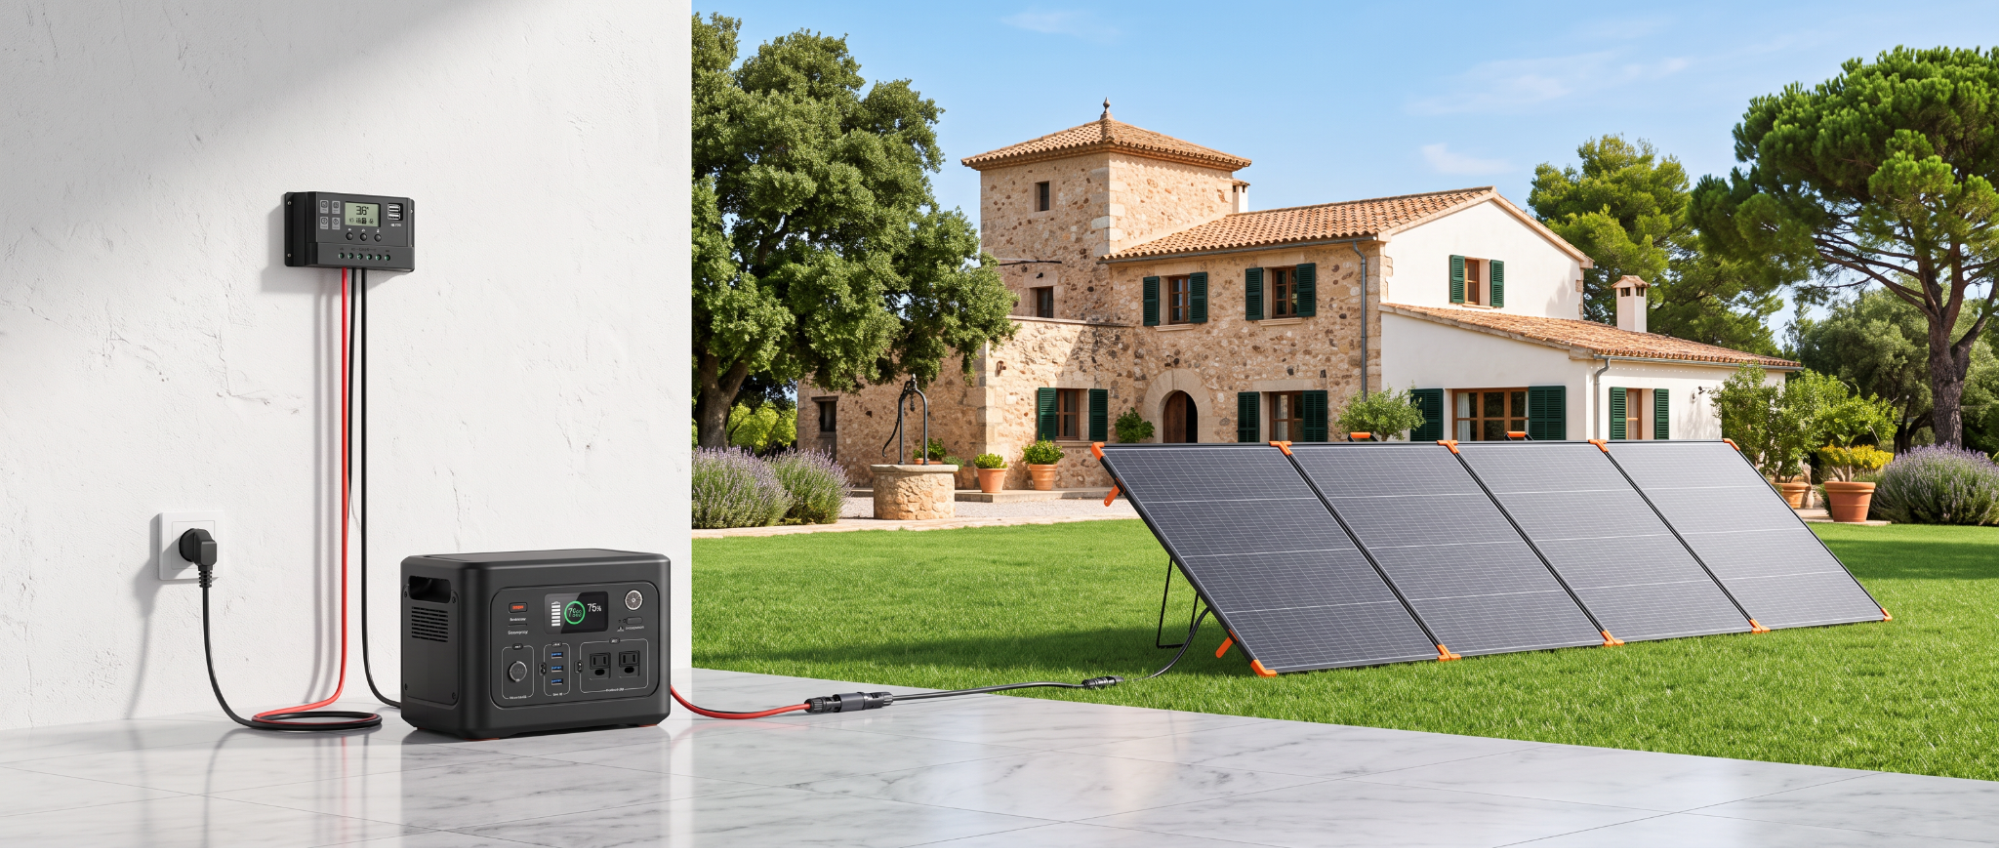
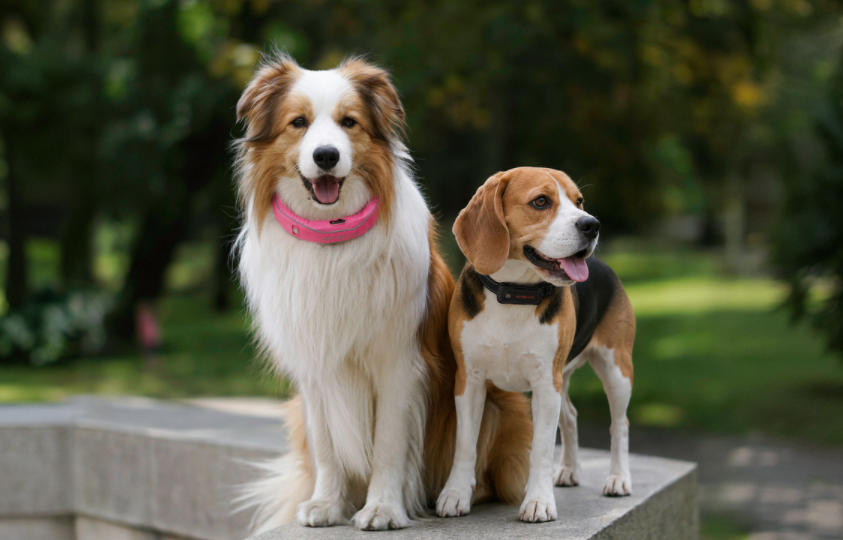
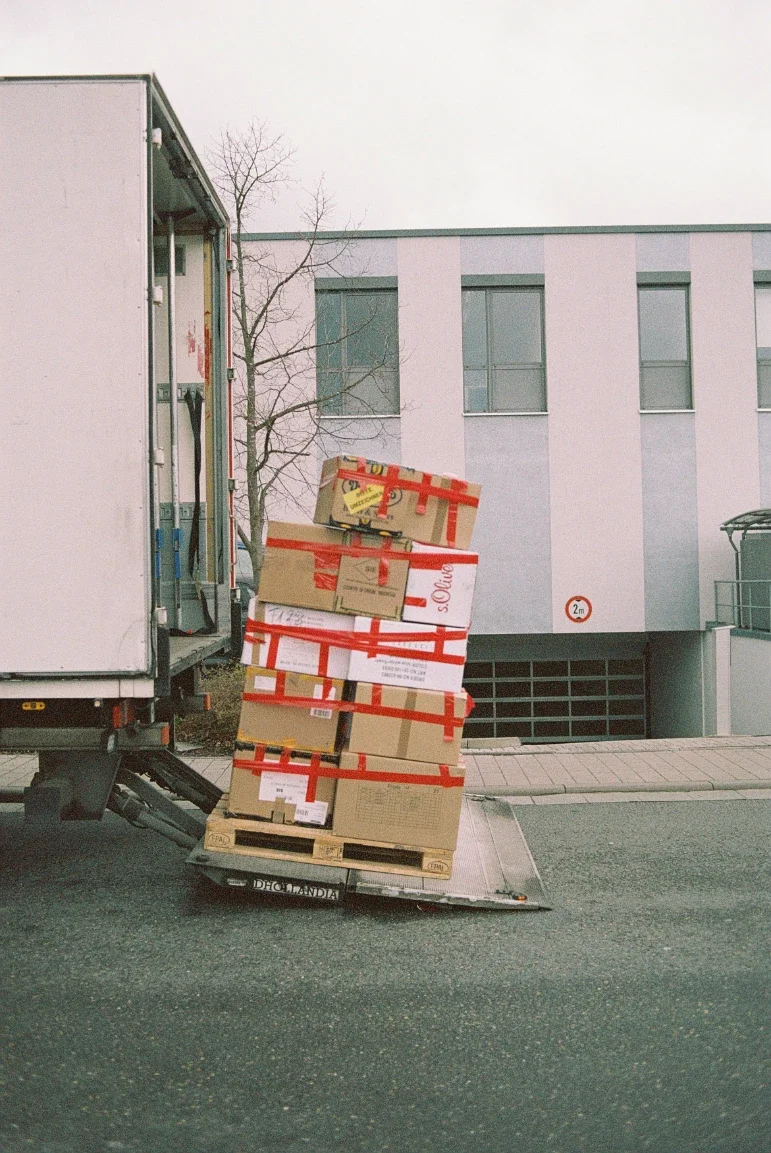
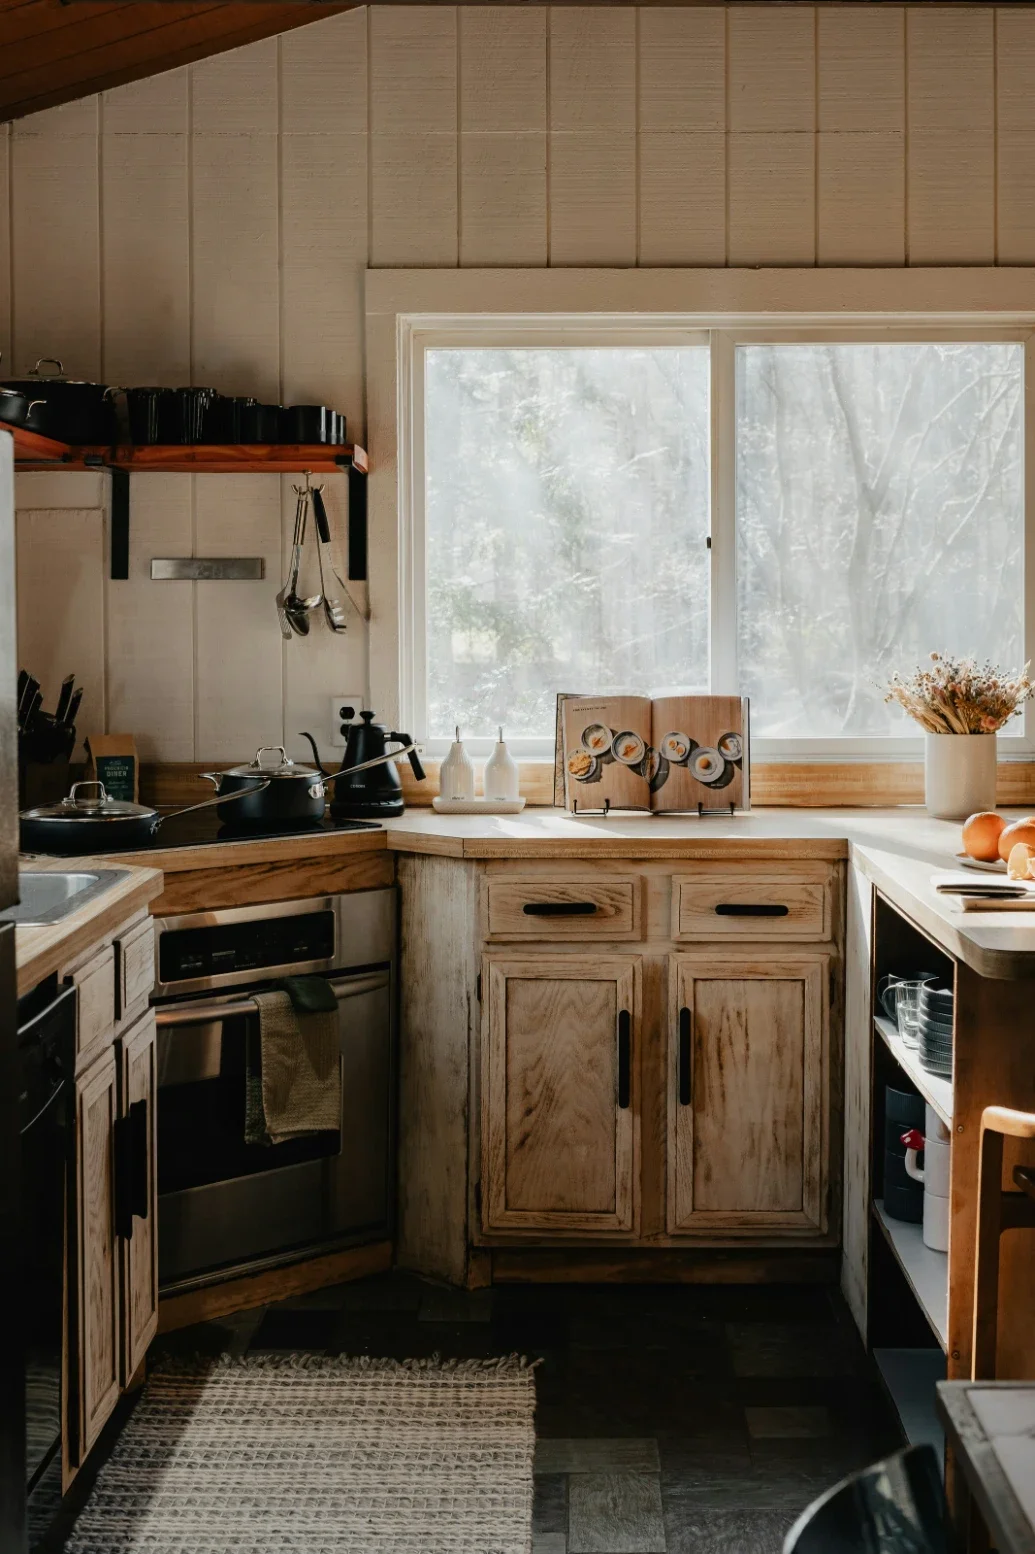
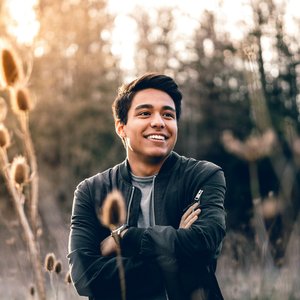
Learn how AI can expand images for banners and layouts, creating seamless visuals that fit different dimensions while preserving quality and consistency.
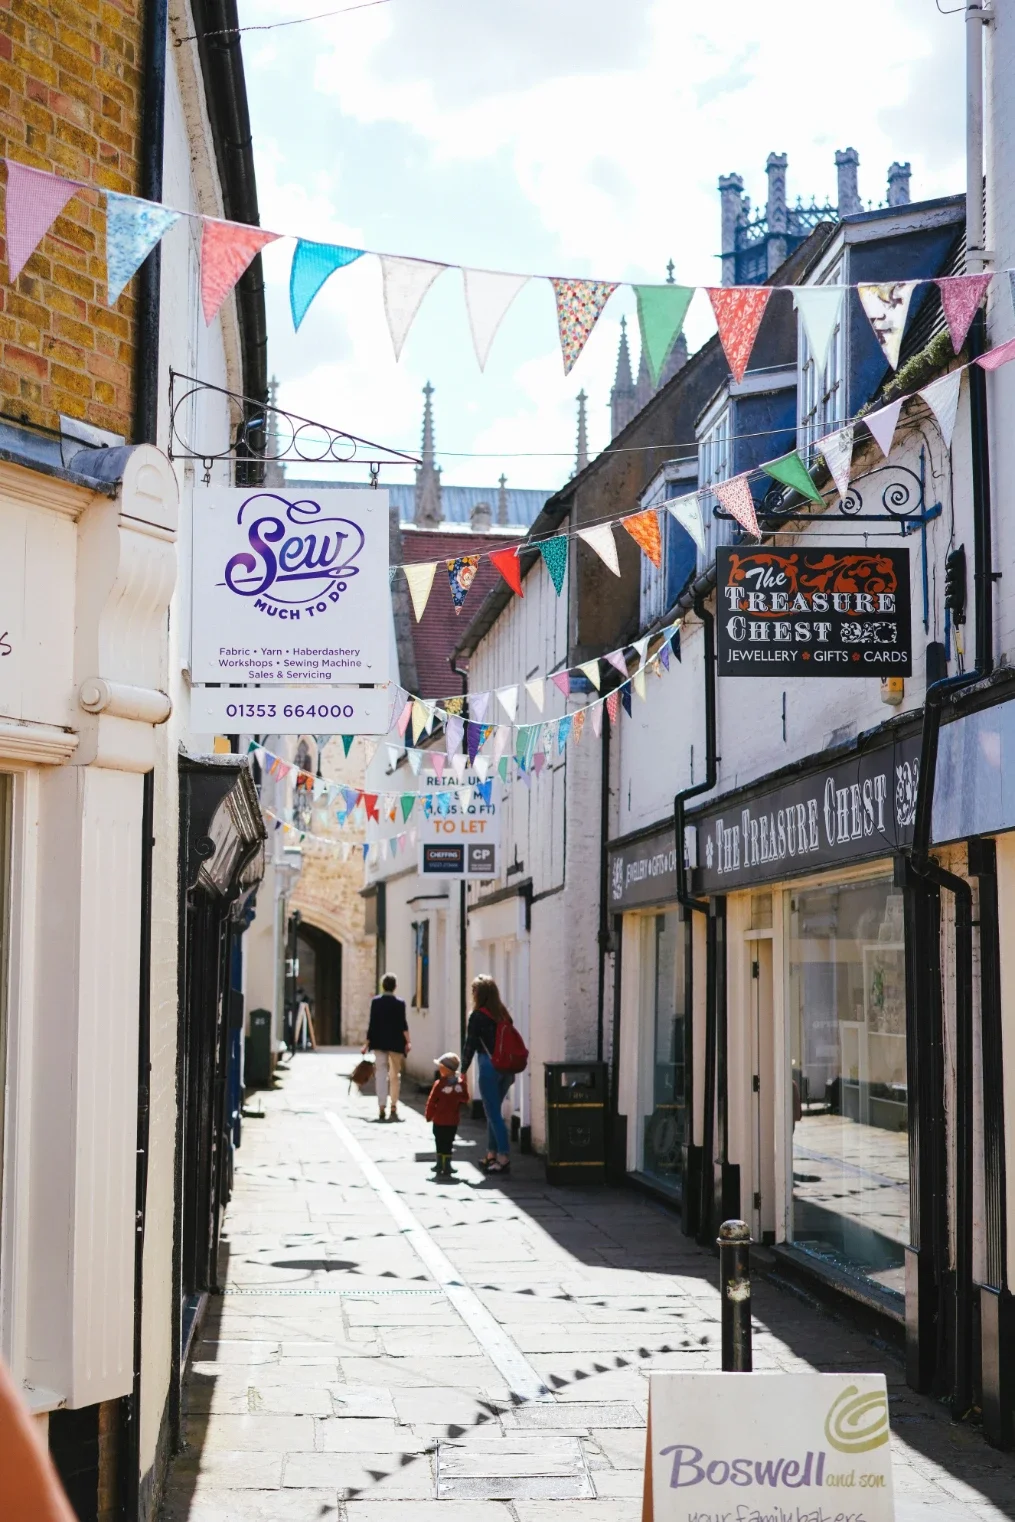
A good image does not always fit the space where it needs to be used. A product photo may work well in a square post but leave no room for a headline. A portrait image may look strong on a mobile screen but become difficult to place in a wide website banner. Cropping can solve part of the problem, but it may remove the subject or make the composition feel unbalanced.
AI image expansion offers another option. Instead of cutting away parts of an image, the tool extends the canvas and creates new areas that match the original scene. This can make an image work in more layouts while keeping the main subject visible.
For creators who need quick variations, an ai expand image online workflow can help turn one source image into banner, social media, presentation, and promotional formats. The result still needs review, but the process can be faster than arranging a new photo shoot for every size.
What Is AI Image Expansion?
AI image expansion is a process that adds new space around an existing image. The original image remains in the center or on one side, while the AI creates additional background areas that follow the lighting, colors, textures, and perspective of the source.
For example, a square product image can be expanded into a wide banner. The product may remain on the right side, while the tool creates a clean background on the left for a headline and call to action.
This is different from simply stretching an image. Stretching changes the shape of the original content and can make people, products, or objects look distorted. Expansion keeps the original image intact and generates new pixels outside the original frame.
Start With the Final Layout
Before expanding an image, decide where it will be used. The final layout determines how much space is needed and where the main subject should appear.
Common layouts include:
Website hero banners
Blog headers
Social media posts
Mobile story graphics
Email headers
Online store banners
Presentation slides
Digital advertisements
Event posters
A wide website banner may need extra space on both sides. A social media graphic may need more room above and below. A presentation slide may need a large area for text next to the image.
Write down the final size or aspect ratio before starting. This prevents unnecessary expansion and makes it easier to judge whether the new background serves the design.
Choose the Best Source Image
Not every image is suitable for expansion. The best source usually has:
A clear main subject
Good lighting
Enough resolution
A simple background
Space around important details
Consistent perspective
An image with a busy background, several people, or objects touching the edge may require more careful editing. Expansion can still work, but the generated areas may need additional correction.
Avoid using a very small or heavily compressed image as the source. AI can create new background space, but it cannot always repair the quality of the original subject.
Decide Where the Extra Space Should Go
The direction of expansion affects the final composition. You may want more room on the left for text, more space above a product, or a wider background for a horizontal banner.
Common choices include:
Expand left
Expand right
Expand top
Expand bottom
Expand all sides
Change from portrait to landscape
Change from square to wide
Think about where the viewer’s attention should go. If the subject faces toward the left, adding space on the left may create useful visual breathing room. If a person is looking to one side, placing a headline in the direction of the gaze can make the layout feel more natural.
Do not expand equally in every direction unless the final design requires it. Targeted expansion often gives you more control.
Describe the Background Clearly
AI tools work best when the intended background is clear. You do not always need a long prompt, but it helps to describe the environment and the type of space you want to create.
A useful instruction might include:
Continue the existing wall and soft lighting
Extend the blue sky with light clouds
Add more neutral desk space
Continue the wooden table and warm shadows
Create a clean background area for text
Match the original studio backdrop
Extend the street scene with similar buildings
The prompt should support the existing image. Asking for a completely different environment can make the expanded area look disconnected.
If the image is intended for a banner, mention that the extra space should remain visually simple. A busy background may compete with the headline or call to action.
Leave Space for Text and Logos
The main reason to expand an image is often to make room for design elements. The new space should be clean enough for text, buttons, logos, or product information.
Before generating the expansion, decide:
Where the headline will appear
Where the logo will sit
How much text is needed
Whether a button will be added
Which area should remain visually quiet
For example, a product photo can be expanded to the right while the product stays on the left. This creates a usable area for a headline without covering the product.
Check the contrast between the background and the planned text. A generated area may look attractive but still be too bright or too detailed for readable lettering.
Use AI Expansion for E-Commerce Images
Online stores often need the same product image in several formats. A product photo may need to appear in a website banner, a product page, an email header, and a social media ad.
AI expansion can help create these variations while keeping the product consistent. The product itself should remain unchanged, while the surrounding background is adjusted to fit each layout.
Useful e-commerce applications include:
Seasonal banners
Promotional headers
New product announcements
Collection pages
Sale graphics
Email campaigns
Marketplace images
Always check product details after expansion. Labels, packaging, logos, buttons, and small text should remain accurate. If the AI changes the product itself, use the original image as the protected center and generate only the outer area.
Expand Images for Social Media
Social platforms use different aspect ratios, and one image may not fit every placement. Expansion can help turn a landscape photo into a vertical story graphic or add space around a square image.
For social media, consider:
Keeping the subject near the center
Leaving space for interface elements
Avoiding important details near the edges
Making sure captions do not cover the subject
Checking the image on a small screen
A vertical image may need more background above and below. A square image may need extra space on the sides. The best expansion depends on how the platform displays the content.
Preserve People and Important Objects
When expanding an image with people, the original face, hands, clothing, and body position should remain unchanged. The generated space should continue the background without altering the person’s identity or shape.
Pay special attention to:
Faces
Hands
Product edges
Glasses
Jewelry
Logos
Text on packaging
Straight lines
Repeating patterns
If the image contains a person standing near the edge, consider moving the original composition into a larger canvas rather than asking the tool to invent more of the person’s body.
Watch for Common AI Errors
AI image expansion can create useful results, but it is not perfect. Common problems include:
Repeated patterns
Strange objects
Bent lines
Inconsistent shadows
Unnatural textures
Extra limbs or fingers
Distorted signs
Changed product details
Visible seams between old and new areas
These problems may be small at first glance but become obvious when the image is used in a large banner.
Zoom in on the expanded areas and compare them with the original. Check whether the lighting, sharpness, color, and perspective remain consistent.
If one generation looks wrong, try a smaller expansion area or a simpler prompt. Sometimes generating a narrow section produces a more natural result than expanding a large area all at once.
Use Layers and Manual Design After Expansion
AI expansion creates the image background, but the final banner still needs design work. Use a design or editing tool to add:
Headlines
Subheadings
Buttons
Logos
Pricing
Decorative shapes
Brand colors
Legal text
Keep the original image and expanded version as separate files. This makes it easier to return to the source if you need a different layout later.
You can also use a subtle overlay or gradient to improve text readability. A transparent dark or light layer may help the headline stand out without changing the expanded image itself.
Check Quality at the Final Size
An expanded image can look excellent at high resolution but less convincing when used in a small mobile graphic. It can also look acceptable on a phone but reveal errors in a large website banner.
Review the image at the size where it will be published. Check:
Subject clarity
Background continuity
Text space
Edge quality
Color balance
Image sharpness
Logo visibility
Mobile readability
Export the image in the format required by the platform. Use a high-quality format for large banners and an optimized format for faster website loading when appropriate.
Keep the Original File
Always keep the original image before expanding it. Save the AI-generated version with a clear file name that describes the layout or size.
For example:
product-original.jpg
product-wide-banner.jpg
product-mobile-story.jpg
product-email-header.jpg
This makes future updates easier. If the campaign changes, you can create a new layout without losing the original source.
When AI Expansion Is Not the Best Choice
AI expansion is useful when the background can be continued naturally. It may be less suitable when the image contains important information across the entire frame.
Use caution with:
Technical diagrams
Maps
Charts
Screenshots
Documents
Images with readable text
Detailed architecture
Complex product arrangements
In these cases, manual layout design may provide more control. You can place the original image inside a larger canvas and add a separate background, color block, or graphic area.
A Simple Workflow
A practical image expansion workflow can follow these steps:
Choose the source image.
Confirm the final size and aspect ratio.
Decide where extra space is needed.
Protect the main subject.
Describe the background continuation.
Generate several variations.
Compare lighting, texture, and perspective.
Select the cleanest version.
Add text and design elements manually.
Review the final image at its publishing size.
Export and save both the original and expanded files.
This workflow works for banners, social posts, email graphics, product pages, and presentation layouts.
Final Thoughts
AI image expansion gives creators more flexibility when one image needs to work in several layouts. It can add background space, protect the main subject, and make room for headlines or calls to action without requiring a new photo shoot.
The best results come from a clear layout plan and a suitable source image. Decide the final format first, expand only where necessary, describe the background simply, and check the generated area carefully. Use manual design tools for the final text and branding.
AI can make the image fit the layout, but thoughtful composition still determines whether the finished design looks clear and professional.
Stay up to date with our latest ideas!