Creative Ways to Maintain a Spotless Oven at Home
Explore creative ways to maintain a spotless oven at home with simple cleaning tips that keep it efficient, hygienic, and looking like new.

You know the satisfaction of pulling out a bubbling lasagna, but the baked-on aftermath is another story. Instead of dreading the scrubbing marathon, you can weave small habits into your cooking routine that keep grime from settling.
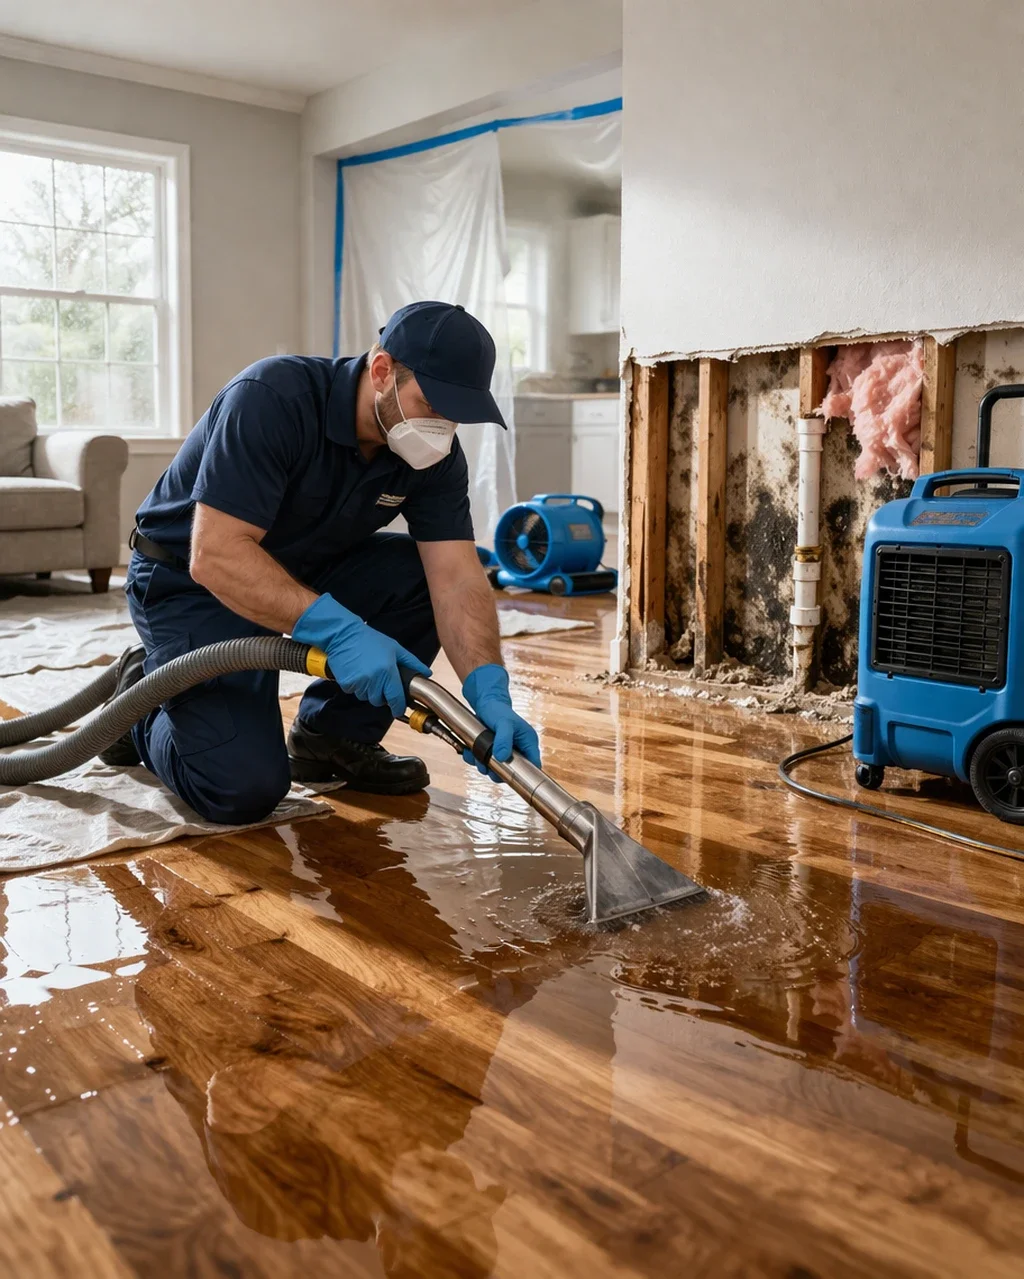
A quick salt sprinkle on spills, a weekly steam wipe, even lining trays with foil all add up. When buildup wins, browsing a guide to professional oven cleaning supplies extra, science-backed fixes fast.
Run Self-Clean Cycle
The built-in self-clean feature is your oven’s superhero, incinerating grime at high heat while you binge a series instead of scrubbing on your knees.
Understand the Science
During a cycle, the cavity heats to roughly 900°F, reducing grease and splatters to an ashy powder you’ll simply wipe away once everything cools.
Prep Like a Pro
Remove racks, big crumbs, and foil first; leaving them inside can discolor chrome and create stubborn residue that defeats the whole effortless purpose.
Safety First
Crack a window, keep pets away, and stay home—smoke and smells are normal. Whirlpool explains the full procedure in plain language right here.
Finish With Finesse
After the lock releases, sweep the pale dust, reinstall accessories, and admire your sparkling chamber without ever lifting a scouring pad.
Line Floor With Mats
Prevention beats clean-up every time, so lining the bottom with removable, heat-safe mats keeps drips from baking into impossible ceramic fossils.
Select a Safe Material
Choose heavy-duty PTFE or silicone liners rated for at least 500°F; flimsy plastic releases fumes and ruins dinner along with your warranty.
Trim for Perfect Fit
Snip the mat so it sits flat without blocking vents; airflow is critical for even baking and avoiding scorch marks on tomorrow’s pizza.
Clean in Seconds
Slide the liner out, flick crumbs into the trash, sponge with sudsy water, and replace—faster than preheating for frozen fries.
Cook Inside Roasting Bags
Contain greasy splatter at the source by roasting meats, fish, and messy vegetables inside heatproof oven bags designed for flavor and fuss-free cleanup.
Lock in juices so the turkey stays moist while the bag walls trap bubbling fat that would otherwise sizzle onto your cavity floor.
Add aromatics—herbs, citrus, garlic—to the pouch and enjoy effortless basting without opening the door or scrubbing sticky caramelized sugars later.
Prevent smoke because drippings never meet hot metal, meaning your smoke alarm stays silent and your white walls remain pristine.
Toss the mess straight into the bin once cooled; no crusty roasting pan soaking overnight in the sink required.
Check temperature with a probe through the plastic; tiny punctures won’t cause a catastrophic leak.
Next time a potluck requests brisket, slip it in a bag—friends will taste tenderness, not trace cleaning chemicals.
Steam Using Water Bowl
Harness gentle steam to loosen baked-on gunk before it turns archaeological. A simple bowl of water performs miracles for pennies and minimal effort.
Set the Stage
Place an oven-safe bowl half-filled with water on the lowest rack, then heat to 450°F for twenty minutes, allowing vapor to penetrate charred debris.
Add Cleaning Power
Spike the water with equal vinegar for extra acidity; The Kitchn’s guide explains the chemistry in delicious detail.
Wipe with Ease
Cool slightly, don gloves, and sponge softened splatter away—no chiseling, no harsh fumes, just satisfying slides of cloth across glass and enamel.
Keep Spare Drip Tray
Owning a second drip tray equals zero downtime; swap a crusty one for a clean backup and finish the meal before tackling dishes later.
Rotate Regularly
Alternate trays weekly so grime never spends months carbonizing in the heat, extending their lifespan and keeping flavors untainted.
Deep-Clean Offsite
Soak the spare in hot, soapy water or run it through the dishwasher while the fresh one guards tonight’s casserole below.
Upgrade Materials
Consider heavy-gauge stainless steel replacements—thicker metal resists warping, making the drip-swap system a long-term, not disposable, solution.
Polish Exterior Surfaces
The door and control panel deserve love too; fingerprints and smudges dull the kitchen’s focal point and can even corrode finishes over time.
Choose Gentle Cleaners
Use mild dish soap or manufacturer-approved polish; abrasive powders scratch stainless and glossy paint, turning shine into permanent haze.
Buff Strategically
Always stroke with the grain when wiping stainless steel, then dry immediately to prevent drip marks and mineral deposits from evaporating tap water.
Mind the Knobs
Remove control knobs periodically, wash by hand, and wipe the posts—grease creeps behind these nooks, attracting grime and bacteria that sabotage sparkle.
Mix Baking Soda Paste
When natural grit is required, baking soda morphs into a gentle scrub that erases stains without scratching delicate enamel or releasing toxic fumes.
Combine three parts soda with one part water until frosting-thick; adjust texture so it adheres vertically without sliding off stubborn spots.
Spot test on an inconspicuous area to ensure finish compatibility, especially on older models with delicate porcelain interiors.
Apply generously over grease lines, door glass edges, and rack marks where marinade dripped and charred during last weekend’s feast.
Let chemistry work for twenty minutes; alkaline soda breaks acidic food bonds, reducing your elbow effort dramatically.
Rinse thoroughly with a damp microfiber, capturing residue before turning it into gritty streaks elsewhere inside the cavity.
Affordable and food-safe, the paste doubles as a deodorizer, leaving tomorrow’s cookies free from lingering lasagna aroma.
Overnight Paste Treatment
Some messes fight back; give the baking soda paste an uninterrupted eight-hour shift so it can dissolve carbonized layers while you dream peacefully.
Cover Stains Completely
Smear a thick layer over truly stubborn zones, refusing to spare any corners; complete coverage ensures consistent chemical action overnight.
Seal Moisture In
Lightly mist with water and press plastic wrap atop the paste; evaporation slows, keeping the mixture damp and active through the night.
Morning Reveal
Peel away wrap, scrape softened sludge with a silicone spatula, and marvel at pristine enamel requiring only a quick rinse to finish.
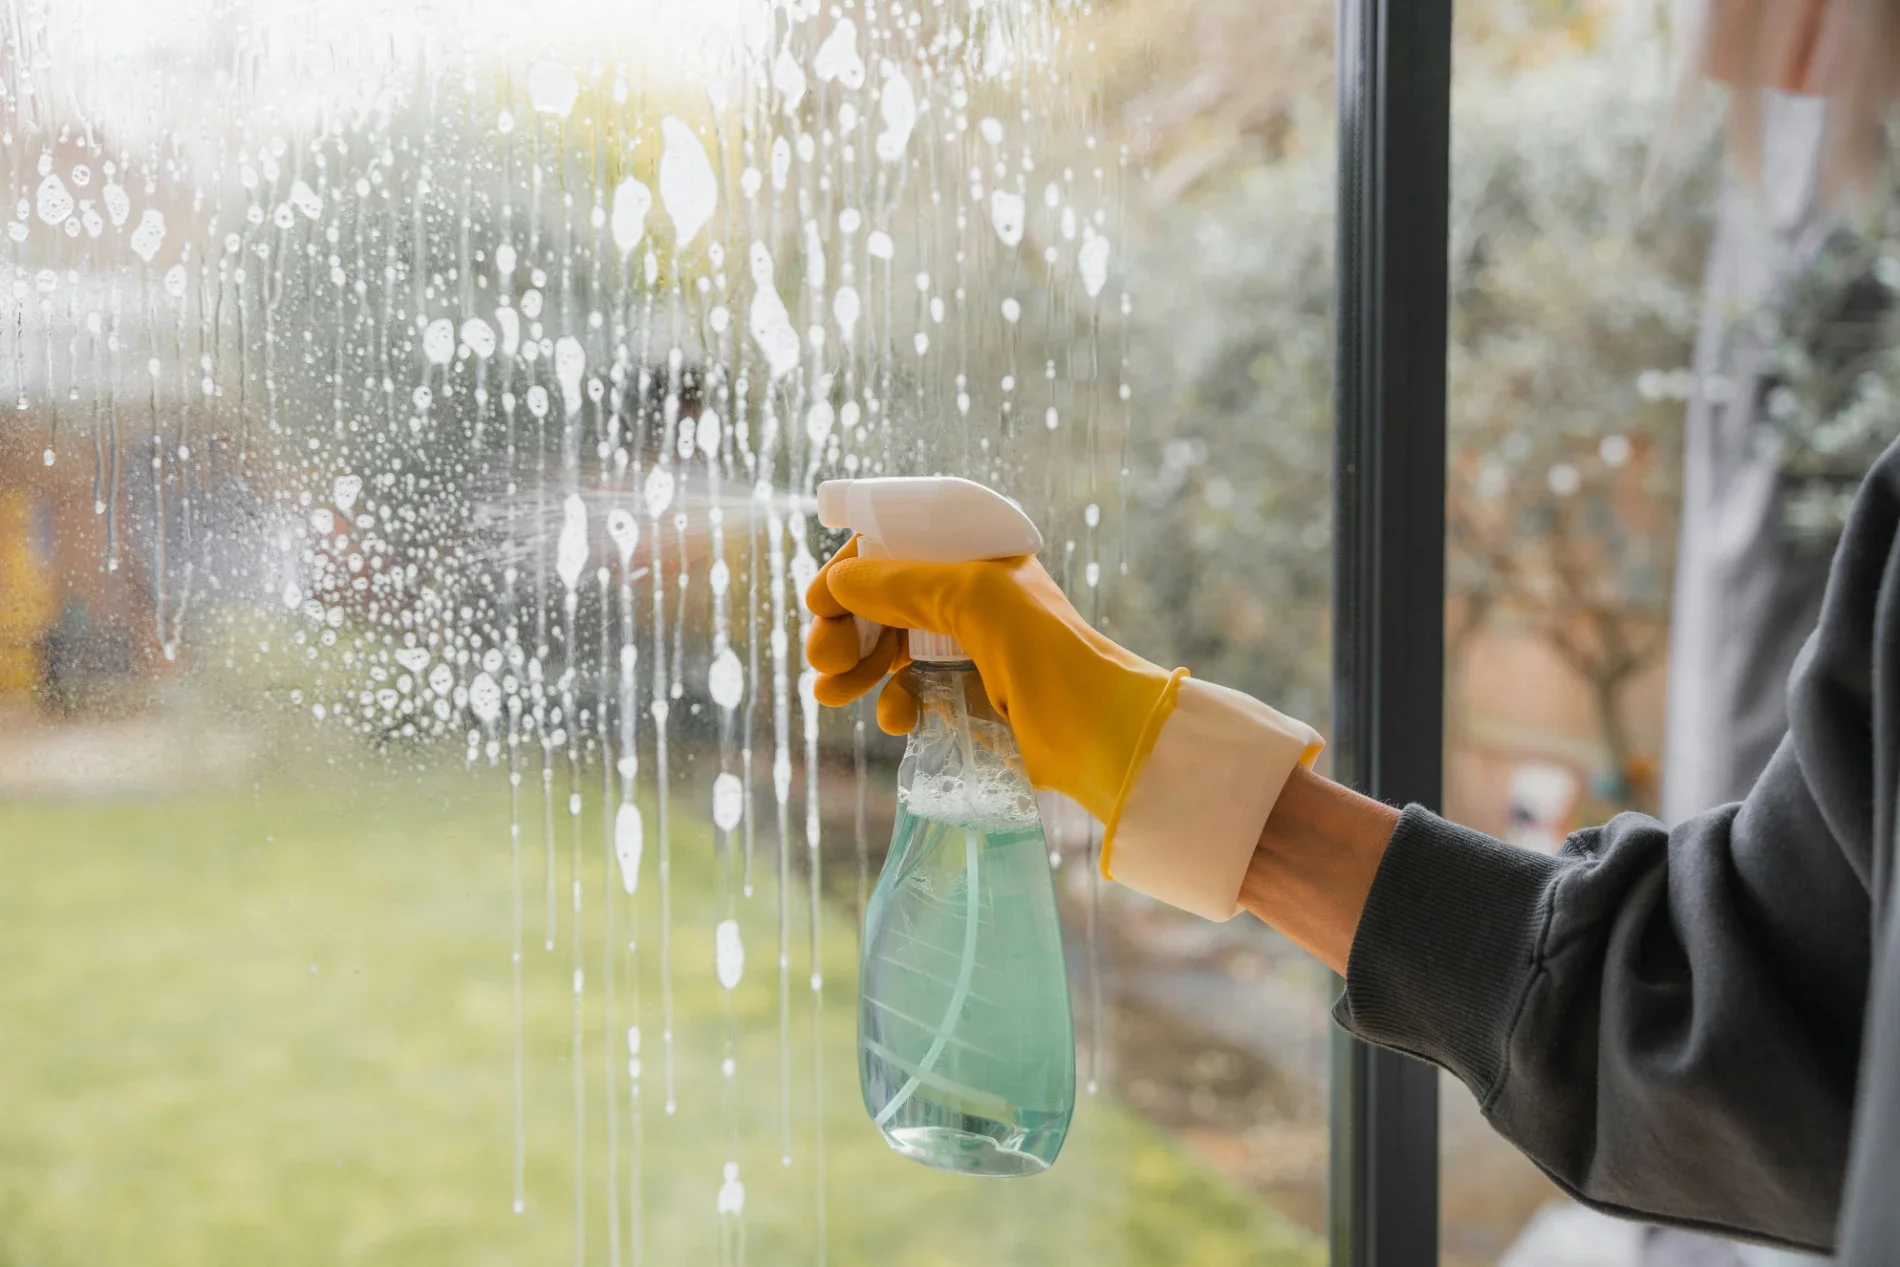
Spritz With Vinegar
White vinegar is the eco-warrior’s secret weapon, dissolving mineral deposits and neutralizing odors so your oven smells like nothing—exactly how it should.
Fill a spray bottle with undiluted vinegar for power or half water for routine maintenance, tailoring strength to yesterday’s splatter severity.
Target glass where sugar splashes caramelize; acidic vinegar cuts through sweet goo without the streaks ammonia cleaners often leave behind.
Fight lingering smells by misting interior walls after fish or garlic dishes; wipe once the aroma fades, leaving a neutral canvas.
Pair with soda for fizzy action—spray over baking-soda-coated grime and watch bubbling science lift gunk before your eyes.
Use externally too on stainless trim, but rinse quickly to avoid dulling polished finishes over time.
Keeping a vinegar bottle beneath the sink guarantees immediate response whenever sauce jumps ship during broiling.
Reinstall Sparkling Racks
A spotless cavity loses points if racks remain crusty; restore gleam, and everything sliding on them stays cleaner, cooks evenly, and looks professional.
Soak in tub lined with towels, submerged in hot water and dish soap; bubbles sneak into crevices unreachable by brushes.
Add dishwasher tablets for extra degreasing power that chews through blackened barbecue glaze without aggressive scrubbing.
Scrub corners using an old toothbrush or bottle brush to dislodge baked-on pepper flakes stuck in welded junctions.
Rinse, dry, oil lightly with vegetable oil on a paper towel; this seasoning discourages future sticking and rust spots.
Slide back onto support rails, adjust heights, and enjoy frictionless movement that makes inserting sheet pans feel brand new.
A final once-over confirms every surface sparkles, completing your oven’s makeover and setting the stage for mess-free masterpieces ahead.
Spotless Takeaway
You now hold a practical toolkit for keeping your oven immaculate. Rely on consistent prevention, patient soaking, and gentle, natural cleansers rather than harsh shortcuts. With these strategies, grime has little chance to settle, and you spend more time cooking, less time scrubbing, and none replacing parts down the road.
Stay up to date with our latest ideas!