What Happens on AC Installation Day: A Room-by-Room Walkthrough
See what happens on AC installation day with a room by room walkthrough covering preparation, installation steps, testing, and what to expect afterward.

For the AC installation day process, technicians will follow meticulous steps to meet the manufacturer's specifications and building requirements. Knowing what to expect allows you to plan for temporary disruptions.
IRBIS AC installers are your professional HVAC experts local to the Bay Area. The AC installation day process is designed for long-term performance and energy efficiency.
The First Step: Initial Inspection and Installation Plan
Each HVAC installation begins with a thorough inspection of the property. Specialists will assess aspects like:
Sizing and load calculations
Insulation
Your cooling needs
Permit application requirements (if applicable)
Ductwork and building infrastructure
In California, most HVAC installations require approvals. Your provider will be able to offer more specific information during the assessment. After they have examined the place, they will formulate suitable air conditioner installation steps that match your requirements.
You should get a transparent pricing estimate and execution plan. No work should be carried out until you approve the plan.
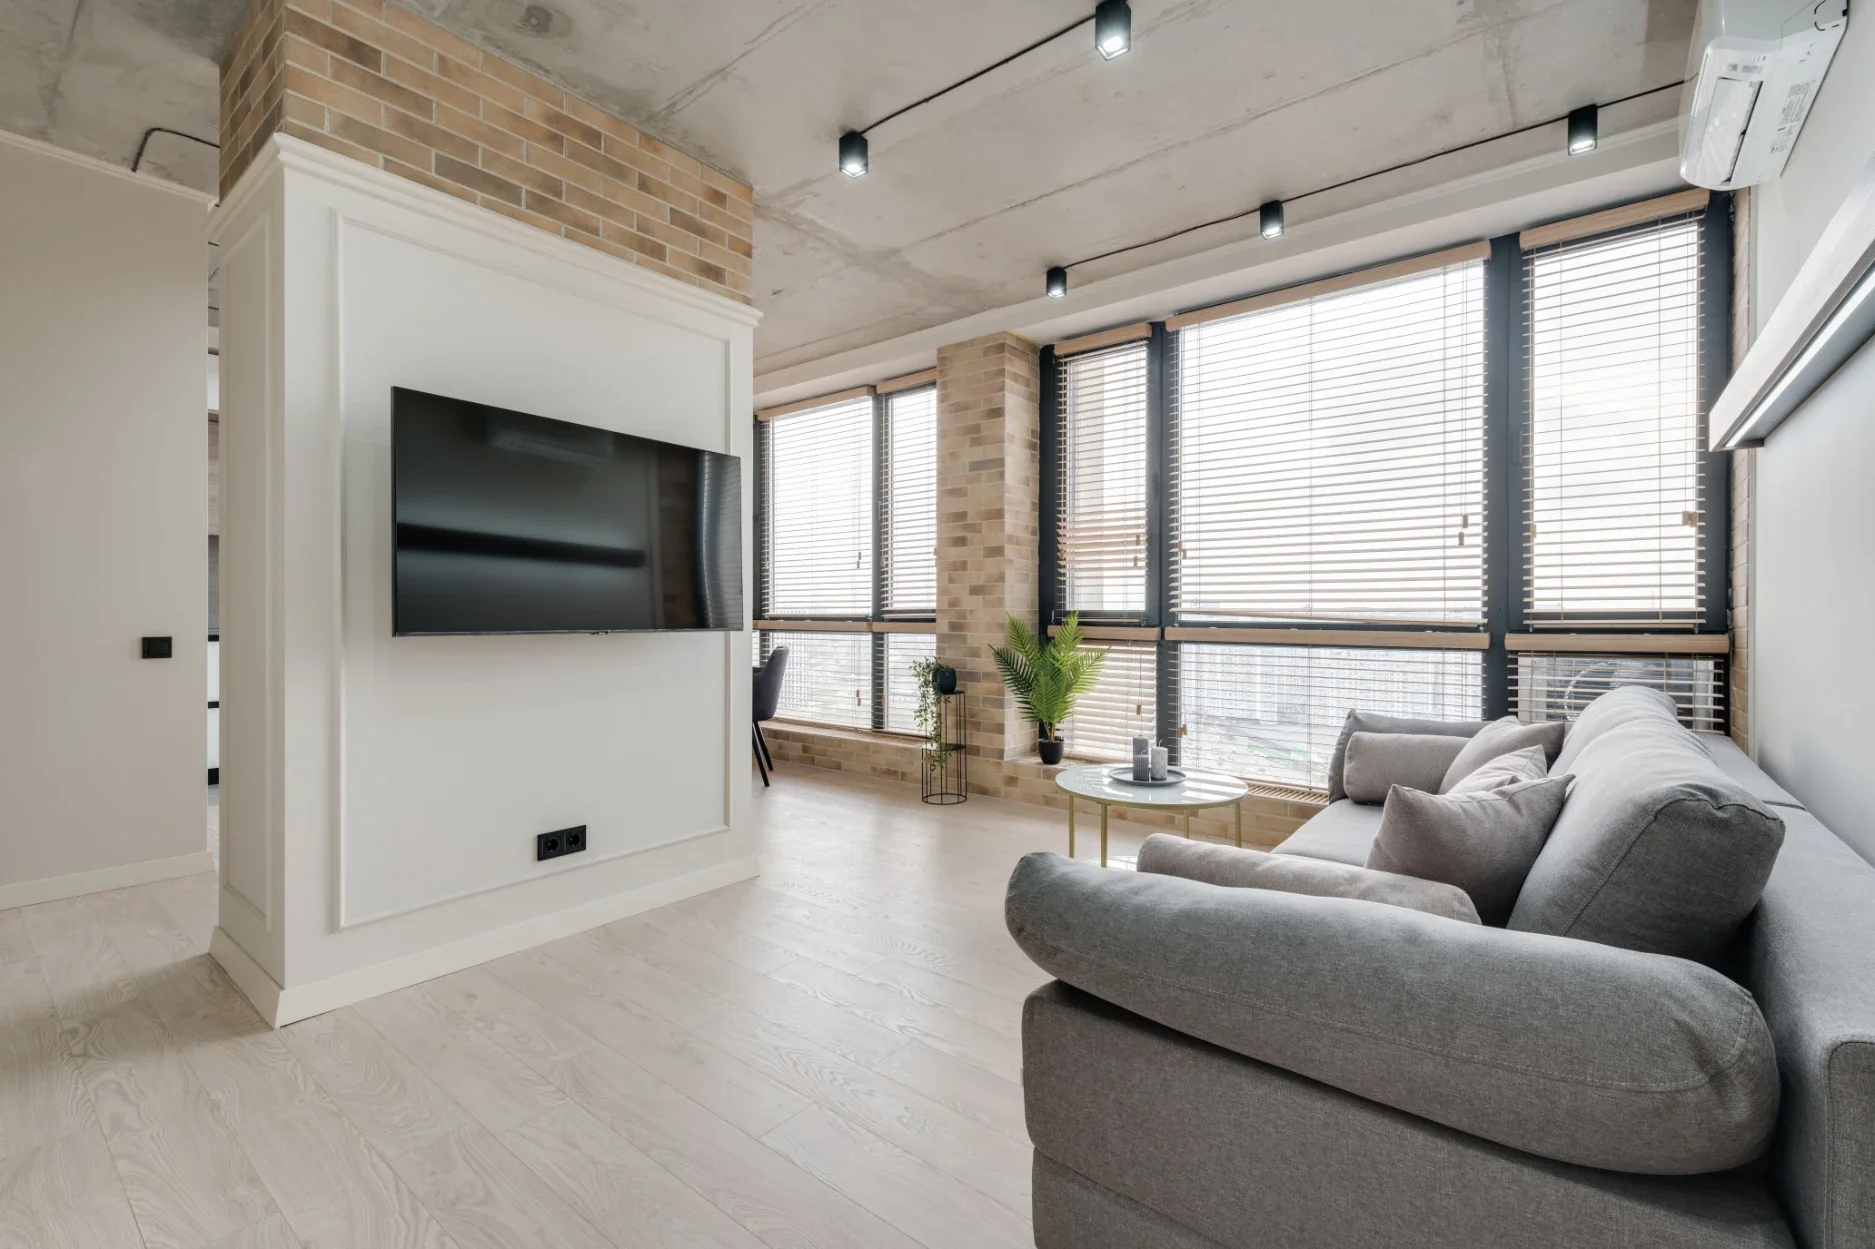
Living Room: Setting Up the Indoor Components
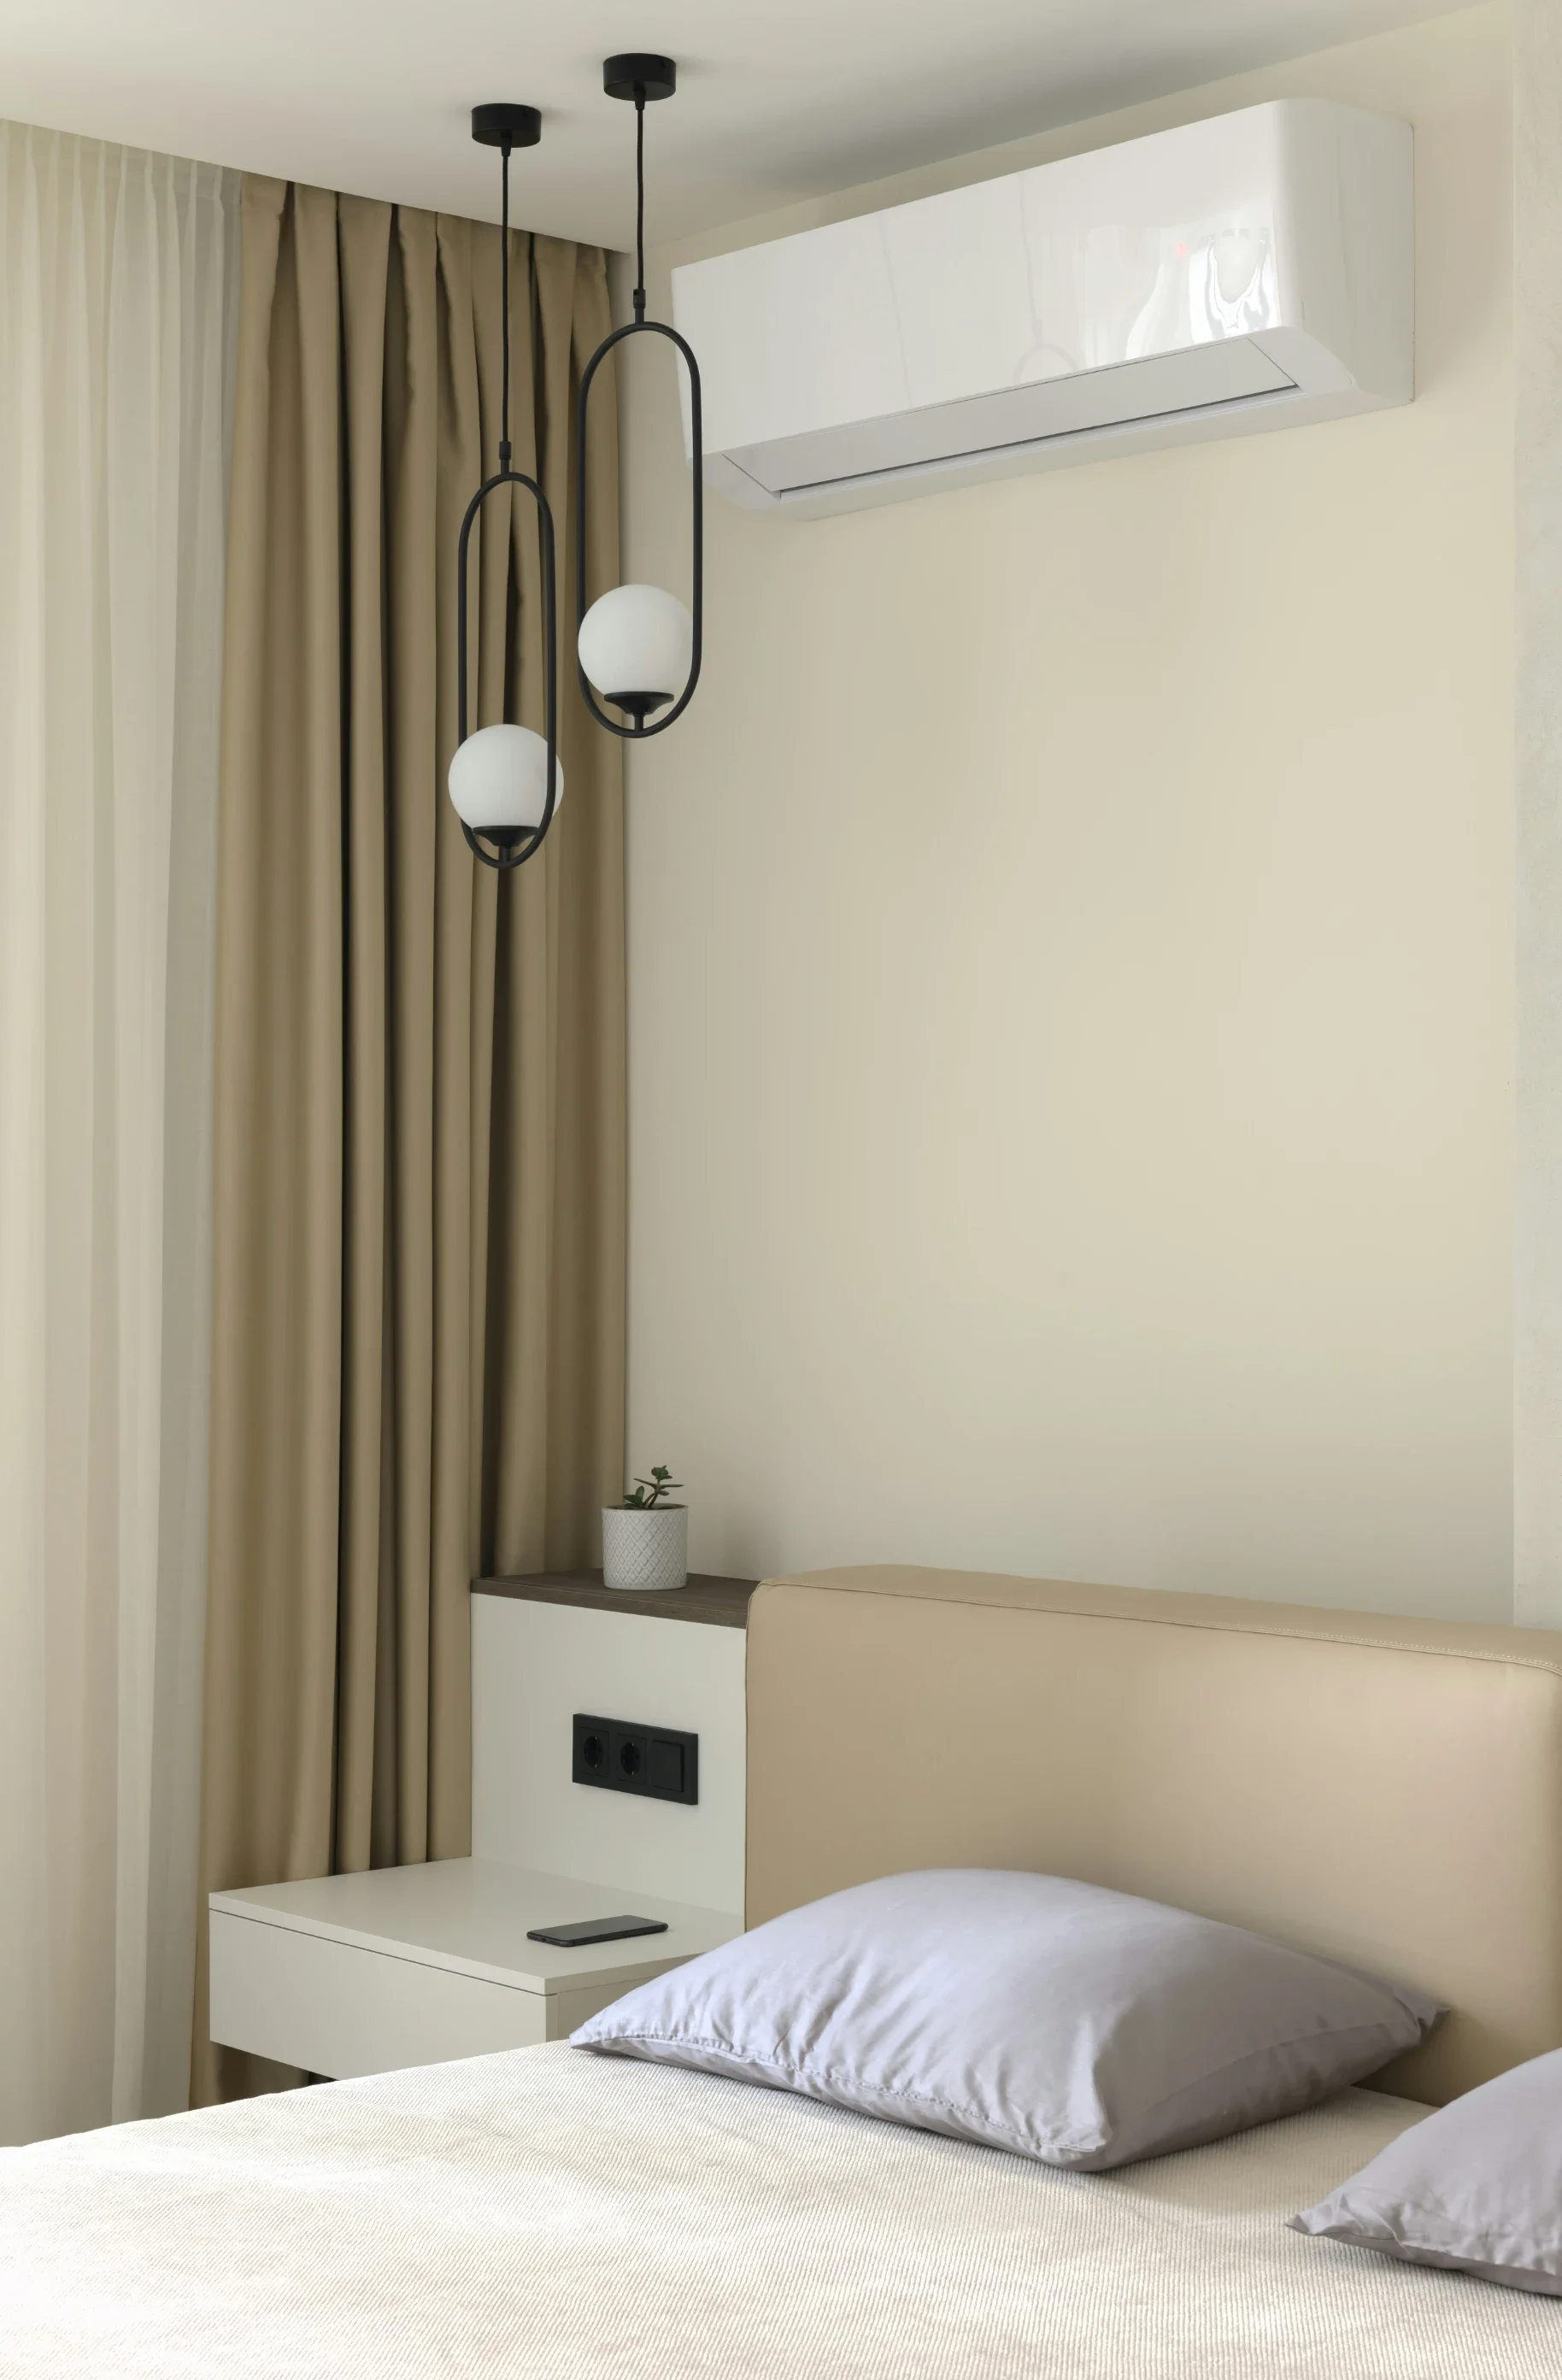
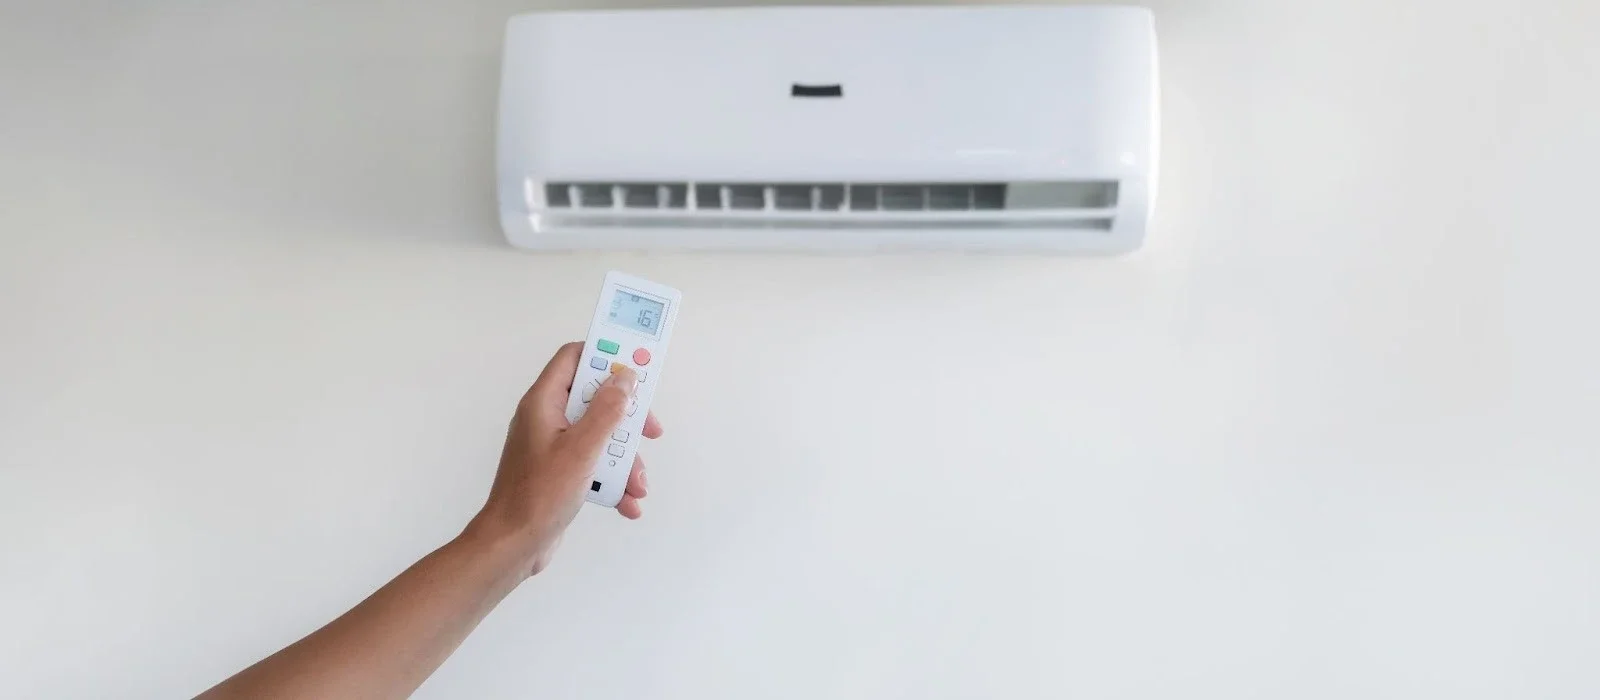
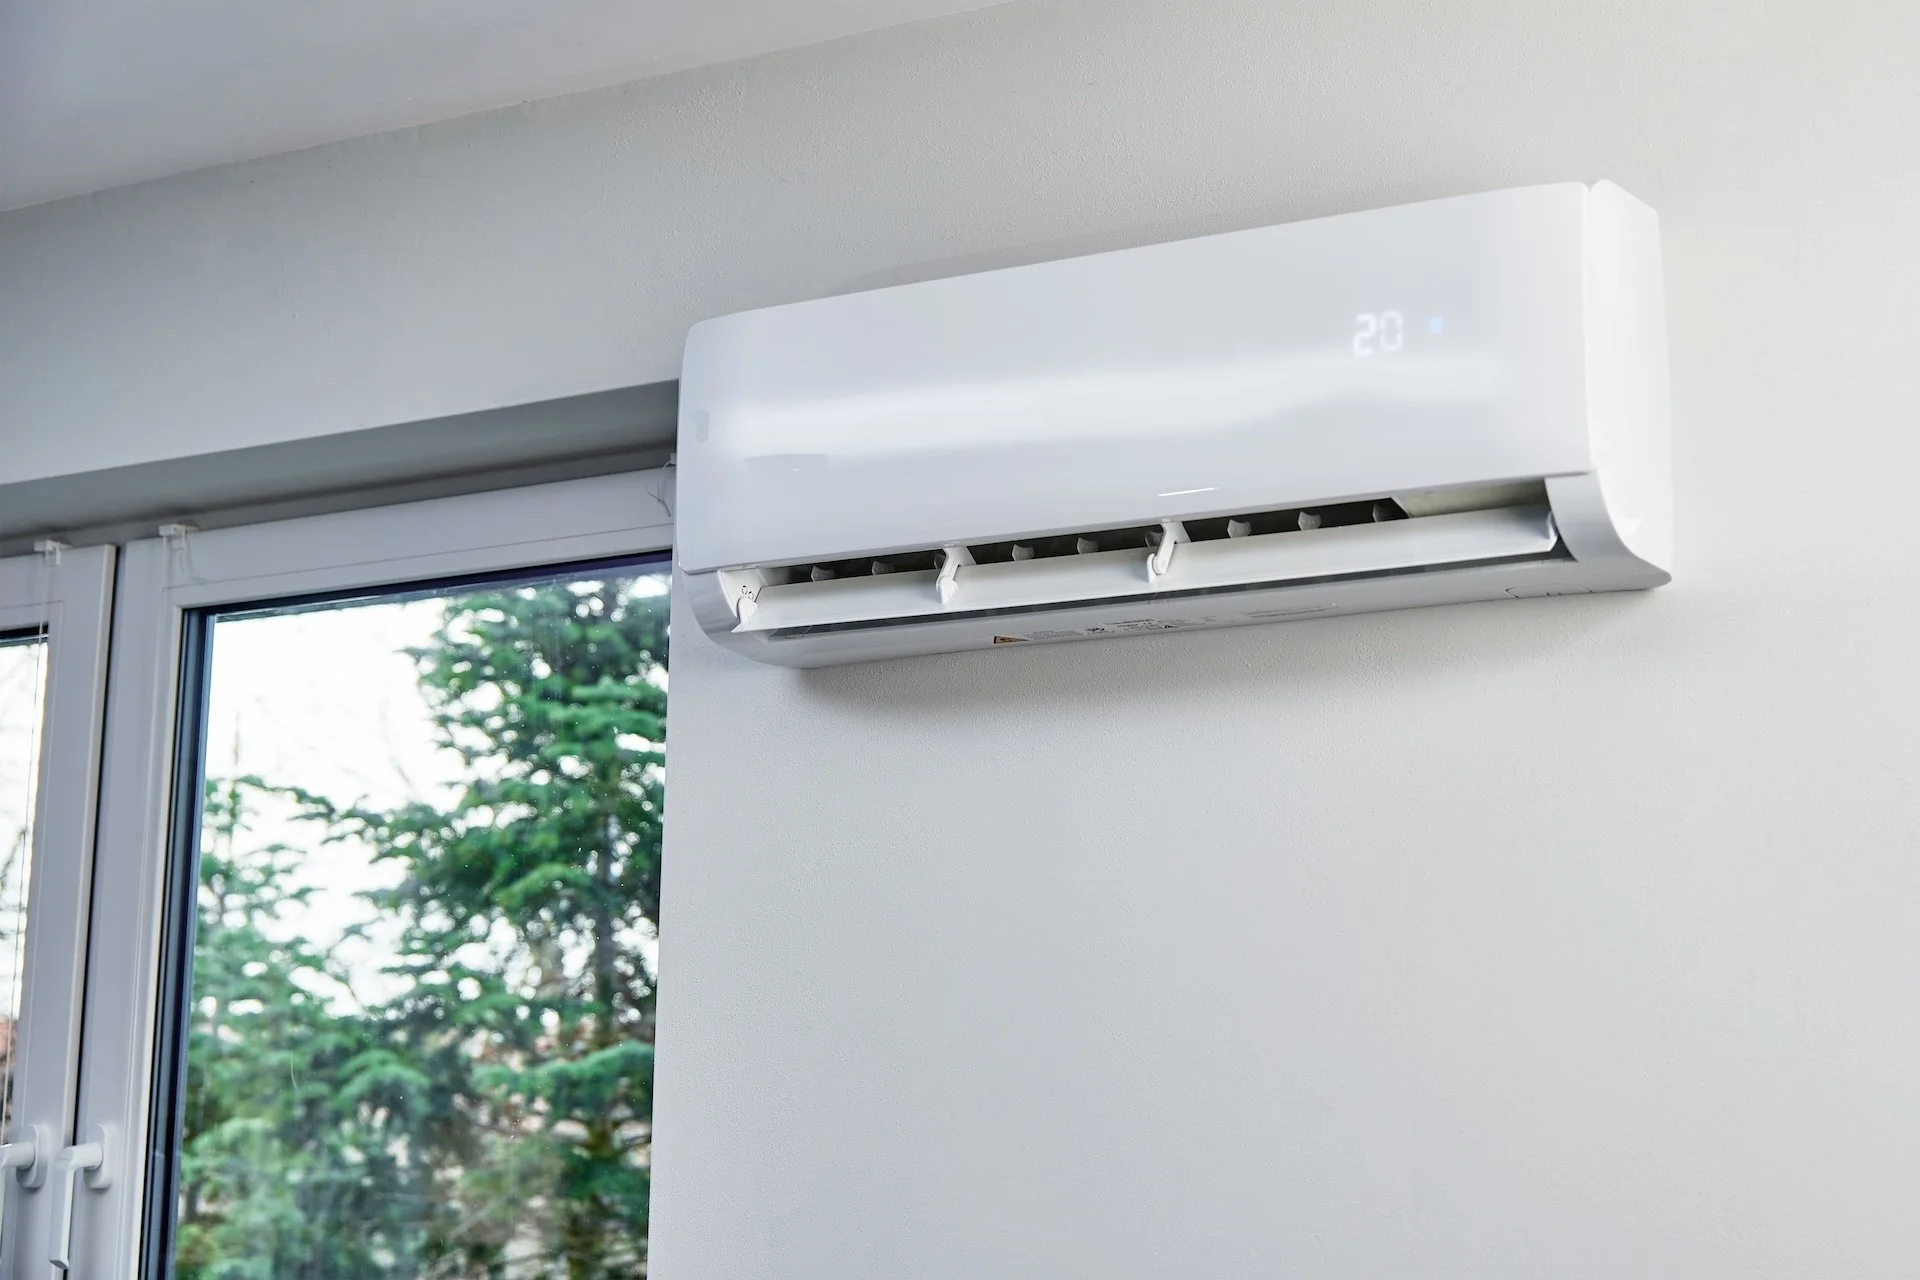
The living room is typically the largest living space in the house. ACs are often mounted on the walls. The thermostat settings will be here. Technicians will carefully position the new equipment and make sure it aligns correctly with the duct system.
The experts will:
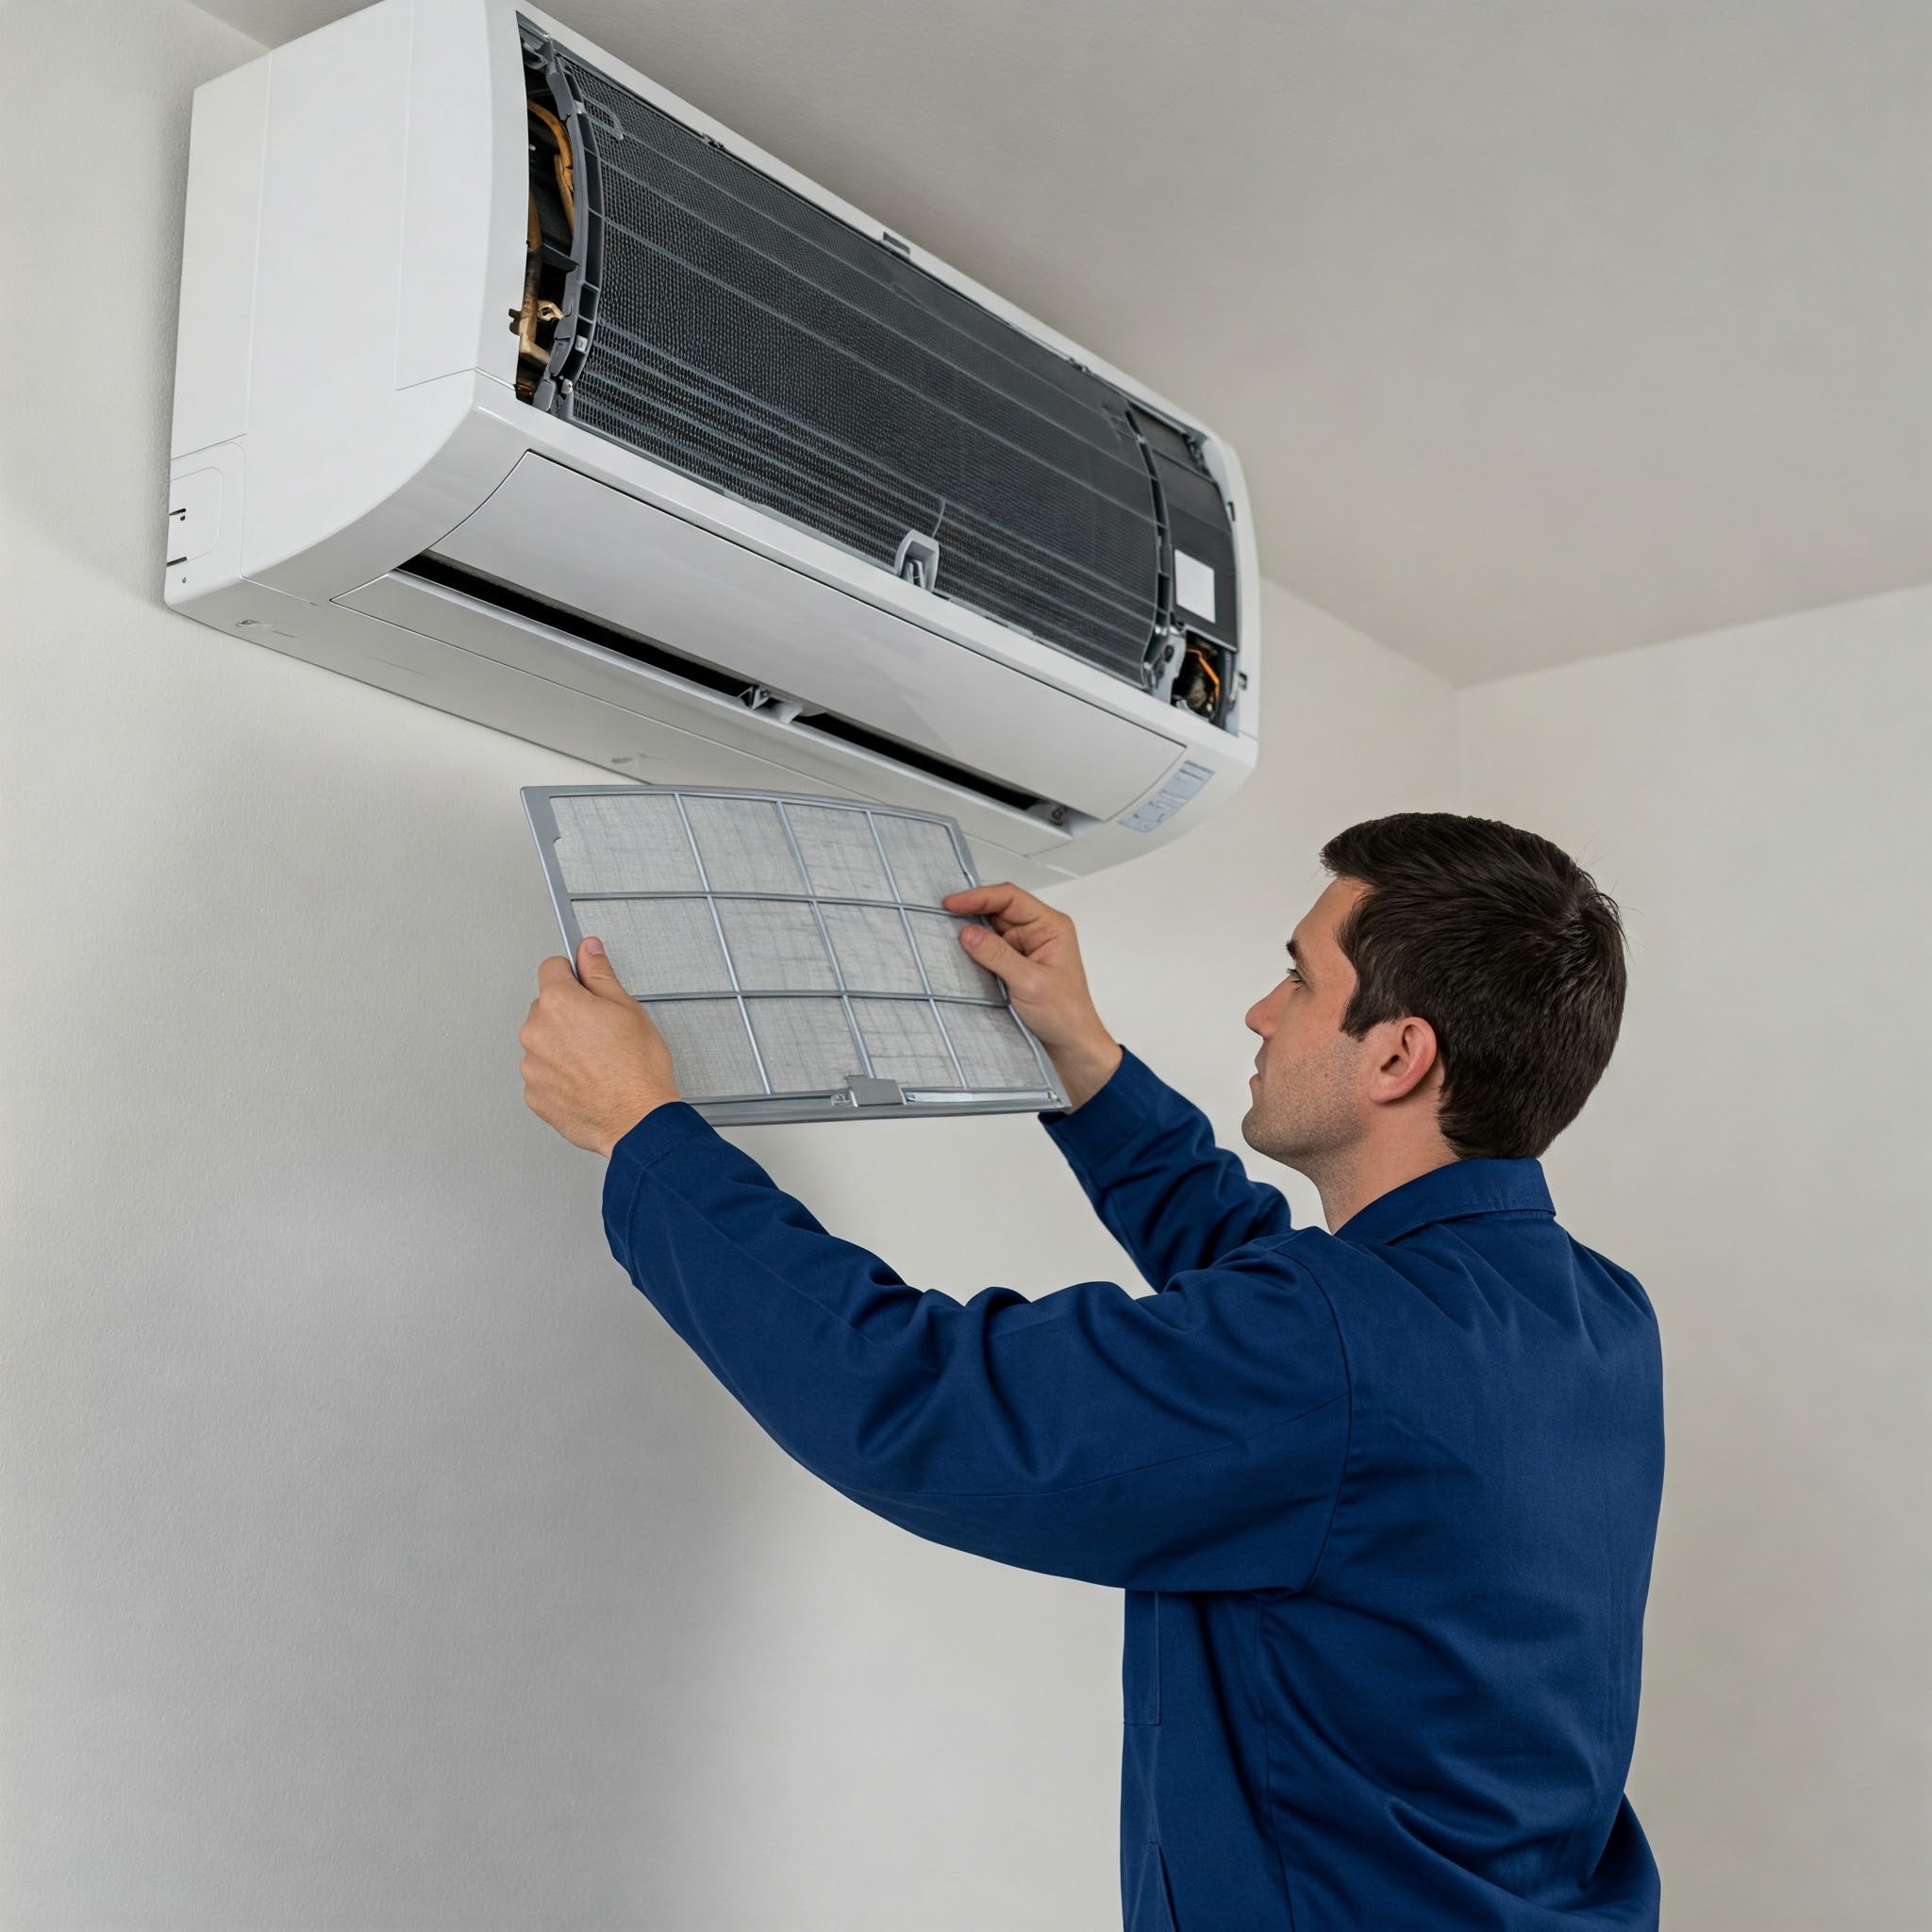
Install the wall-mounted units according to specifications
Keep furniture away from vent exits
Check and optimize the thermostat settings
Evaluate the airflow
Create a custom interior design to conceal HVAC units
Hallways and Utility Areas: Running Lines and Electrical Connections
In many homes, the indoor air handler or evaporator coil is connected to existing ductwork in the utility areas. Electrical connections and ducts usually run behind the hallway walls as well.
For this room, the installation team will:
Remove the old and worn indoor components
Install the new evaporator coil or air handler
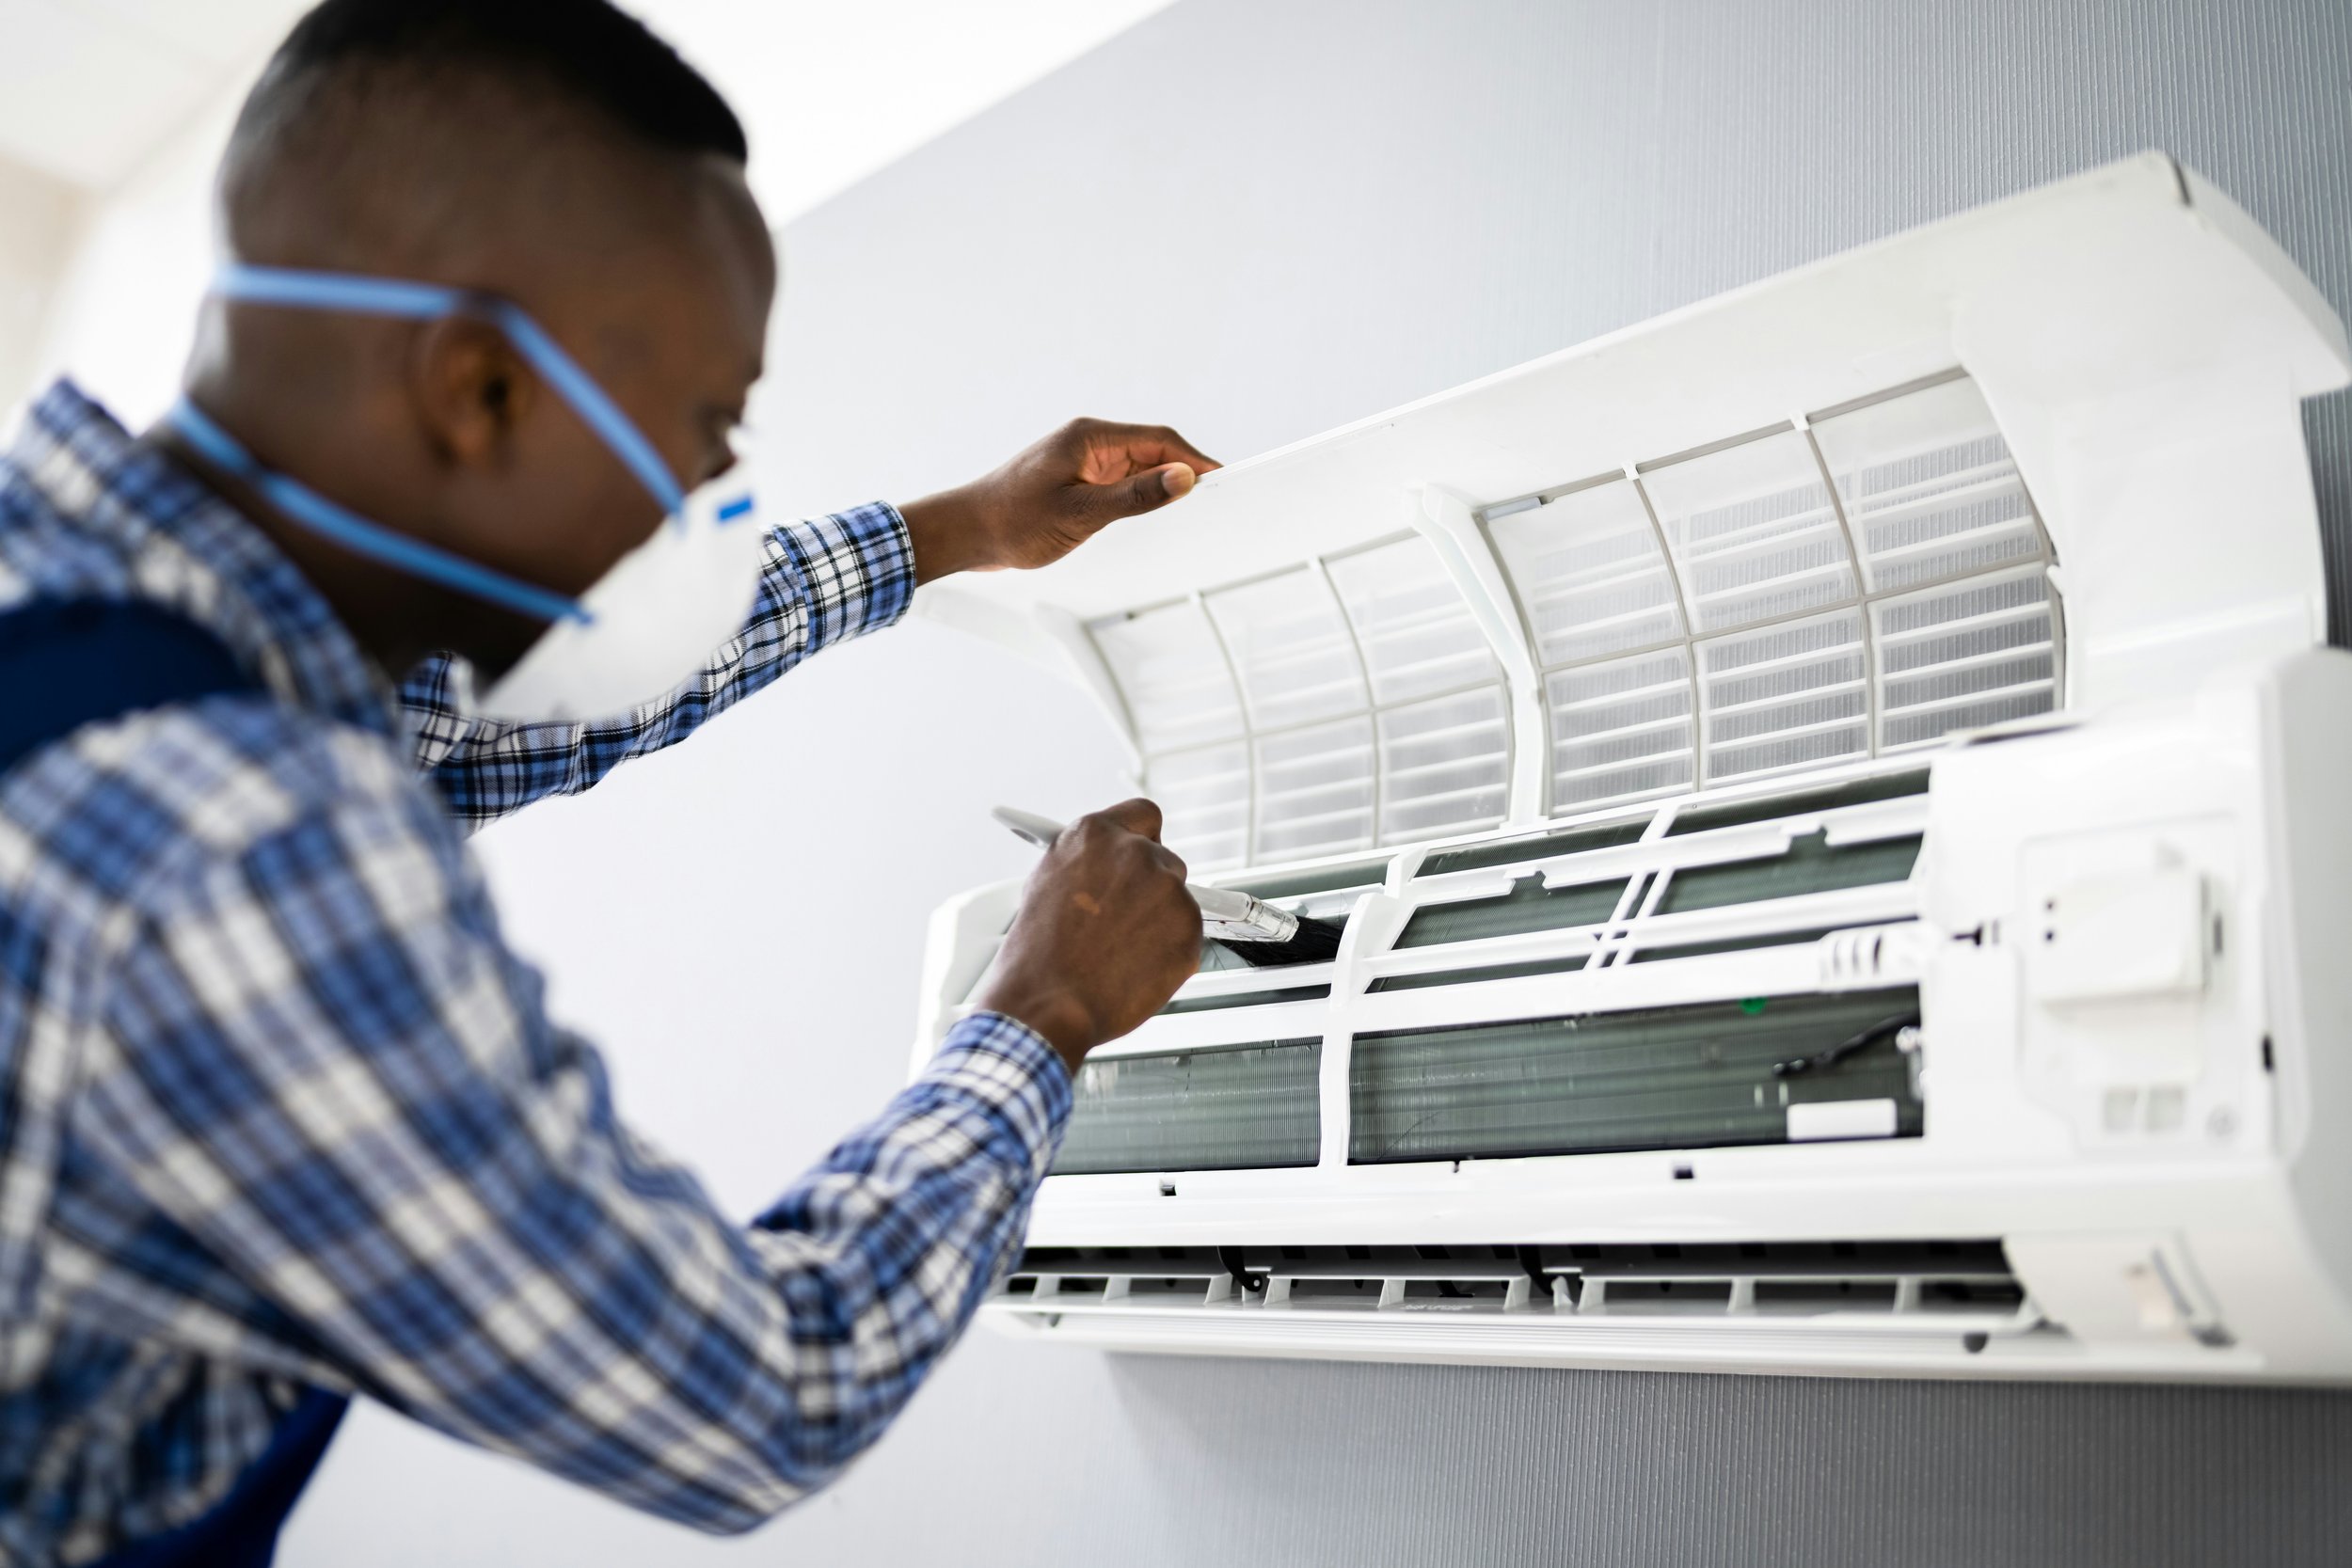
Inspect and connect the refrigerant lines and electrical parts
Seal duct connections if necessary
If minor duct adjustments are needed to improve airflow, they are often completed before the new system is fully connected.
Bedrooms: Ensuring Balanced Comfort Throughout the Home
Once the primary equipment has been installed, technicians evaluate airflow to individual rooms. Bedrooms often reveal airflow imbalances that may not be noticeable until a new system begins operating.
To avoid this situation, the installers will:
Measure the airflow distribution
Assess the zoned comfort capability (if applicable)
Check the existing insulation and ductwork to offer modification suggestions if necessary
Kitchen and Shared Spaces: Verifying Air Distribution
After the indoor equipment is connected, technicians check airflow throughout the home's shared living areas. Kitchens, dining rooms, and family rooms often have different cooling requirements due to appliances, sunlight, and occupancy.
During this stage, a few crucial steps will take place:
Measures airflow from supply registers
Checks return air circulation
Verifies thermostat communication with the system
Confirms consistent cooling across connected rooms
These air conditioner installation steps verify that the system distributes conditioned air as intended throughout the home.
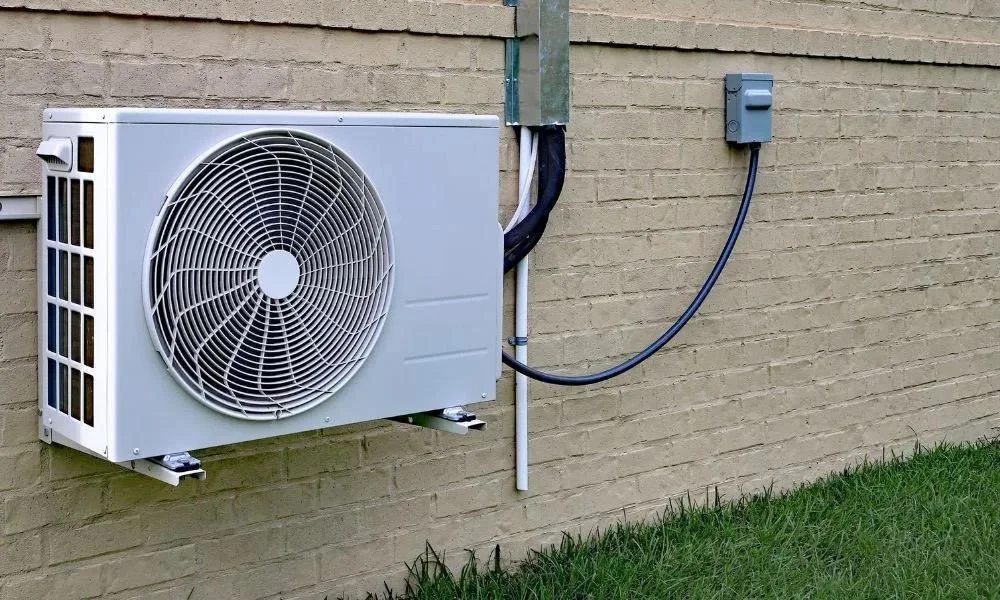
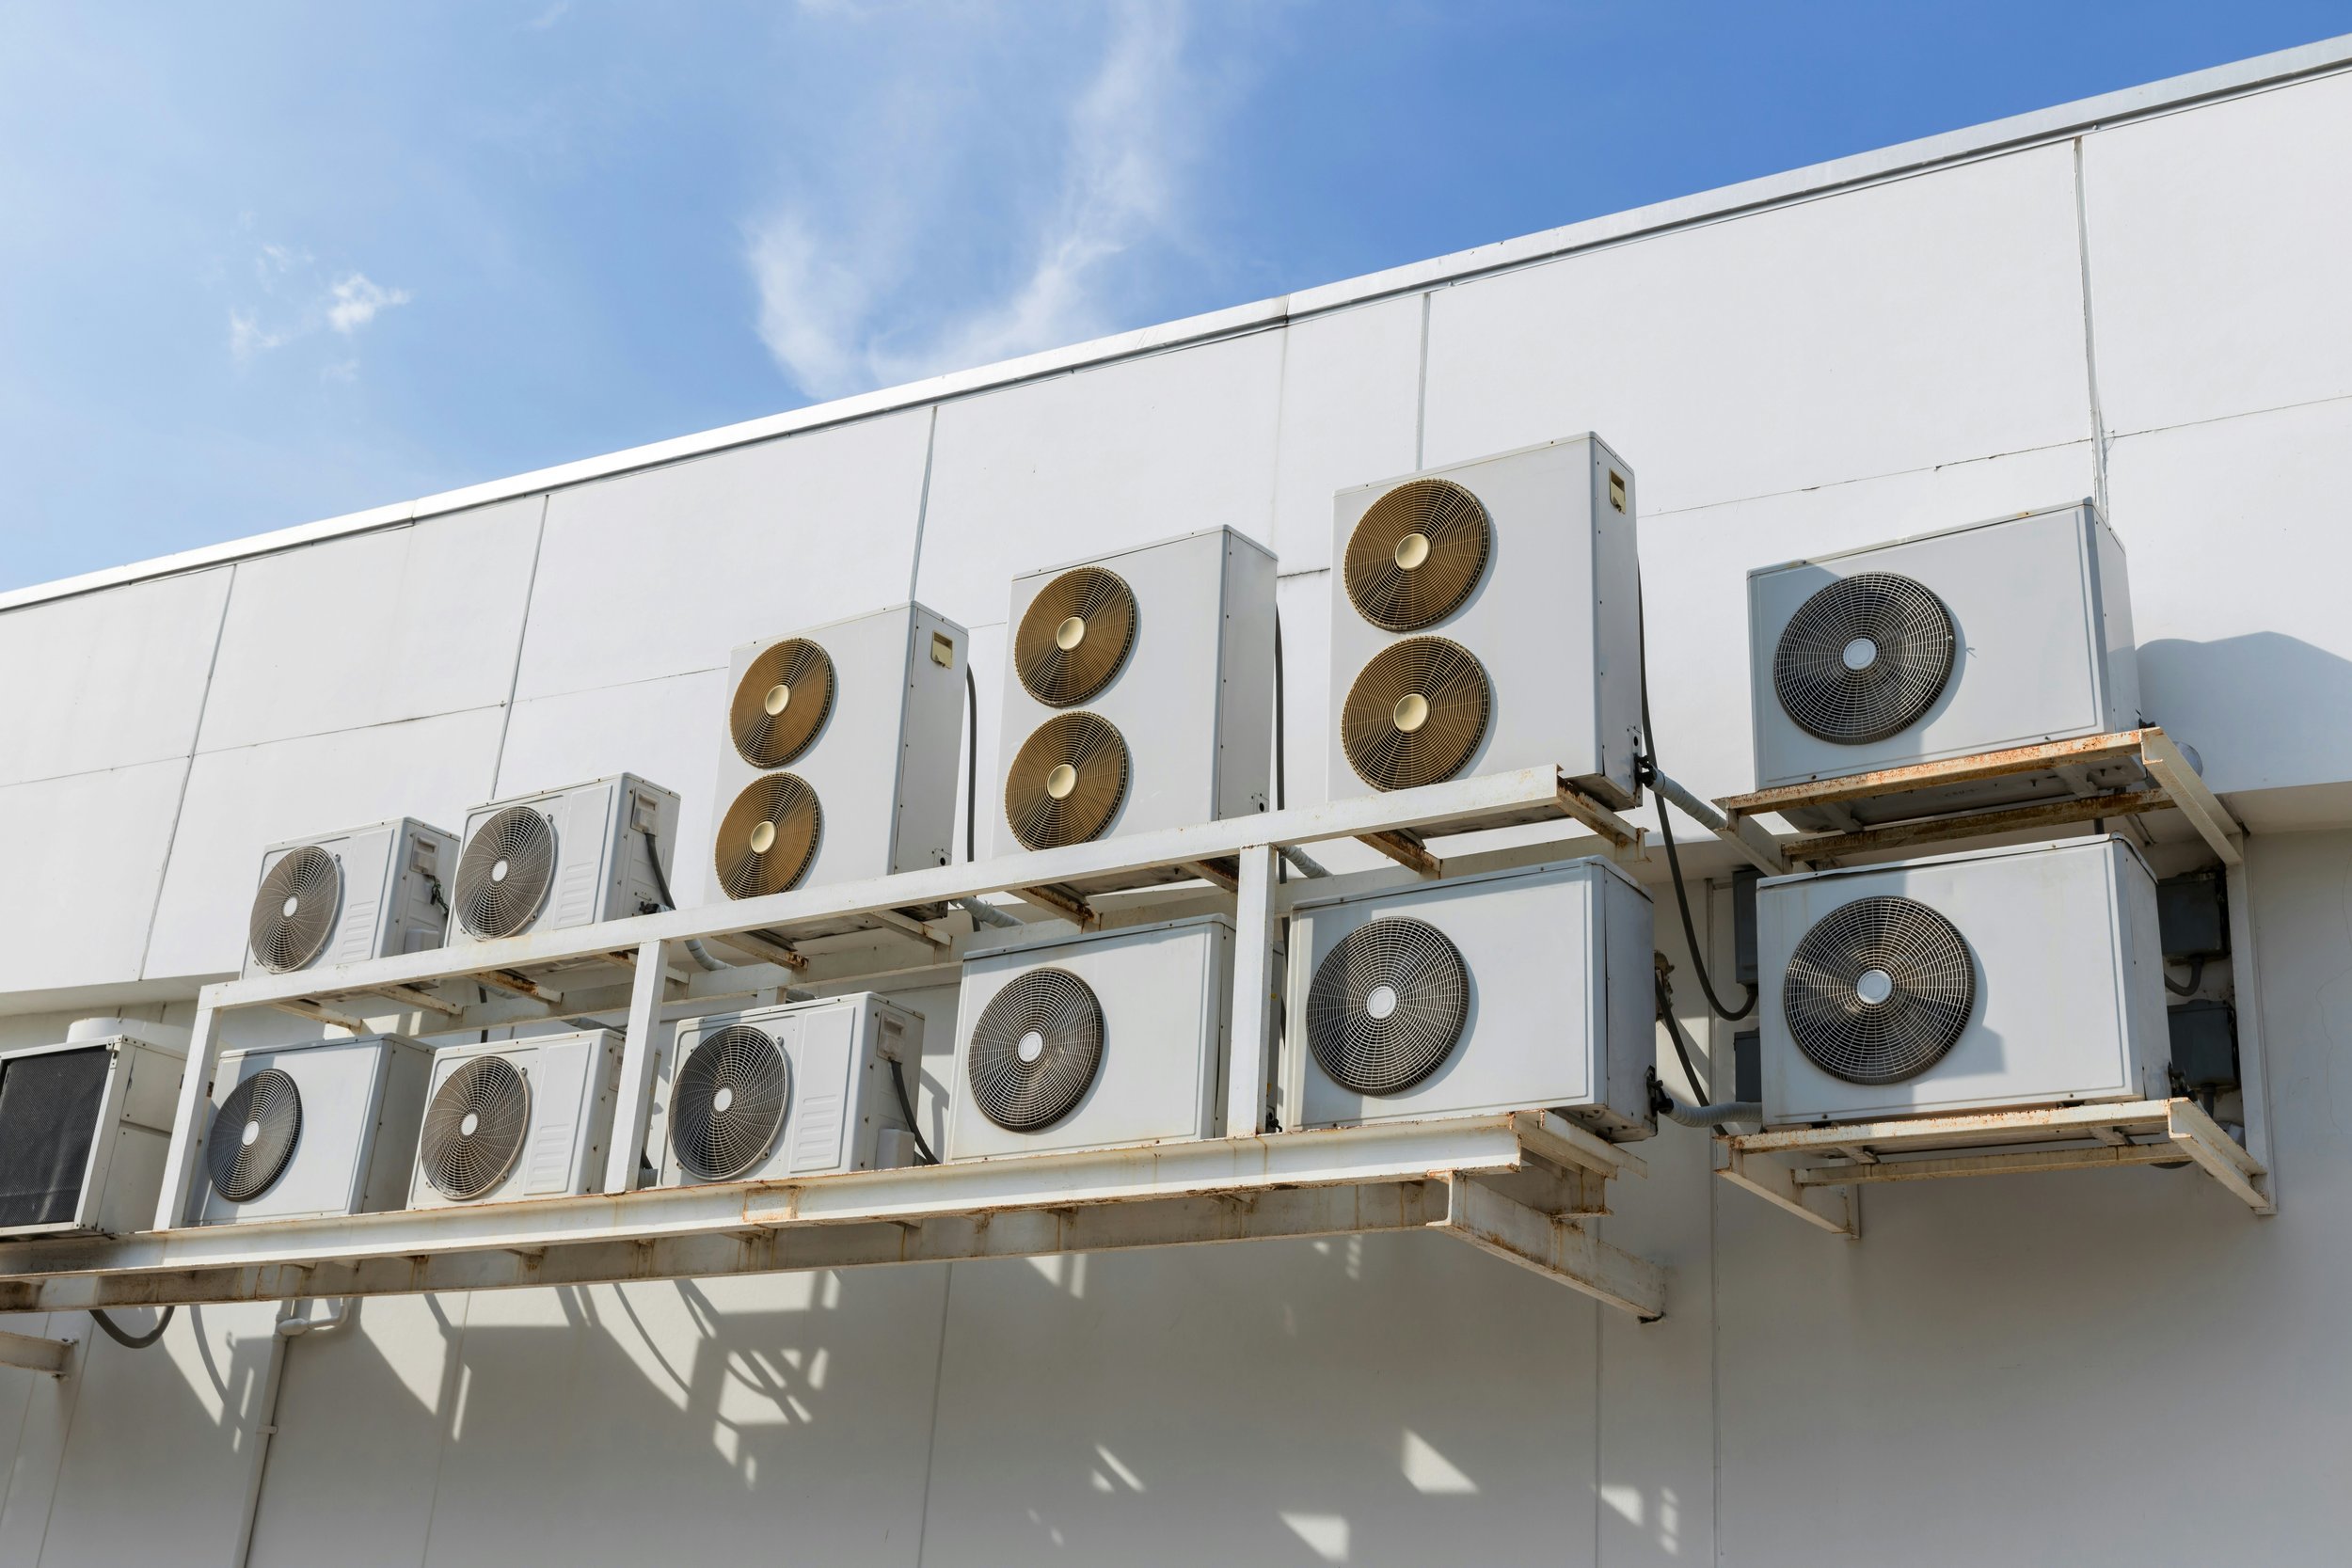
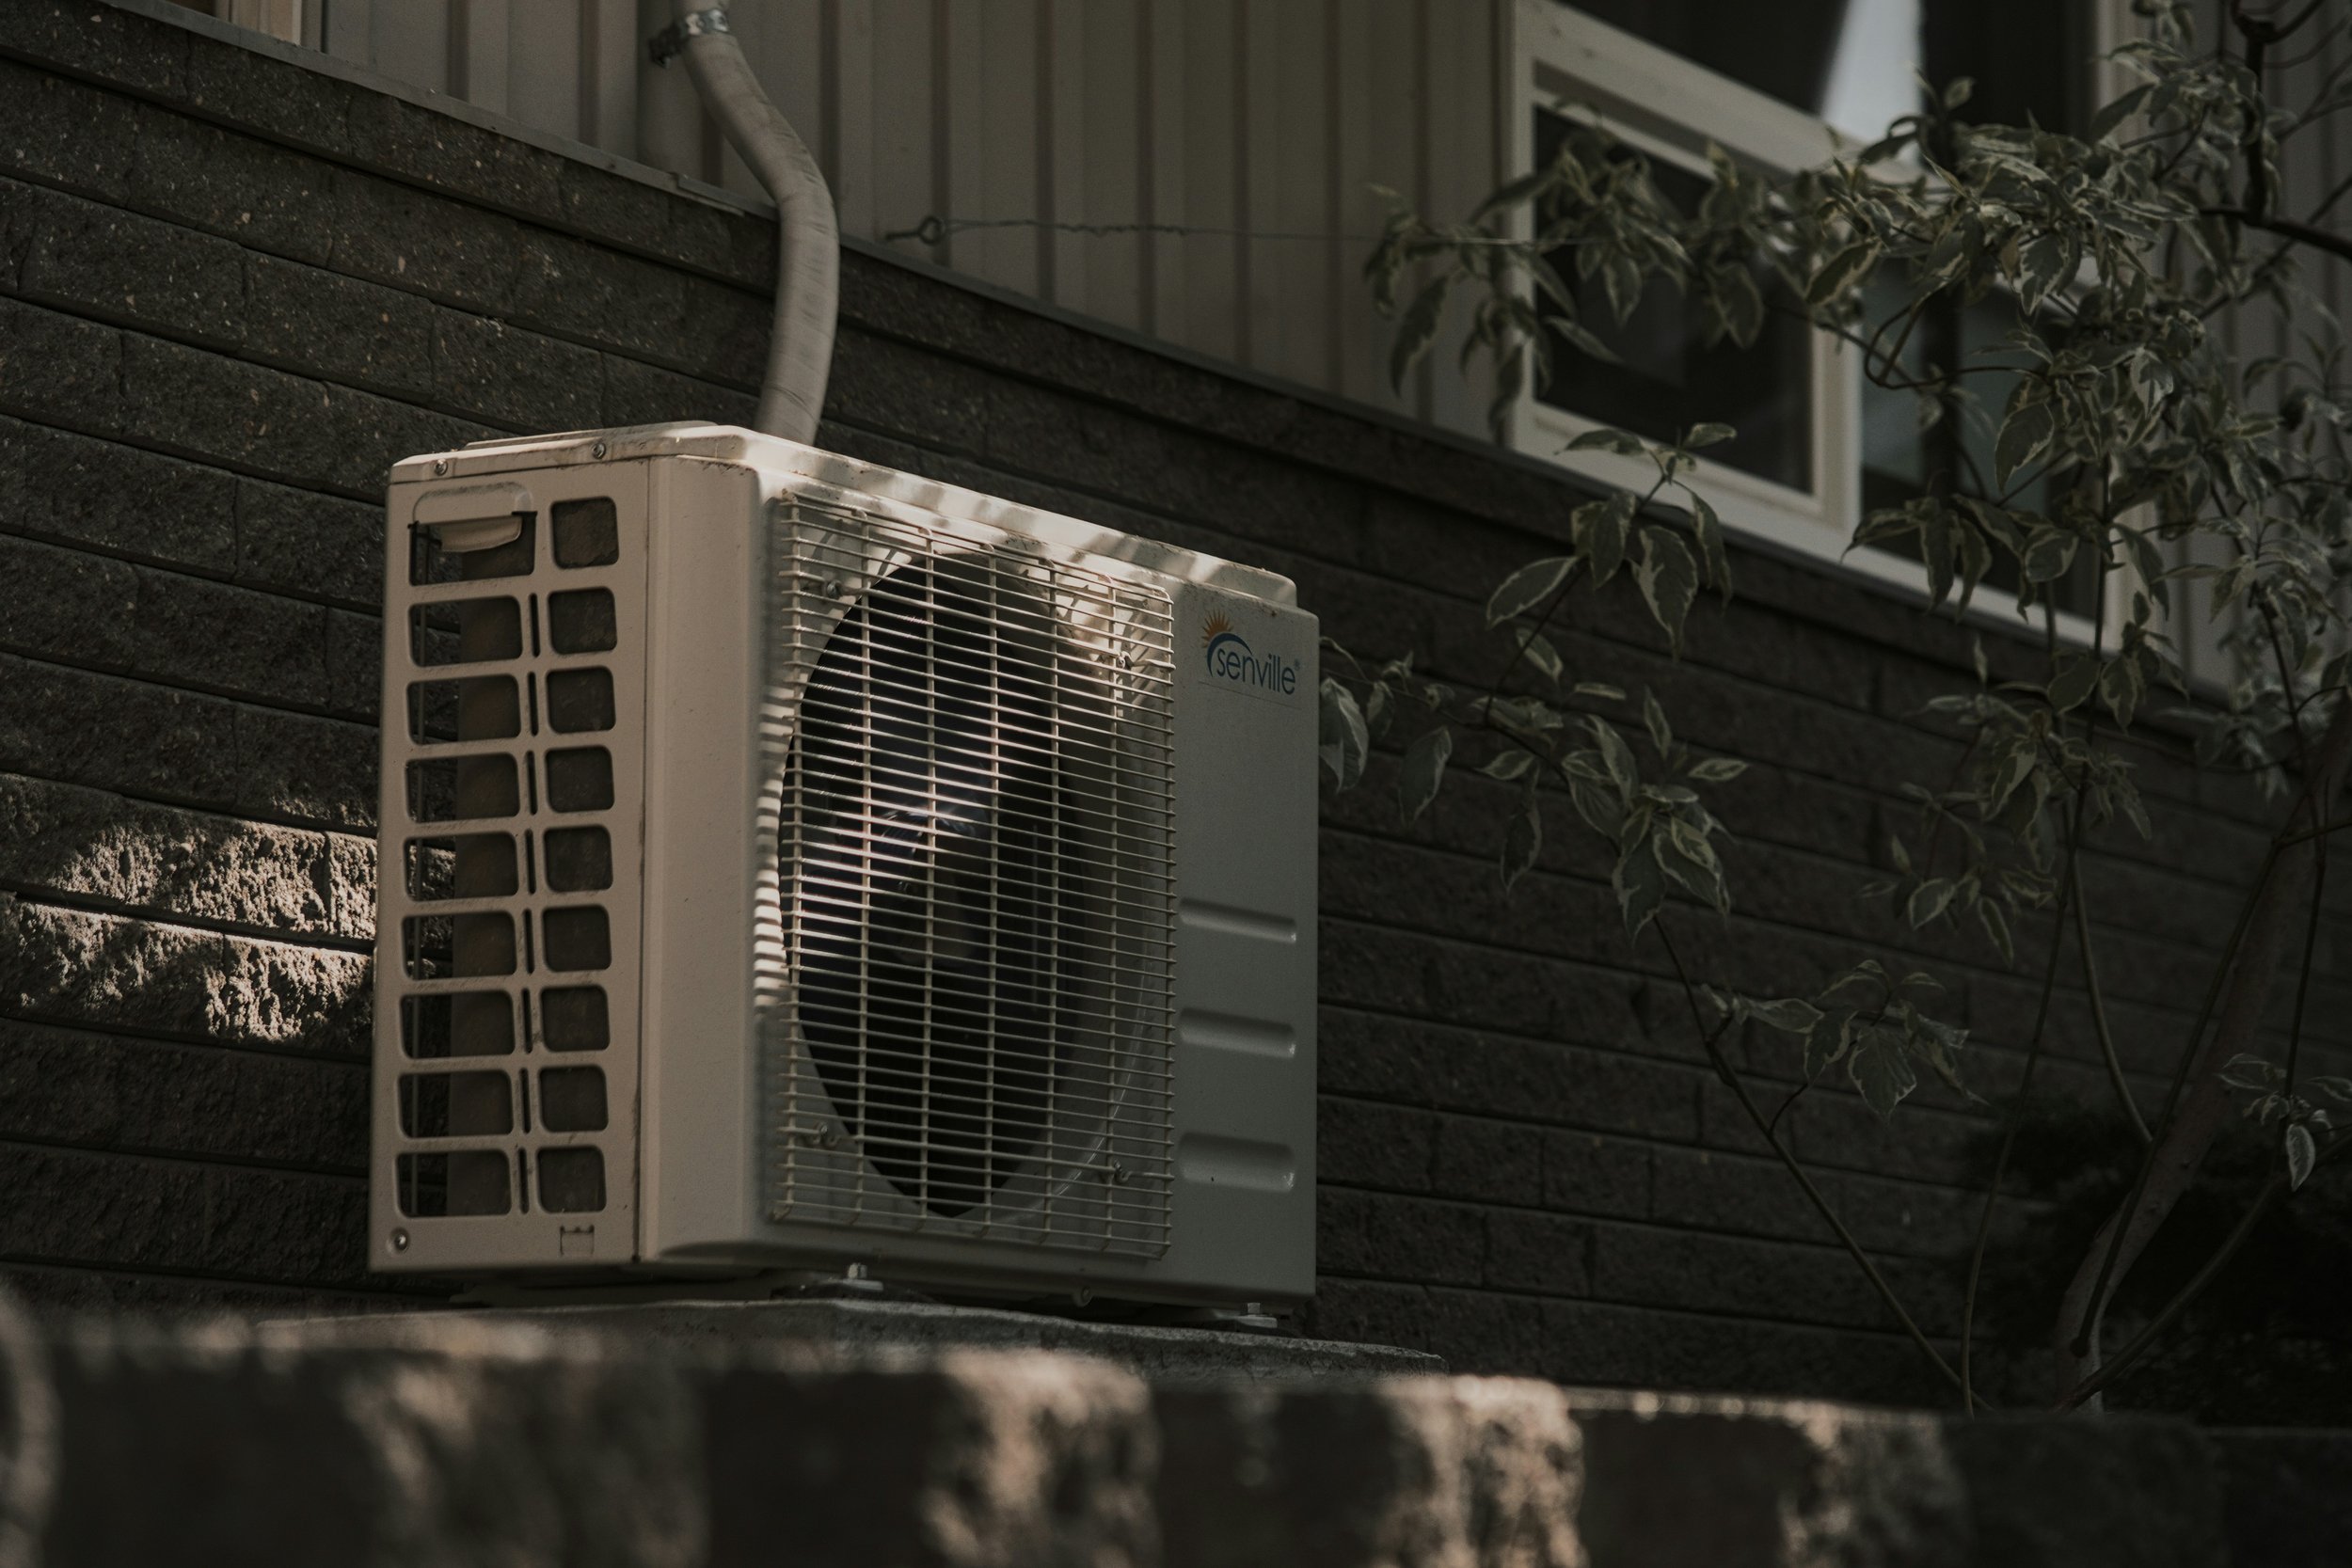
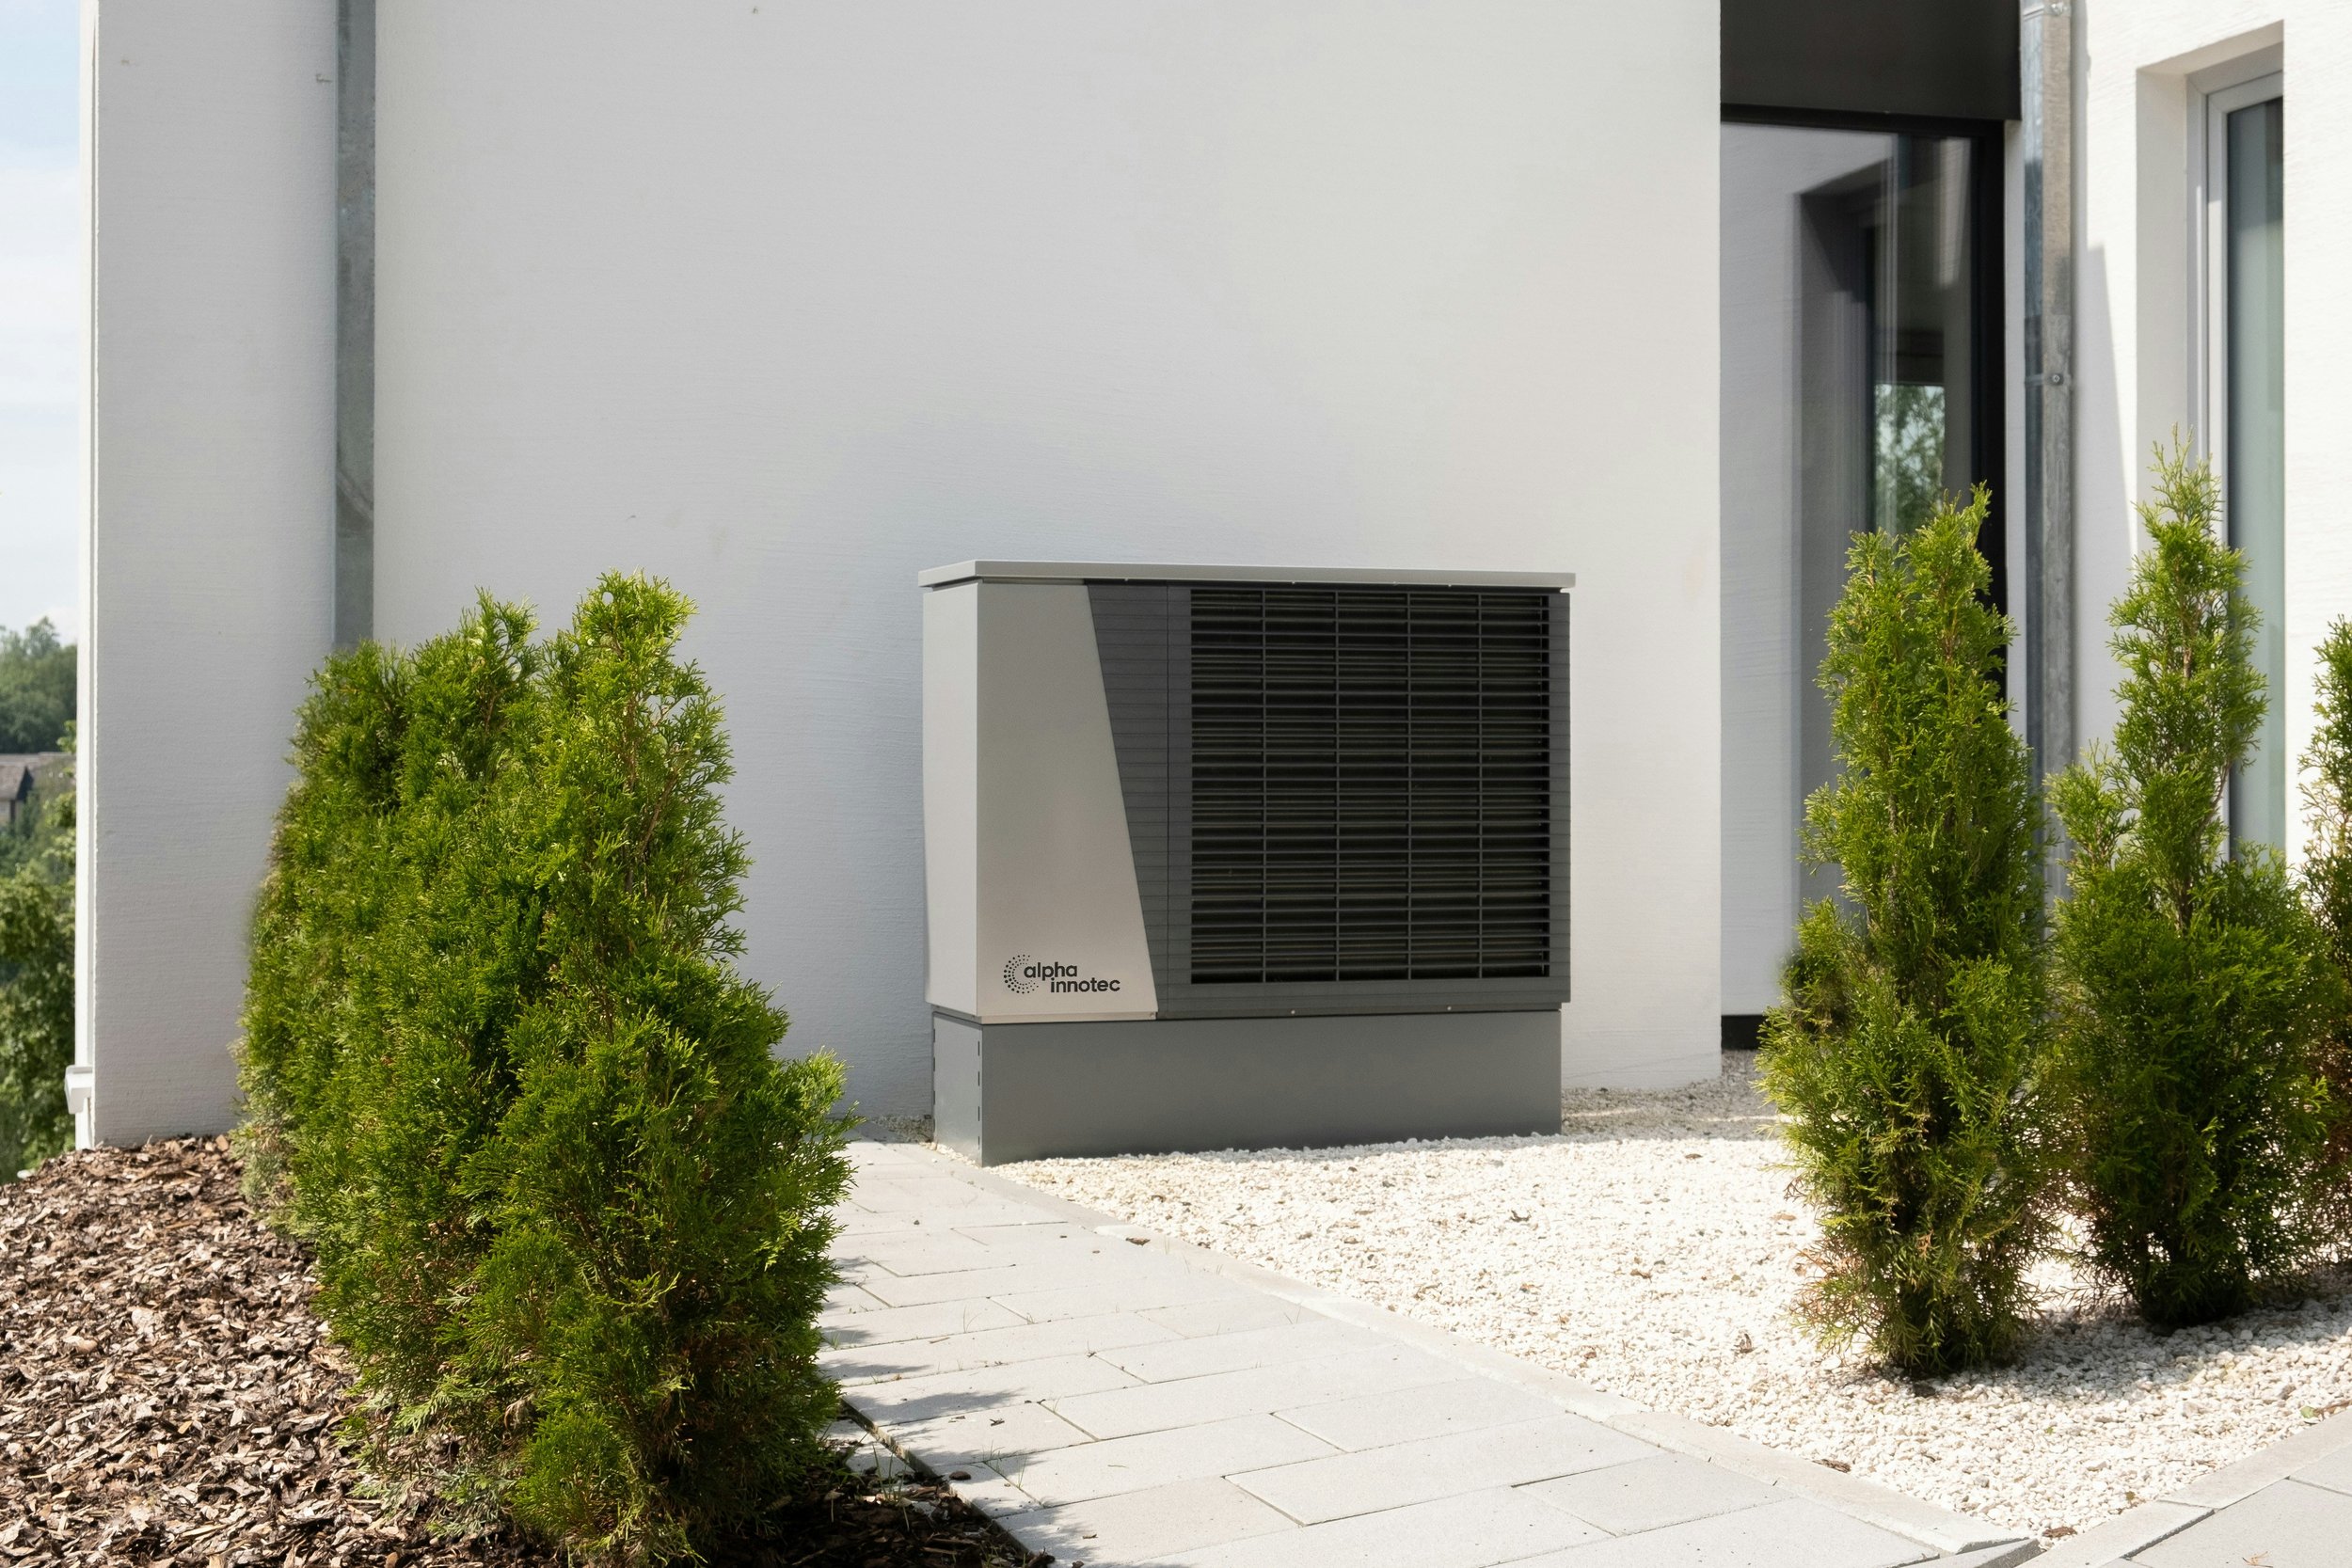
Outside Your Home: Installing the Condenser Unit
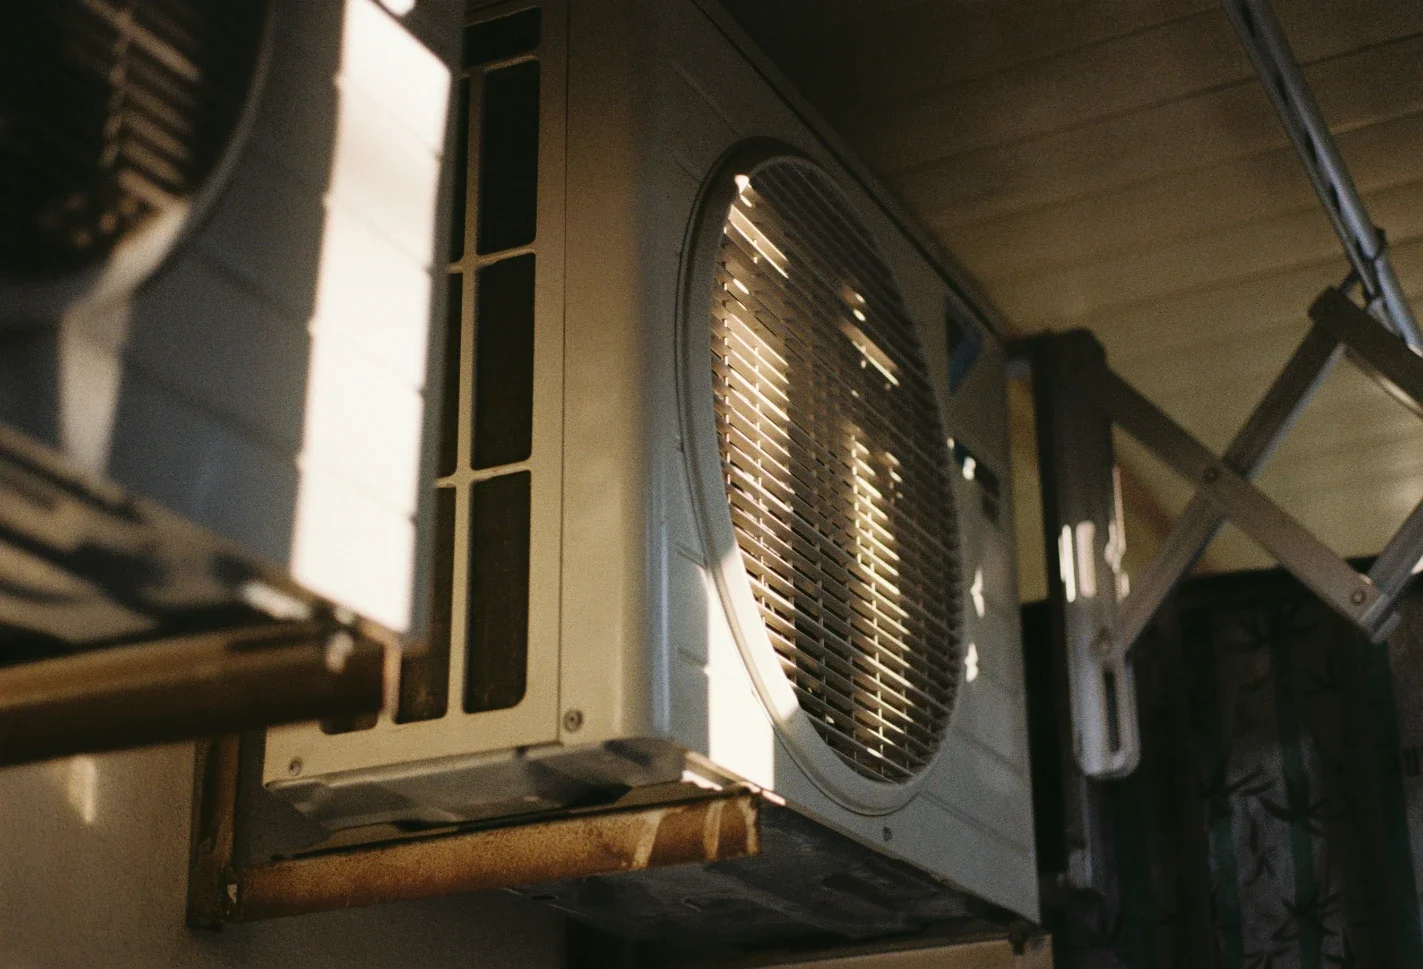
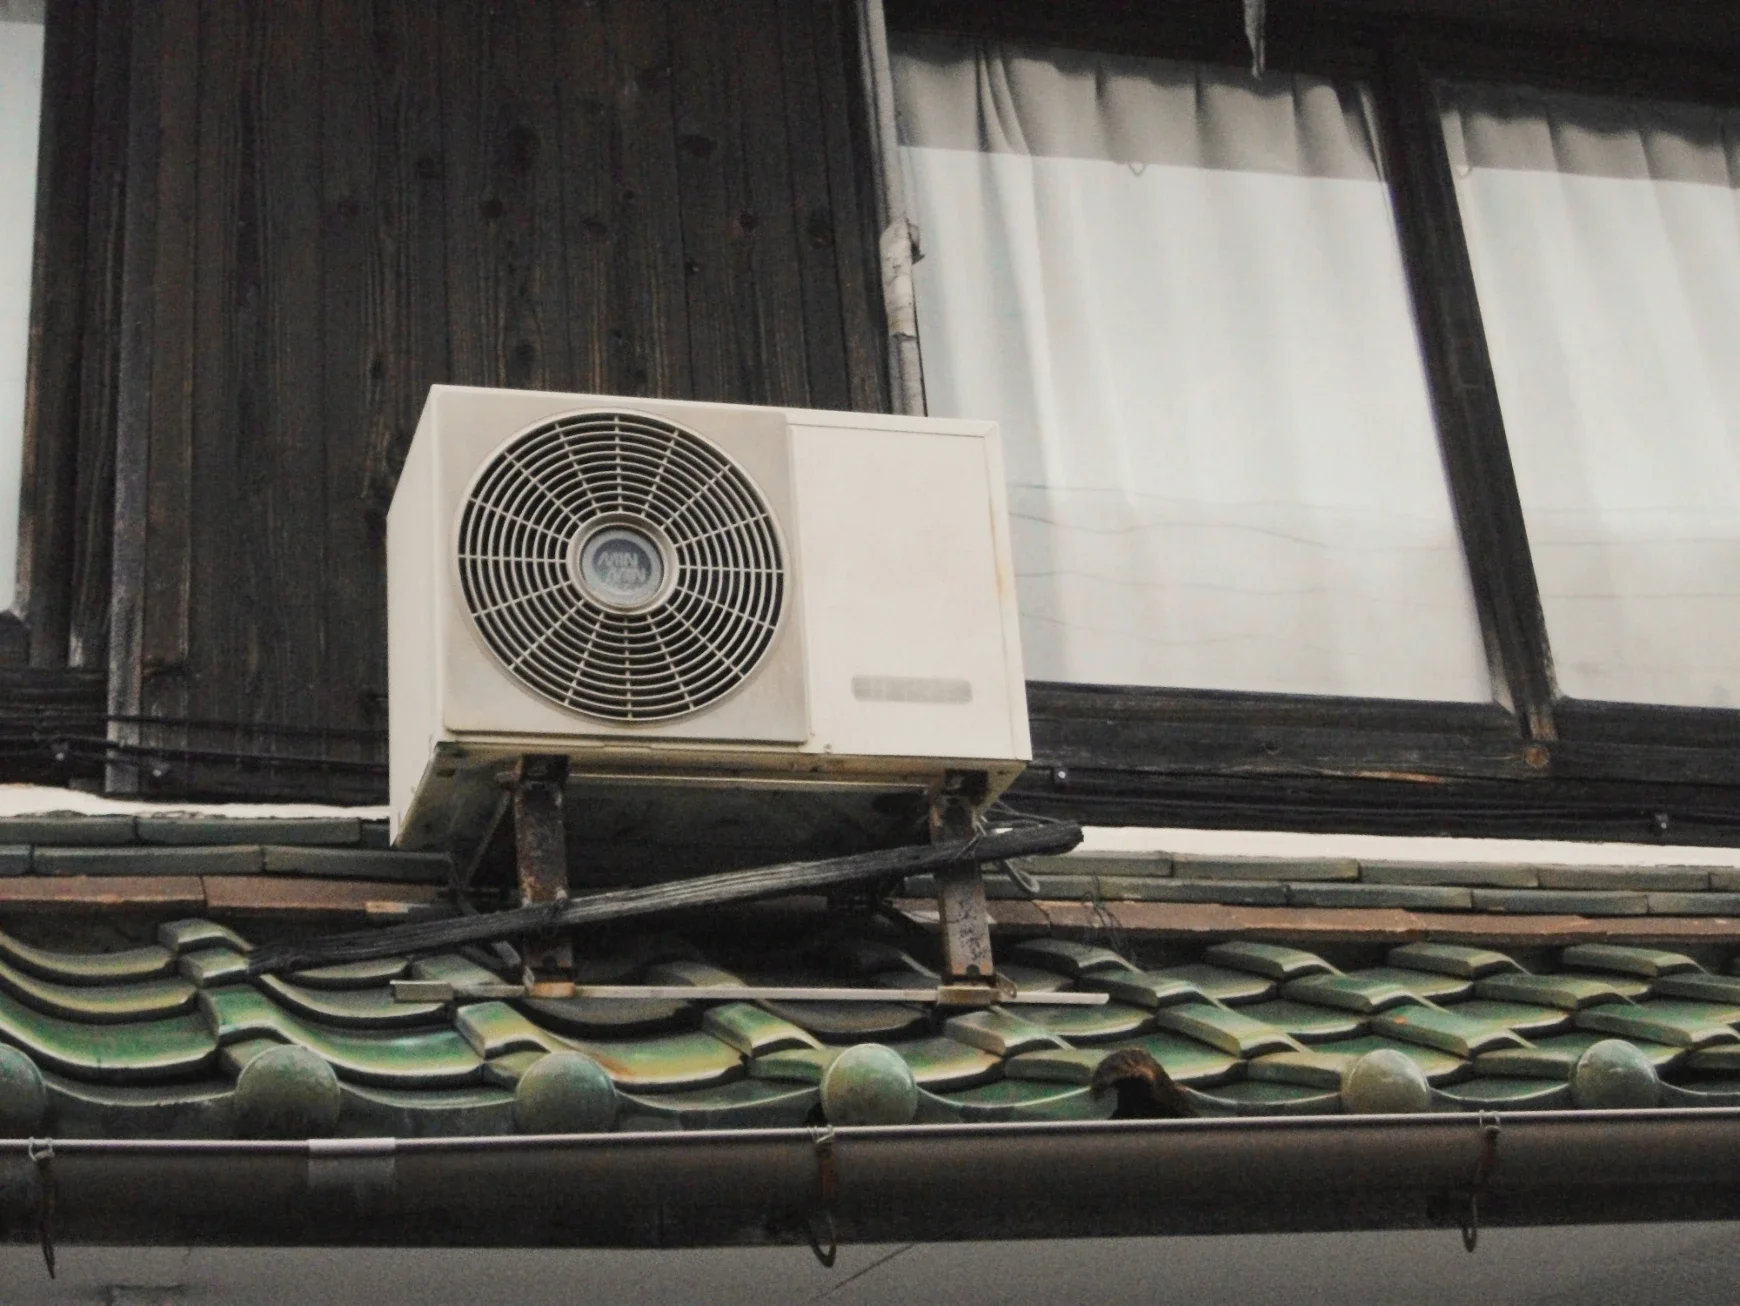
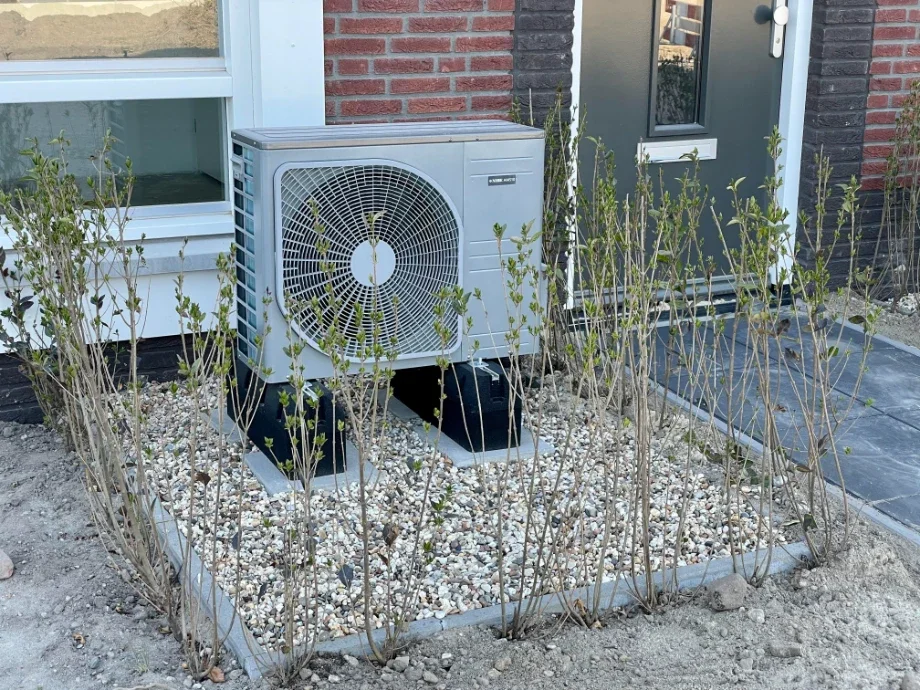
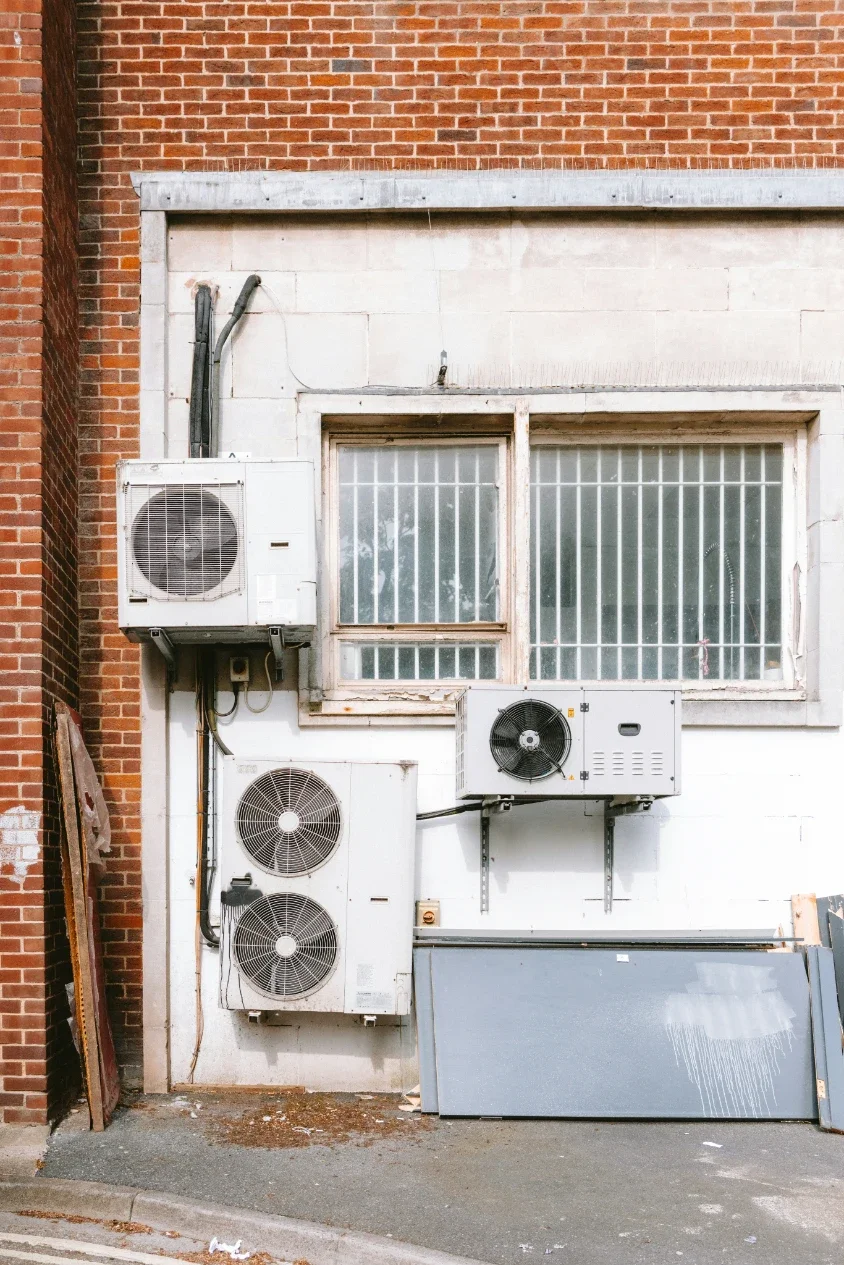
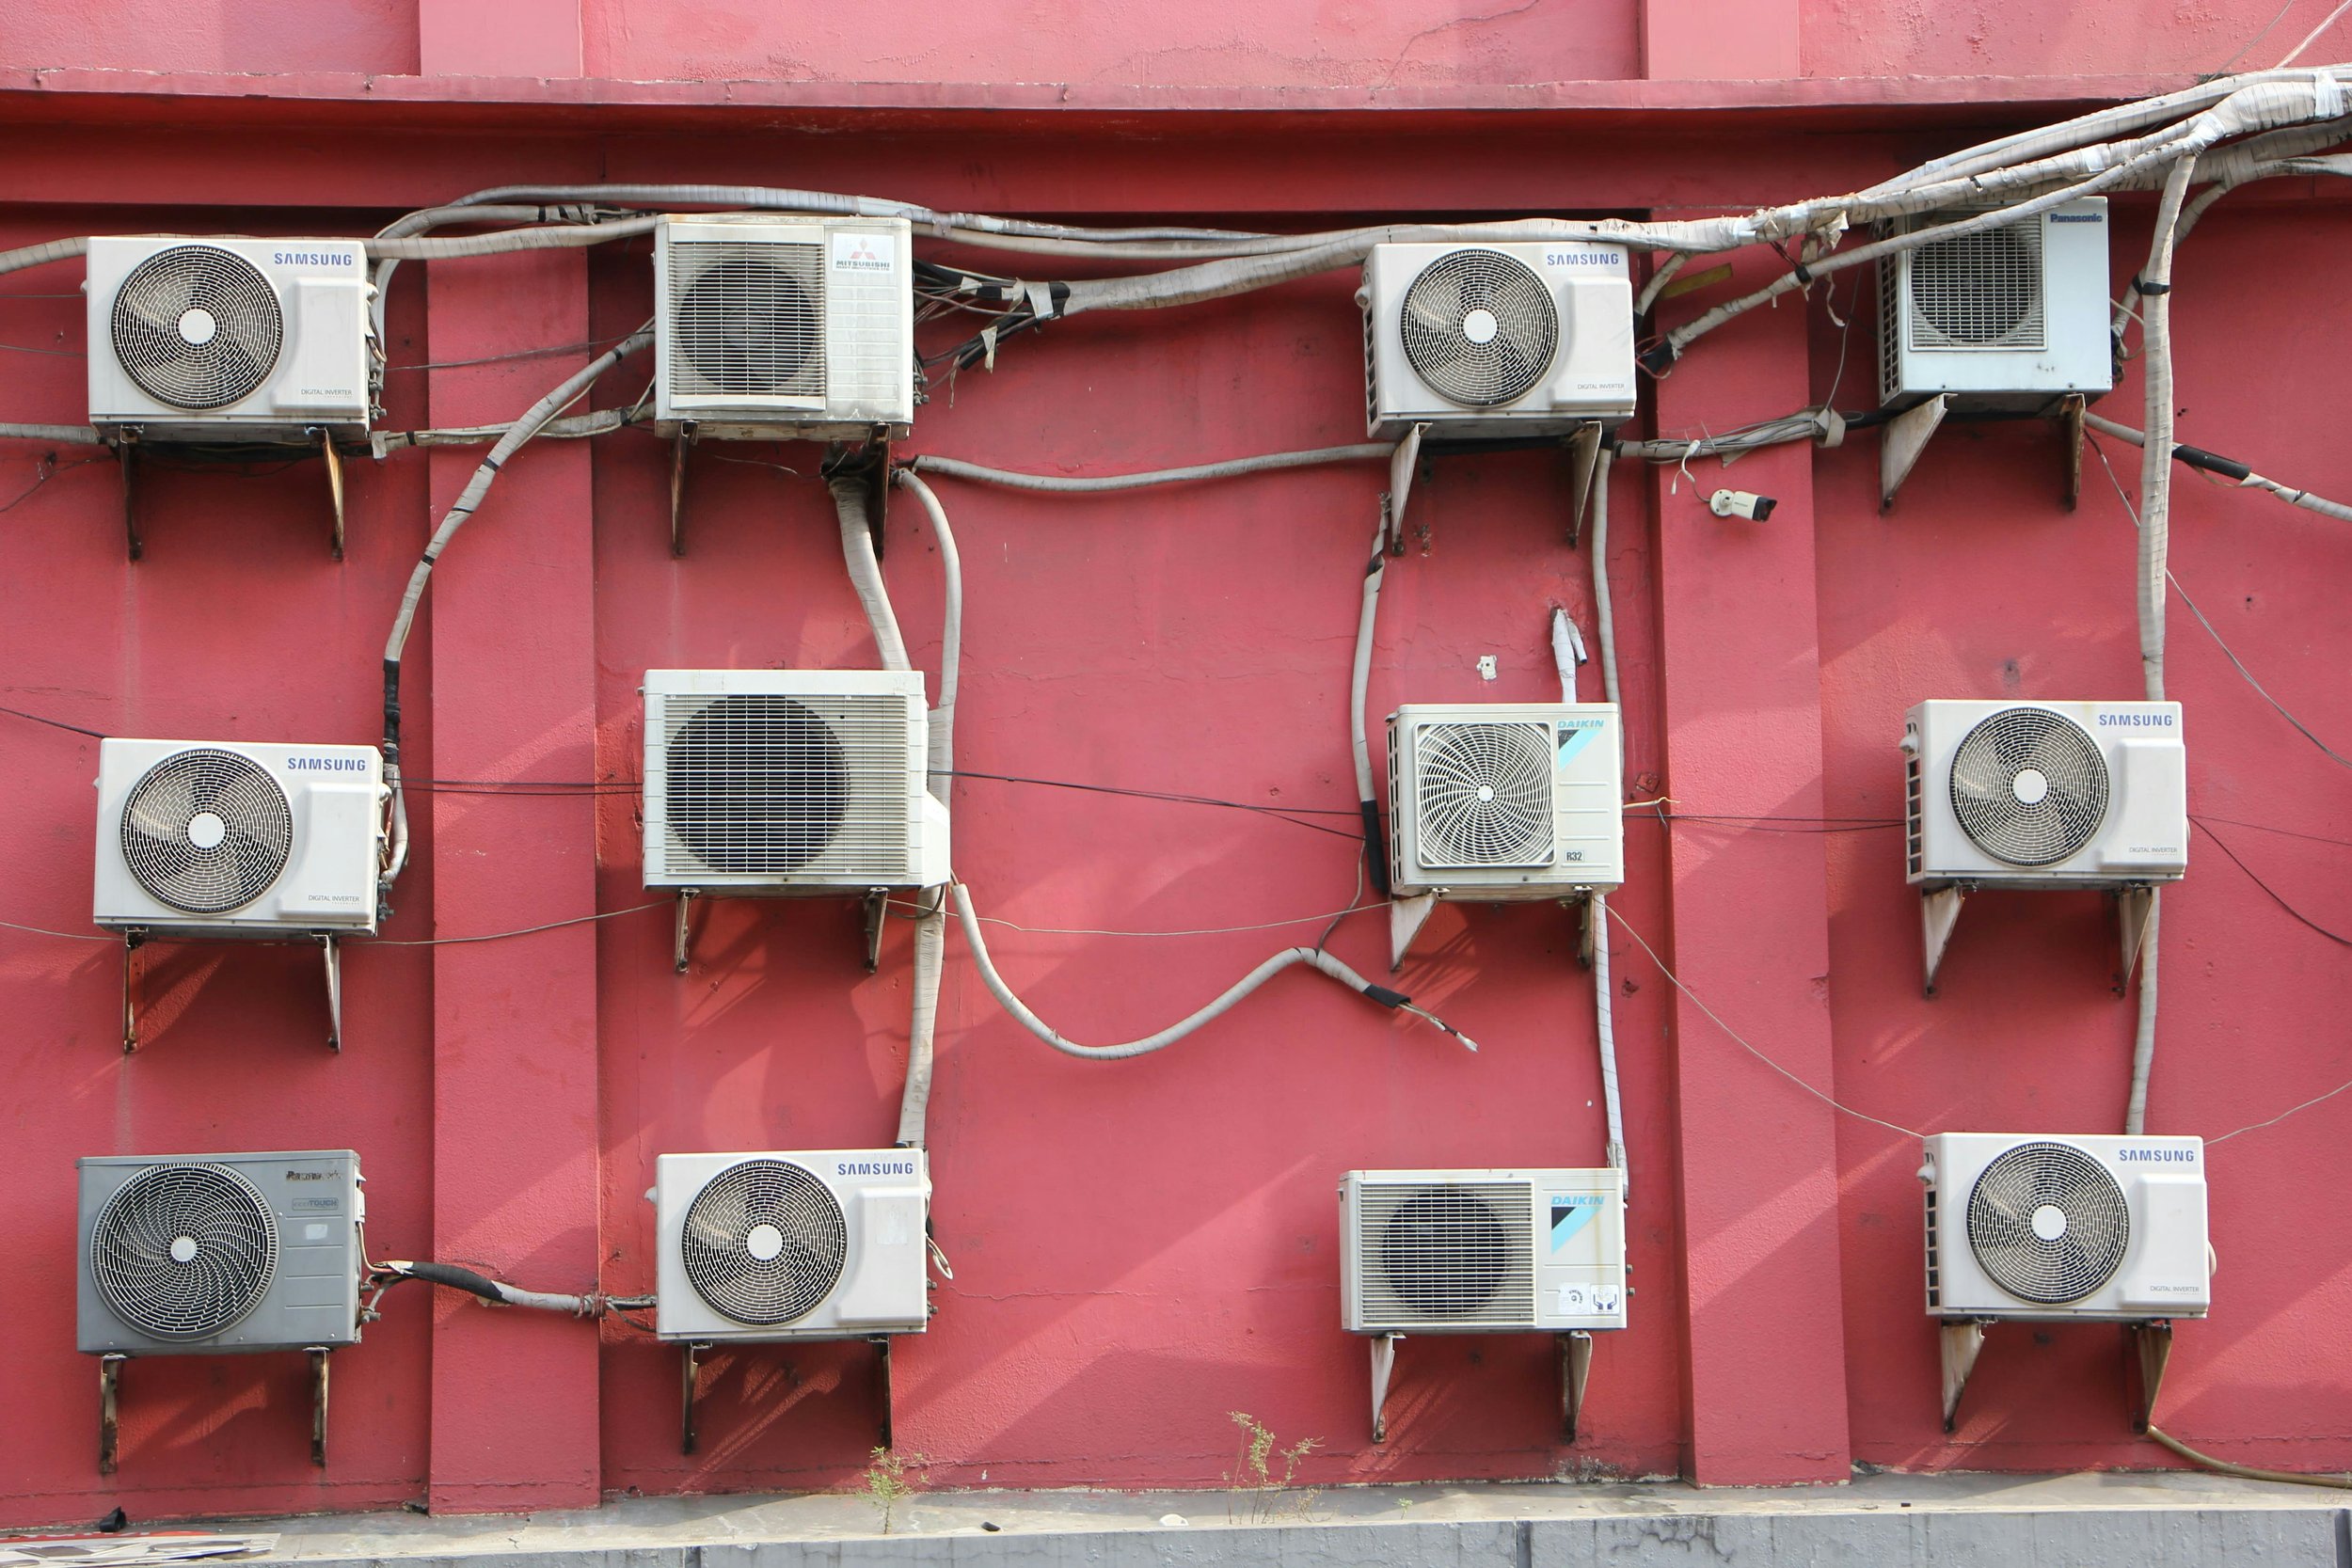
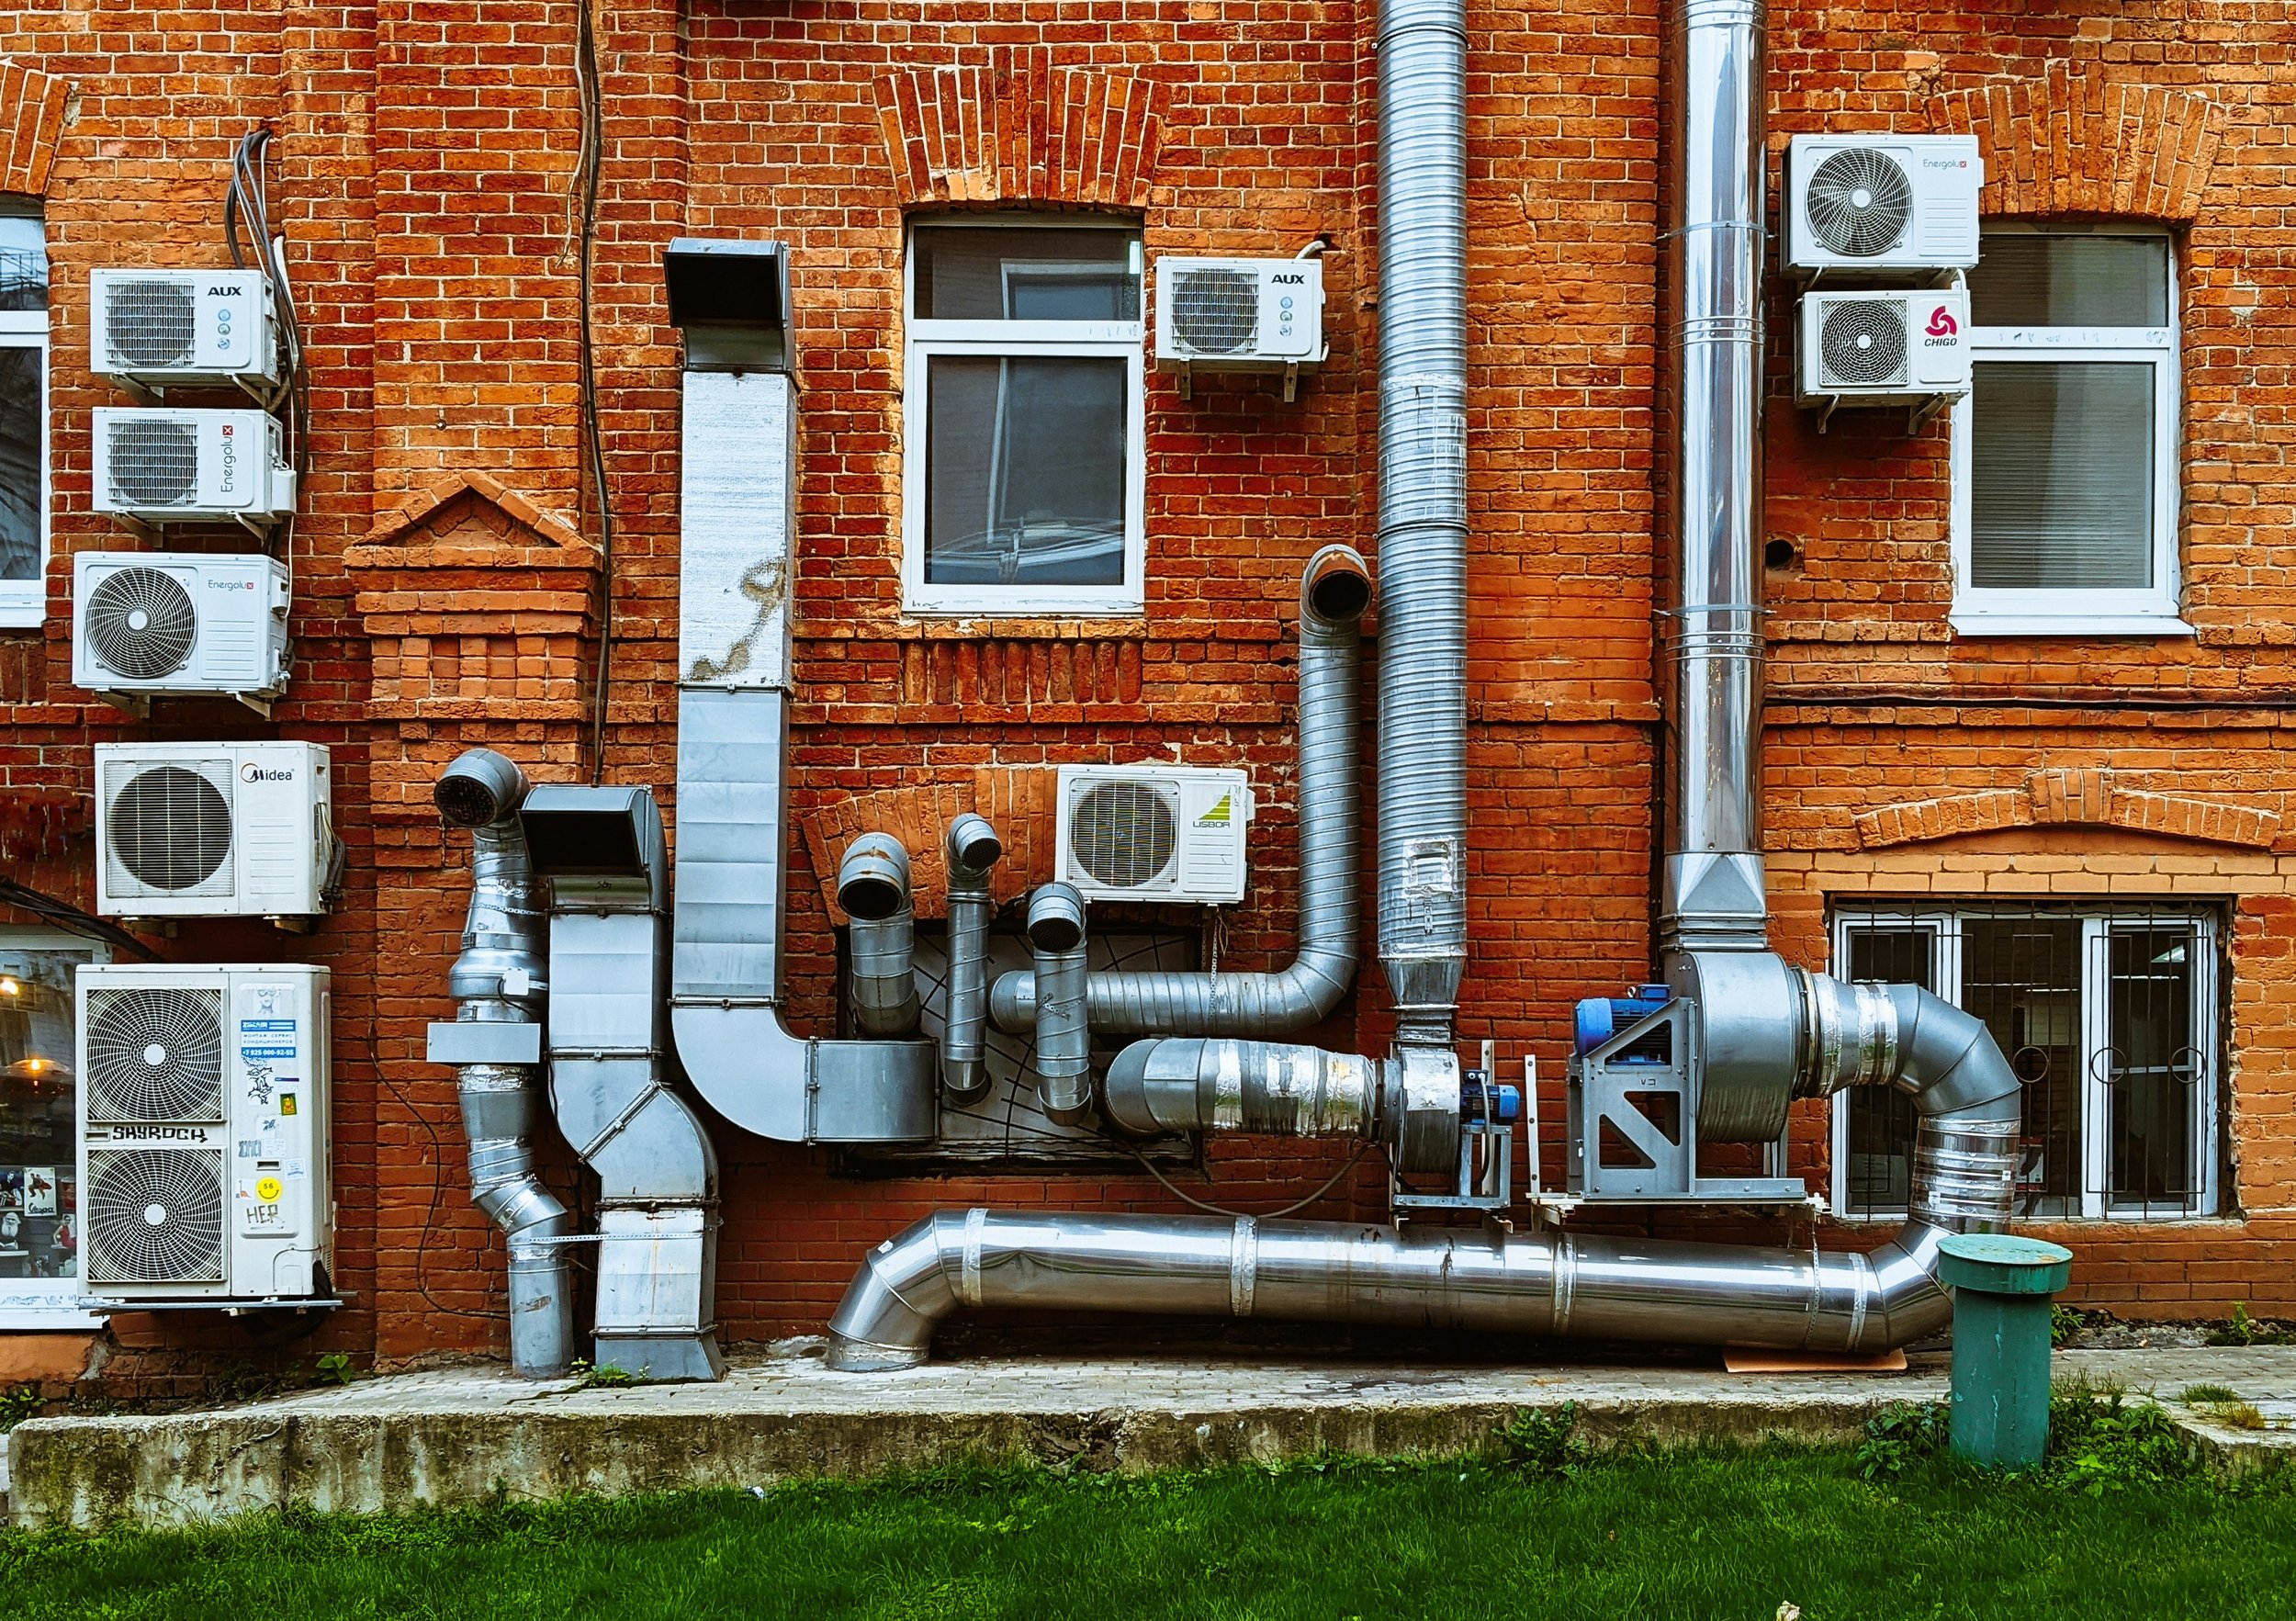
The outdoor condenser is a critical part of every central air conditioning system. It is the external portion that extracts heat absorbed from inside your home.
The unit is placed on a stable, level surface. There must be adequate clearance around all sides to support proper airflow.
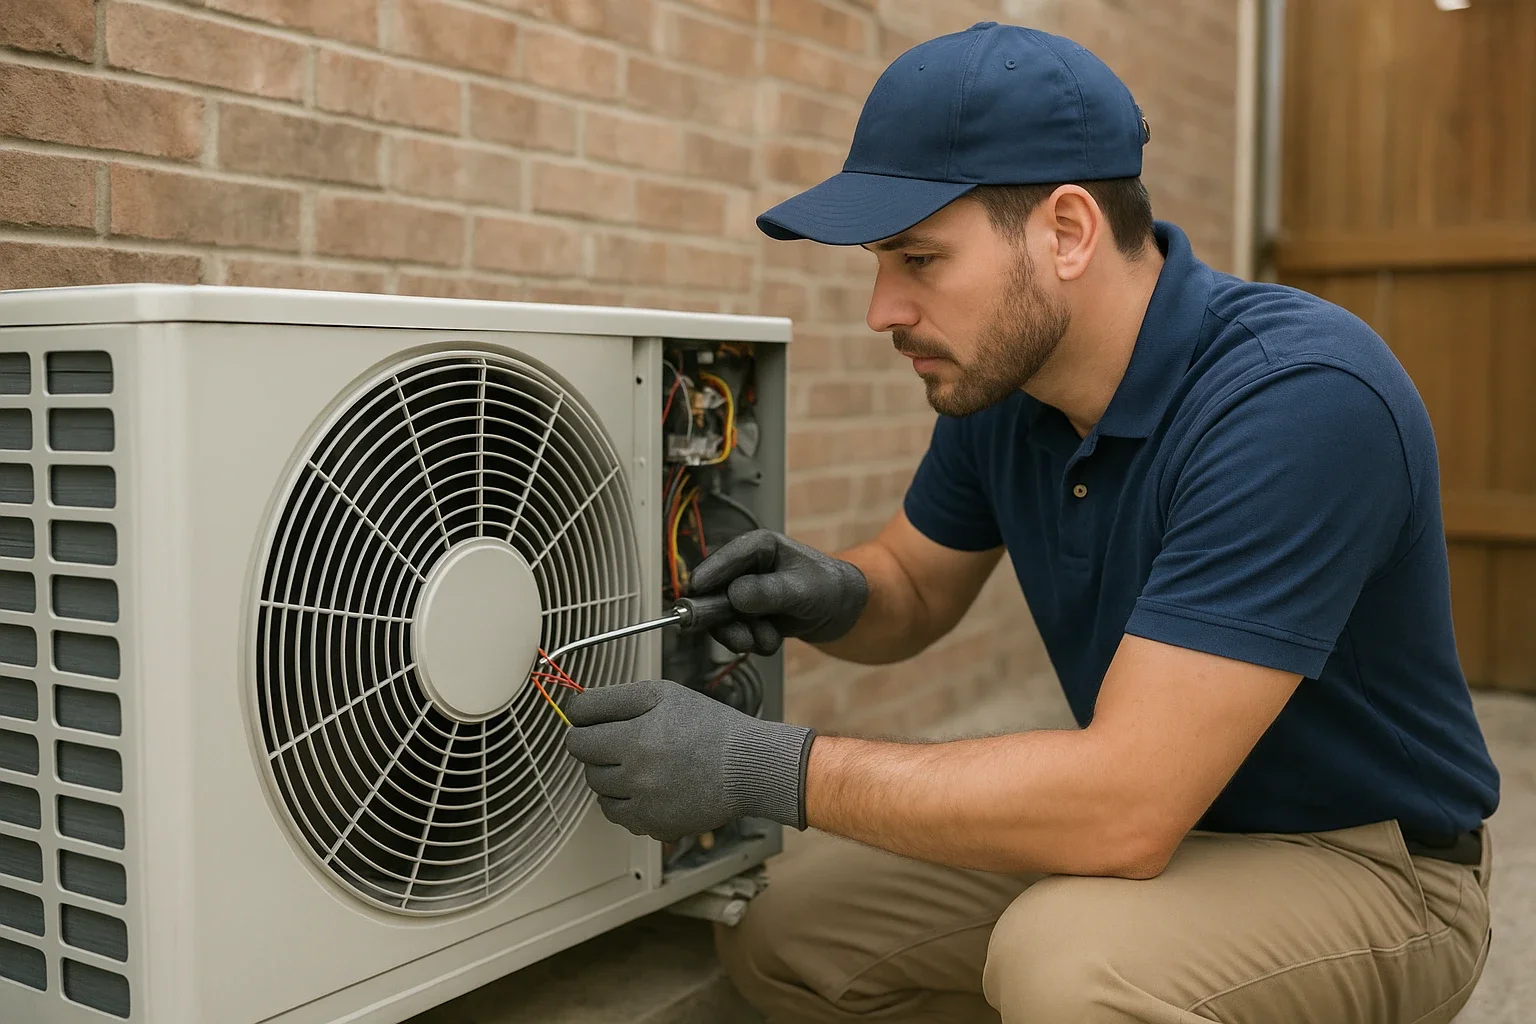
This installation process includes:
Connecting refrigerant lines
Completing electrical connections
Installing the condensate drain where applicable
Securing the communication wiring between indoor and outdoor equipment
Since the outdoor unit must not be placed near obstructions, the experts will carefully choose a spot for easy maintenance.
Whole-System Testing and Performance Checks
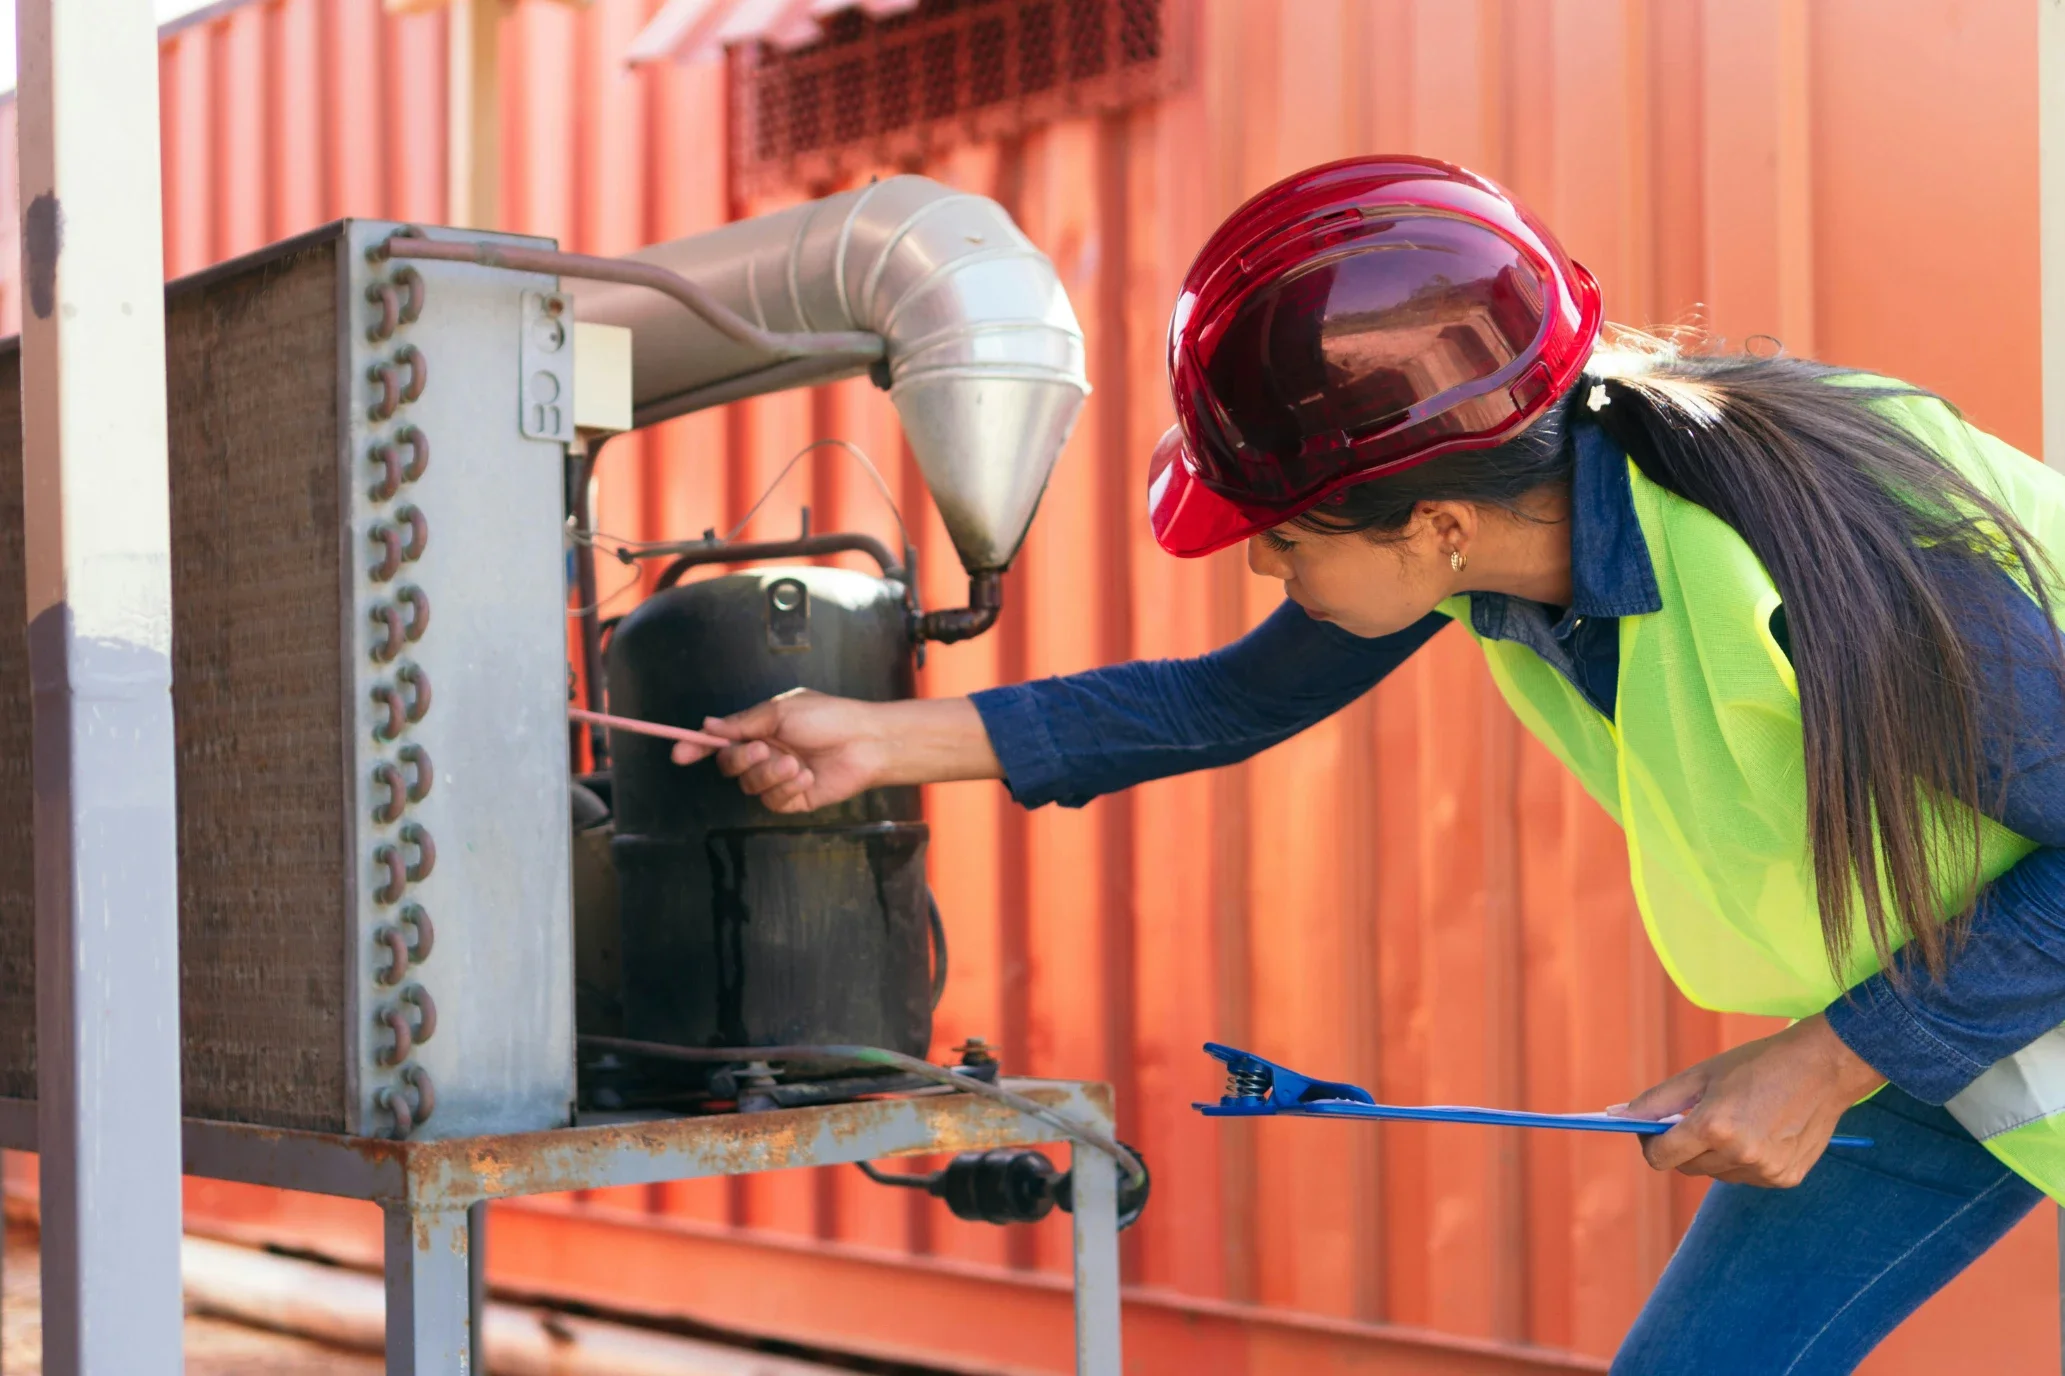
Before completing the project, the experts will perform a series of operational checks to confirm the equipment is functioning correctly. The HVAC system should be installed in accordance with the manufacturer’s standards.
Testing typically involves:
Verifying thermostat operation
Measuring air temperatures for stability and consistency
Checking refrigerant pressures according to manufacturer specifications
Inspecting electrical components
Confirming proper condensate drainage
Listening for abnormal vibration or operating noise
Technicians will explain all the features and optimization tips to you. You will be shown basic DIY home maintenance tips such as operating the thermostat, replacing the air filters, and understanding the model specifications. The walkthrough should make you feel confident about keeping the system efficient.
In conclusion

Proper air conditioner installation steps verify safe operation, correct air circulation, and reliable system performance. Work with an experienced and licensed provider that understands the local climate and regulations for the best results.
Stay up to date with our latest ideas!