Fast Aircon Installation: What to Expect on the Day
Discover what happens during a fast aircon installation, from setup to testing, so you can prepare your space and enjoy cool comfort right away.

When the summer heat kicks in, waiting weeks for relief isn’t an option. That’s why many homeowners choose companies that specialise in fast aircon installation. Whether you’re upgrading an old unit or installing air conditioning for the first time, knowing what happens on the day can help you prepare and make the process smooth and stress-free.
In this guide, we’ll walk through what to expect during an installation, from arrival to final testing, and explain the steps that ensure your system is safe, efficient, and ready to cool your home.
Preparation Before the Installers Arrive
The day of your aircon installation runs more smoothly if a few preparations are made beforehand:
Clear the area – Make sure there’s easy access to where the indoor and outdoor units will be placed. Move furniture, plants, or stored items out of the way.
Check electrical access – Ensure the installer can reach your switchboard or fuse box.
Discuss placement ahead of time – If you’ve already had a site inspection, you’ll know where your indoor and outdoor units will go. Having this settled avoids delays.
Good preparation allows technicians to start work immediately, making same-day or fast installation much more achievable.
Step 1: Installer Arrival and Safety Check
On the day, your installers will usually arrive within an agreed time window. Before any work begins, they’ll conduct a safety check of your home:
Confirming the electrical supply can support the new air conditioner.
Ensuring the installation area is safe, stable, and accessible.
Reviewing the planned placement of both indoor and outdoor units.
This stage is quick, but it’s essential for ensuring the installation meets Australian safety standards.
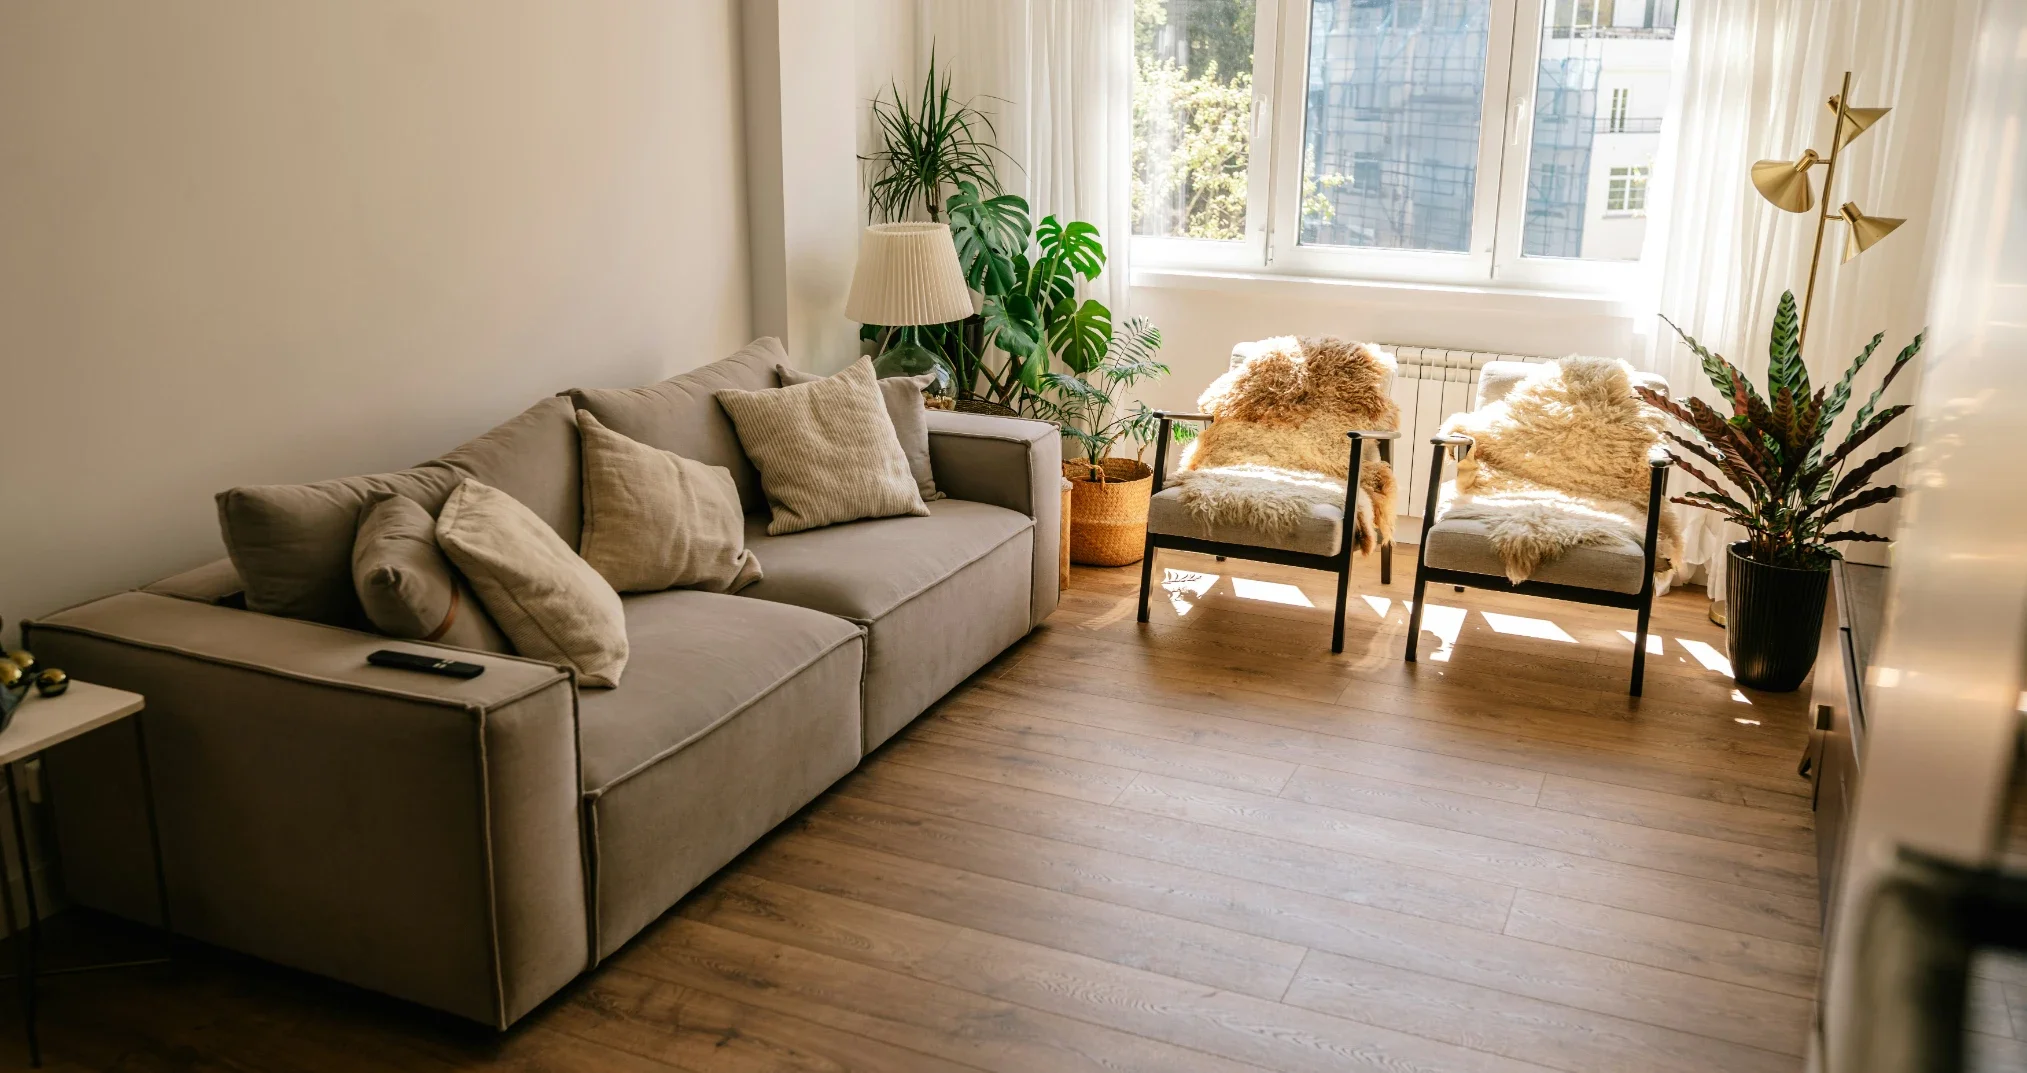
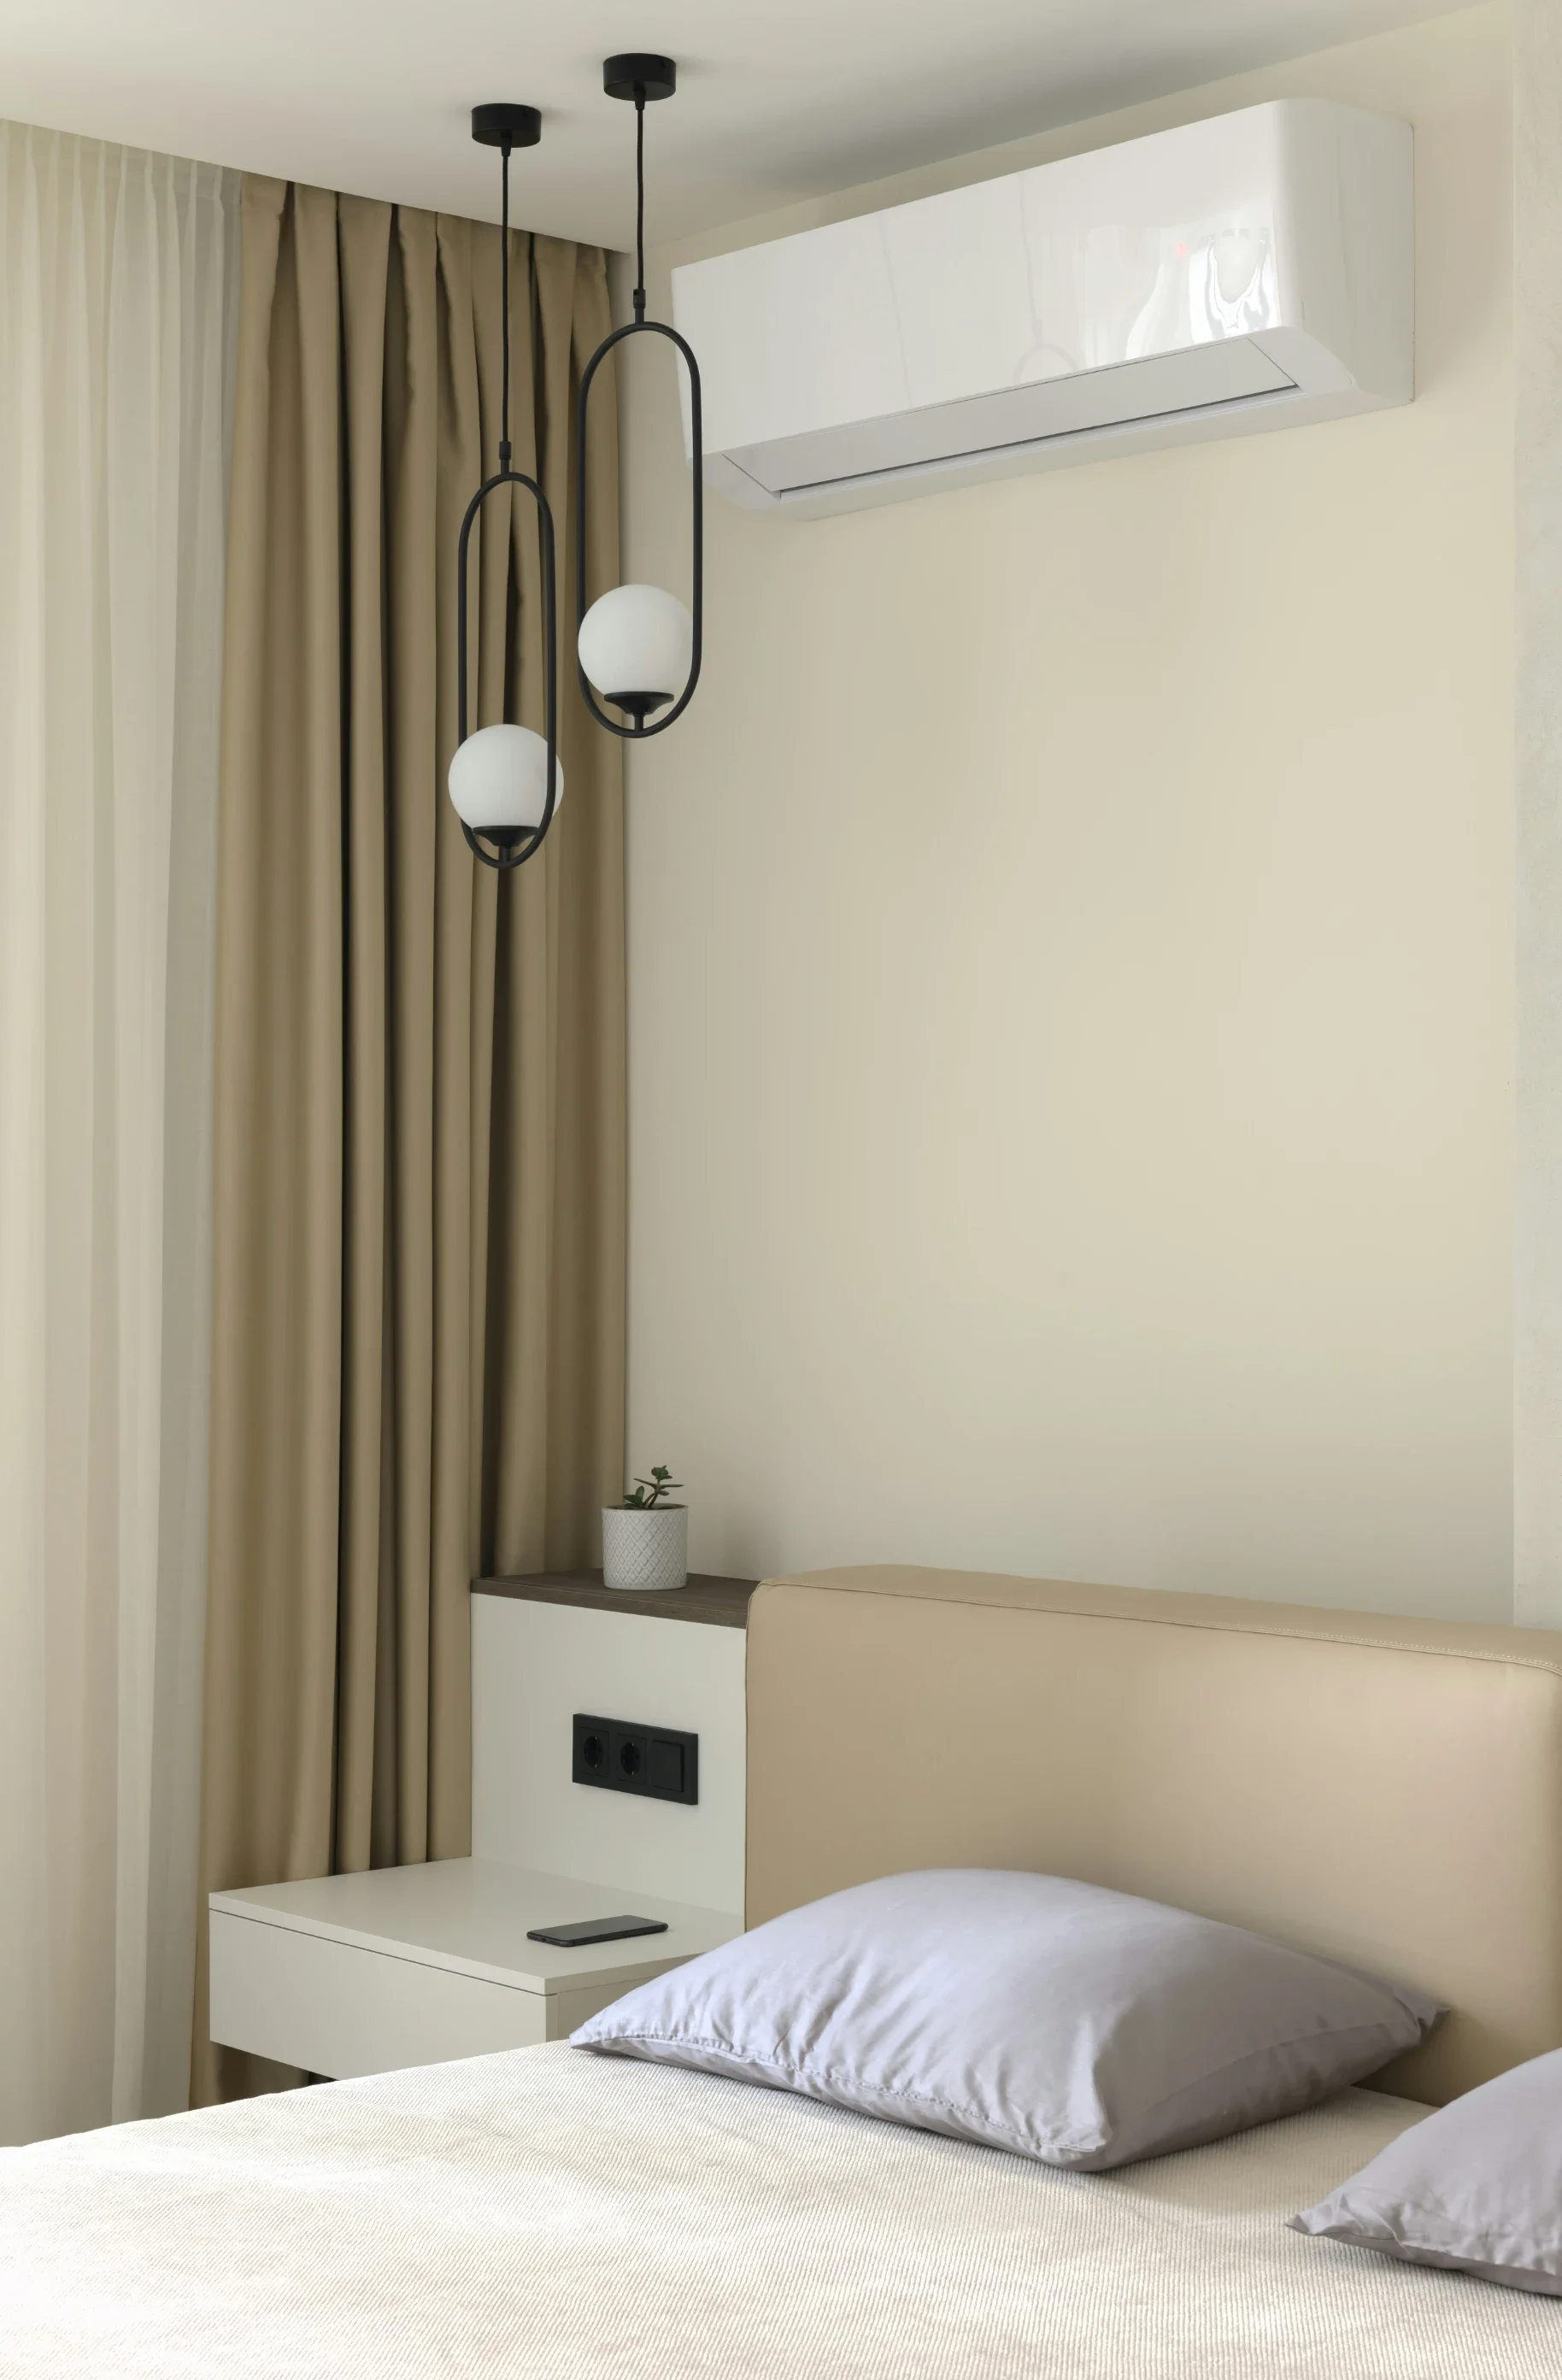
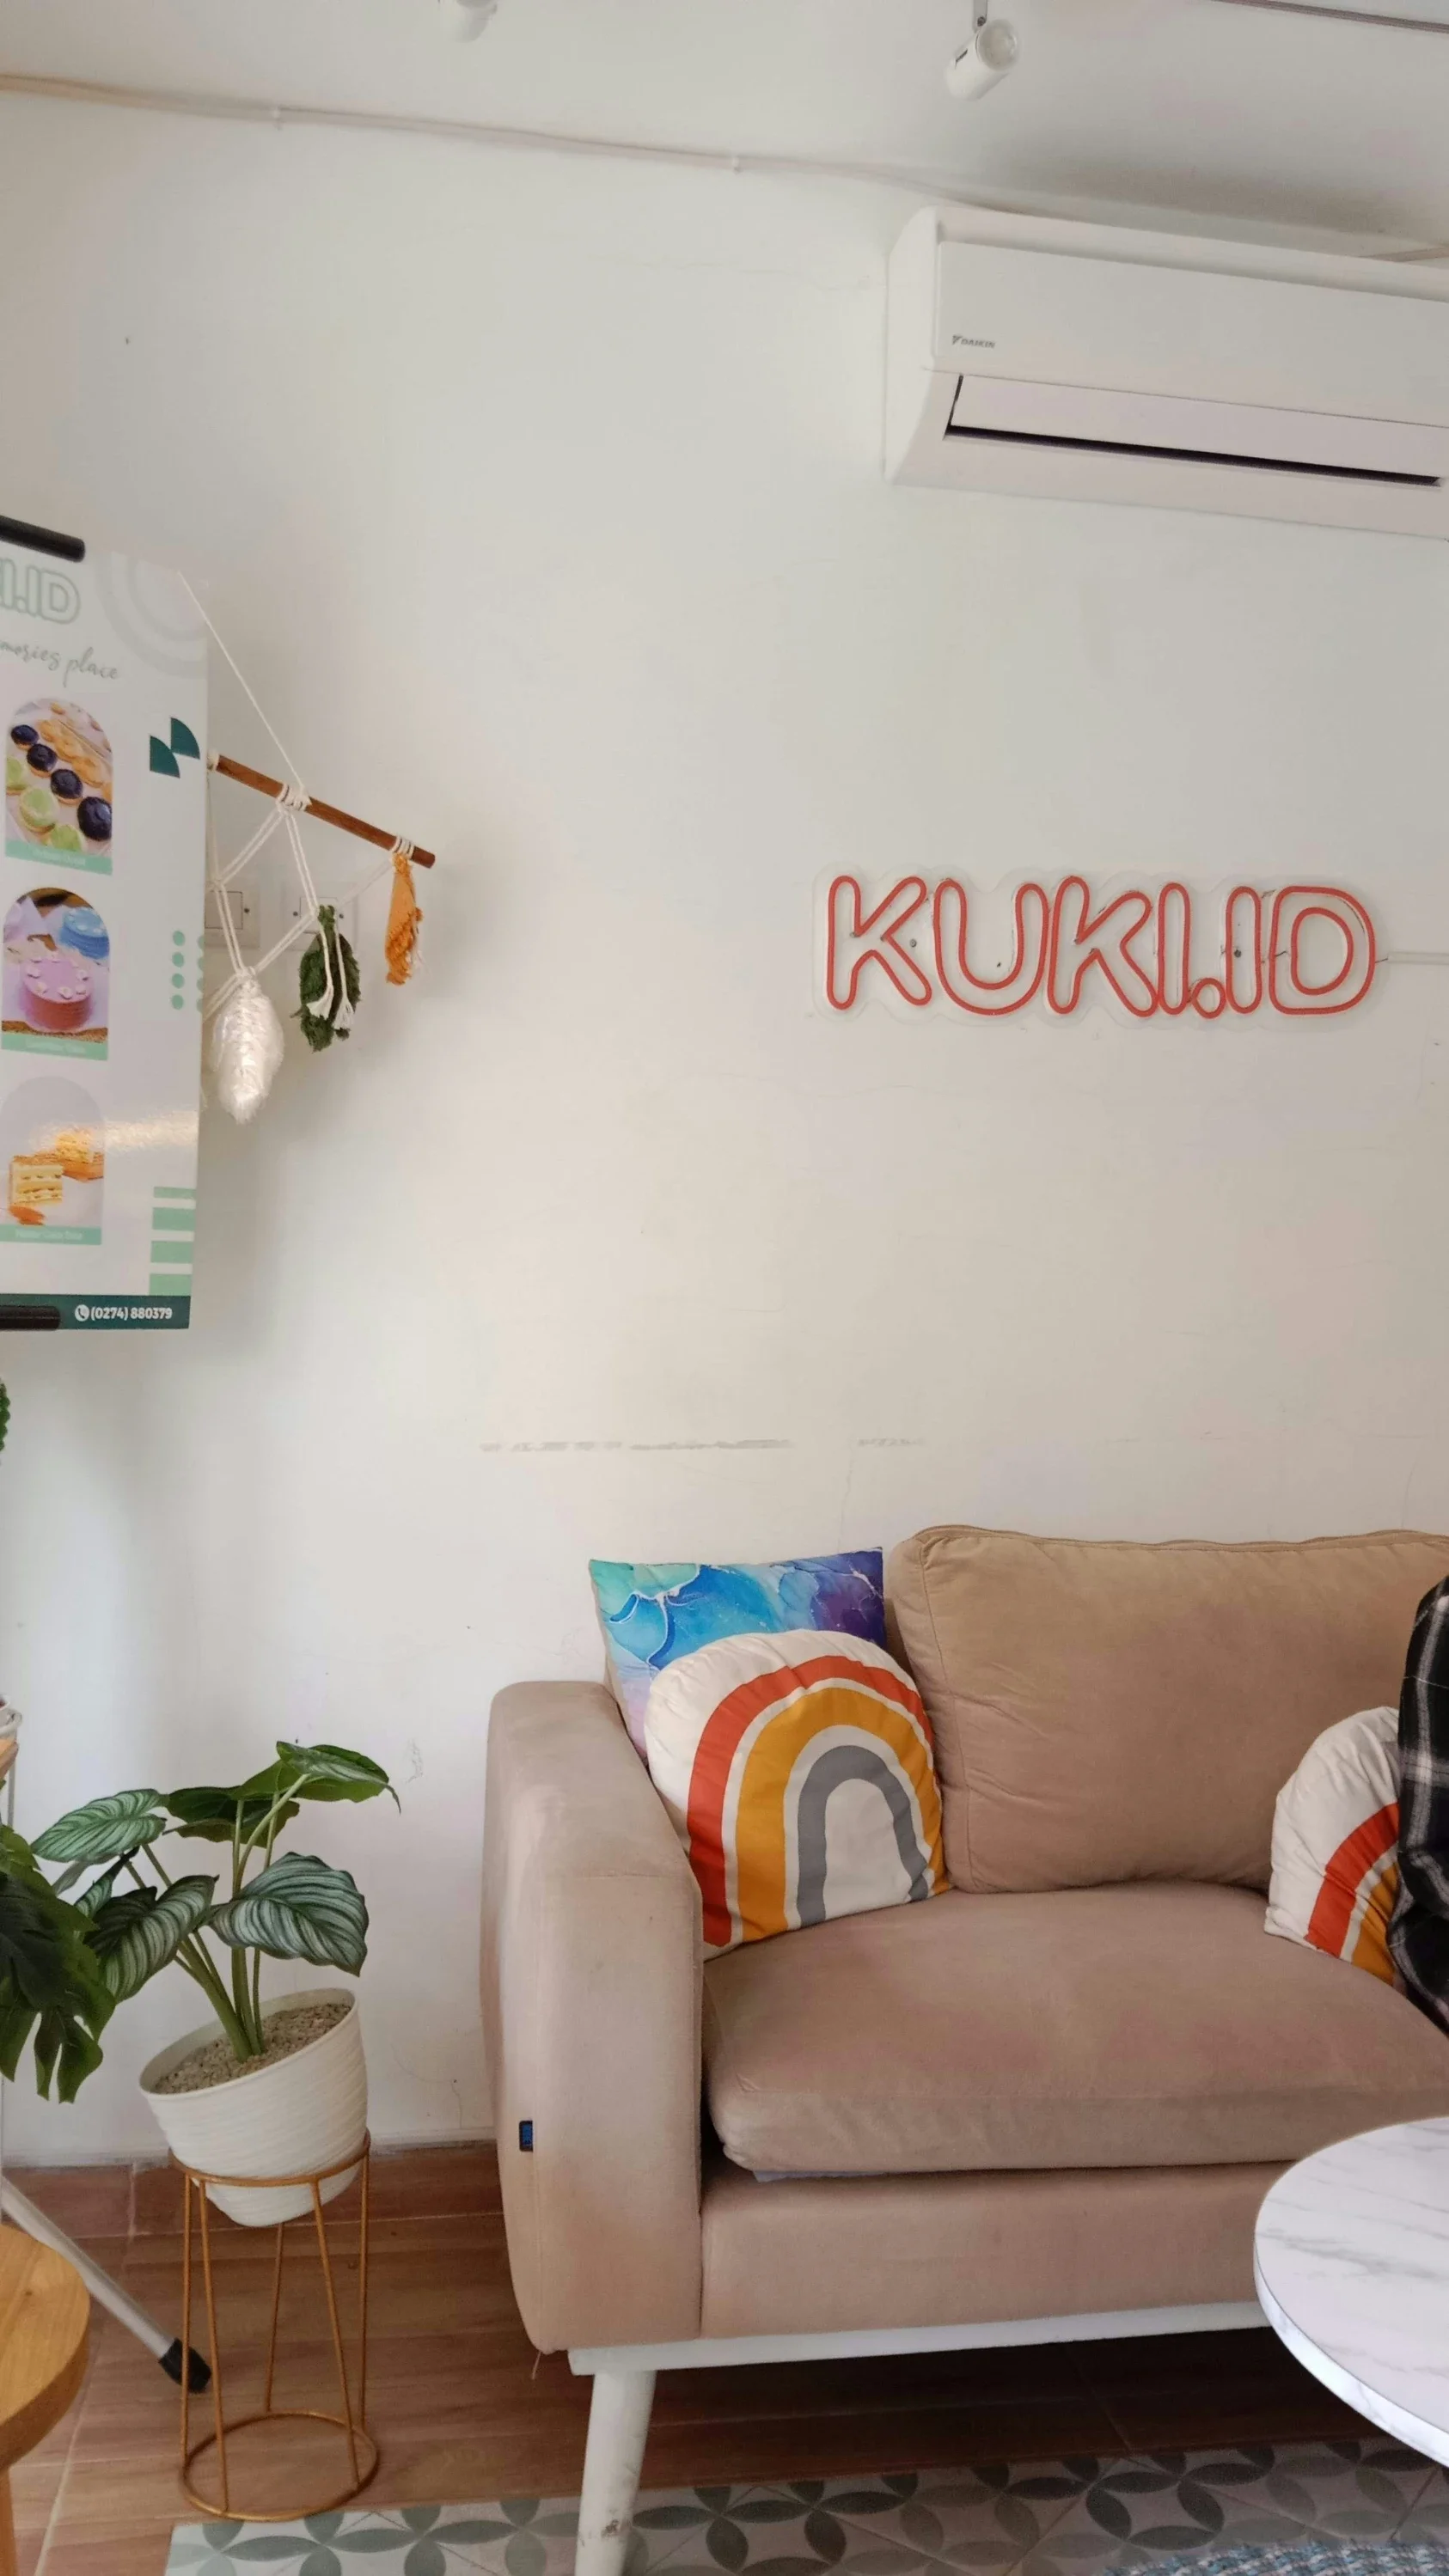
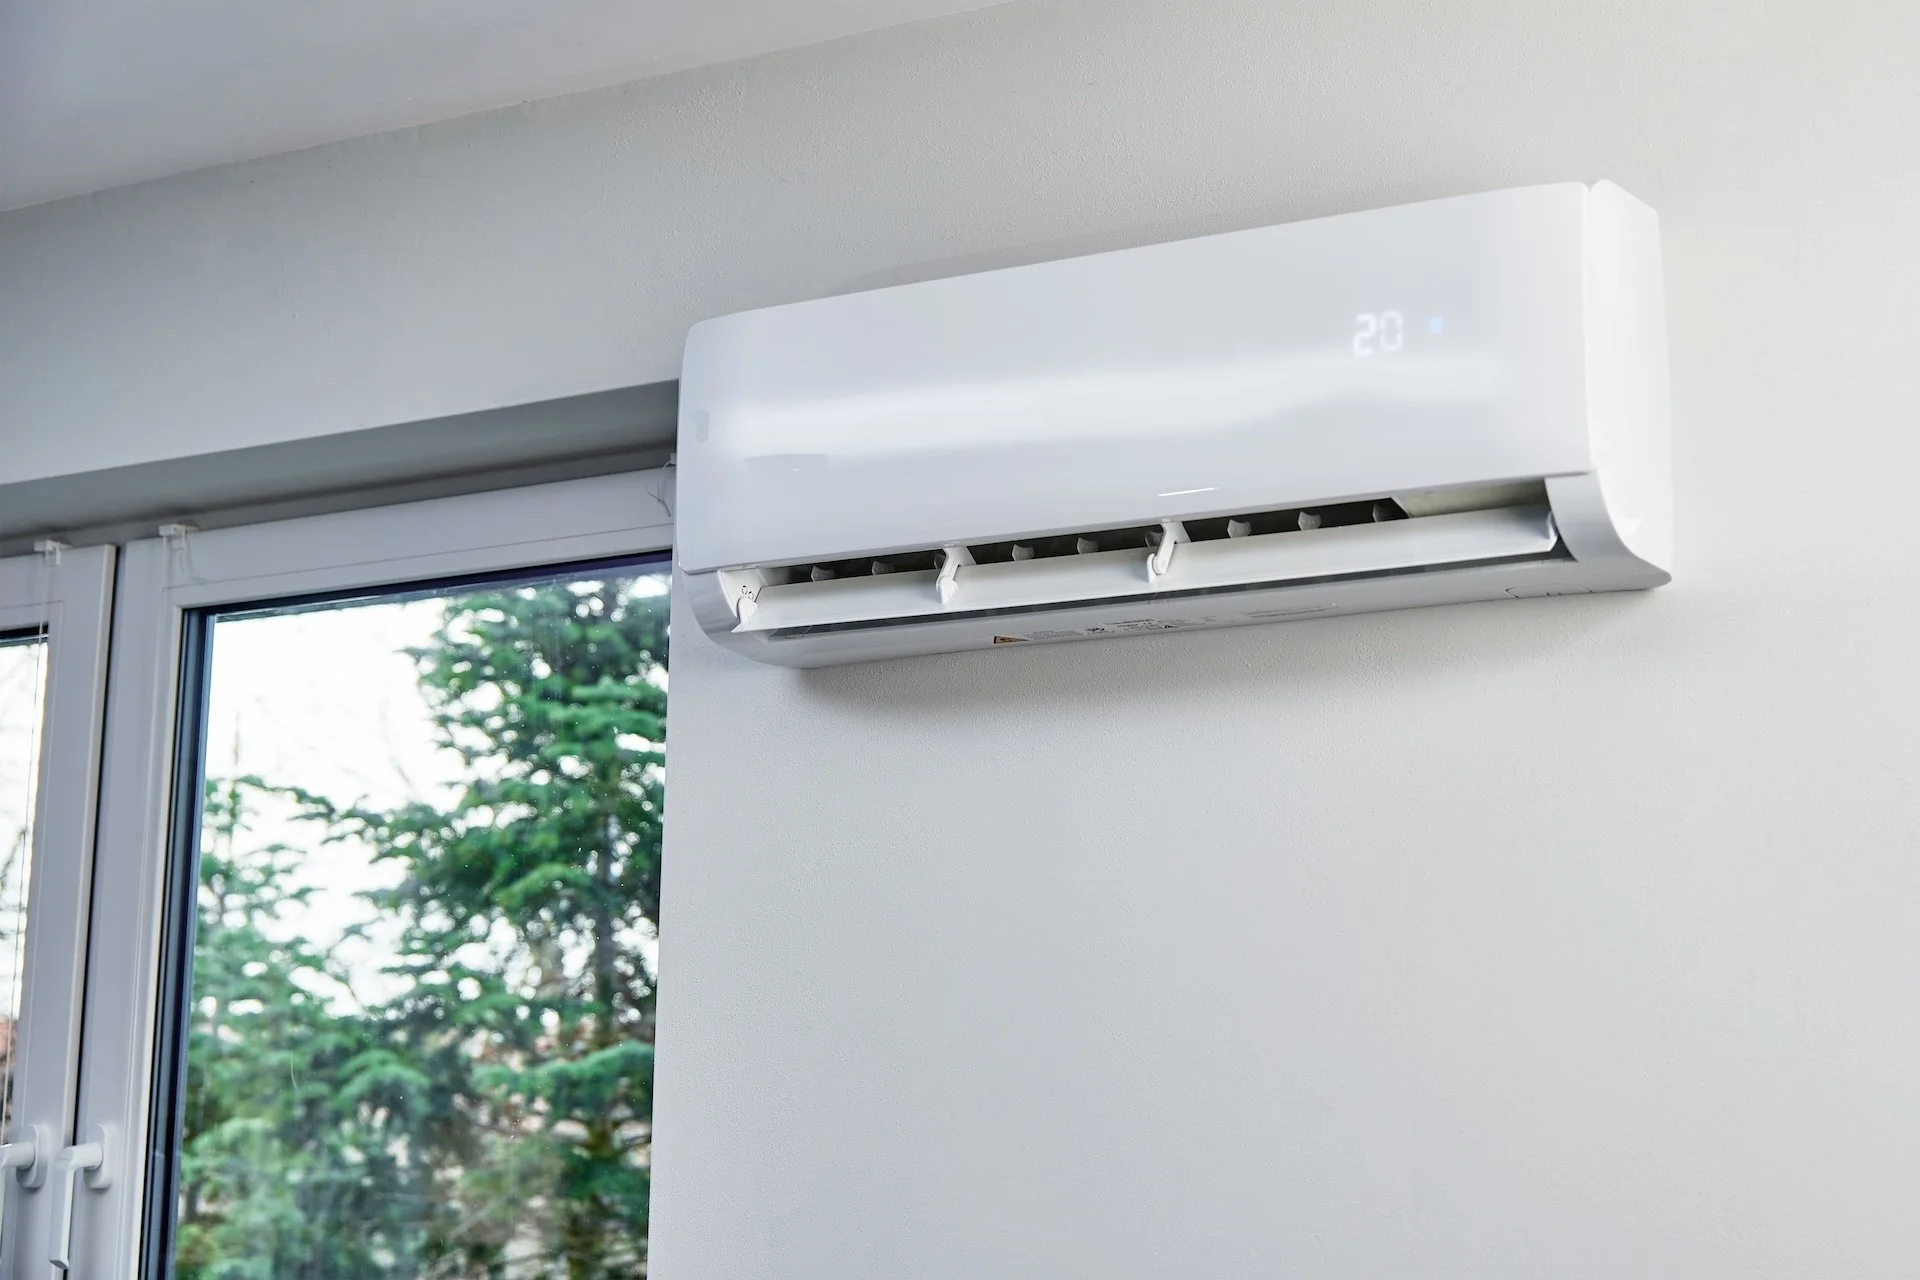
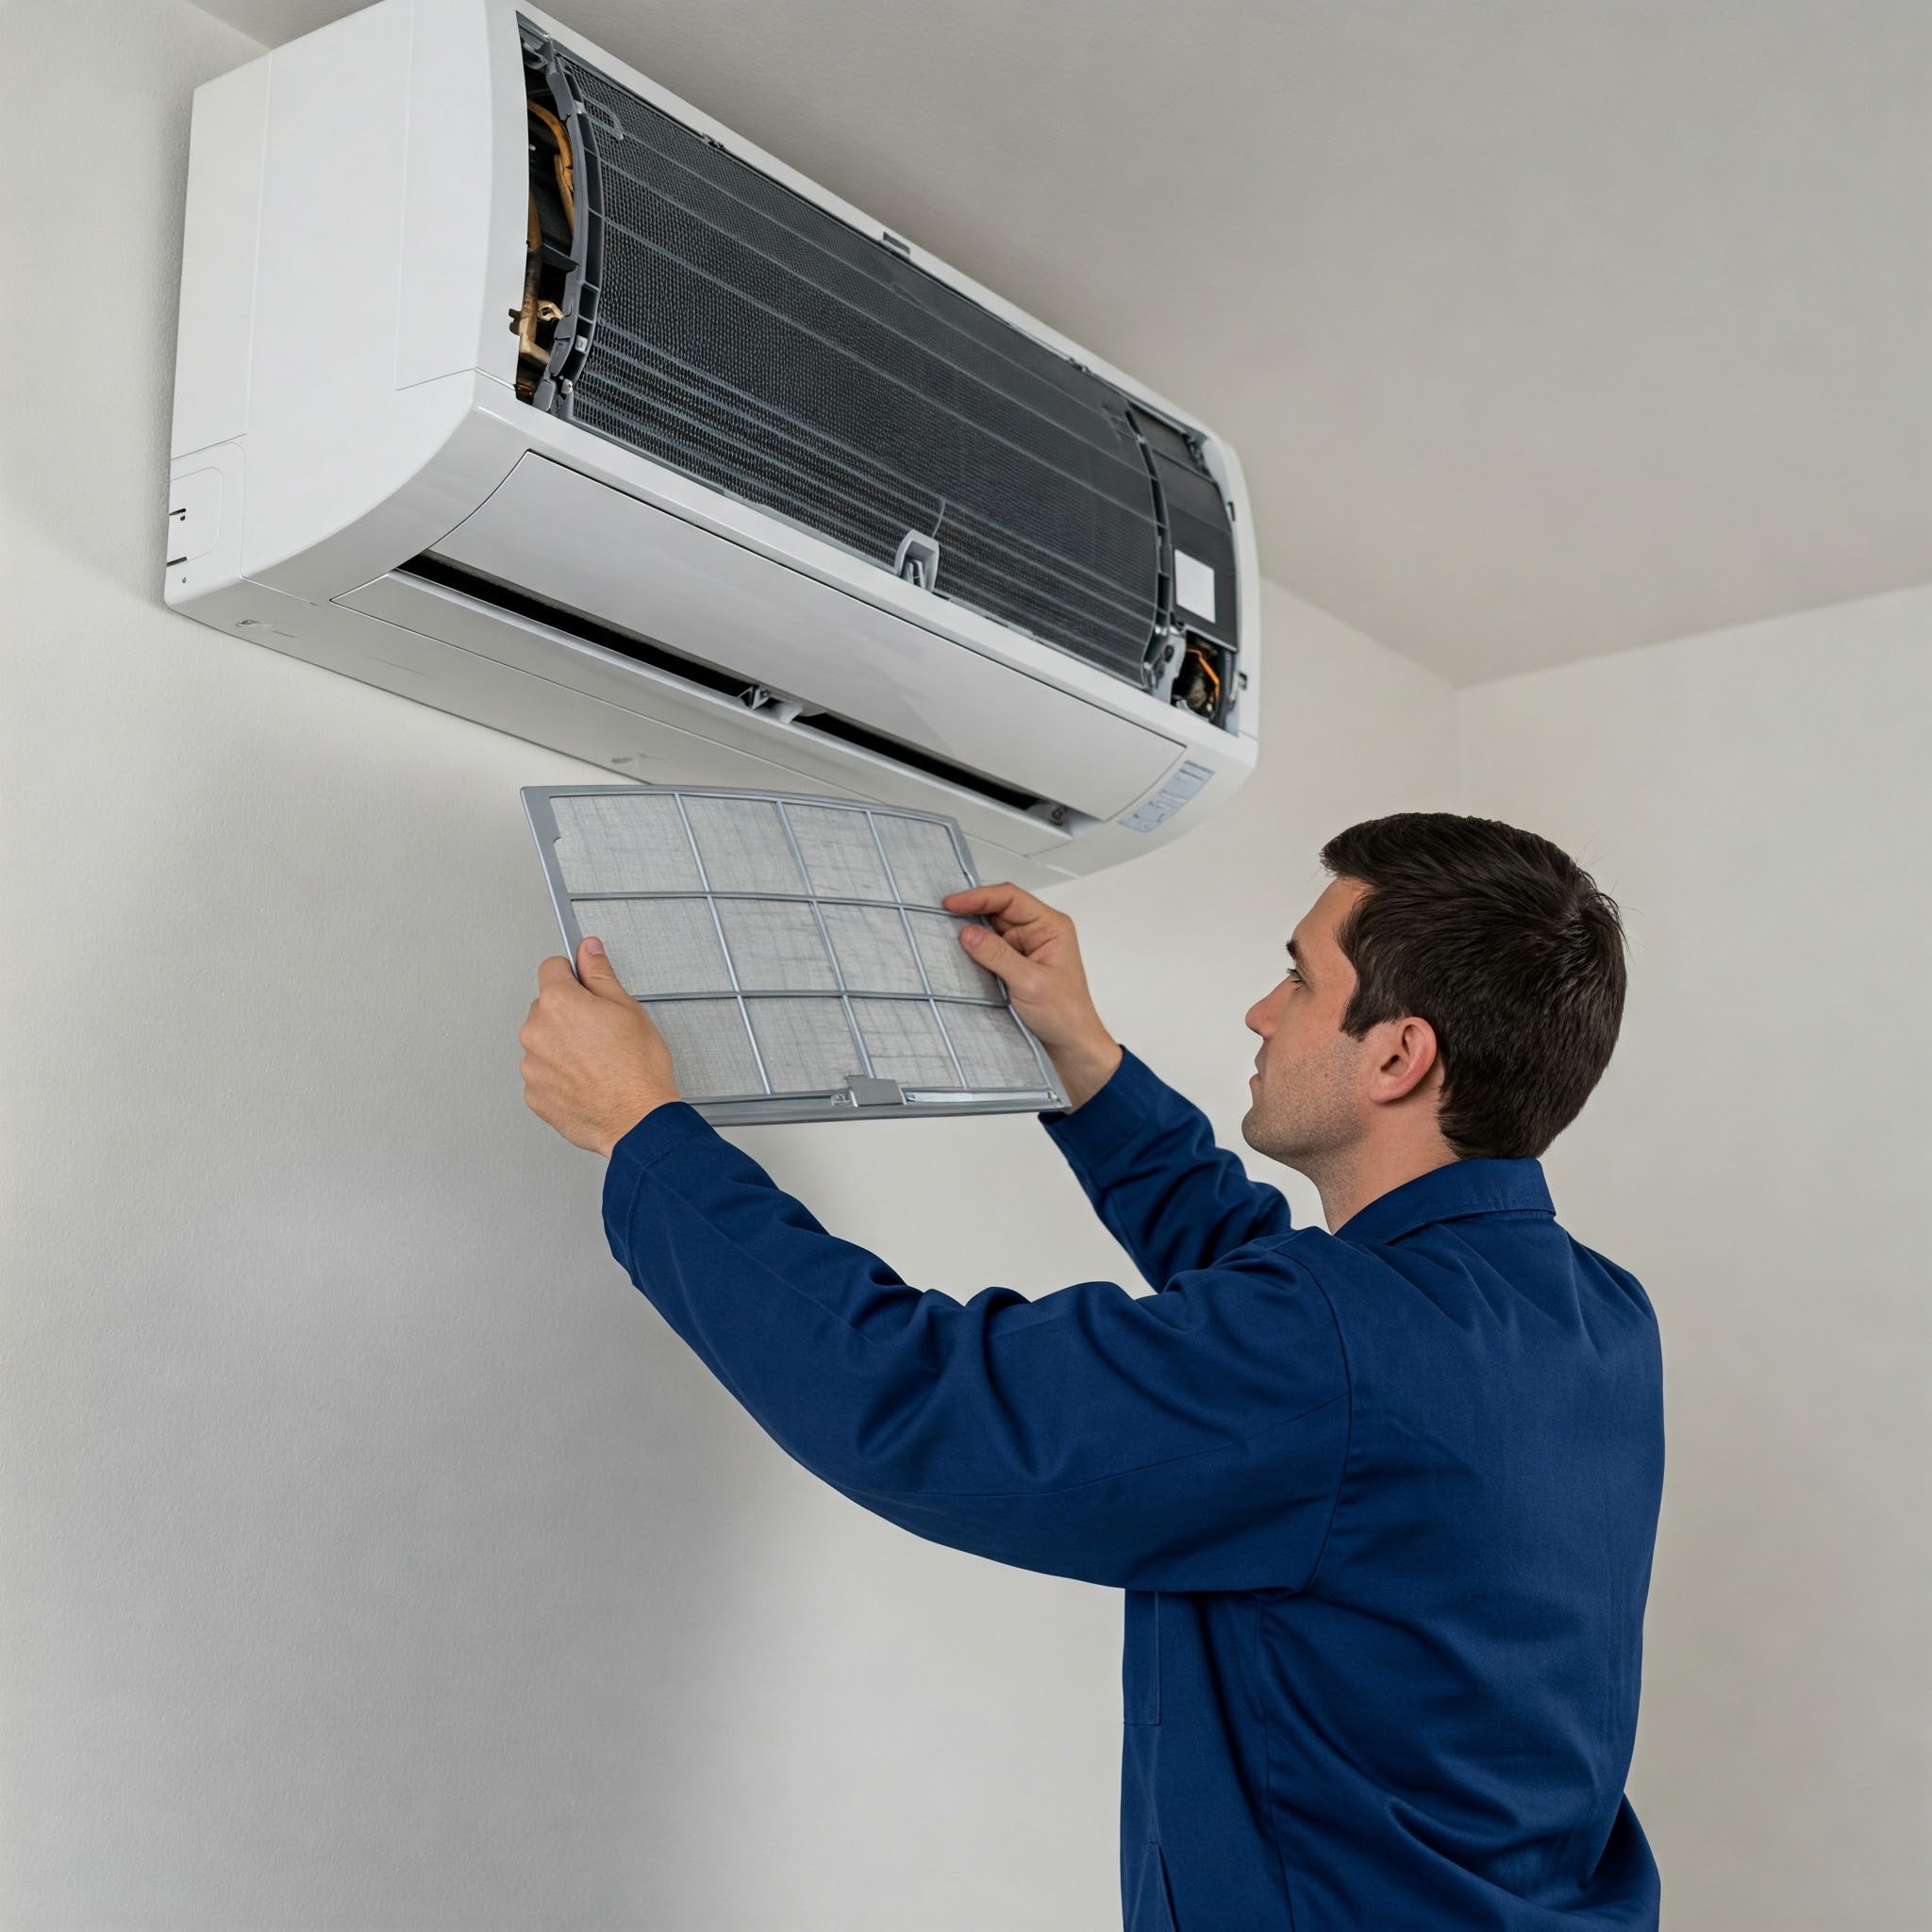
Step 2: Setting Up the Indoor Unit
For split systems, the indoor unit is mounted on a wall inside the home. For ducted systems, a larger central unit will be fitted in the ceiling or under the floor. Here’s what happens:
Wall mounting – A secure bracket is attached to the wall for the indoor unit.
Hole drilling – A small hole is drilled through the wall for pipes and wiring to connect the indoor unit to the outdoor condenser.
Unit placement – The indoor unit is fixed to the bracket, ready for connection.
This step usually takes 1–2 hours, depending on wall material, access, and system size.
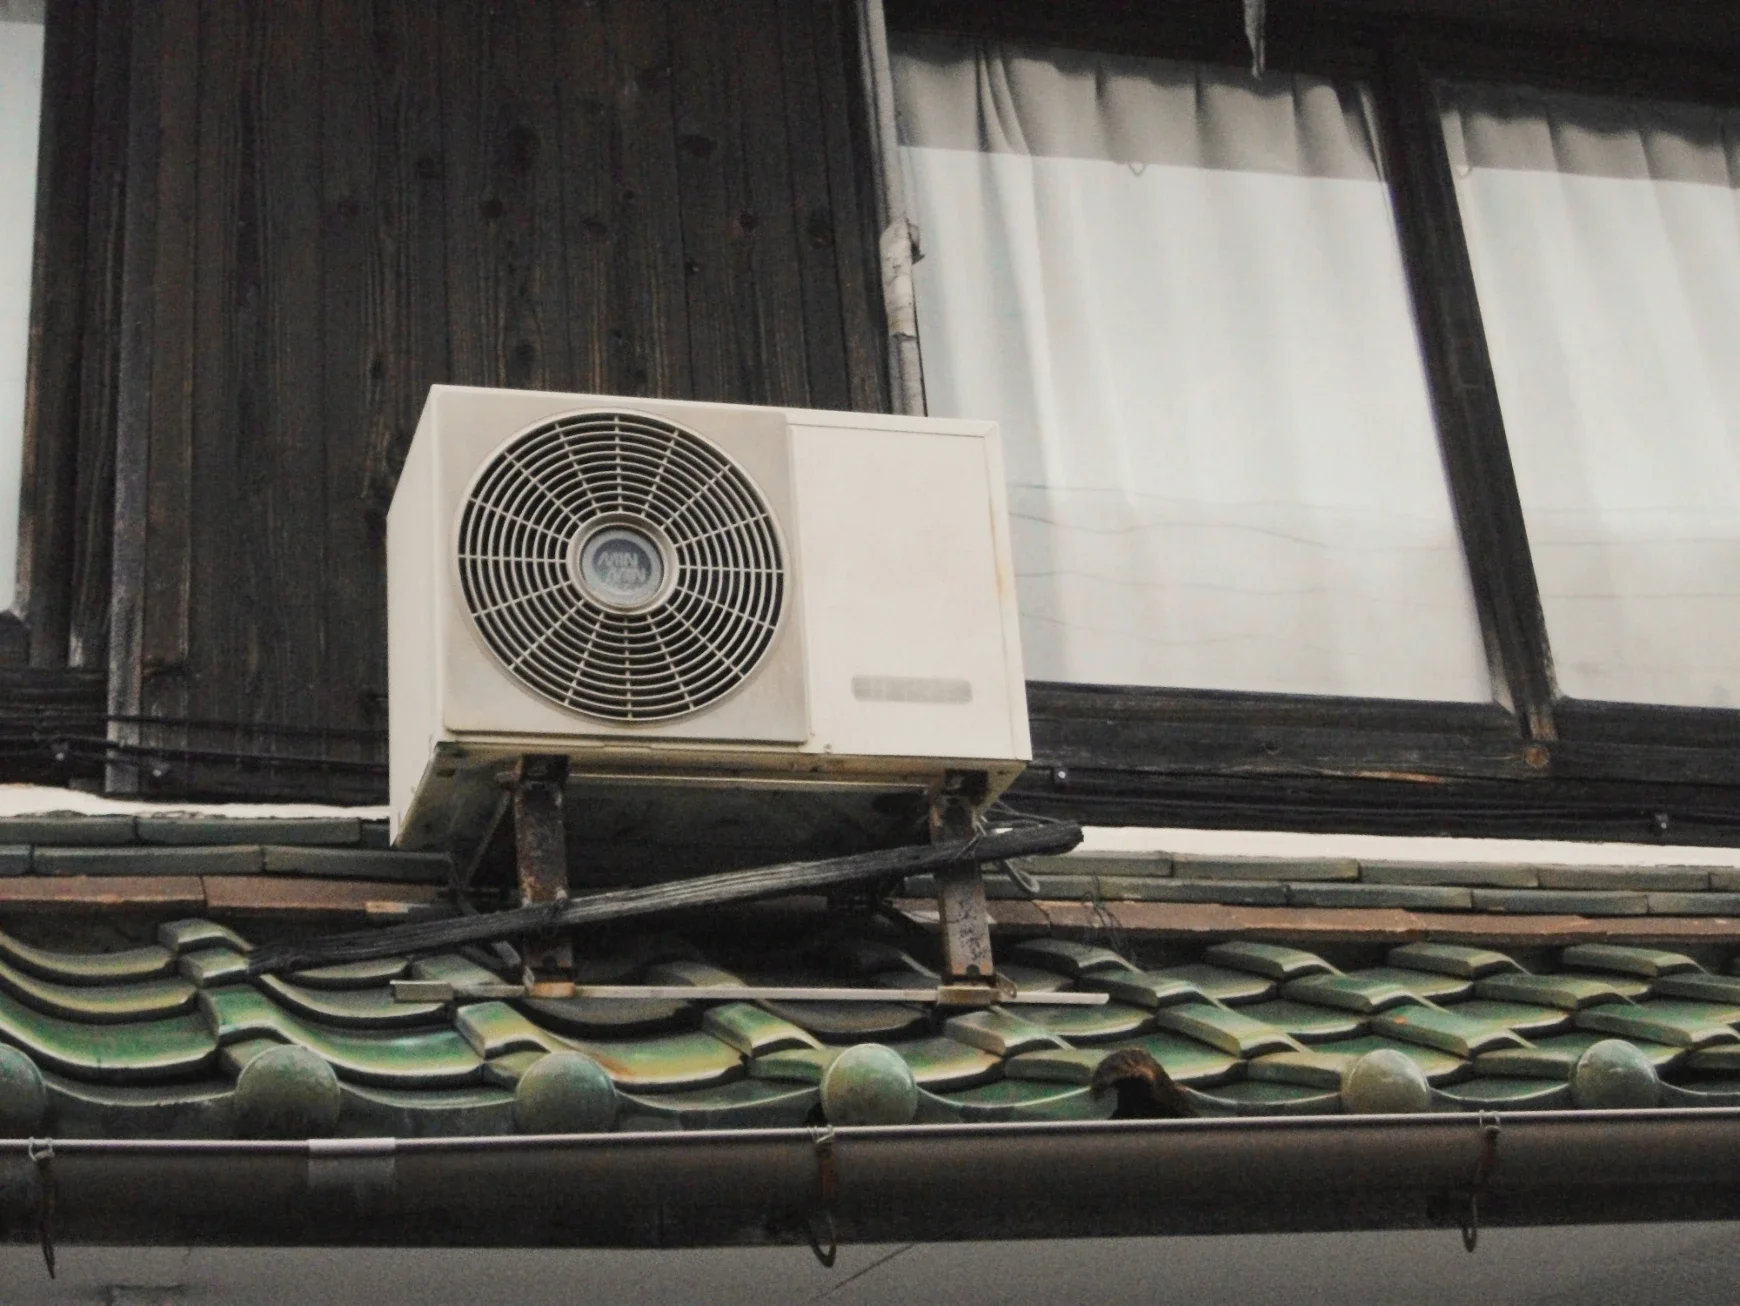
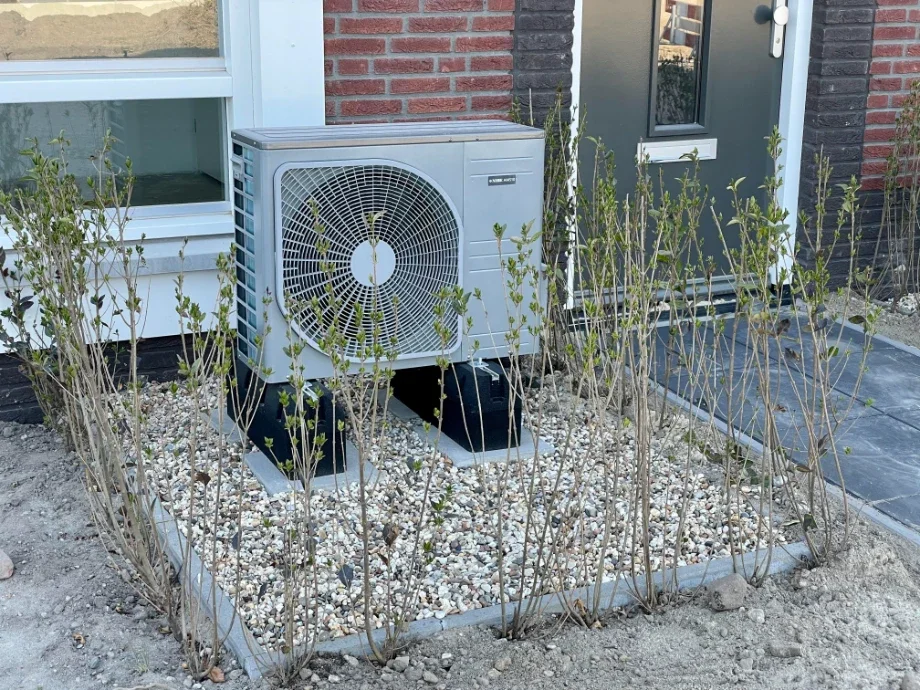
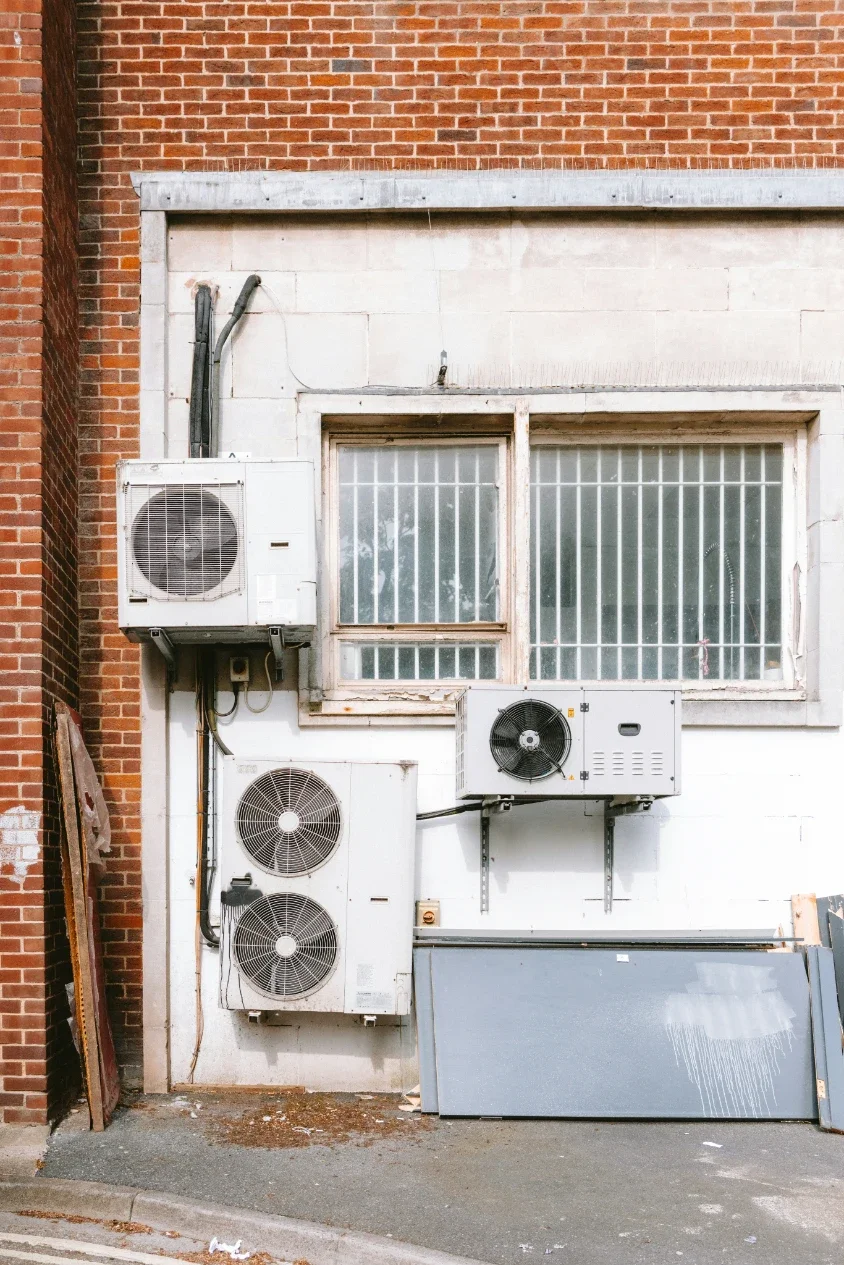
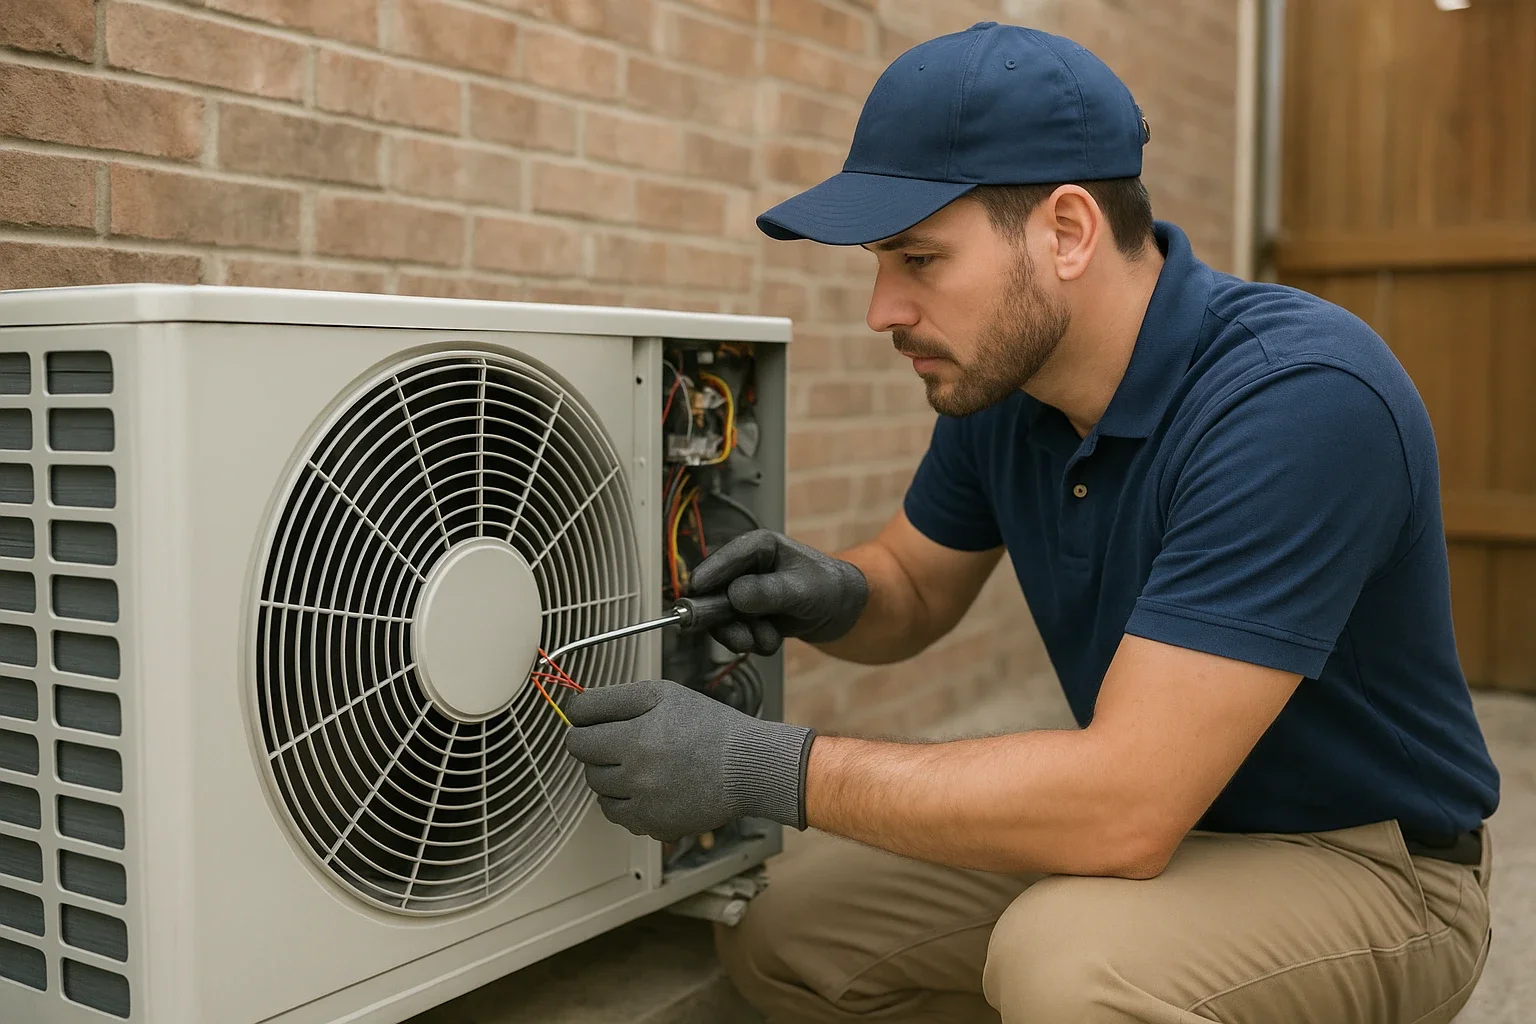
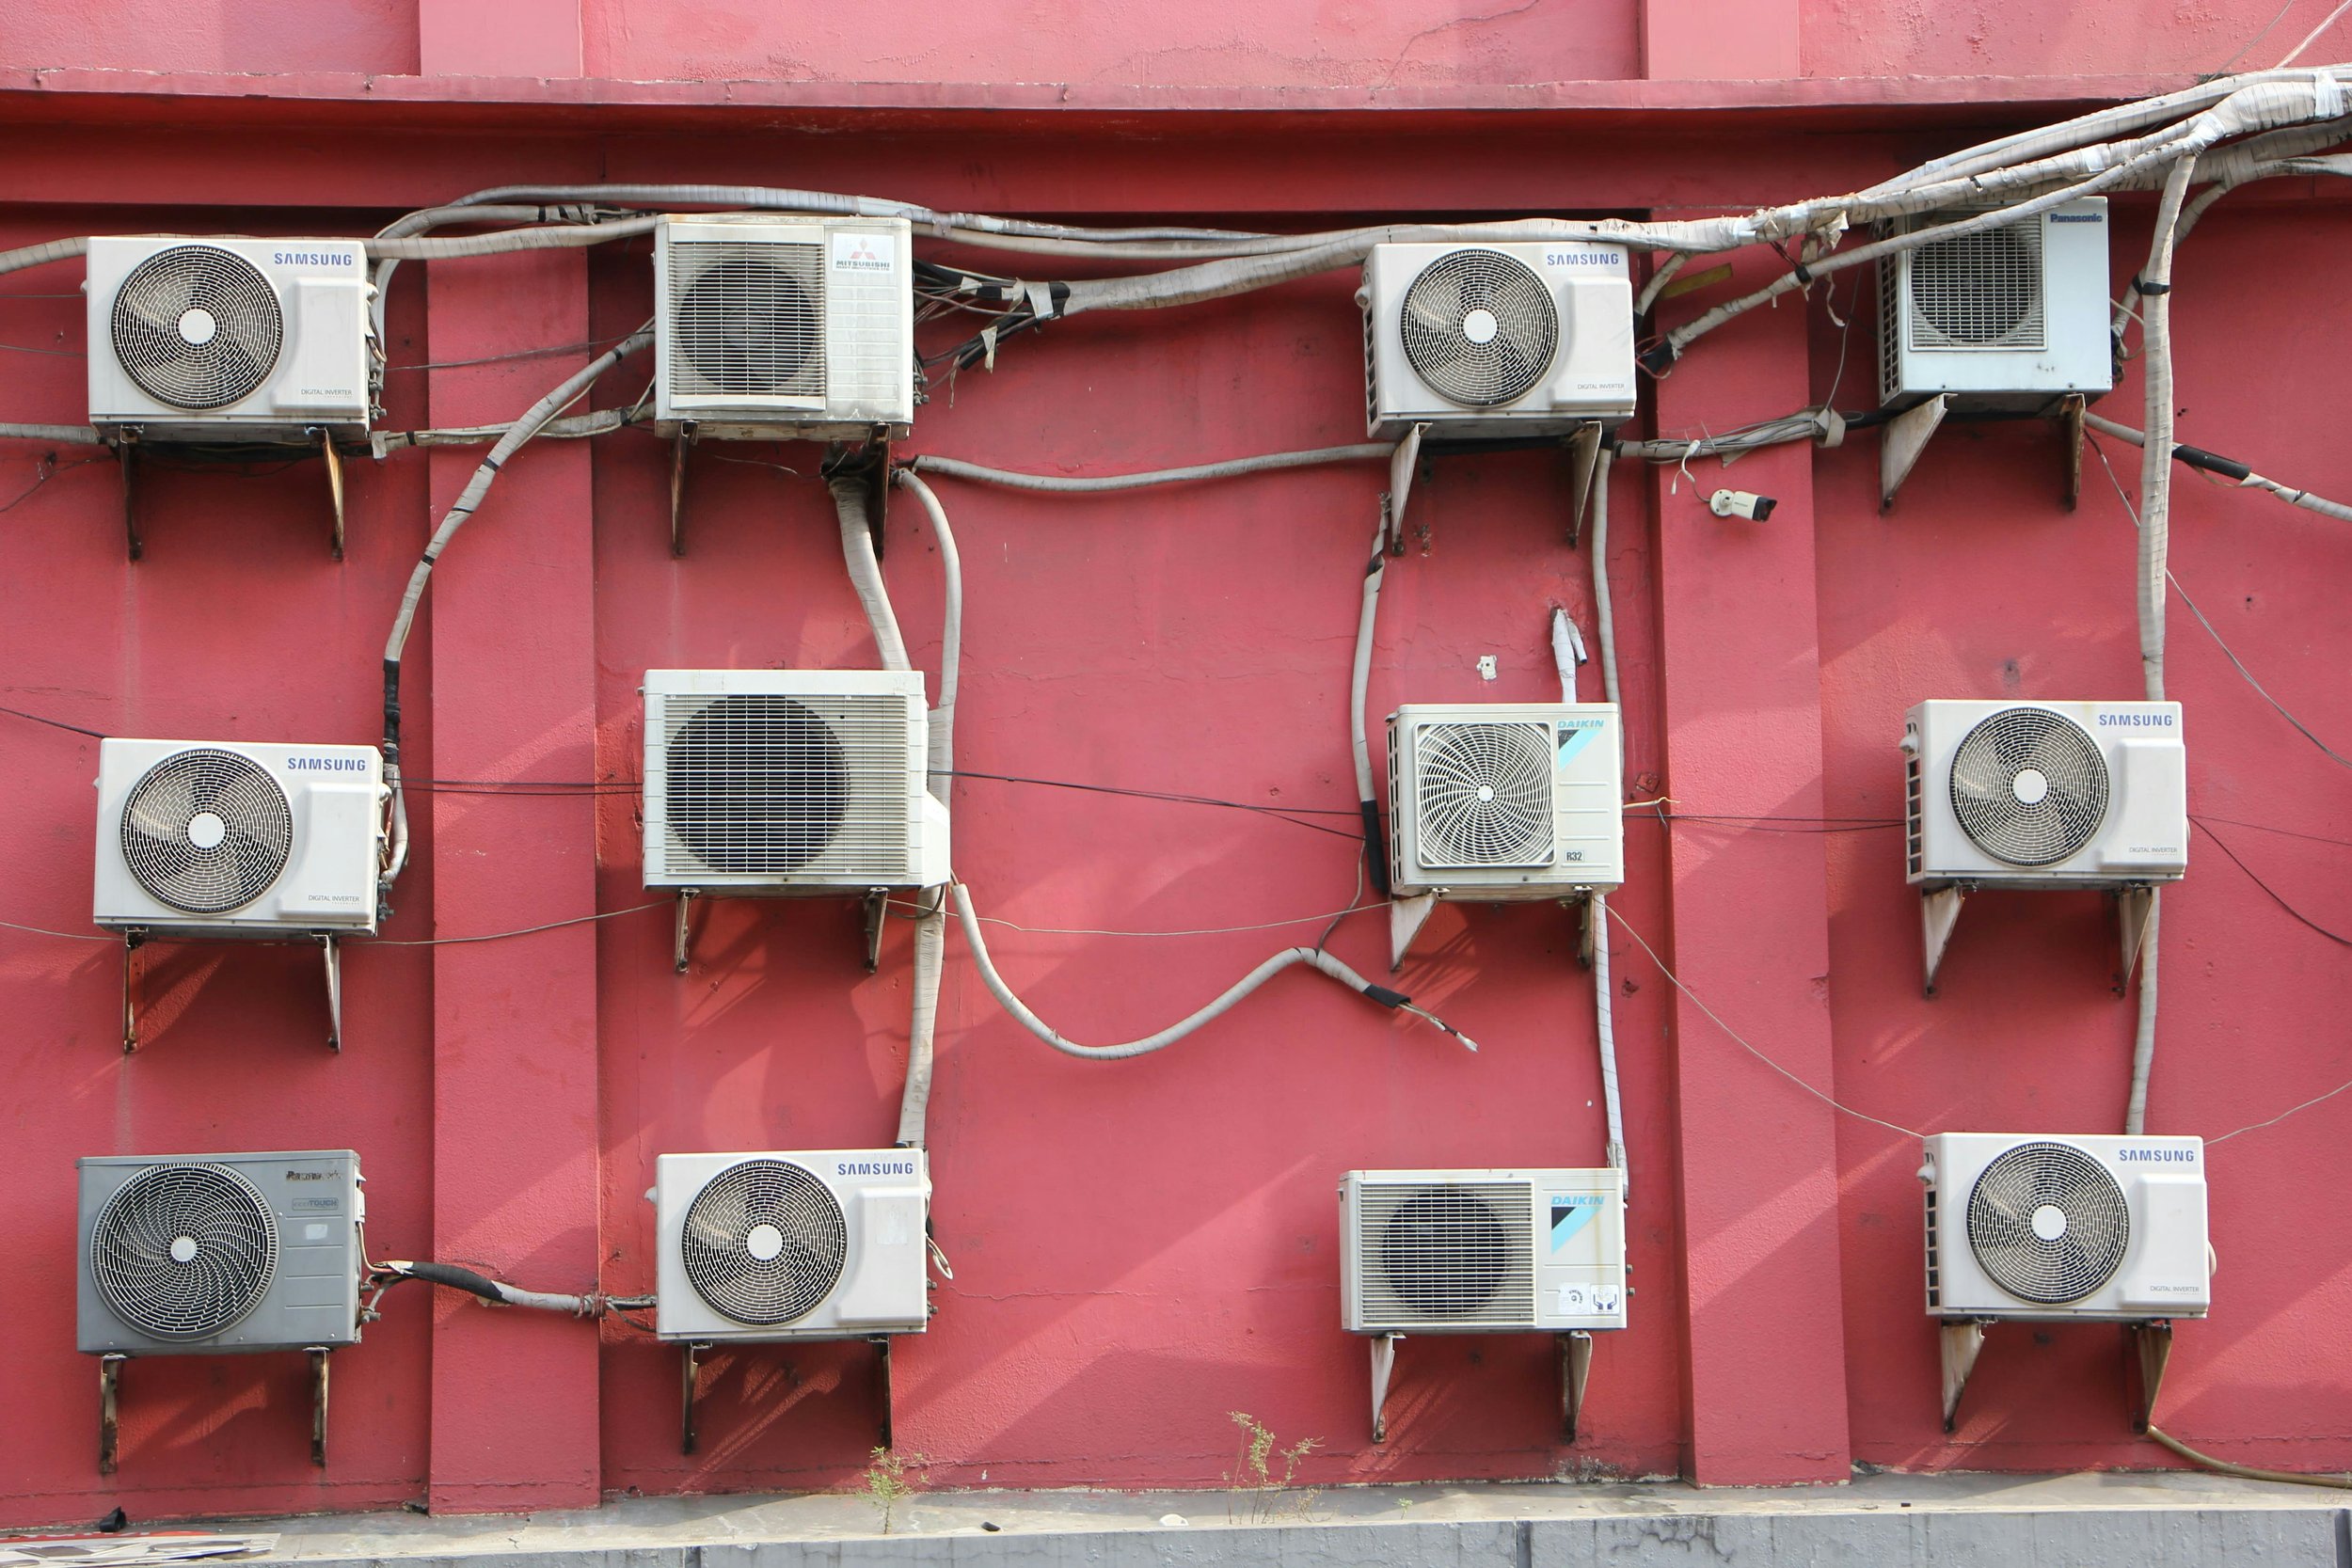
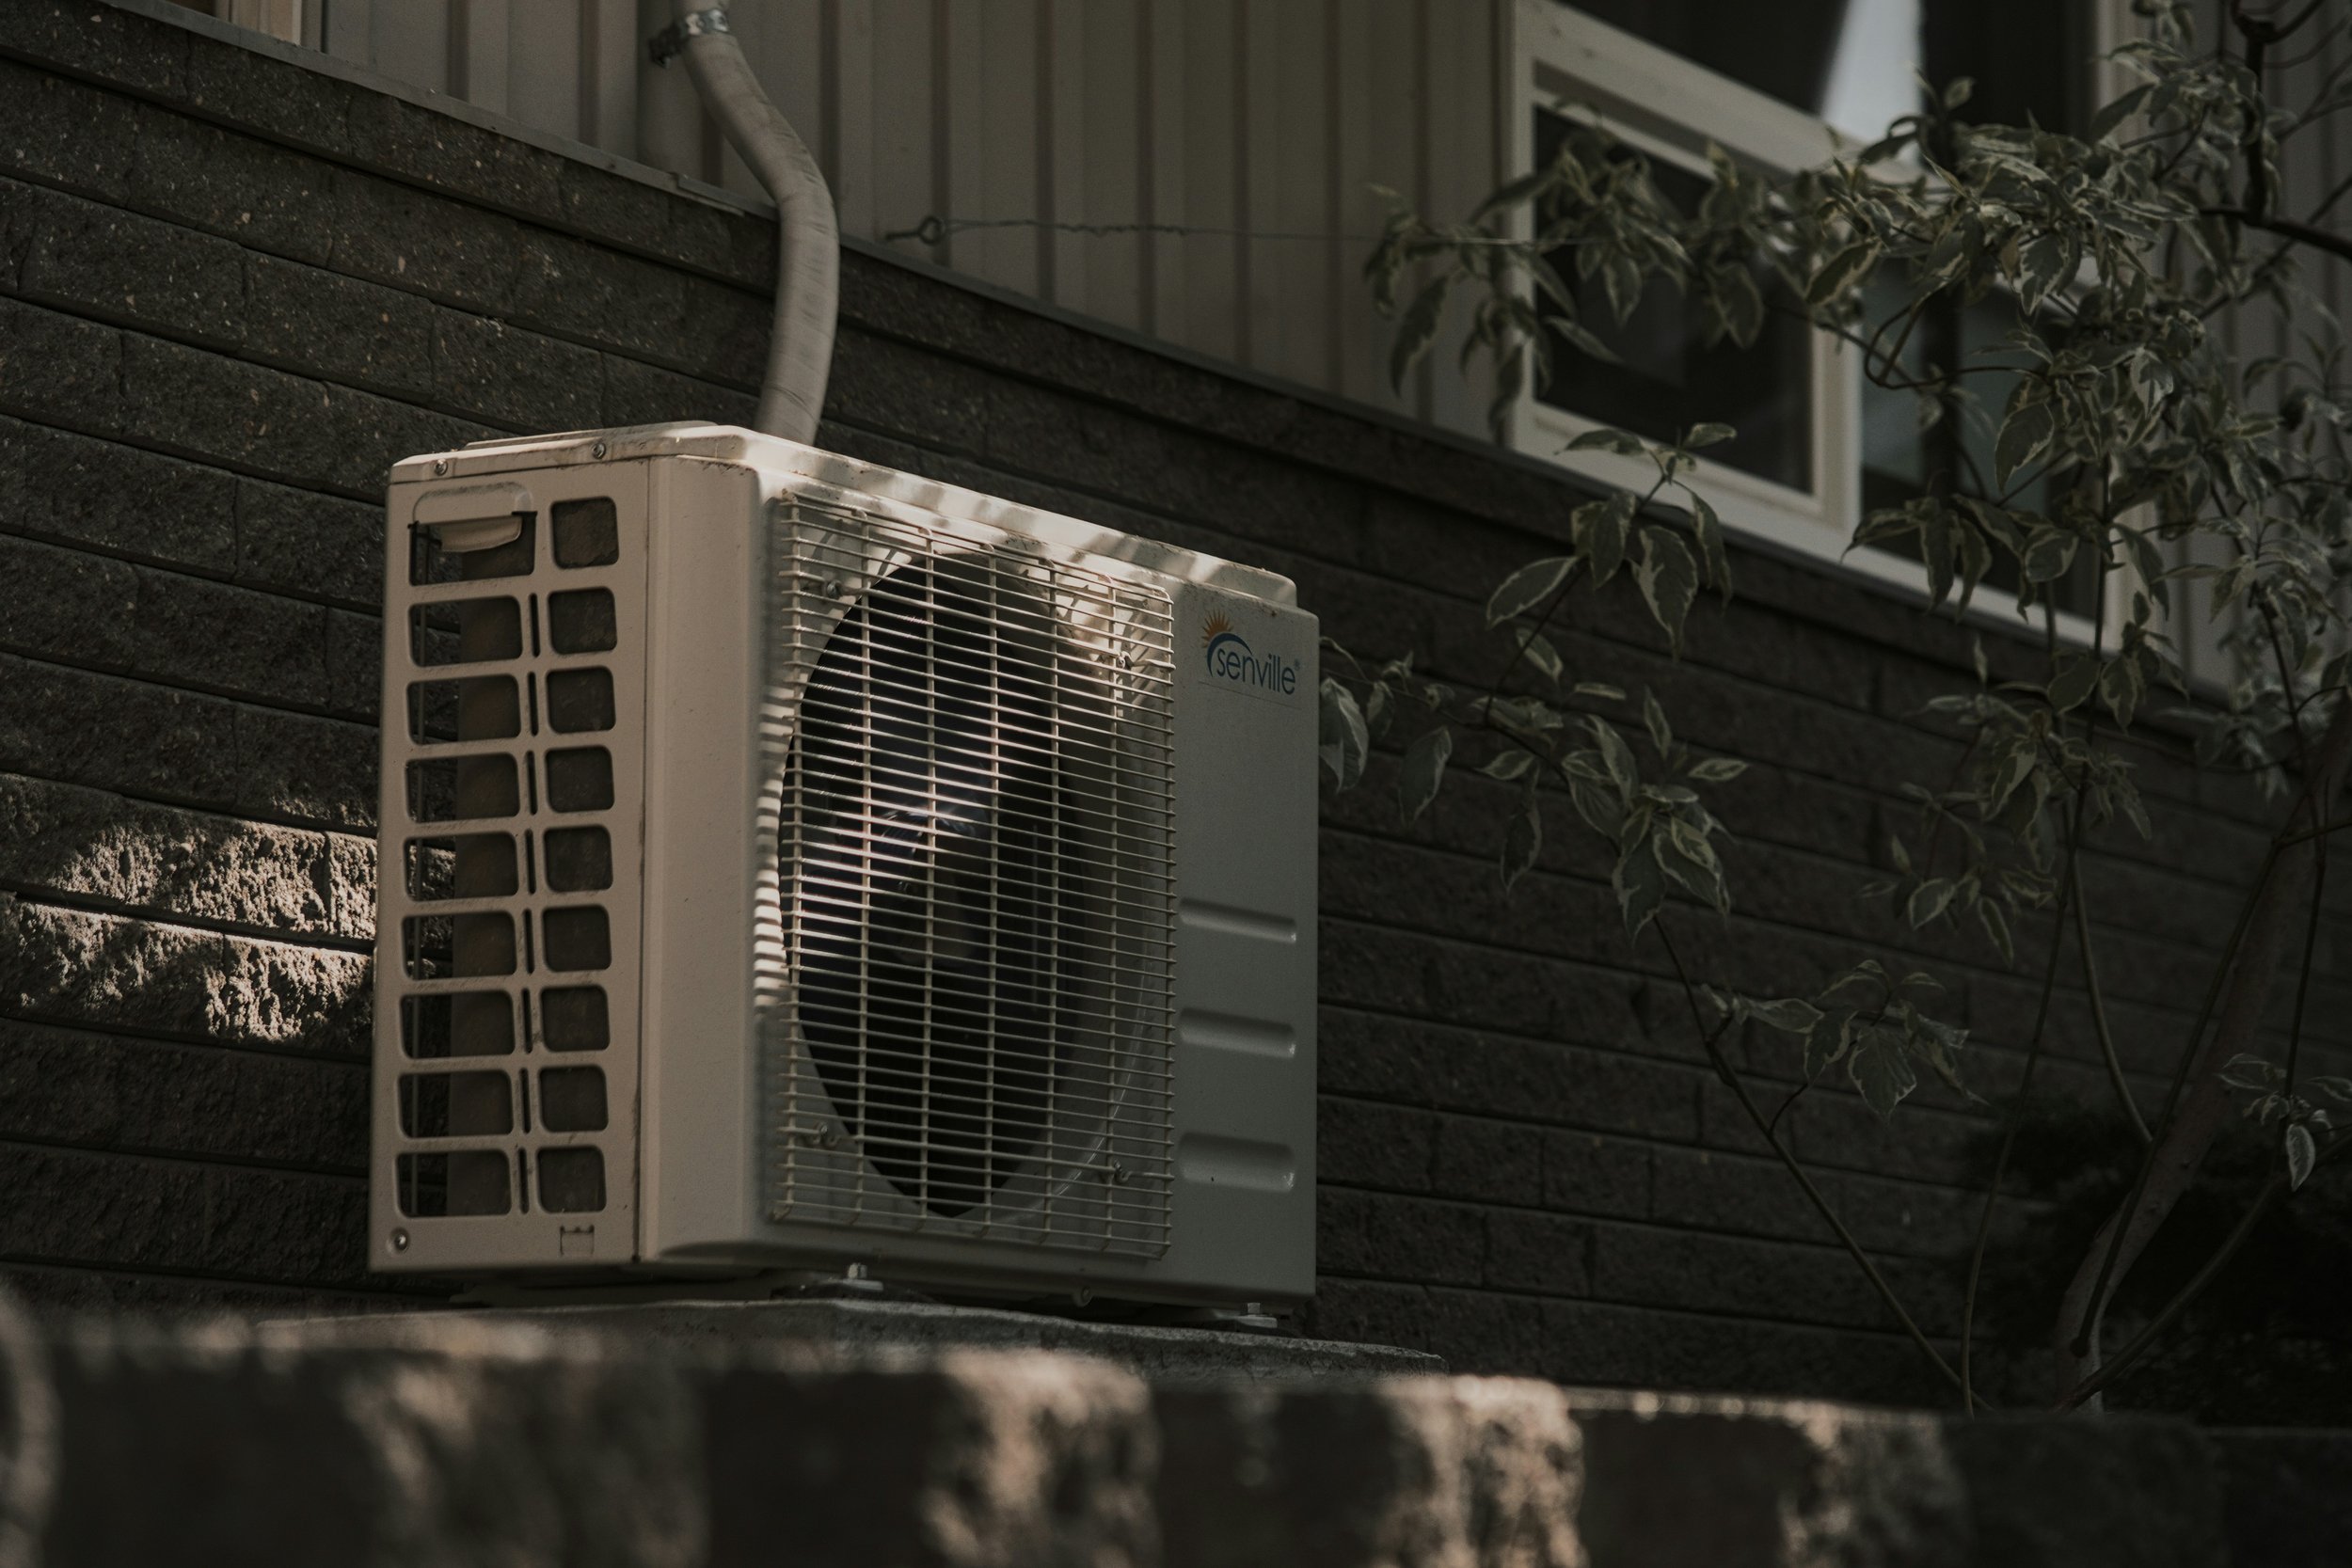
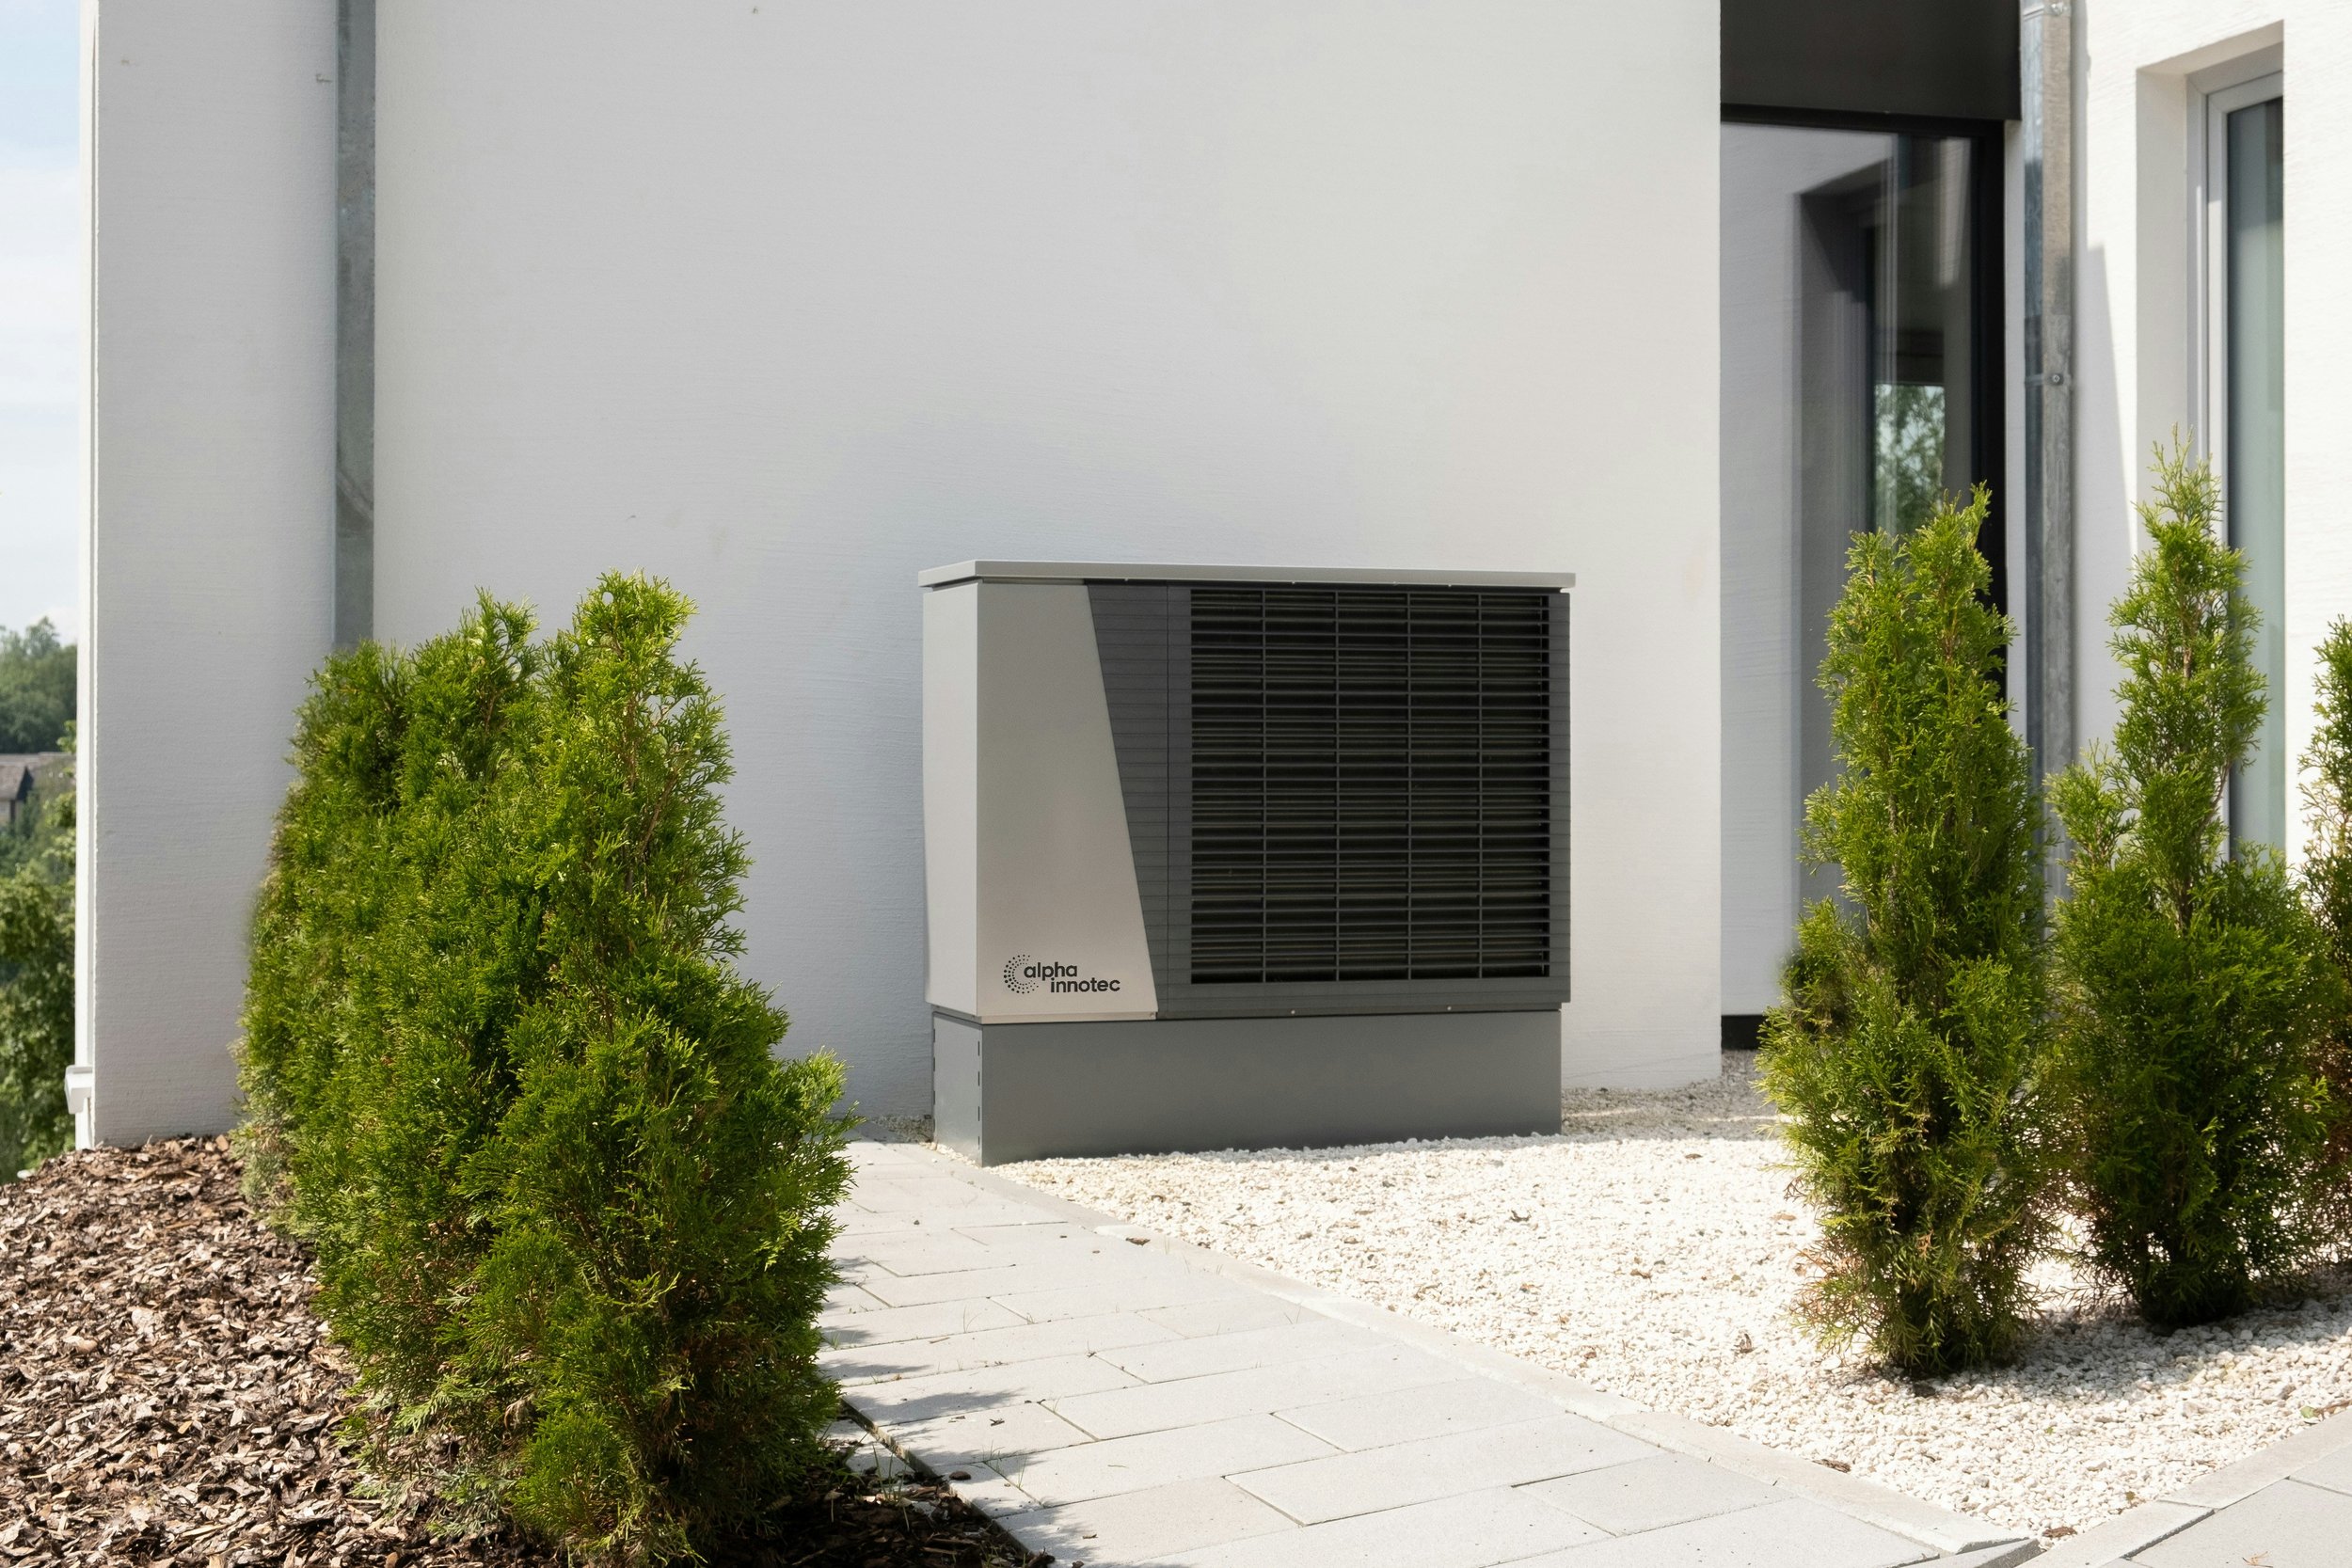
Step 3: Positioning the Outdoor Unit
The outdoor condenser unit is the powerhouse of your system. For fast installation, technicians choose a spot that’s both efficient and accessible for maintenance. Requirements include:
A flat, stable surface such as a concrete slab or wall brackets.
Adequate ventilation around the unit.
Easy access for servicing.
Consideration of noise impact on bedrooms or neighbours.
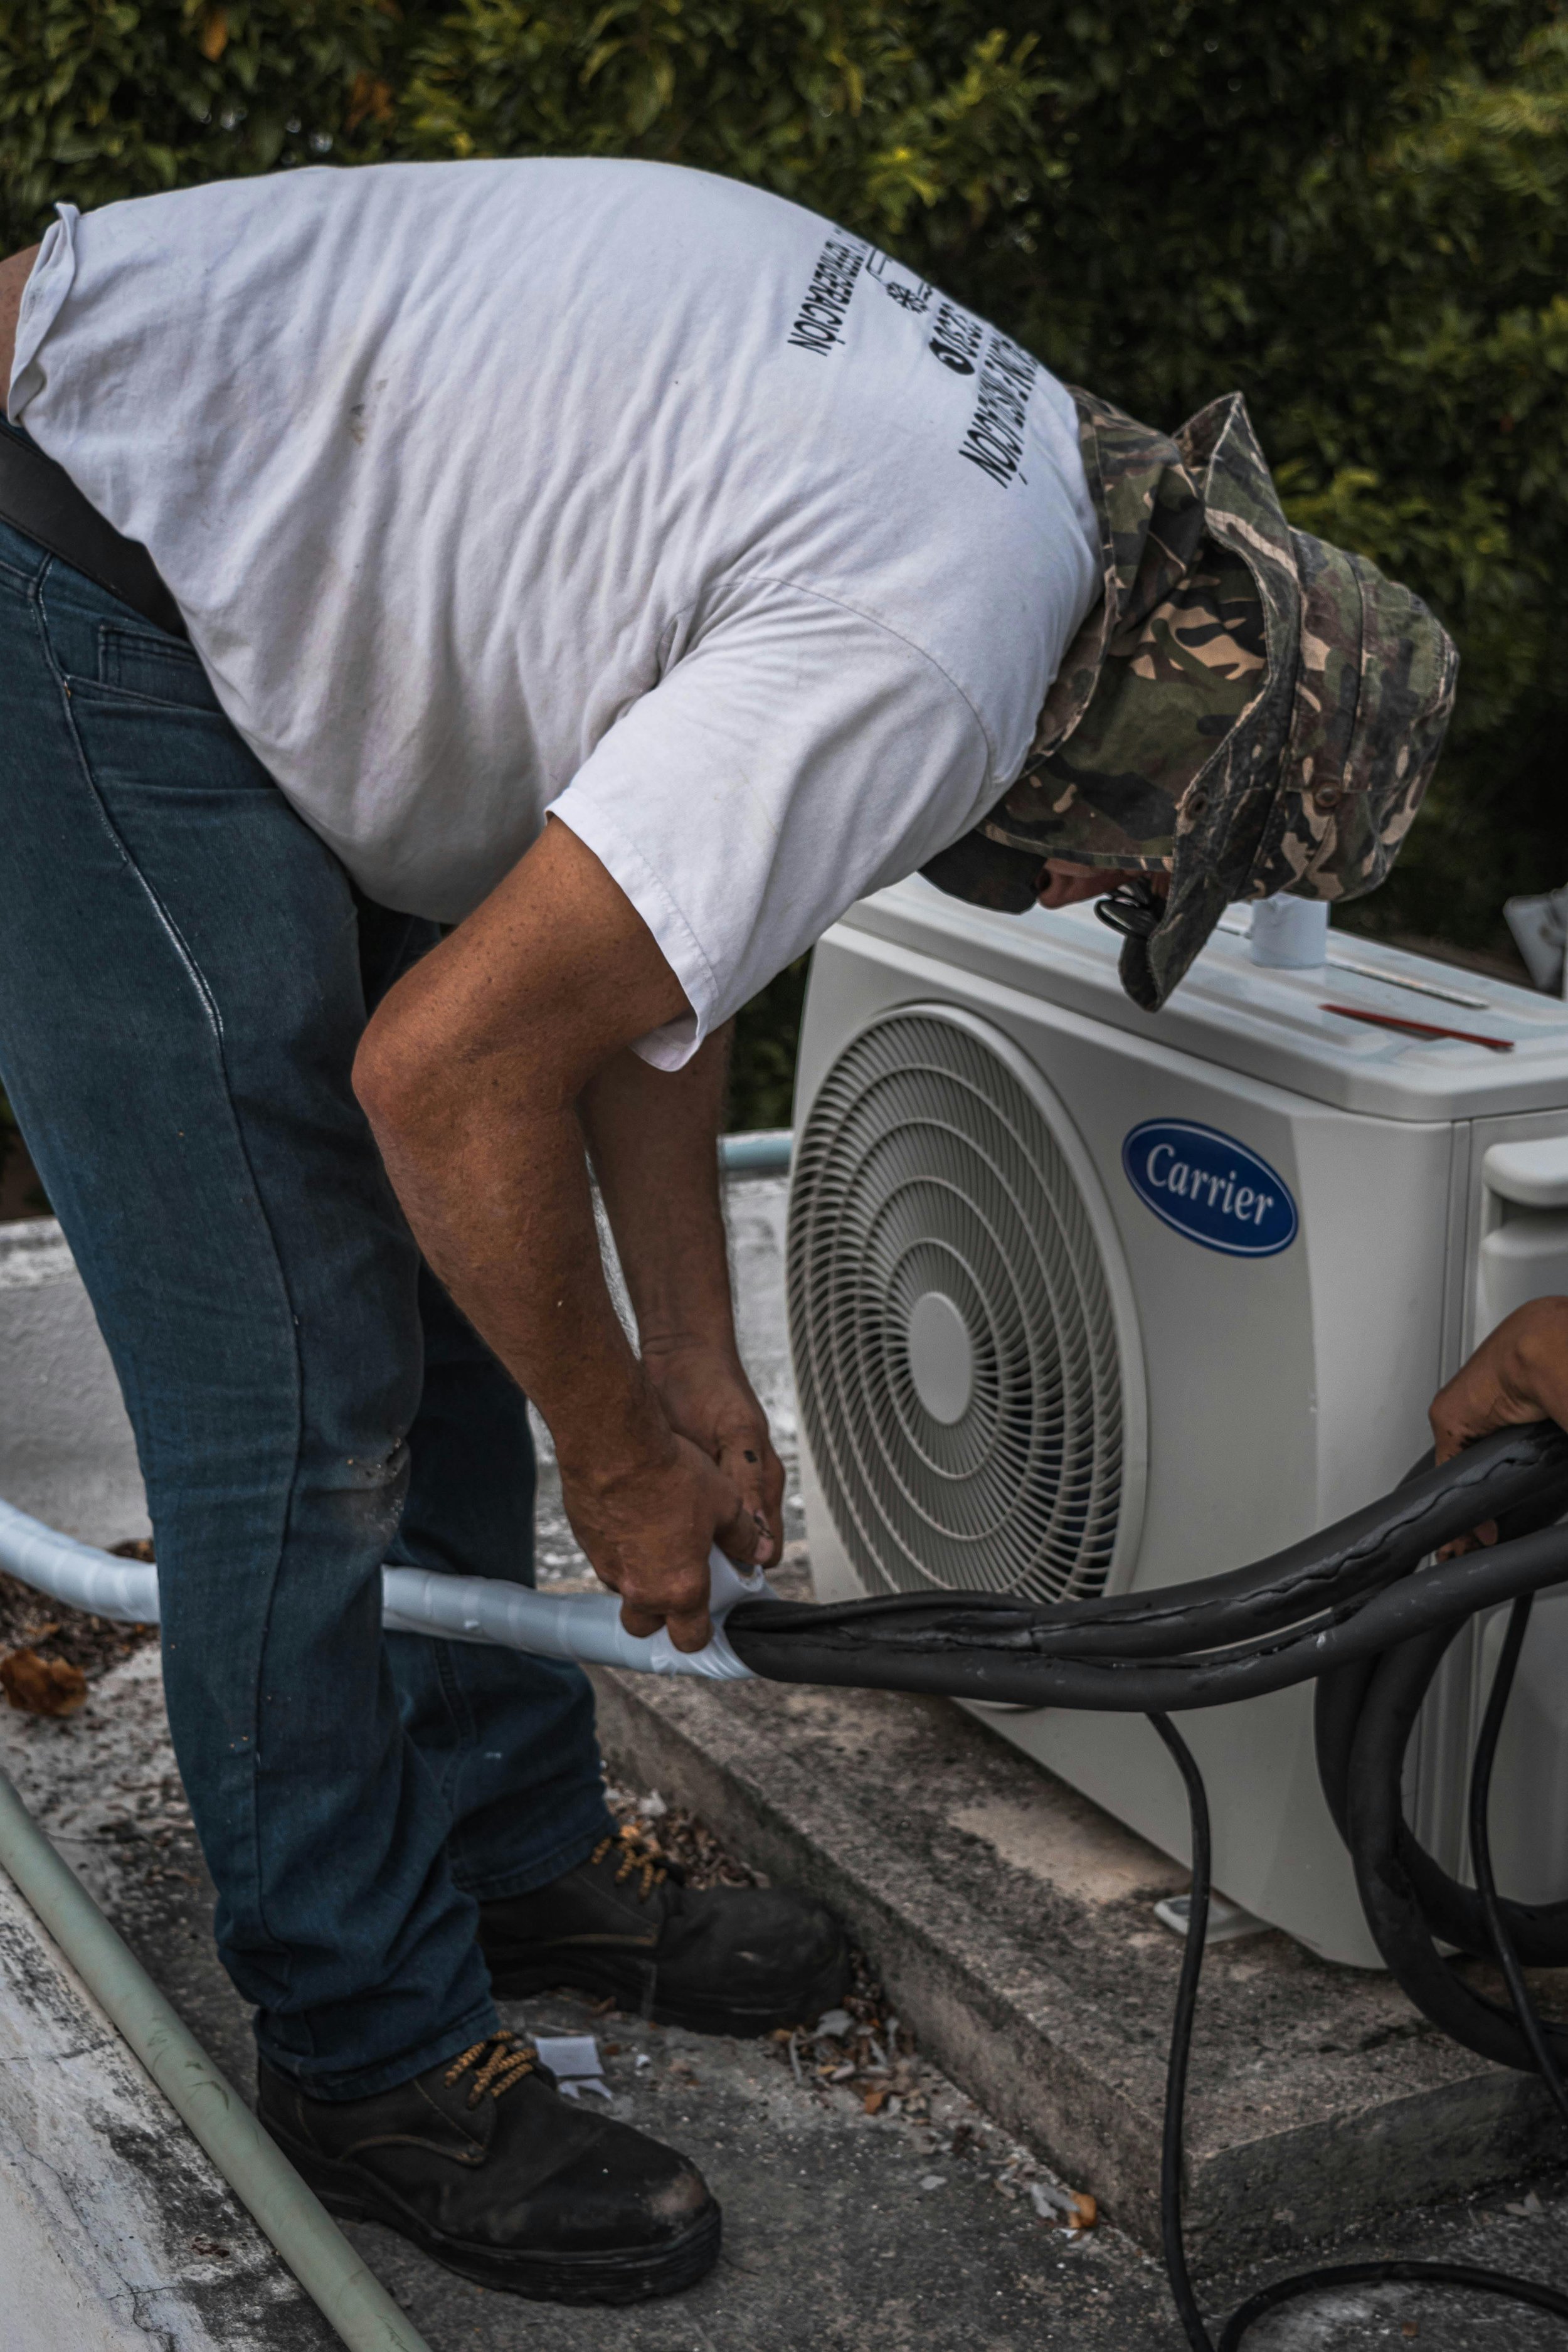
Once positioned, the unit is connected to the indoor system via refrigerant piping, wiring, and a drain line for condensation.
Step 4: Electrical Connections
A licensed electrician will connect the air conditioner to your home’s power supply. This may involve:
Adding a dedicated circuit for larger systems.
Checking the switchboard capacity.
Ensuring all wiring complies with electrical safety regulations.
This step is critical and should only ever be done by qualified professionals. Cutting corners here can lead to dangerous faults, so reputable companies make it a priority even in a fast installation service.
Step 5: Refrigerant and Drainage Setup
The refrigerant lines between the indoor and outdoor units must be sealed and vacuum-tested to prevent leaks. At the same time, the drainage system for condensation is checked. Poor installation here can lead to water leaks inside the home, so experienced installers take care to ensure everything is secure and compliant.
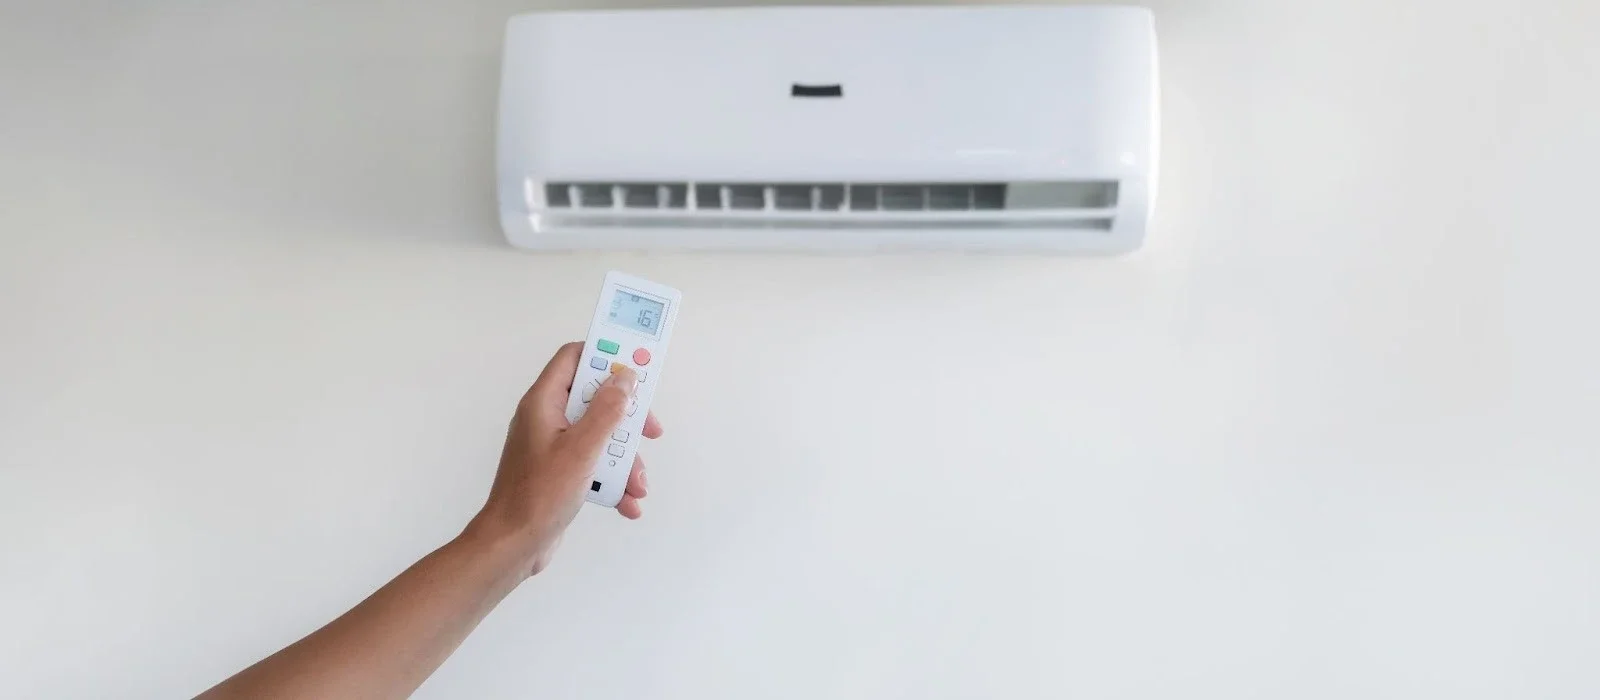
Step 6: System Testing
With everything in place, the technicians will power up the system and run a series of tests:
Checking cooling and heating functions.
Measuring airflow and temperature.
Ensuring the thermostat and remote are working properly.
Listening for unusual noises or vibrations.
This step ensures your new system is performing efficiently and quietly.
Step 7: Clean-Up and Handover
A professional aircon installation includes a final tidy-up: packaging, dust, or debris from drilling will be removed. The installer will then walk you through how to use the system, including:
Operating the remote or wall control.
Adjusting modes (cooling, heating, fan).
Setting timers and energy-saving features.
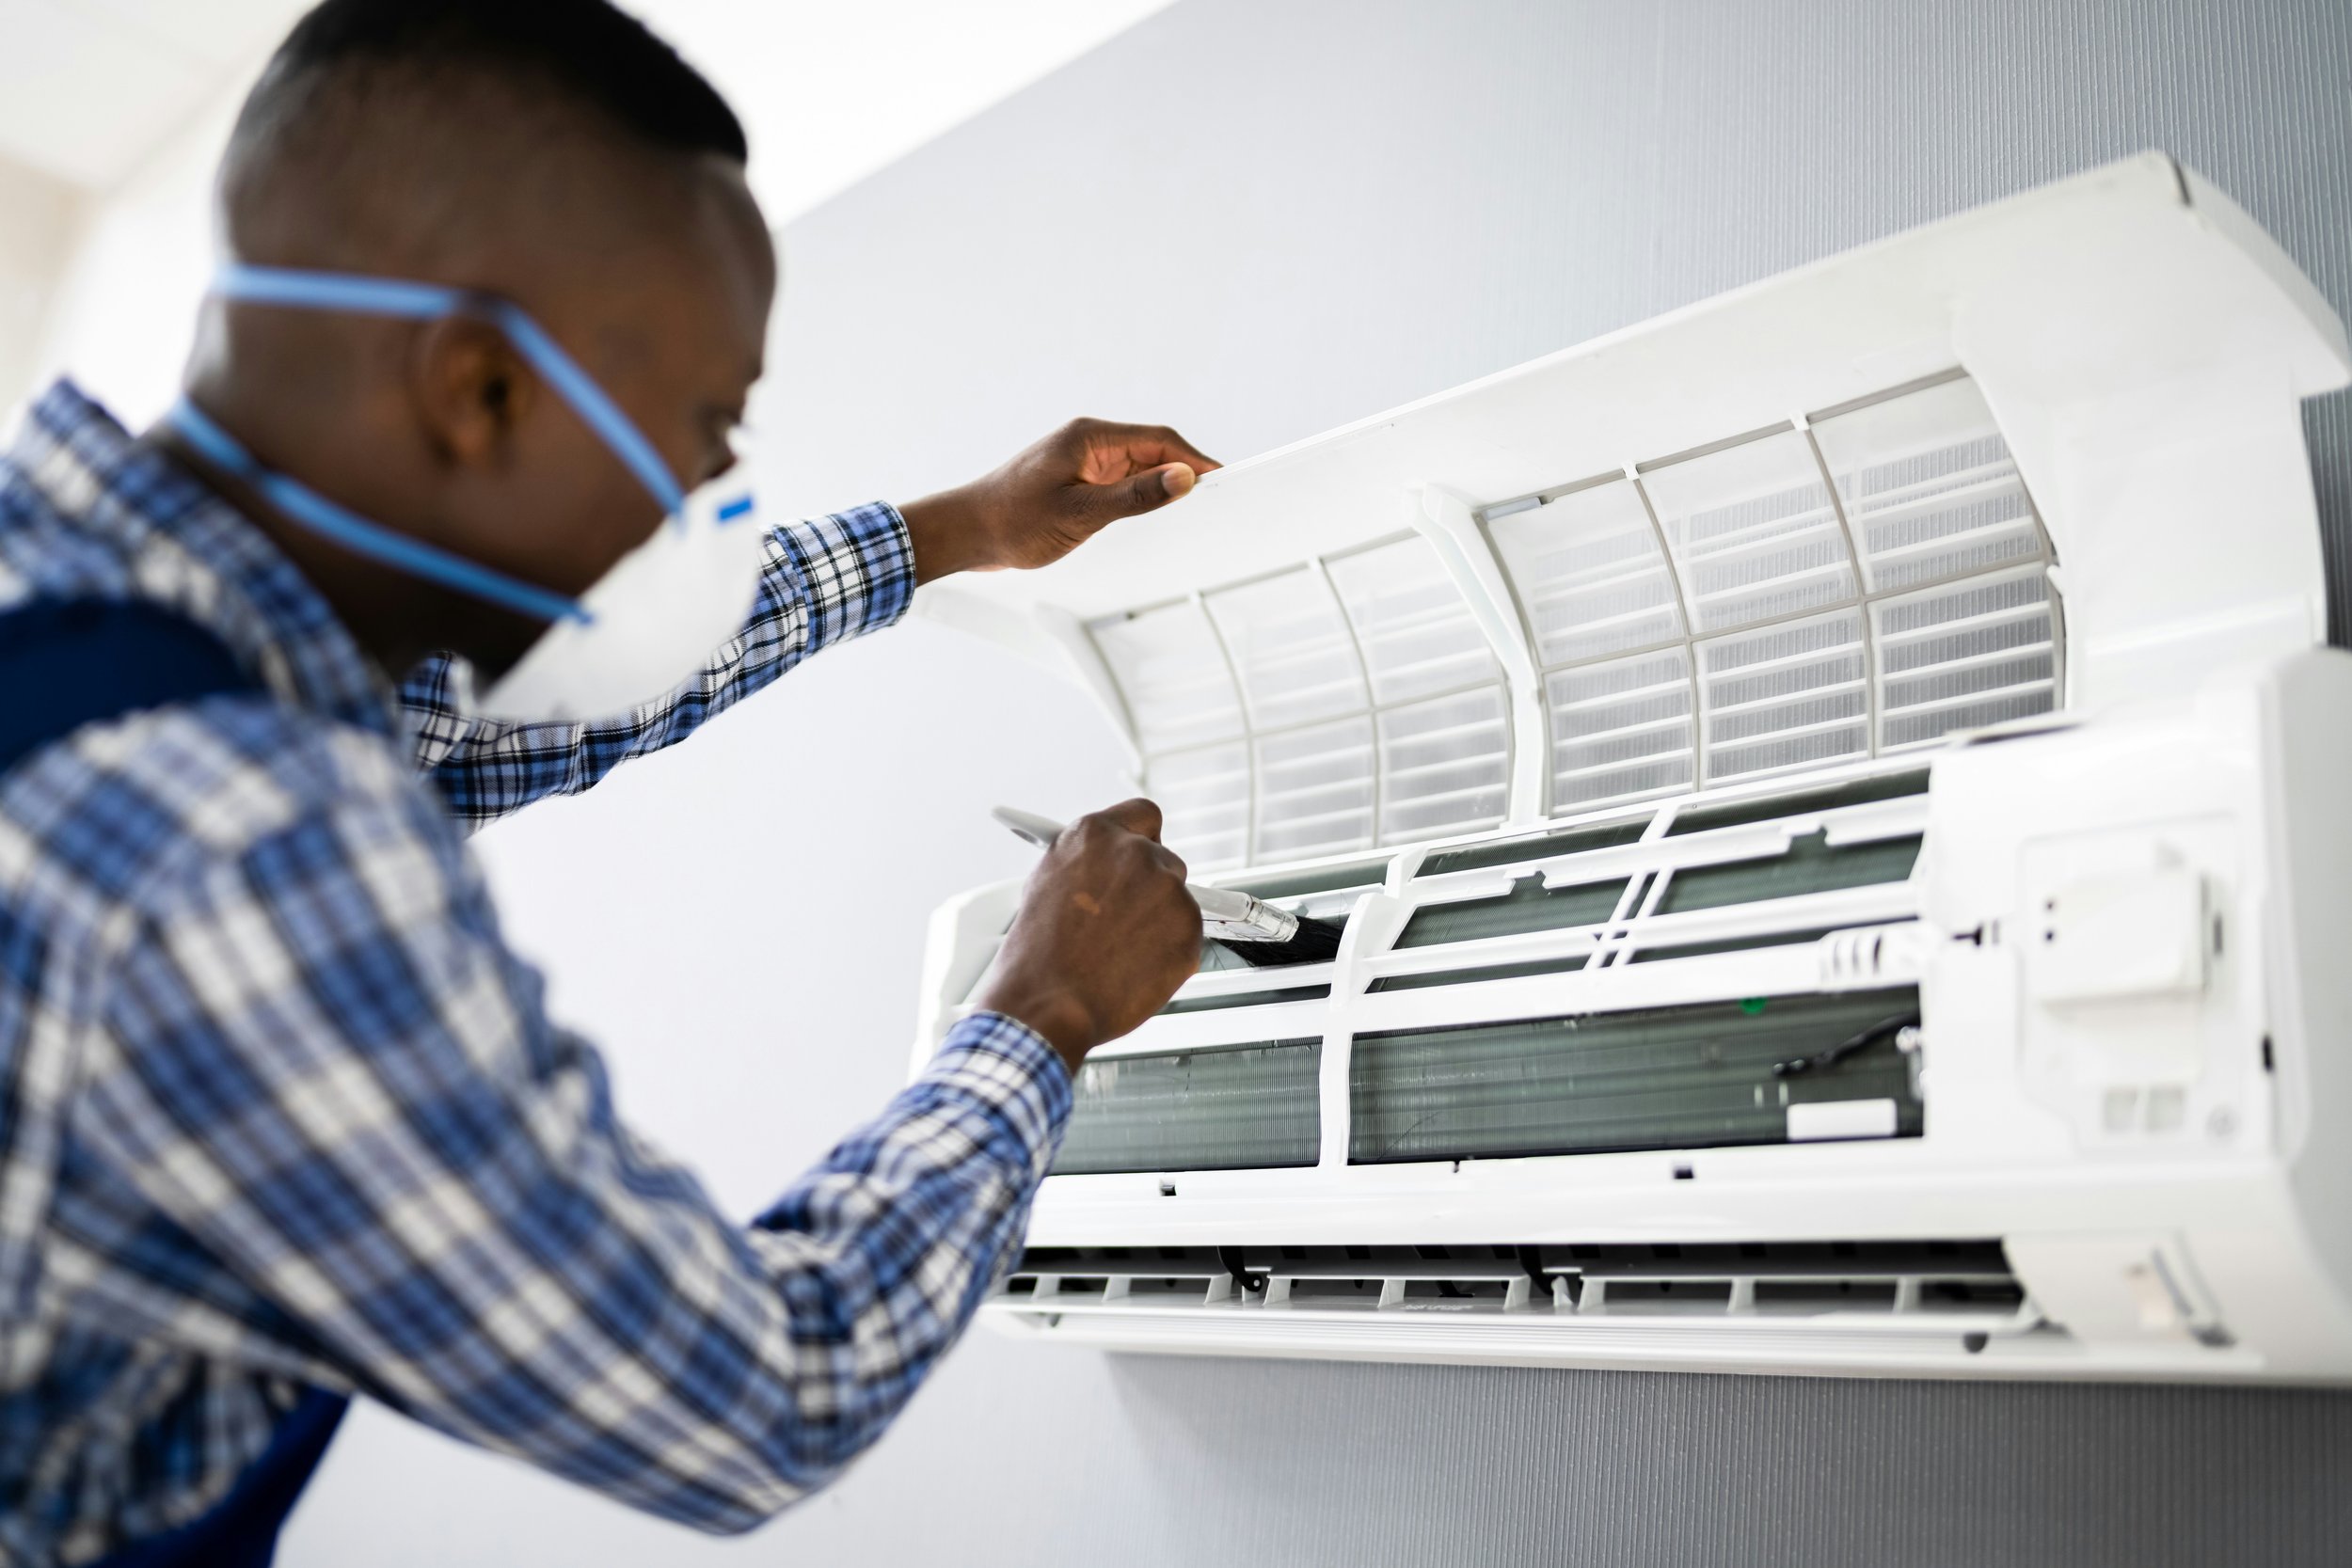
Basic maintenance, such as cleaning filters.
This handover is your chance to ask questions and make sure you’re comfortable using your new system.
How Long Does Fast Aircon Installation Take?
The timeline varies depending on the system:
Split system aircon installation – 3 to 5 hours for a standard back-to-back setup (indoor and outdoor units on opposite sides of the same wall). More complex installations may take a full day.
Ducted aircon installation – 1 to 2 days, depending on property size, roof access, and zoning requirements.
When companies advertise “fast installation,” it usually means they can deliver and fit a system within a short timeframe, sometimes even same-day if stock and schedules allow.
Tips for a Smooth Installation Day
Be home during installation to answer questions or approve changes.
Keep pets and children away from the work area for safety.
Ask for a demonstration at the end - knowing how to use your aircon correctly ensures maximum comfort and efficiency.
The Bottom Line
Fast aircon installation doesn’t mean rushed or sloppy work. Professional technicians can complete a split system in just a few hours and a ducted system within a couple of days - without compromising on quality. On installation day, you can expect a structured process: safety checks, unit placement, connections, testing, and a thorough handover.
By preparing your home, working with licensed professionals, and understanding each step, you’ll enjoy cool, comfortable air in no time - ready to beat the heat the moment your new system is switched on.
Stay up to date with our latest ideas!