Campervan Awning Buying Guide: How to Choose the Right Size and Type
Learn how to choose the right campervan awning by comparing sizes, types, materials, mounting options, weather resistance, and practical features.

If you've spent any time around campervan owners, you'll know the awning debate comes up almost as often as the "which van base is best" one. Some people swear they'd never travel without one. Others see it as an unnecessary extra that just adds weight and cost. Having lived with both setups, I can tell you that those in favour usually win the argument.
But choosing an awning isn't as simple as picking whatever's cheapest or matches your van's colour. Size, mounting type, and compatibility with your specific vehicle all matter. Whether you're finishing off a self-build conversion or upgrading a factory-fitted motorhome, here's what to consider before you buy.
Why Bother With an Awning at All?

It's worth starting here, because the "why" shapes the "which."
Extra Living Space
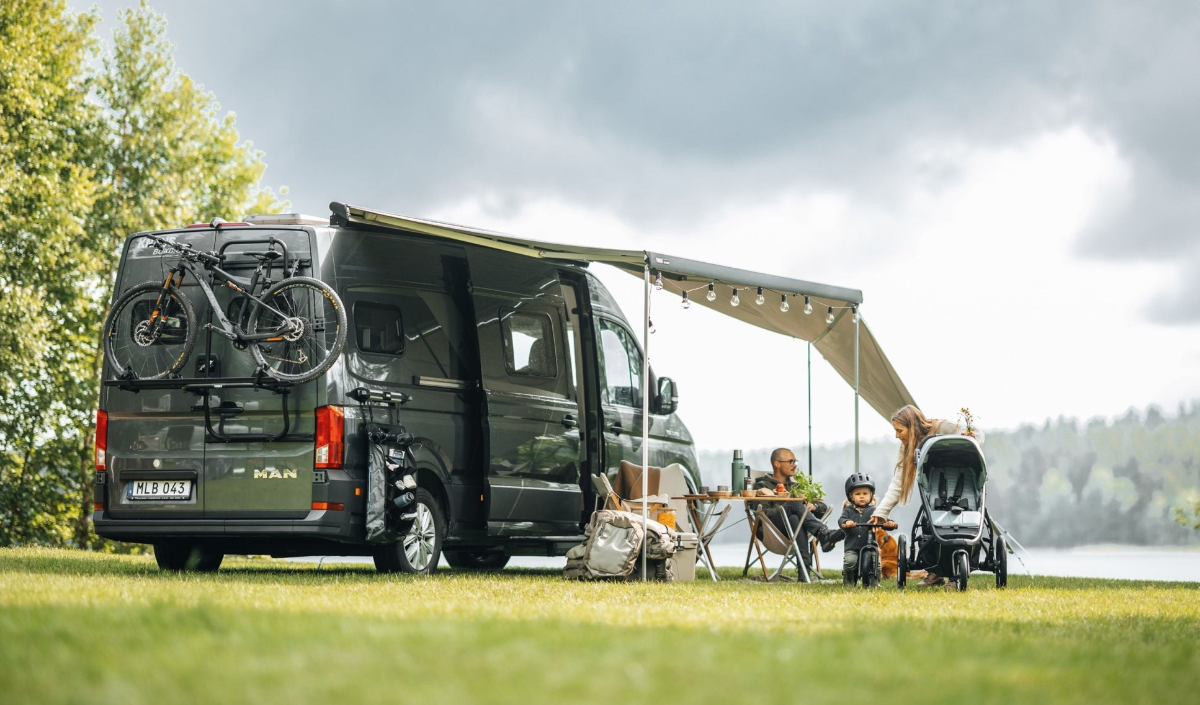
This is the big one. A campervan interior, however cleverly designed, is still a small box. A motorhome awning effectively doubles your usable space the moment you pull up at a pitch. You instantly have somewhere to cook, eat, dry wet gear, or just sit without crawling over each other. If you camp as a couple or family, this alone can transform how a trip feels.
Weather Protection
UK campsites are not known for their reliability, weather-wise. An awning gives you shelter from rain when you're cooking outside, and shade from sun when the van's interior turns into a greenhouse. Being able to sit outside regardless of what the sky's doing changes the whole experience of a pitch. It protects your van, too. Wind-out campervan awnings shield the side of the vehicle from sun exposure, which helps prevent paintwork fading and reduces heat build-up inside on hot days.
Versatility and Flexibility
Awnings create a defined outdoor zone that isn't overlooked by every passer-by or neighbouring pitch - handy for changing, relaxing, or just not feeling like you're on display. They can also make shorter, spontaneous stops more comfortable. Even if you're only stopping for a night, an awning takes seconds to deploy and instantly makes the space around your van more liveable.
How to Select the Right Campervan Awning?
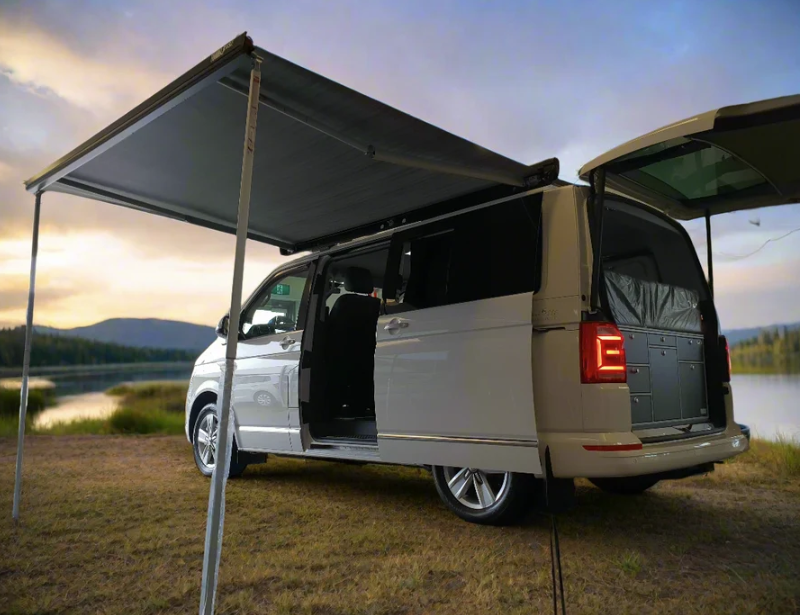
Most modern campervan awnings fall into a few main categories, and picking the right one depends on how you use your van.
Step 1: Decide on the Type
Wind-out awnings are the most common choice for converted vans and motorhomes. They mount along the roofline or upper body of the van and roll out horizontally, supported by adjustable legs. They're quick to deploy, don't need pegging into the ground (though you can), and pack away neatly when not in use. This style of awning is available in a variety of lengths, and some models can be upgraded with optional side panels for additional protection. They're straightforward to operate and built to handle repeated use.
Drive-away awnings attach separately and allow you to detach the van and drive off while the awning stays pitched - useful if you want to nip to the shops without dismantling your whole setup. These typically need more groundwork (pegs and guy ropes) and more storage space when packed down.
Canopy or simple sun canopies are the most minimal option: lightweight, cheap, and good for shade but offering little in the way of proper weatherproofing or living space.
For most people converting a van for regular trips, a wind-out awning strikes the best balance of convenience, protection, and ease of use, which is why it dominates the market.
Step 2: Get the Size Right
This is where people most often go wrong. Awning length isn't about your personal preference for space. It needs to correspond to your van's body length so it mounts correctly and doesn't overhang awkwardly at either end.
Wind-out awnings typically come in a range of sizes (for example, the F45S is available from around 2.3m right up to 4.5m), so there's usually an option to suit short-wheelbase vans through to long-wheelbase conversions. As a rough guide, measure the mounting surface of your van (not including mirrors or bumpers) and choose an awning that matches or sits slightly under that length, rather than overhanging significantly.
If you're unsure, checking your specific make and model against the manufacturer's sizing charts (or asking a supplier directly) is worth the ten minutes it takes, because getting this wrong means a wonky-looking, poorly supported awning at best, and mounting problems at worst.
Step 3: Check Bracket and Rail Compatibility
This is the part people forget until they're standing in their driveway with an awning and no way to attach it.
RV awnings don't universally bolt onto every van. You'll usually need vehicle-specific brackets designed for your exact make, model, and often wheelbase length. A bracket kit made for a Mercedes Sprinter won't necessarily fit a VW Crafter, even though the vans look broadly similar. Fiamma brackets, for instance, are sold in specific configurations for vehicles including Fiat, Citroen, Ford, Mercedes, Nissan, Peugeot, Renault, Vauxhall, and Volkswagen, often split further by wheelbase and roof height.
If your van doesn't have a mounting rail already fitted, you may also need to add one. Options include multirails, C rails, and J rails, each suited to slightly different awning and bracket combinations.
The easiest route is often to buy an awning and bracket kit together for your exact van, rather than sourcing each part separately and hoping they're compatible.
Step 4: Think About Extras
Once the awning itself is sorted, a few small additions make a real difference day to day. Awning lighting is a popular one. LED strip lighting fitted along the awning arm turns your outdoor space into a usable area after dark without relying on a separate lantern balanced somewhere precarious.
Final Thoughts
An awning is one of those purchases that feels optional right up until you own one, at which point it quickly becomes essential. The key to getting it right is working through the decision in order: figure out why you want one and how you'll use it, choose the type that suits that use, measure properly for size, and check bracket and rail compatibility for your specific van before you commit. Get those four things right, and you'll end up with a setup that just works, trip after trip.
Stay up to date with our latest ideas!