Discover 15 quilting room ideas for creative and organized spaces that inspire beautiful projects through smart storage and functional design.
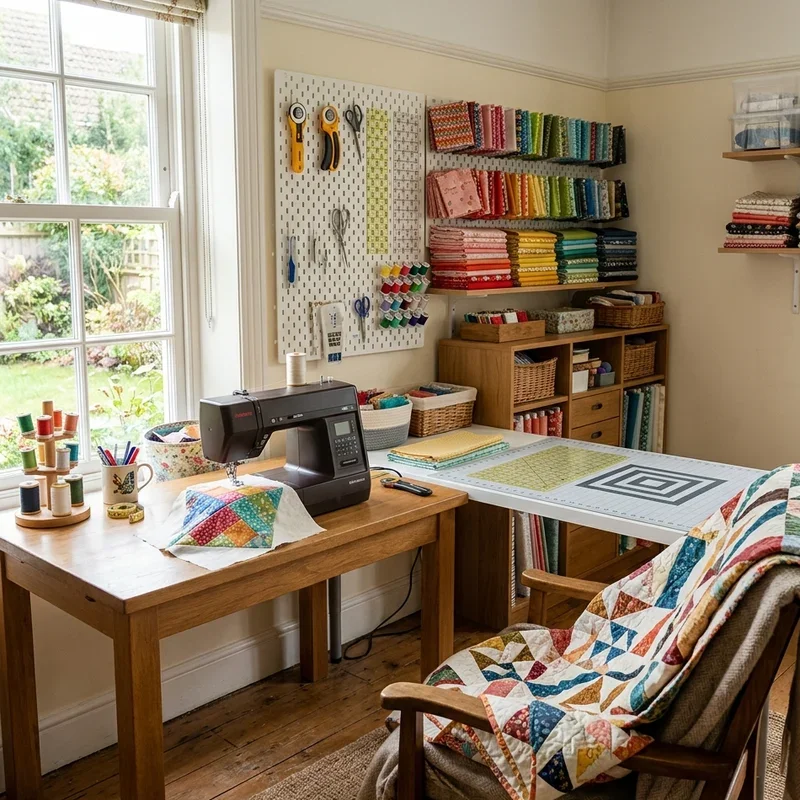
A dedicated quilting room transforms your creative practice from a scattered, dining-table-takeover operation into an organized, inspiring sanctuary where every fabric bolt, thread spool, and rotary cutter lives in its designated spot waiting patiently for the next project to begin without the frustrating setup and teardown ritual that shared-space quilters endure before and after every single sewing session. Have you ever dreamed of walking into a room where your machine sits threaded, your design wall displays works in progress, and your fabric collection organizes itself by color across beautiful shelving that makes choosing the next project feel like shopping in your own personal fabric store? That dream drives quilting room design. Think of your sewing space like a creative workshop tailored to your craft. Let's explore fifteen ideas.
1. Large Cutting Table Centerpiece
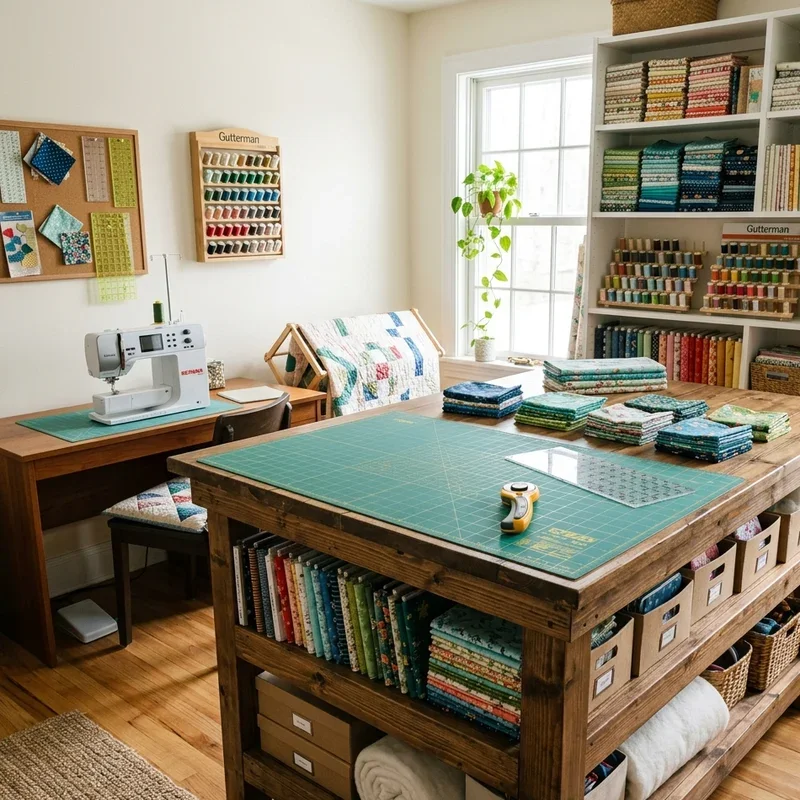
A large cutting table anchors your quilting room at its functional center, where the generous, flat surface accommodates full fabric yardage spreads for the accurate measuring, marking, and cutting that cramped, dining-table-borrowed, never-quite-large-enough work surfaces compromise through their undersized dimensions forcing quilters into folded, awkward, imprecise cutting positions that produce the crooked, inaccurate pieces responsible for blocks that never align properly during assembly. Build or buy a table standing at comfortable cutting height, typically thirty-six inches, since the elevated surface prevents the back pain that standard desk-height tables inflict during the extended standing sessions that rotary cutting, pattern placement, and fabric layout demand throughout multi-hour project preparation. Add a self-healing cutting mat across the surface. Include storage shelving beneath. Think of cutting tables like quilting command centers. Your projects begin accurately.
2. Thread Storage Wall Display
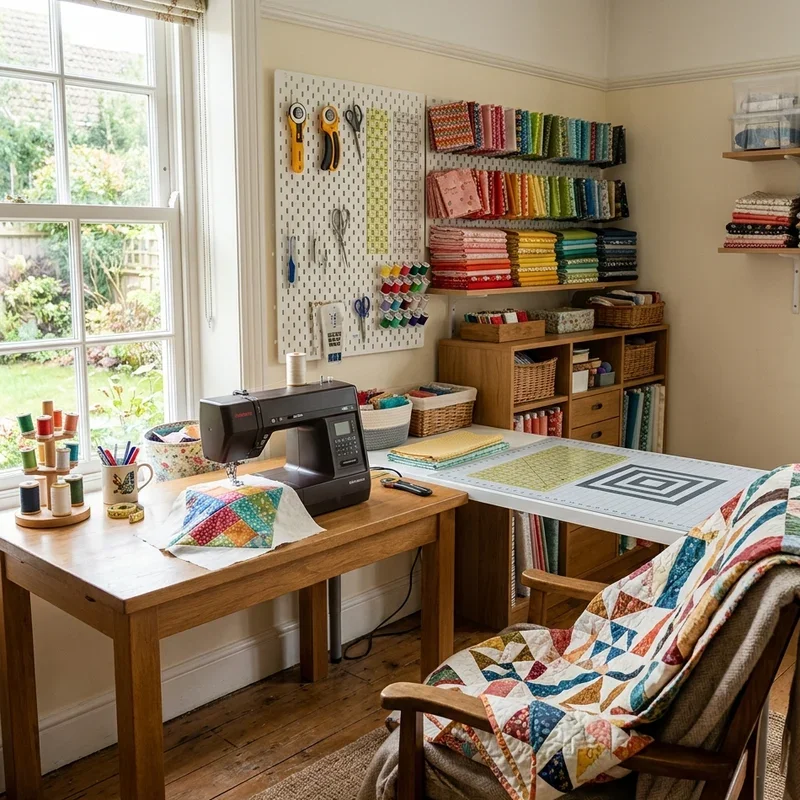
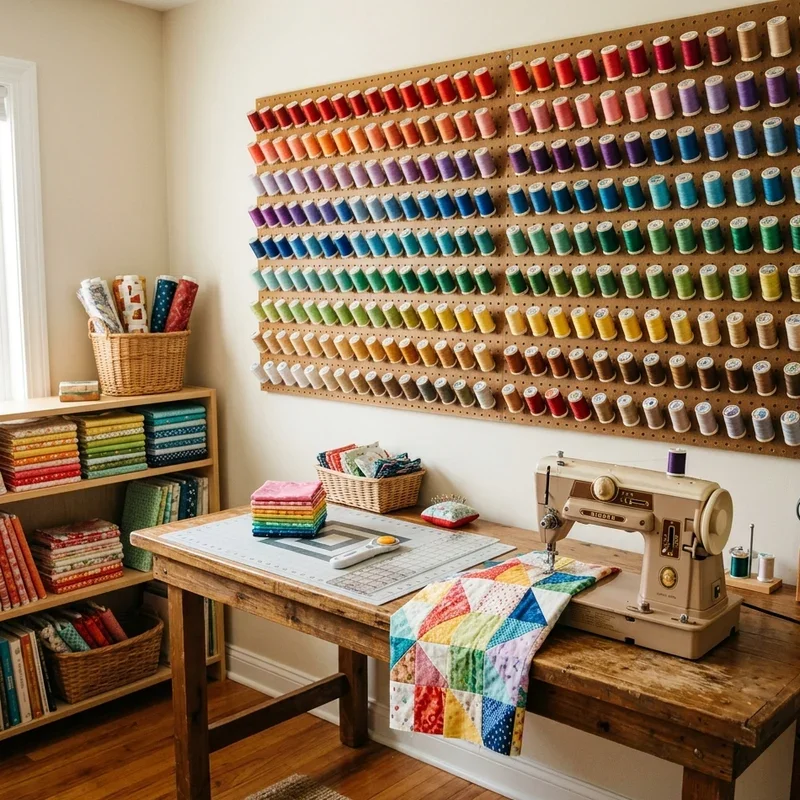
A thread storage wall display mounts your entire spool collection visually on the wall, where organized rows of colorful thread create both functional access and stunning decorative art that transforms utilitarian sewing supplies into the kind of rainbow-spectrum wall installation that visitors admire as genuine decoration before realizing every spool serves a practical stitching purpose alongside its undeniable visual beauty. Mount a large thread rack or multiple smaller racks on the wall beside your sewing machine, since the arm's-reach positioning lets you swap colors mid-project without leaving your chair to search through drawers or bins where buried spools hide beneath tangled thread nests you forgot existed until the frustrating, time-wasting rummaging begins. Organize by color family. Choose wall racks holding fifty or more spools. Think of thread displays like functional rainbow artwork. Your colors show beautifully.
3. Fabric Stash Organization System
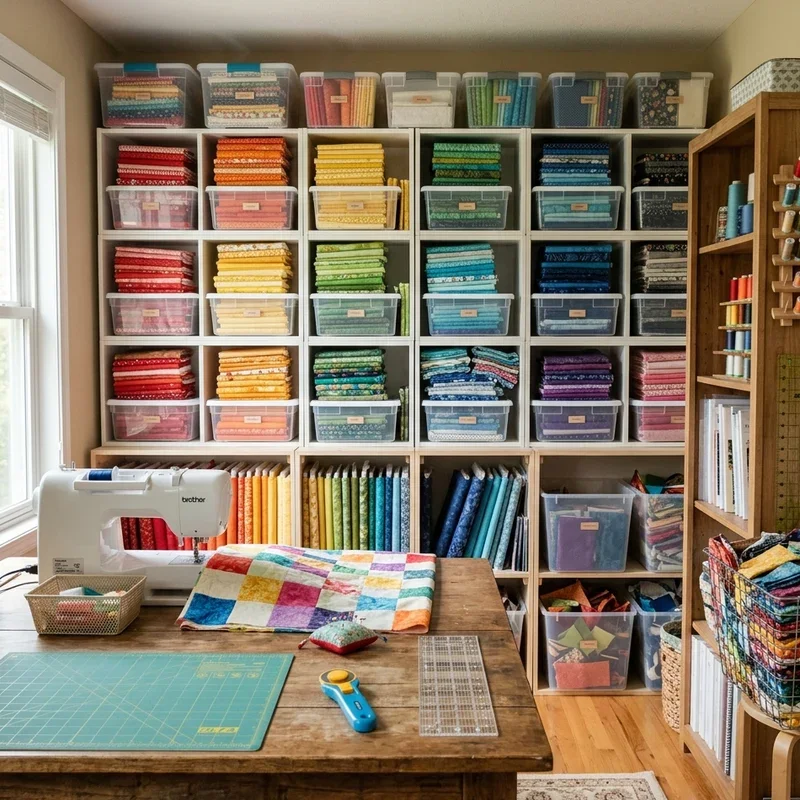
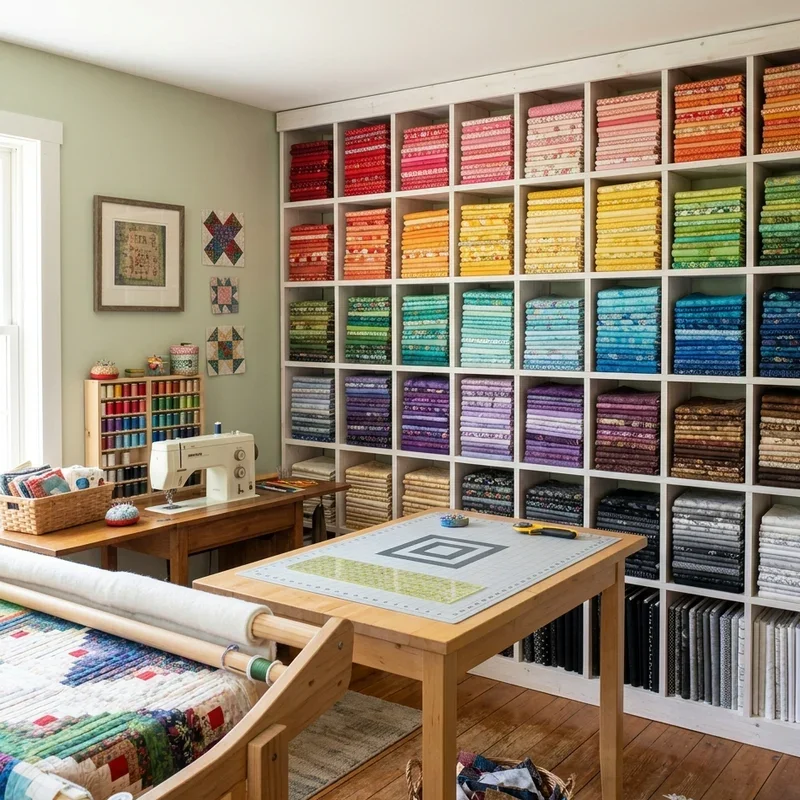
A fabric stash organization system corrals your growing collection into categorized, visible, accessible storage that transforms the overwhelming, overflowing, stuffed-into-every-available-corner textile chaos that most quilters accumulate into a browsable, shoppable, neatly folded library of materials organized by color, type, or project designation across dedicated shelving designed specifically for fabric storage rather than the repurposed, poorly-suited, never-quite-right containers that closets, bins, and dresser drawers provide through their fabric-unfriendly dimensions and concealing, out-of-sight, easily-forgotten storage format hiding beautiful materials from creative consideration. Fold fabrics uniformly using comic-book-board-sized templates, since the consistent sizing creates the tidy, bookshelf-like vertical display that messy, randomly folded stacks prevent through their slumping, toppling, visually chaotic horizontal piles. Install open shelving for visible browsing. Organize by color gradient. Think of fabric stashes like textile libraries. Your collection organizes beautifully.
4. Design Wall for Project Planning
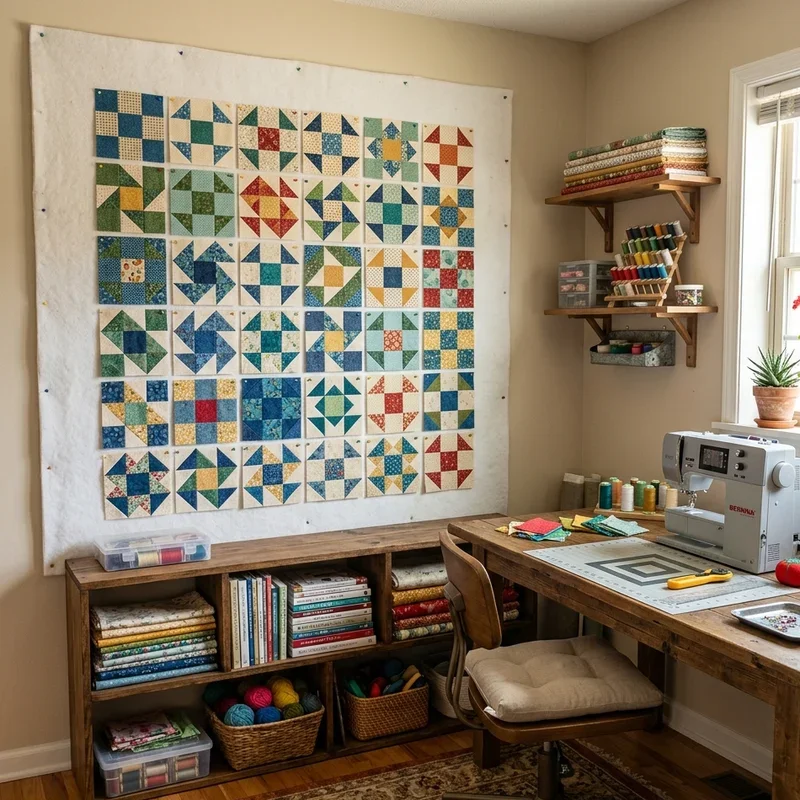
A design wall provides a large, vertical, pin-friendly surface where you arrange quilt blocks, audition fabric combinations, and visualize the complete project layout before committing to final assembly, catching design errors, color imbalances, and block-placement problems from across the room rather than discovering them after sewing pieces together permanently in arrangements that looked fine up close but fail dramatically when viewed at the finished-quilt distance that your face-level, inches-away work position prevented you from evaluating during assembly. Cover a large section of wall with flannel, batting, or foam-core panels, since the textured surface grips fabric blocks without pins for quick, repositionable arrangement during the design-audition process. Install near your cutting table. Add good lighting above. Think of design walls like quilting canvas previews. Your layouts plan visually.
5. Dedicated Sewing Machine Station
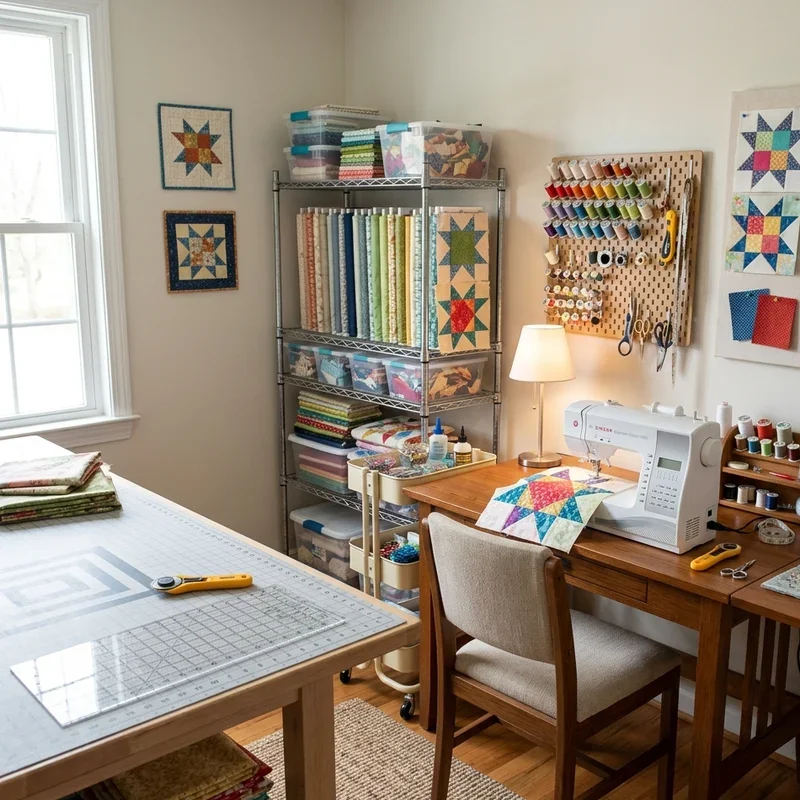
A dedicated sewing machine station positions your machine at the perfect ergonomic height within a custom-fitted desk or cabinet insert, where the needle sits at comfortable elbow level for the extended stitching sessions that quilting demands without the neck strain, shoulder tension, and wrist fatigue that improperly positioned machines inflict on quilters who sew for hours at heights their bodies never agreed to endure through the accumulating, posture-destroying damage that incorrect ergonomics produce gradually across years of dedicated practice. Choose a sewing cabinet with a recessed platform, since the lowered insert brings the machine surface flush with the surrounding desk for seamless fabric feeding that elevated, tabletop-positioned machines prevent through their raised, fabric-catching, seam-bunching surface discontinuity. Add an extension table for larger projects. Think of sewing stations like ergonomic cockpits. Your stitching flows comfortably.
6. Ironing Station Setup
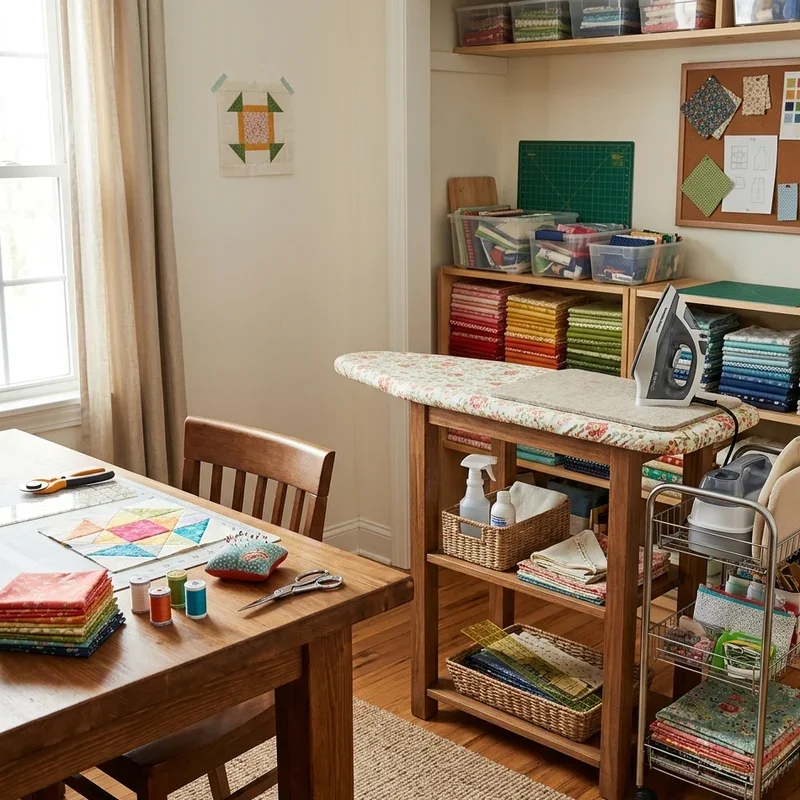
An ironing station setup positions your iron and pressing surface permanently within your quilting room, eliminating the time-consuming, creativity-disrupting setup and teardown that portable ironing boards demand every single time you need to press a seam during the dozens of pressing moments each quilting project requires across its multi-day, seam-heavy, press-after-every-stitch construction process that serious quilters know consumes nearly as much time as the actual sewing itself. Install a wall-mounted, fold-down ironing board or dedicate a section of countertop to a pressing mat, since the permanently available pressing surface sits ready for instant use whenever the next seam finishes under the needle. Position near the sewing machine for minimal walking distance. Add a steam iron holder. Think of pressing stations like always-ready finishing tools. Your seams press instantly.
7. Pegboard Tool Organizer
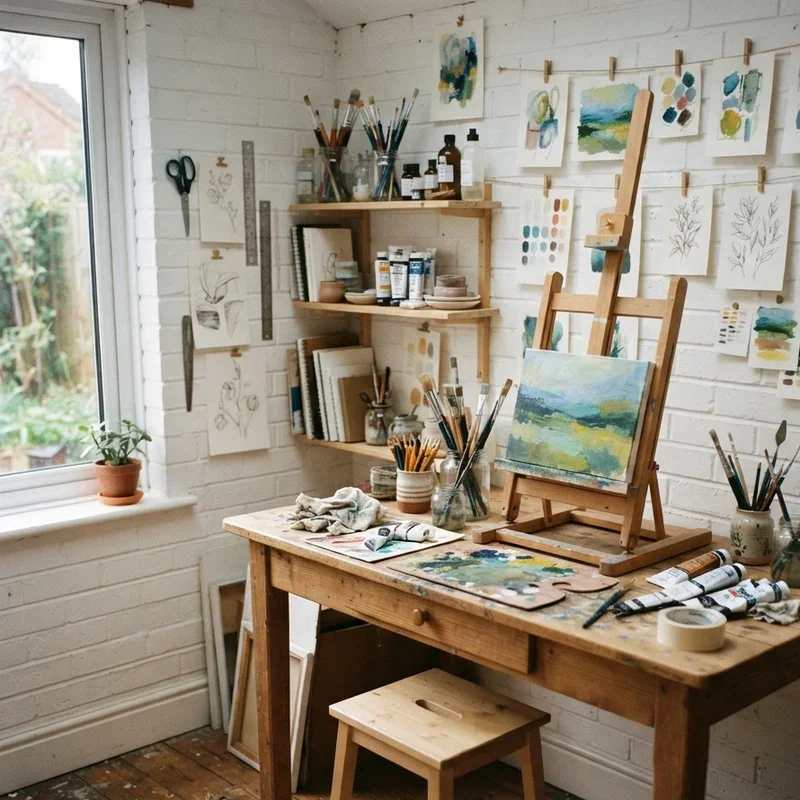
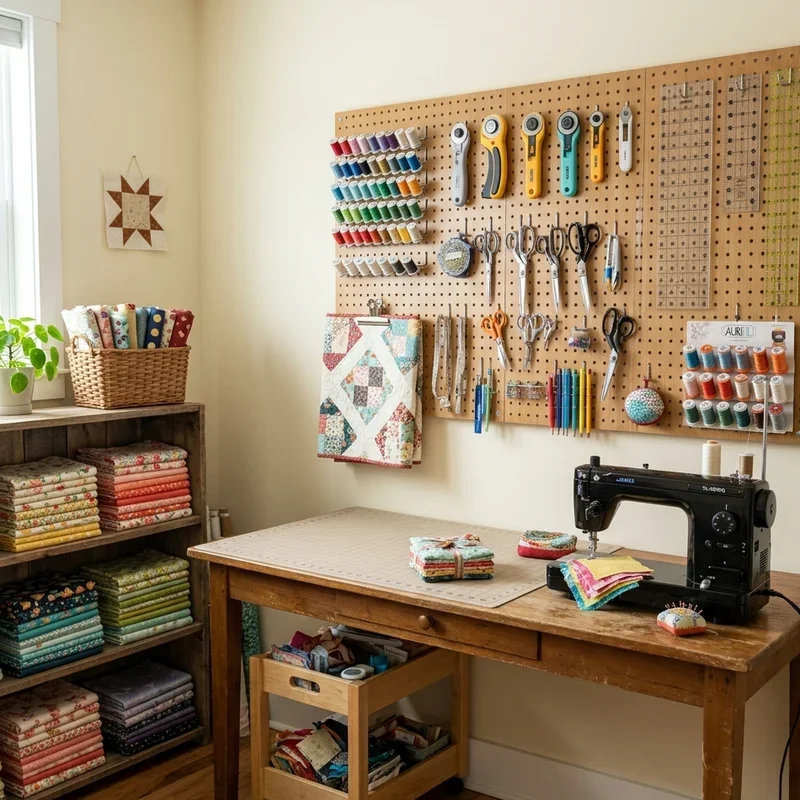
A pegboard tool organizer mounts your most frequently used quilting tools onto a visible, wall-mounted grid where scissors, rotary cutters, rulers, marking tools, and seam rippers hang from hooks and baskets in clearly organized, instantly accessible positions that drawer-buried, bin-hidden, where-did-I-put-that storage locations prevent through their concealed, rummage-requiring, time-wasting, frustration-generating hidden-from-sight organizational format denying immediate visual access to the tools your hands reach for dozens of times during every active quilting session. Install a painted pegboard panel on the wall beside your cutting table or sewing machine, since the arm's-reach positioning lets you grab and replace tools without standing, walking, or searching through drawers. Organize tools by function. Add small baskets for pins and clips. Think of pegboards like tool walls for quilters. Your supplies hang visibly.
8. Natural Lighting Positioning
Natural lighting positioning places your primary workspace beside the largest window in your quilting room, where genuine daylight illuminates fabric colors accurately rather than the warm or cool artificial tones that electric bulbs cast across materials, shifting perceived color temperatures enough to cause the devastating, only-discovered-after-assembly color mismatches that quilters who chose fabrics under artificial light experience heartbreakingly when their finished projects look dramatically different beneath the natural daylight they planned the quilt under originally. Position your sewing machine and cutting table near windows, since the borrowed daylight supplements task lighting while the true-color rendering helps you evaluate fabric selections, thread matches, and binding choices accurately. Add sheer curtains for glare control. Supplement with daylight-balanced LED bulbs. Think of natural light like free color accuracy. Your fabric choices ring true.
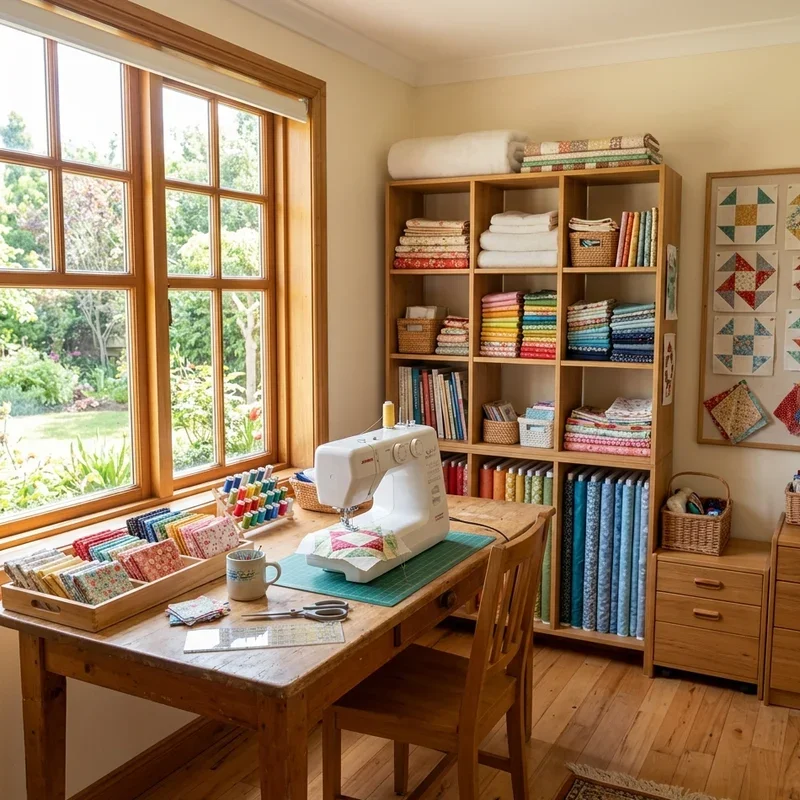
9. Comfortable Seating Area
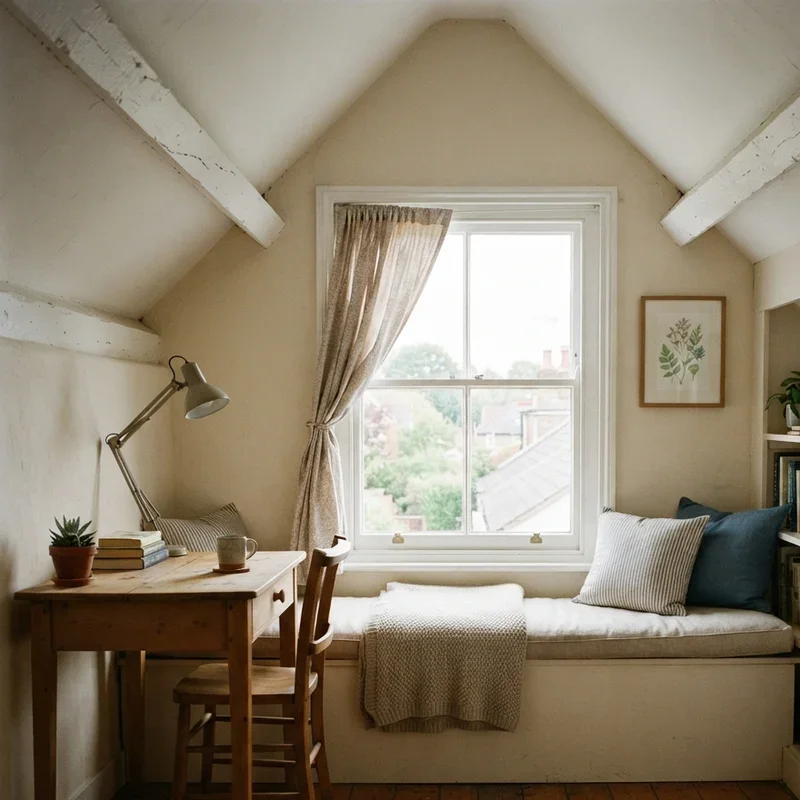
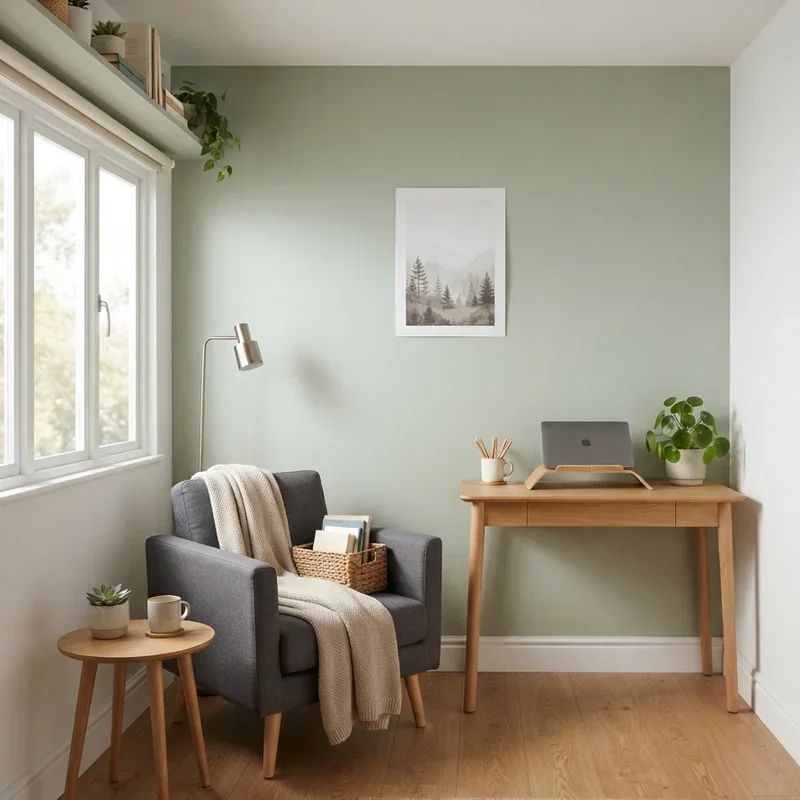
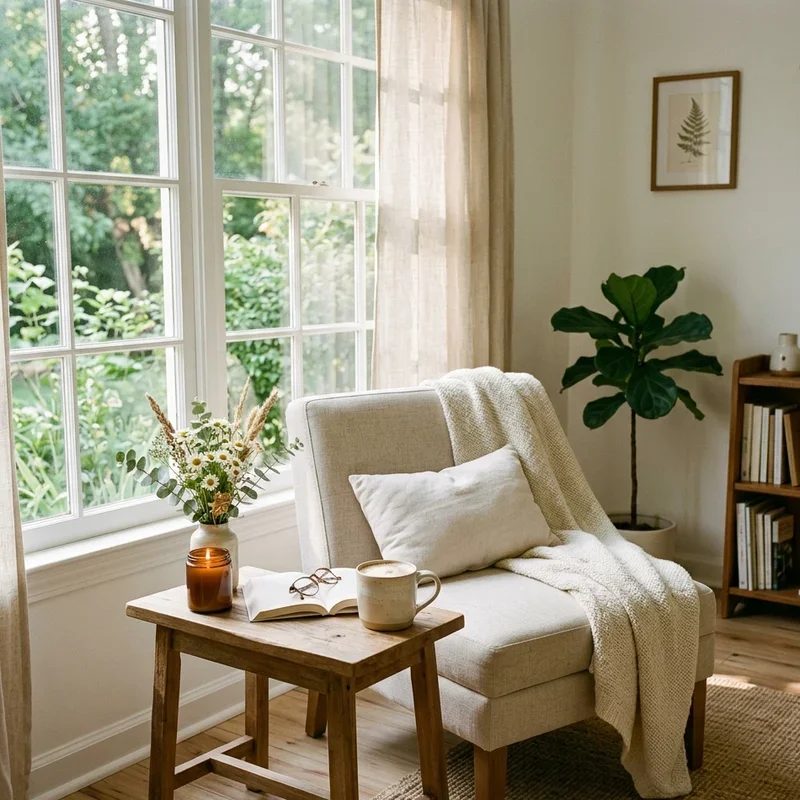
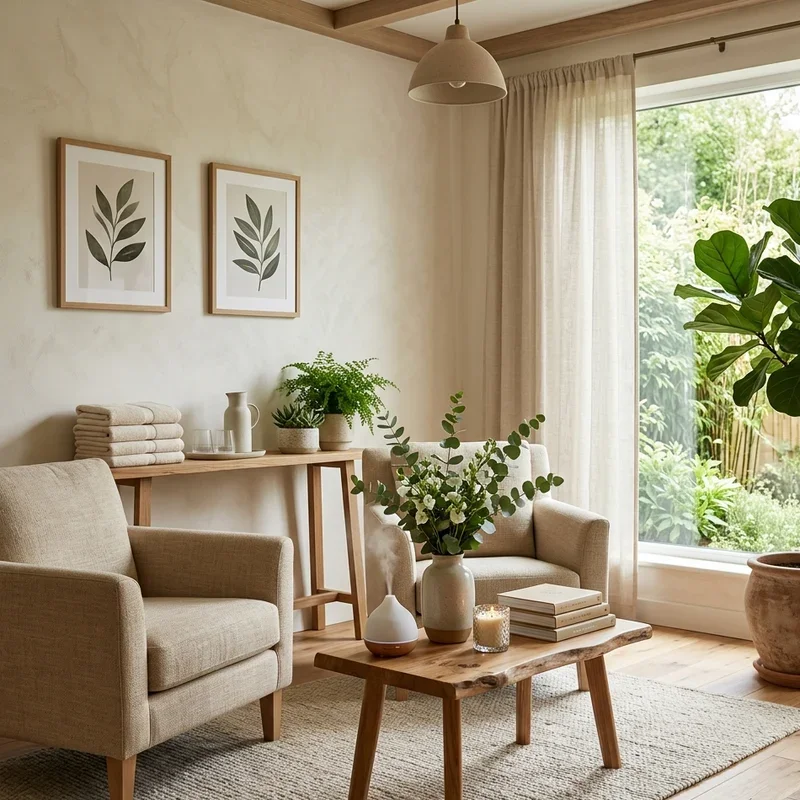
A comfortable seating area adds a plush chair or small sofa to your quilting room for hand-stitching sessions, binding work, and the quiet, contemplative project-planning moments where you flip through quilting books, browse pattern magazines, and sketch design ideas in the relaxed, seated-away-from-the-machine position that creative thinking often demands when inspiration needs comfortable, pressure-free stillness rather than the task-oriented, machine-facing, production-mode positioning your sewing station provides through its forward-leaning, pedal-pressing, needle-watching work configuration designed for execution rather than imagination. Choose a chair with good arm support, since hand-quilting and binding demand comfortable arm positioning for the extended, fine-motor-skill-intensive handwork that these finishing techniques require across multiple, sometimes multi-hour seated sessions. Add a side table for coffee. Include a reading lamp. Think of seating areas like creative thinking stations. Your quilting room invites relaxation.
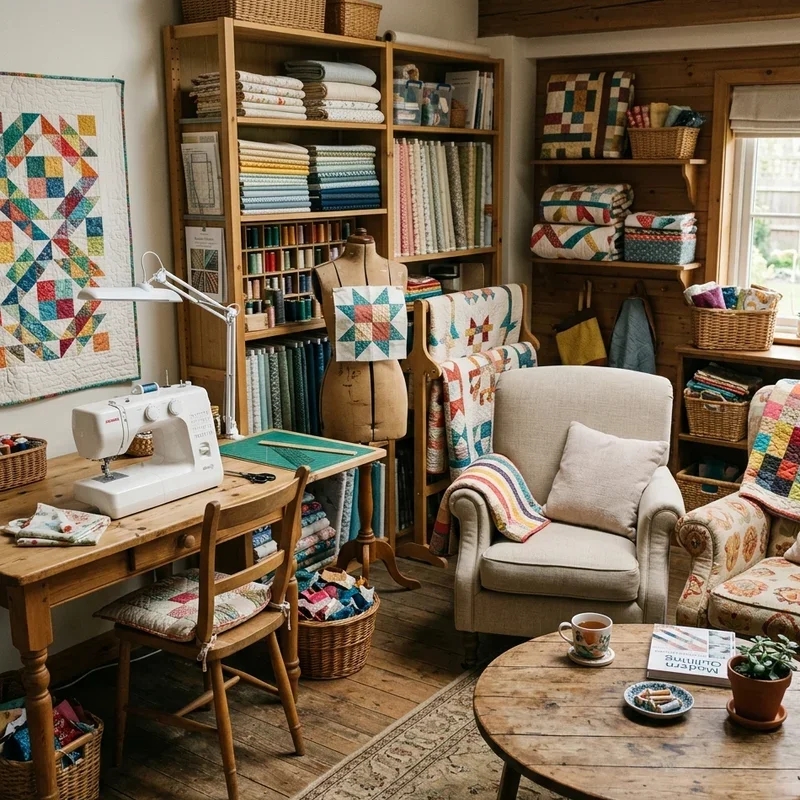
10. Pattern and Template Storage
Pattern and template storage organizes your growing collection of quilting patterns, paper templates, and acrylic rulers into categorized, easily browsable filing systems that prevent the wrinkled, torn, lost-forever fate that unfiled patterns suffer inside cluttered drawers, stacked piles, and forgotten folders where beautiful designs disappear into organizational black holes never to be found again despite the money, time, and creative excitement you invested purchasing them with genuine intention to sew them someday before they vanished into the chaos beneath your cutting table. File paper patterns in categorized binders or hanging file folders, since the organized format lets you browse your collection like a library catalog rather than digging through disheveled stacks searching for the specific design you vaguely remember buying sometime last autumn. Store acrylic rulers vertically. Label everything clearly. Think of pattern storage like recipe boxes for quilters. Your designs stay findable.
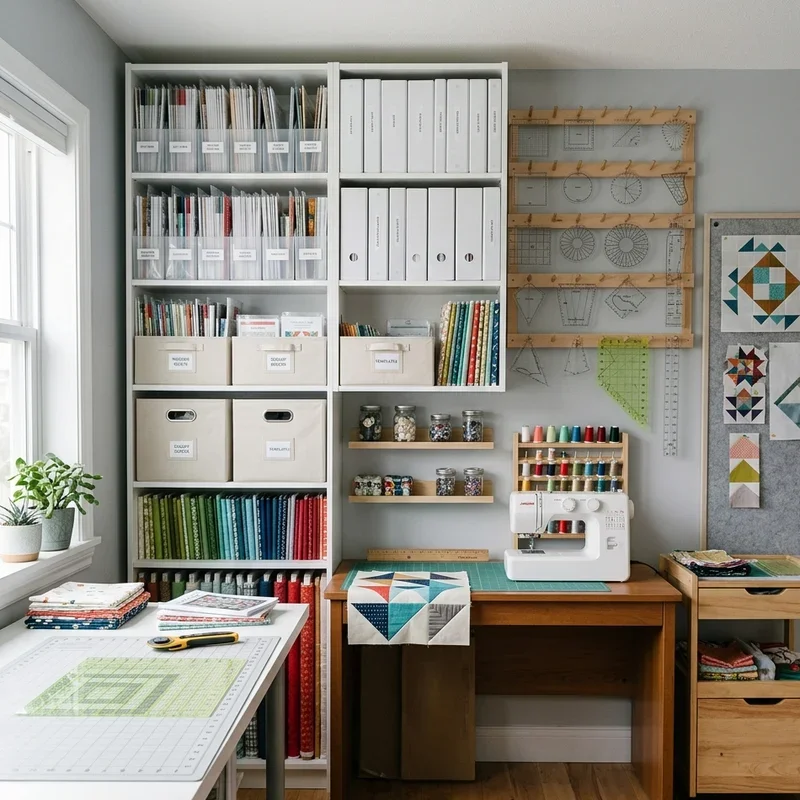
11. Inspiration Board Display
An inspiration board fills one wall section with pinned photos, fabric swatches, color palettes, and magazine clippings that fuel your creative vision during the planning stages when new projects need direction and your imagination needs visual stimulation beyond the blank, idea-free, uninspiring wall surface that empty quilting rooms present to creative minds searching for their next design spark among the countless possibilities that quilting's infinite pattern, color, and technique combinations generate through their overwhelmingly abundant, sometimes paralyzing creative freedom. Mount a large cork board, magnetic panel, or fabric-covered foam board on the wall near your design area, since the visible display keeps inspirational material front-of-mind during creative decision-making. Pin fabric swatches beside potential pattern choices. Add seasonal color palettes. Include photos of admired quilts. Think of inspiration boards like visual brainstorming walls. Your creativity stays fueled.
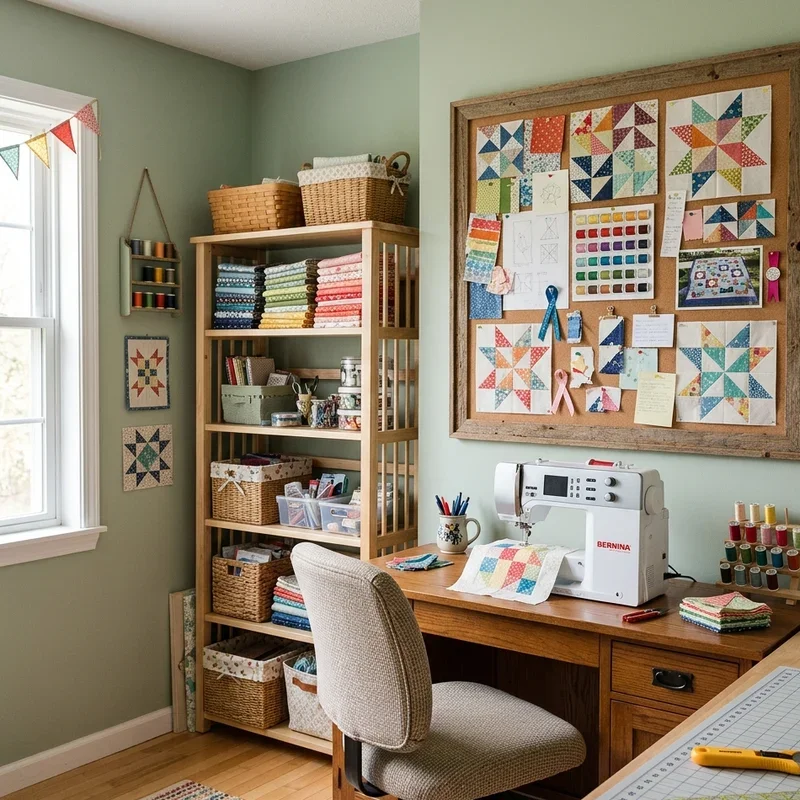
12. Color-Coded Fabric Shelving
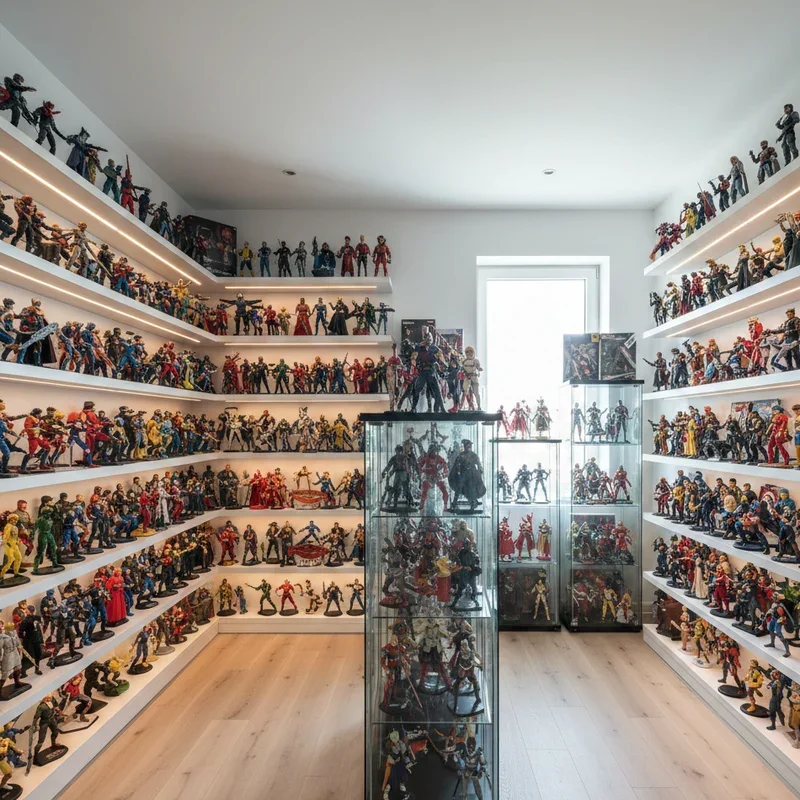
Color-coded fabric shelving arranges your textile collection in rainbow-gradient order across open shelves, where the organized spectrum transforms your stash from a random, visually chaotic collection into a stunning, ombre-effect display that makes fabric selection feel like browsing a professional fabric store's perfectly merchandised, color-flowing, visually intoxicating bolt display rather than digging through jumbled piles hoping the red you need sits somewhere beneath the blues you forgot you owned until this frustrated, time-wasting archaeological expedition through your own uncatalogued collection revealed them accidentally. Fold fabrics uniformly, then arrange from warm reds through oranges, yellows, greens, blues, and purples across your shelving, since the visual gradient creates both functional organization and genuinely beautiful wall display simultaneously. Add neutrals separately. Think of color-coded shelves like fabric rainbows. Your collection displays gorgeously.
13. Rolling Cart Supply Station
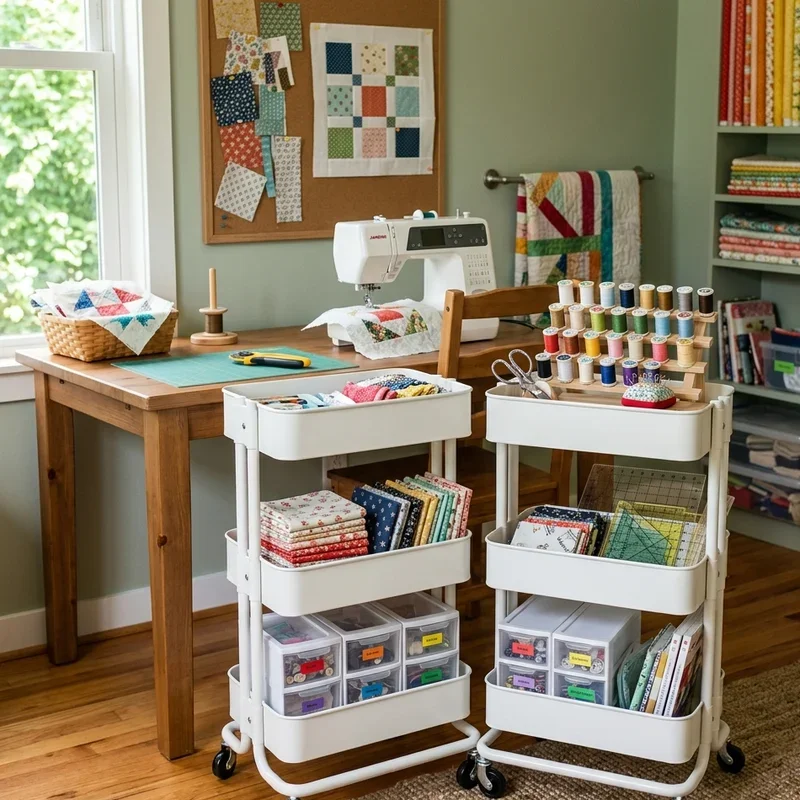
A rolling cart supply station positions your most-used quilting supplies on a mobile, multi-tier cart that travels between your cutting table, sewing machine, and ironing station depending on which workstation currently needs the pins, clips, scissors, and marking tools that every quilting phase requires through its specific, station-dependent tool demands changing as your project moves through the sequential cutting, sewing, pressing, and assembly stages that complete quilts progress through from first fabric selection through final binding stitch. Choose a slim, three-tier metal or wooden cart on locking casters, since the narrow profile navigates between workstations without blocking pathways while the multiple shelves separate supplies by category. Stock the top tier with current-project supplies. Keep general tools on lower shelves. Think of rolling carts like mobile tool chests for quilters. Your supplies travel with you.
14. Finished Quilt Display Wall
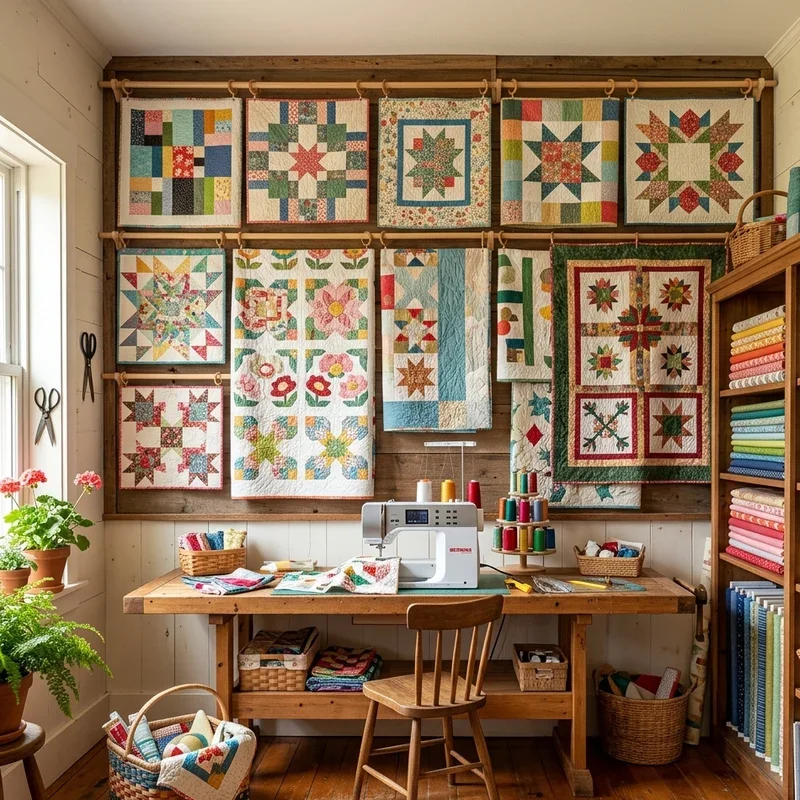
A finished quilt display wall showcases your completed projects across a dedicated hanging surface, where the visible collection celebrates your accomplishments, tracks your skill progression, and provides the motivational proof that finished quilts actually emerge from the seemingly endless, sometimes discouraging, frequently stalled work-in-progress pile that every quilter accumulates faster than they complete projects through the irresistible temptation of starting new, exciting designs before finishing the current, less-exciting, halfway-done project sitting neglected beside the sewing machine waiting patiently for attention that never arrives until guilt finally overcomes distraction. Mount a quilt hanging rod or display clips on one wall, since the dedicated display surface transforms finished projects from folded, closet-stored, invisible accomplishments into celebrated, publicly visible, pride-inspiring works of art. Rotate displayed quilts seasonally. Think of display walls like personal galleries. Your quilts earn the spotlight.
15. Music and Podcast Sound System
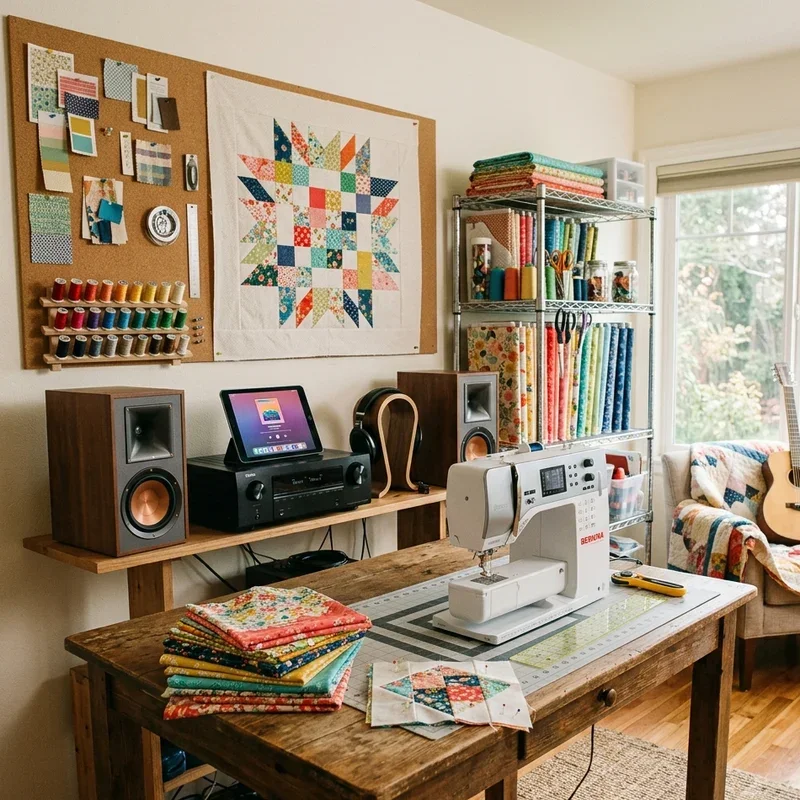
A music and podcast sound system fills your quilting room with background entertainment that transforms solitary sewing hours from silent, sometimes lonely repetitive-motion sessions into accompanied, mentally stimulated, time-flying creative experiences where your hands stitch while your mind engages with audiobooks, quilting podcasts, music playlists, or conversation-style content that makes the hours of cutting, piecing, and pressing pass genuinely enjoyably rather than monotonously through the silent, unaccompanied, clock-watching tedium that quiet, entertainment-free sewing rooms sometimes impose on quilters who work alone for extended afternoon or evening sessions. Install a small Bluetooth speaker, since the wireless format lets you control audio from your phone without leaving your sewing chair. Choose a speaker with good sound quality. Position it centrally. Create quilting-session playlists. Think of sound systems like creative companions keeping you company. Your sewing hours fly enjoyably.
Conclusion
Quilting room ideas prove that dedicated, well-organized creative spaces transform the quilting experience from frustrating, scattered, setup-and-teardown drudgery into genuinely inspiring, efficiently flowing, artistically productive sessions where every tool, fabric, and project element lives exactly where your hands expect finding it the moment creative energy strikes and you want to sew immediately rather than spending thirty minutes preparing a workspace that a properly designed room keeps permanently ready. These fifteen ideas span cutting tables to sound systems, matching every quilter's needs with genuine, functional design solutions. Start building your dream quilting room today.
Read next: 15 Unisex Room Ideas for Stylish and Gender-Neutral Spaces
Frequently Asked Questions
Q1: How much space does a quilting room need?
A: A ten-by-twelve-foot room comfortably fits a cutting table, sewing station, and organized fabric storage together.
Q2: What's the most important feature in a quilting room?
A: A large cutting table at proper height delivers the biggest immediate improvement to quilting workflow and accuracy.
Q3: How should I organize my fabric stash?
A: Fold uniformly, arrange by color on open shelving, and separate by fabric type for easy visual browsing.
Q4: What lighting works best for quilting rooms?
A: Daylight-balanced LED bulbs combined with natural window light provide the most accurate color rendering for fabric.
Q5: Can I create a quilting space in a small room?
A: Yes, fold-down tables, wall-mounted storage, and rolling carts maximize quilting function within compact room dimensions.
Stay up to date with our latest ideas!