How to Prepare a Home for Real Estate Photography
Learn how to prepare your home for real estate photography with practical tips for decluttering, cleaning, lighting, staging, and creating better listing photos.
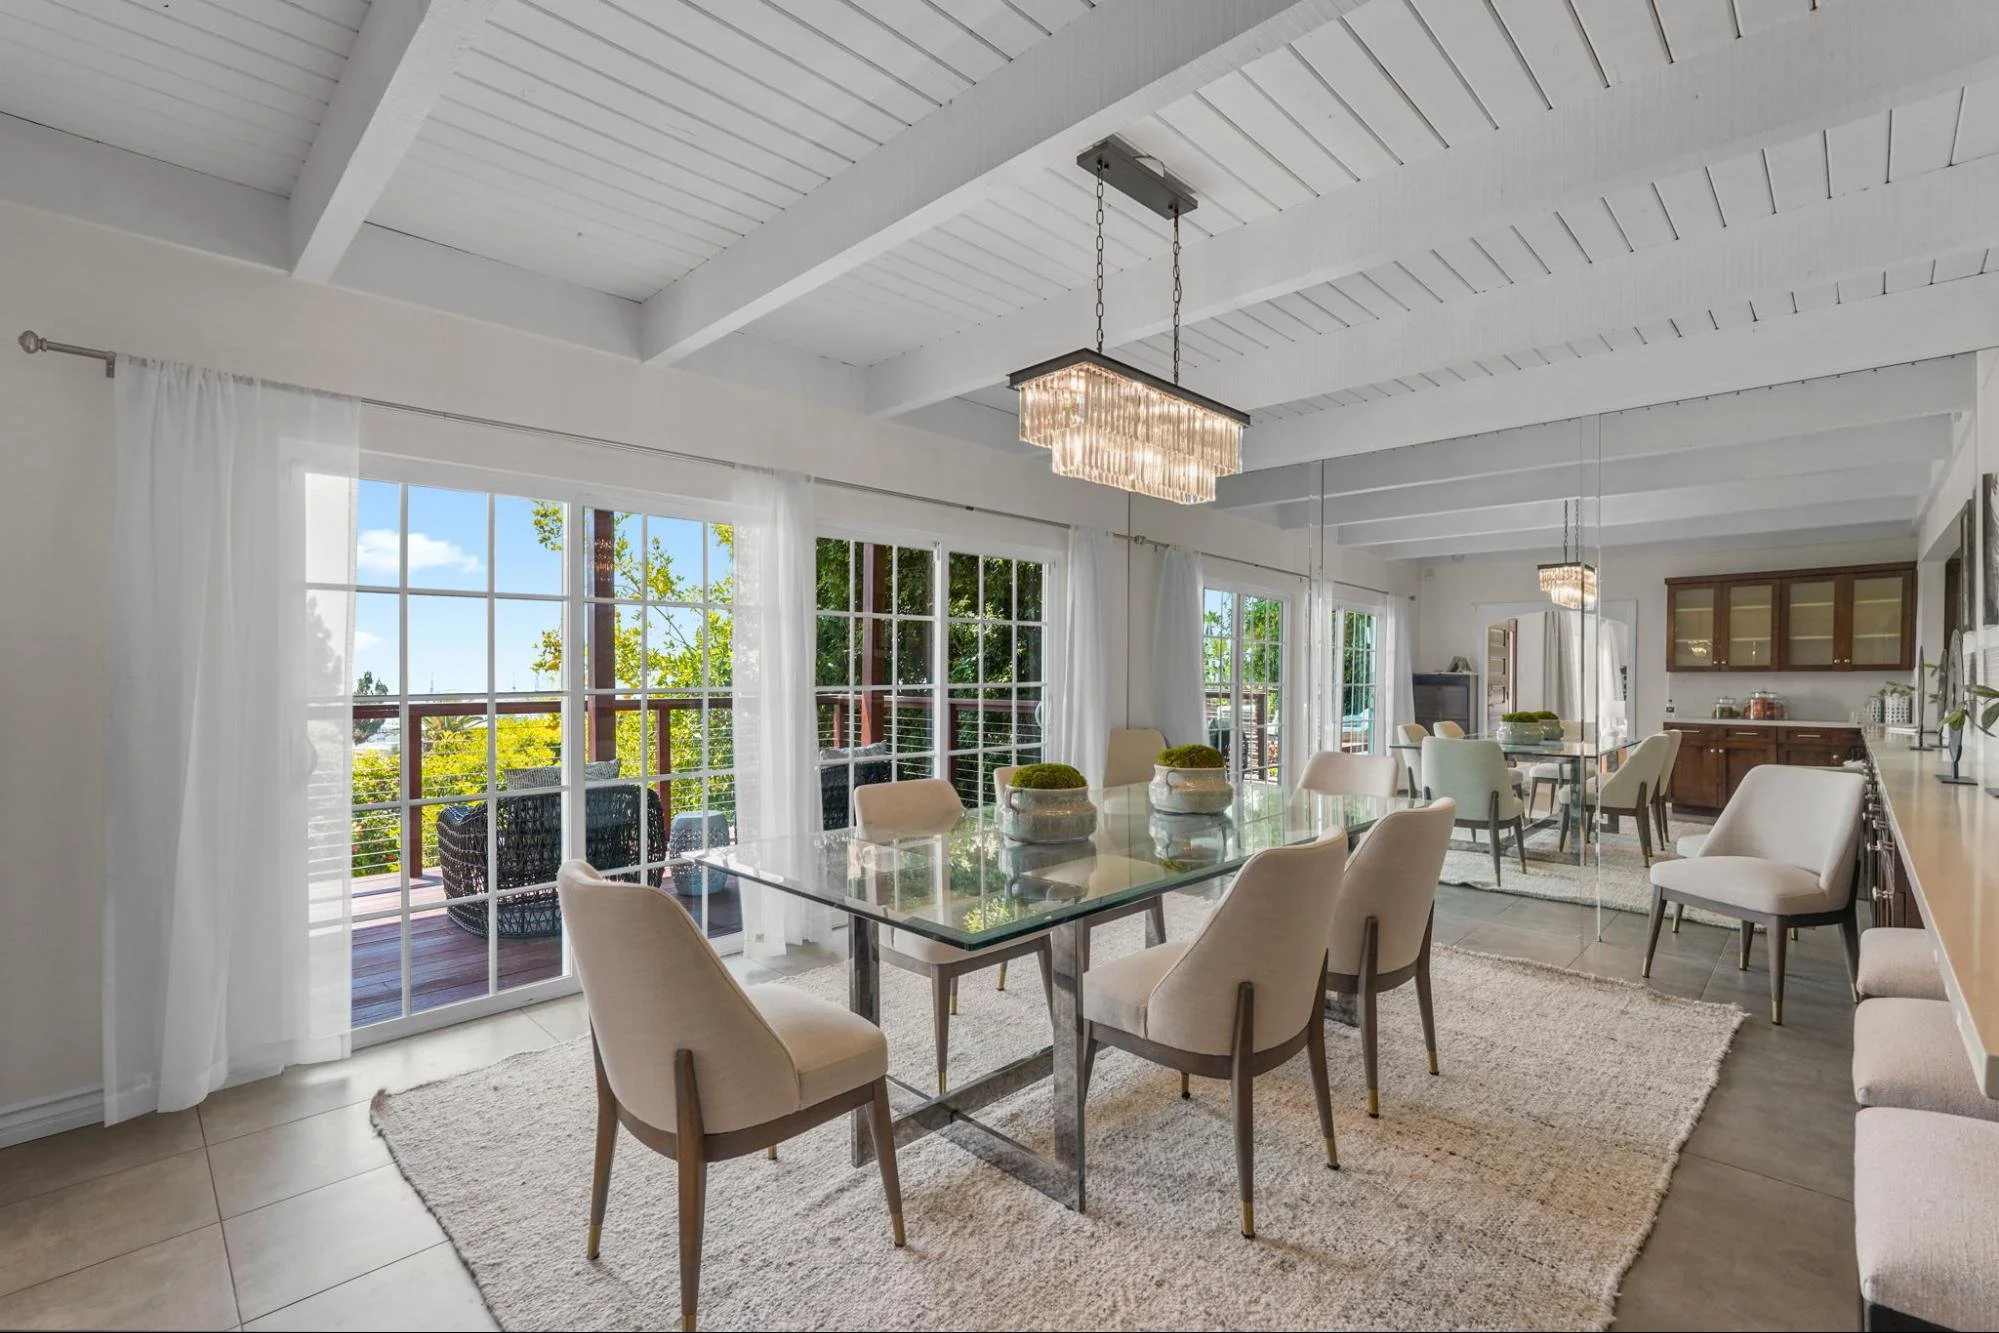
When getting a house ready for photographs by a real estate photographer, you should first fix any obvious faults, clean any reflective surfaces, get rid of visual clutter and simplify the way the furniture is arranged. The aim is not to make the property seem empty. It is to achieve a certain degree of order so that buyers can understand the rooms, notice the home's most attractive features and be able to picture themselves living there.
Rooms which seem entirely comfortable when seen in person may look uneasy when viewed through a camera, since photography reduces a three-dimensional space to a two-dimensional frame, which makes crooked chairs, tangled cords, clutter on the countertops and inconsistent lighting stand out much more.
As stated by House of Pix, a professional real estate photography studio based in Los Angeles, the best results are achieved when preparation takes into account the whole visual sequence rather than viewing each room as a separate space.
As the House of Pix team puts it, "the camera is able to see through doorways, across open floor plans and into reflections"; simply preparing the room being photographed is not sufficient if clutter is still visible in the room behind it.
Why Preparation Matters
As shown in the National Association of Realtors’ 2025 Profile of Home Staging, 83 per cent of buyers’ agents stated that staging helped buyers to visualize the property as their future home, and the living room was seen as the most important room to stage, after which came the primary bedroom and the kitchen.
The effect of that preparation is increased by photography since listing photographs are usually the first continuous interaction a buyer has with the property.
You can't be sure of a specific sale price or how long the property will remain on the market as a result of preparation. On the other hand, it can make the house easier to understand and keep people's focus on the property rather than on the unfinished chores.
Having a property that is ready also enables the photographer to spend more time during the appointment considering composition, light and the relationships between spaces rather than waiting for the rooms to be cleared.
What the Camera Notices
When someone goes into a room, their eyes move about, adjust to the changing light and ignore minor imperfections. A photograph doesn't.
The camera shows alignment particularly clearly. In a room that is otherwise well organised, even small deviations in the position of furniture, rugs, lamps and artwork can make it seem disturbed.
It also highlights the effect of interruptions over large areas; although a few appliances placed across a kitchen counter might not seem excessive when seen in person, they disrupt the clean lines which contribute to the kitchen looking spacious in a photograph.
Another problem is caused by mixed lighting. The blue daylight which enters through a window can counter the orange or green electric lights inside, causing the walls and finishes to look inconsistent.
Reflections also become more noticeable. Mirrors, the glass doors leading into the shower, shiny kitchen appliances and the screens of televisions can show clutter, cables or objects which are outside the immediate frame of the photographer.
It is suggested by House of Pix that each room should be inspected from the doorway and from the corners before the photographer comes. Since these are typical camera positions, they often show distractions which cannot be seen when looking at the room from the centre.
Start With Repairs and Cleaning
Repairs must be carried out before any styling is done; faulty light bulbs should be replaced, loose light fittings secured and any maintenance that is obviously incomplete attended to before decorative items are added.
Small defects can turn into focal points when a photograph of the room has been taken.
It is particularly important to deep-clean glass, mirrors, polished stone, stainless steel and dark cabinet doors since these surfaces show fingerprints, dust and streaks when illuminated with directional light.
It is advisable to clean the floors after the furniture has been put in place in order to get rid of any marks left by moving the items, and the windows should be cleaned as well if either the view or the available daylight is important.
A decorative item cannot make up for a crowded countertop, for wrinkled bedding or for a visible maintenance issue.
Preparing the Exterior and Entry
Since exterior issues take longer to fix, work should start outside.
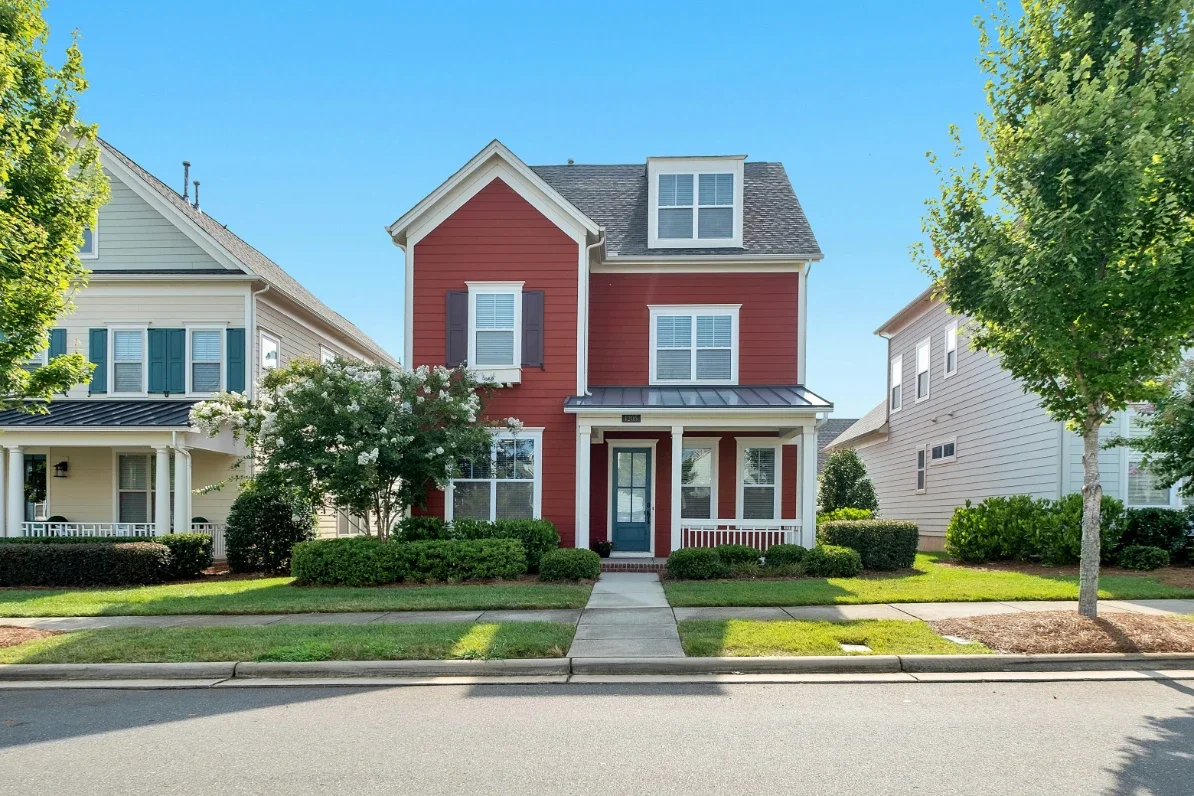
The vehicles should be taken away from the façade and the bins, hoses, tools, delivery packages and temporary signs should all be removed. The paths should be swept and the dead leaves should be cleared from the planting areas.
Landscaping should seem well kept without appearing artificially perfect, and any plants which obstruct the windows, the architectural details or the way to the front door should be trimmed.
All the lighting fixtures associated with the exterior, landscape, pool or fountain should be checked before the appointment. The timers and smart controls must be accessible so that the photographer won't lose the best light when looking for the switches.
The entry should appear to be deliberately designed yet kept simple; a clean doormat together with one or two planters are generally more effective than having a number of decorative items all vying for attention.
Preparing the Living Room
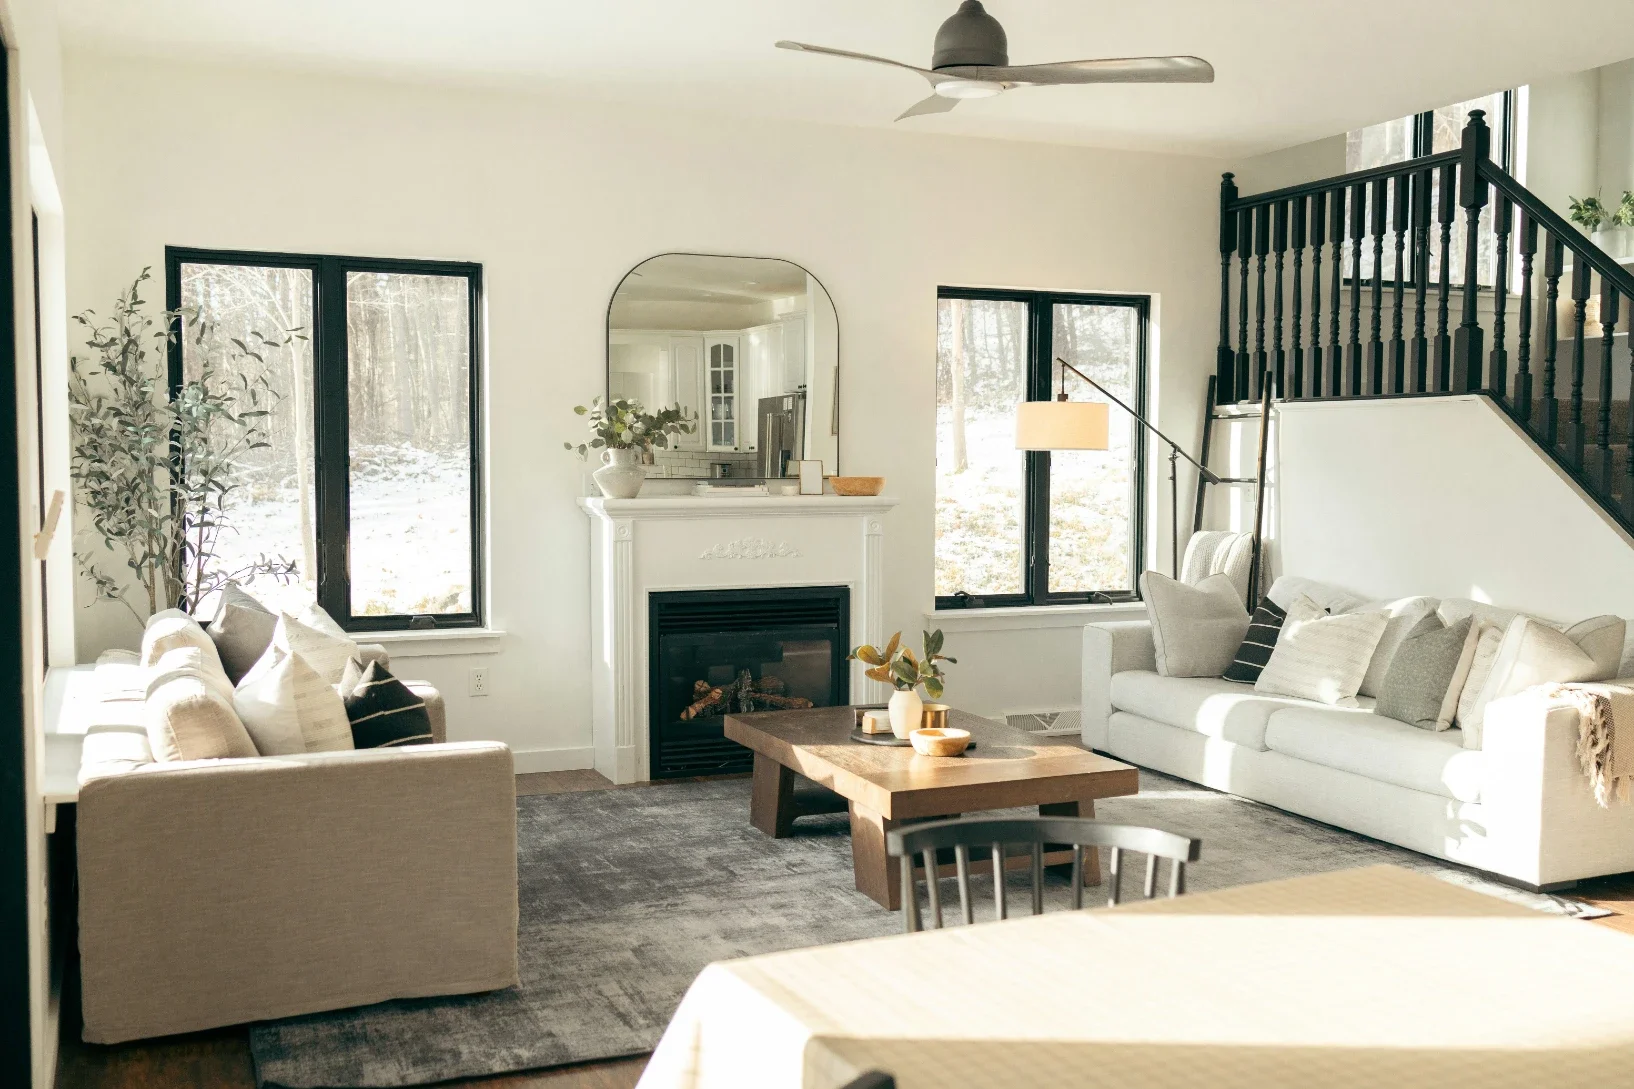
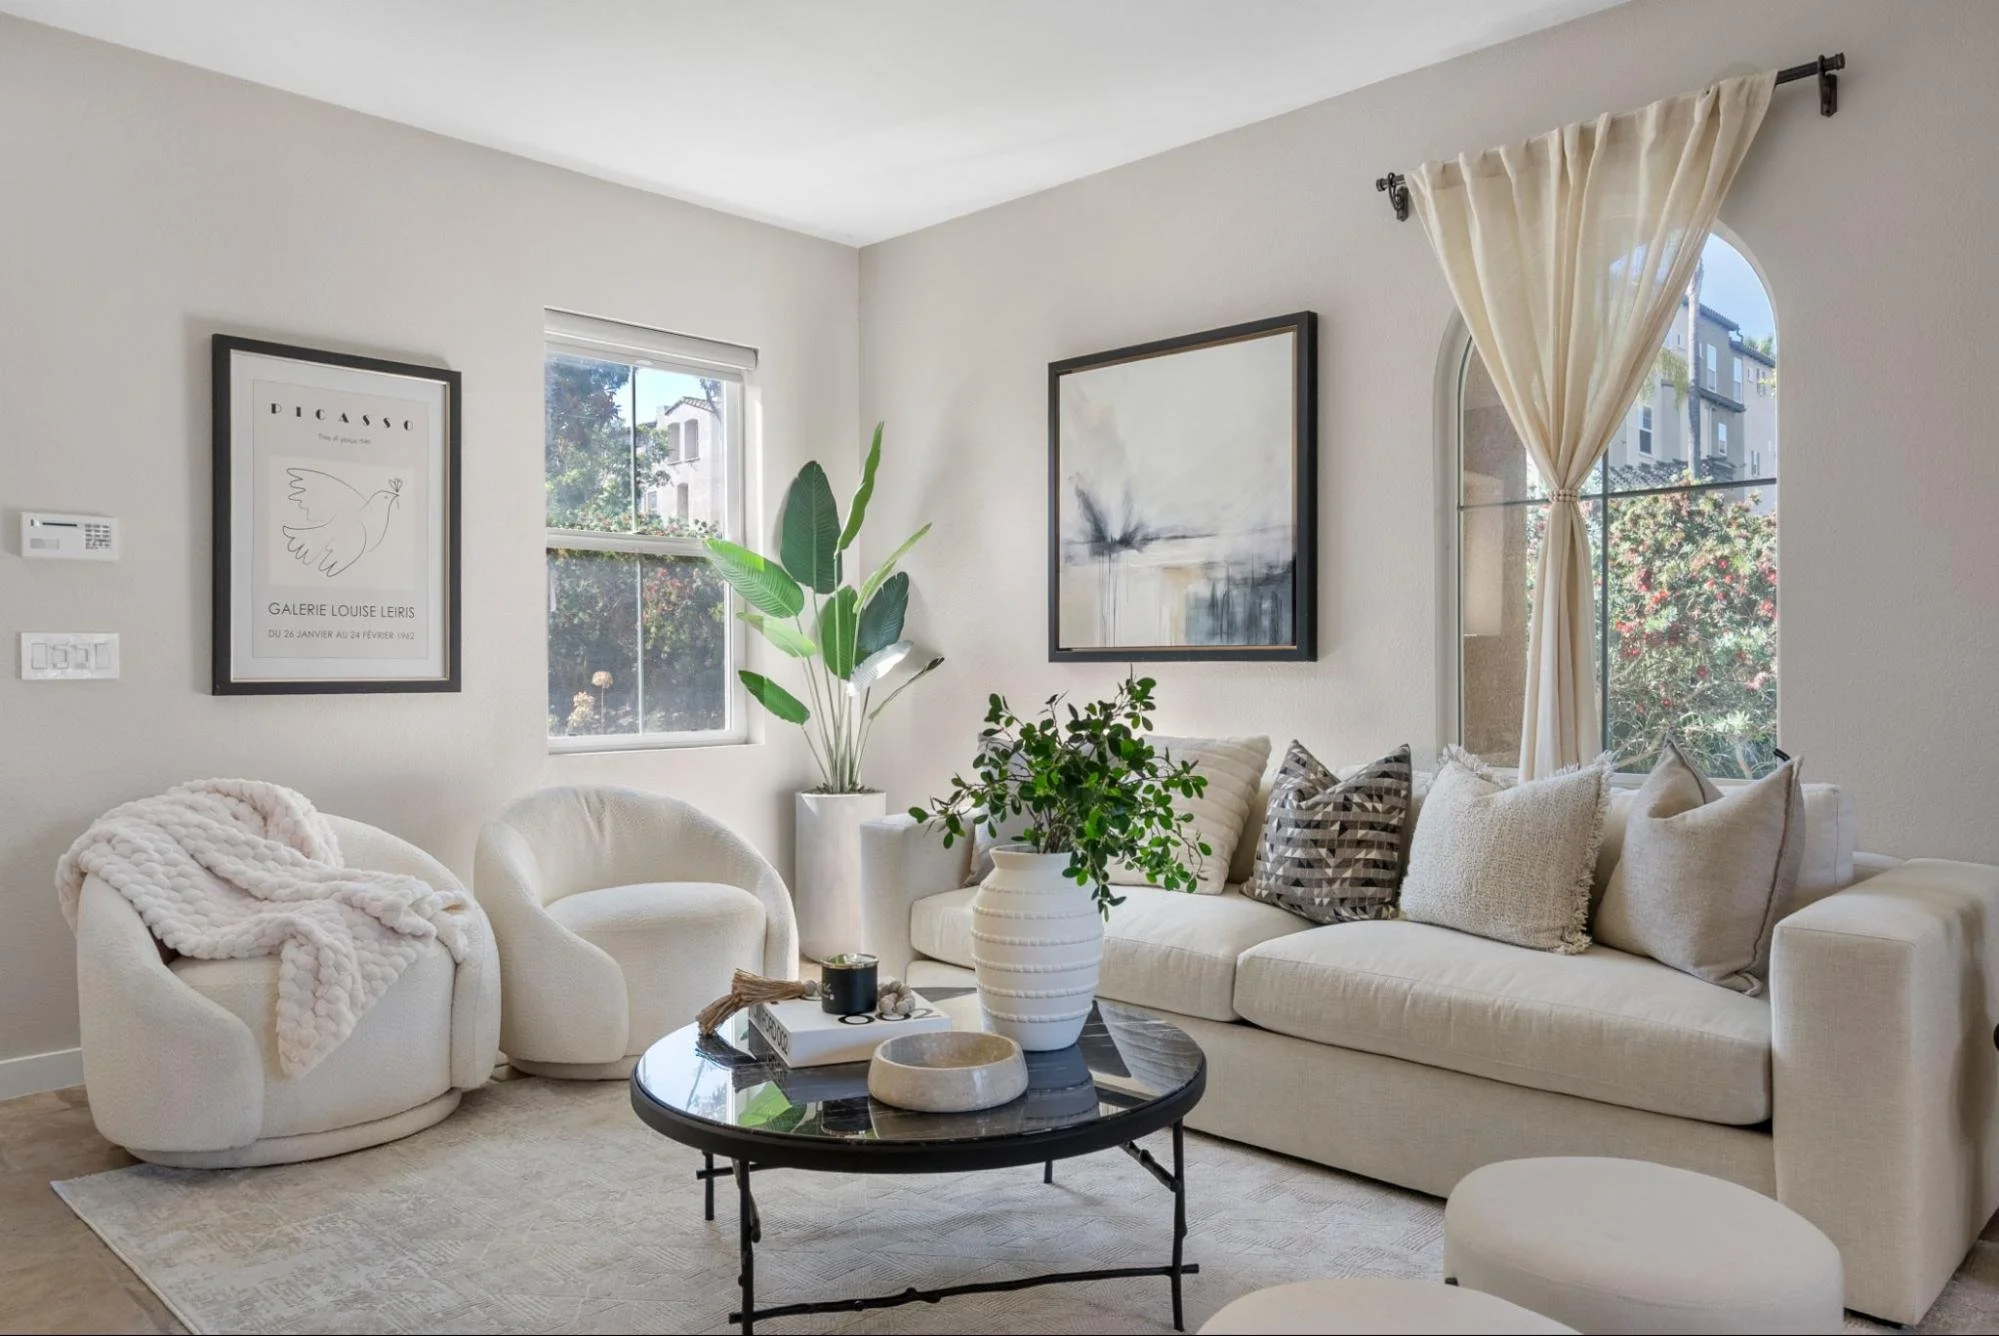
It is the living room that has most of the responsibility for the appearance since it shows the size of the house, the way through it and its decorative character.
Furniture which obstructs doorways, windows or the view between areas should be taken away or moved. It doesn't mean that every item should be pushed up against the walls. The layout must still show how the room is meant to function.
Rugs should be aligned with the room, and chairs and lamps should appear balanced when viewed from various angles.
Remote controls, charging cables, pet beds and very personal photographs must be taken away. Only a little decoration can stay, but this decoration should compliment the room and not make it the focal point.
A single book, bowl or plant is enough to create a sense of warmth and scale. When a number of small objects are squeezed into a single photograph they can turn into visual noise.
Preparing the Kitchen
The kitchen usually gets more from subtraction than from decoration.
Unless they are an integral part of the design, all everyday appliances should be removed. Things such as dish soap, drying racks, paper towels, sponges, towels, refrigerator magnets and pet bowls should be taken away.
When the counters are opened, a single restrained styling feature can be included. For example, a bowl of fruit, a cutting board or a small arrangement can add a sense of warmth without covering up the useful surface area.
Cabinet doors and drawers must be checked carefully, since a single door that is partly open becomes quite noticeable when this happens repeatedly along a long row of cabinetry.
Stone, stainless steel, glass and the polished fittings should be cleaned right away before the shooting. Light directed onto the surfaces makes fingerprints and streaks more noticeable than they do under ordinary kitchen lighting.
Preparing the Dining Room
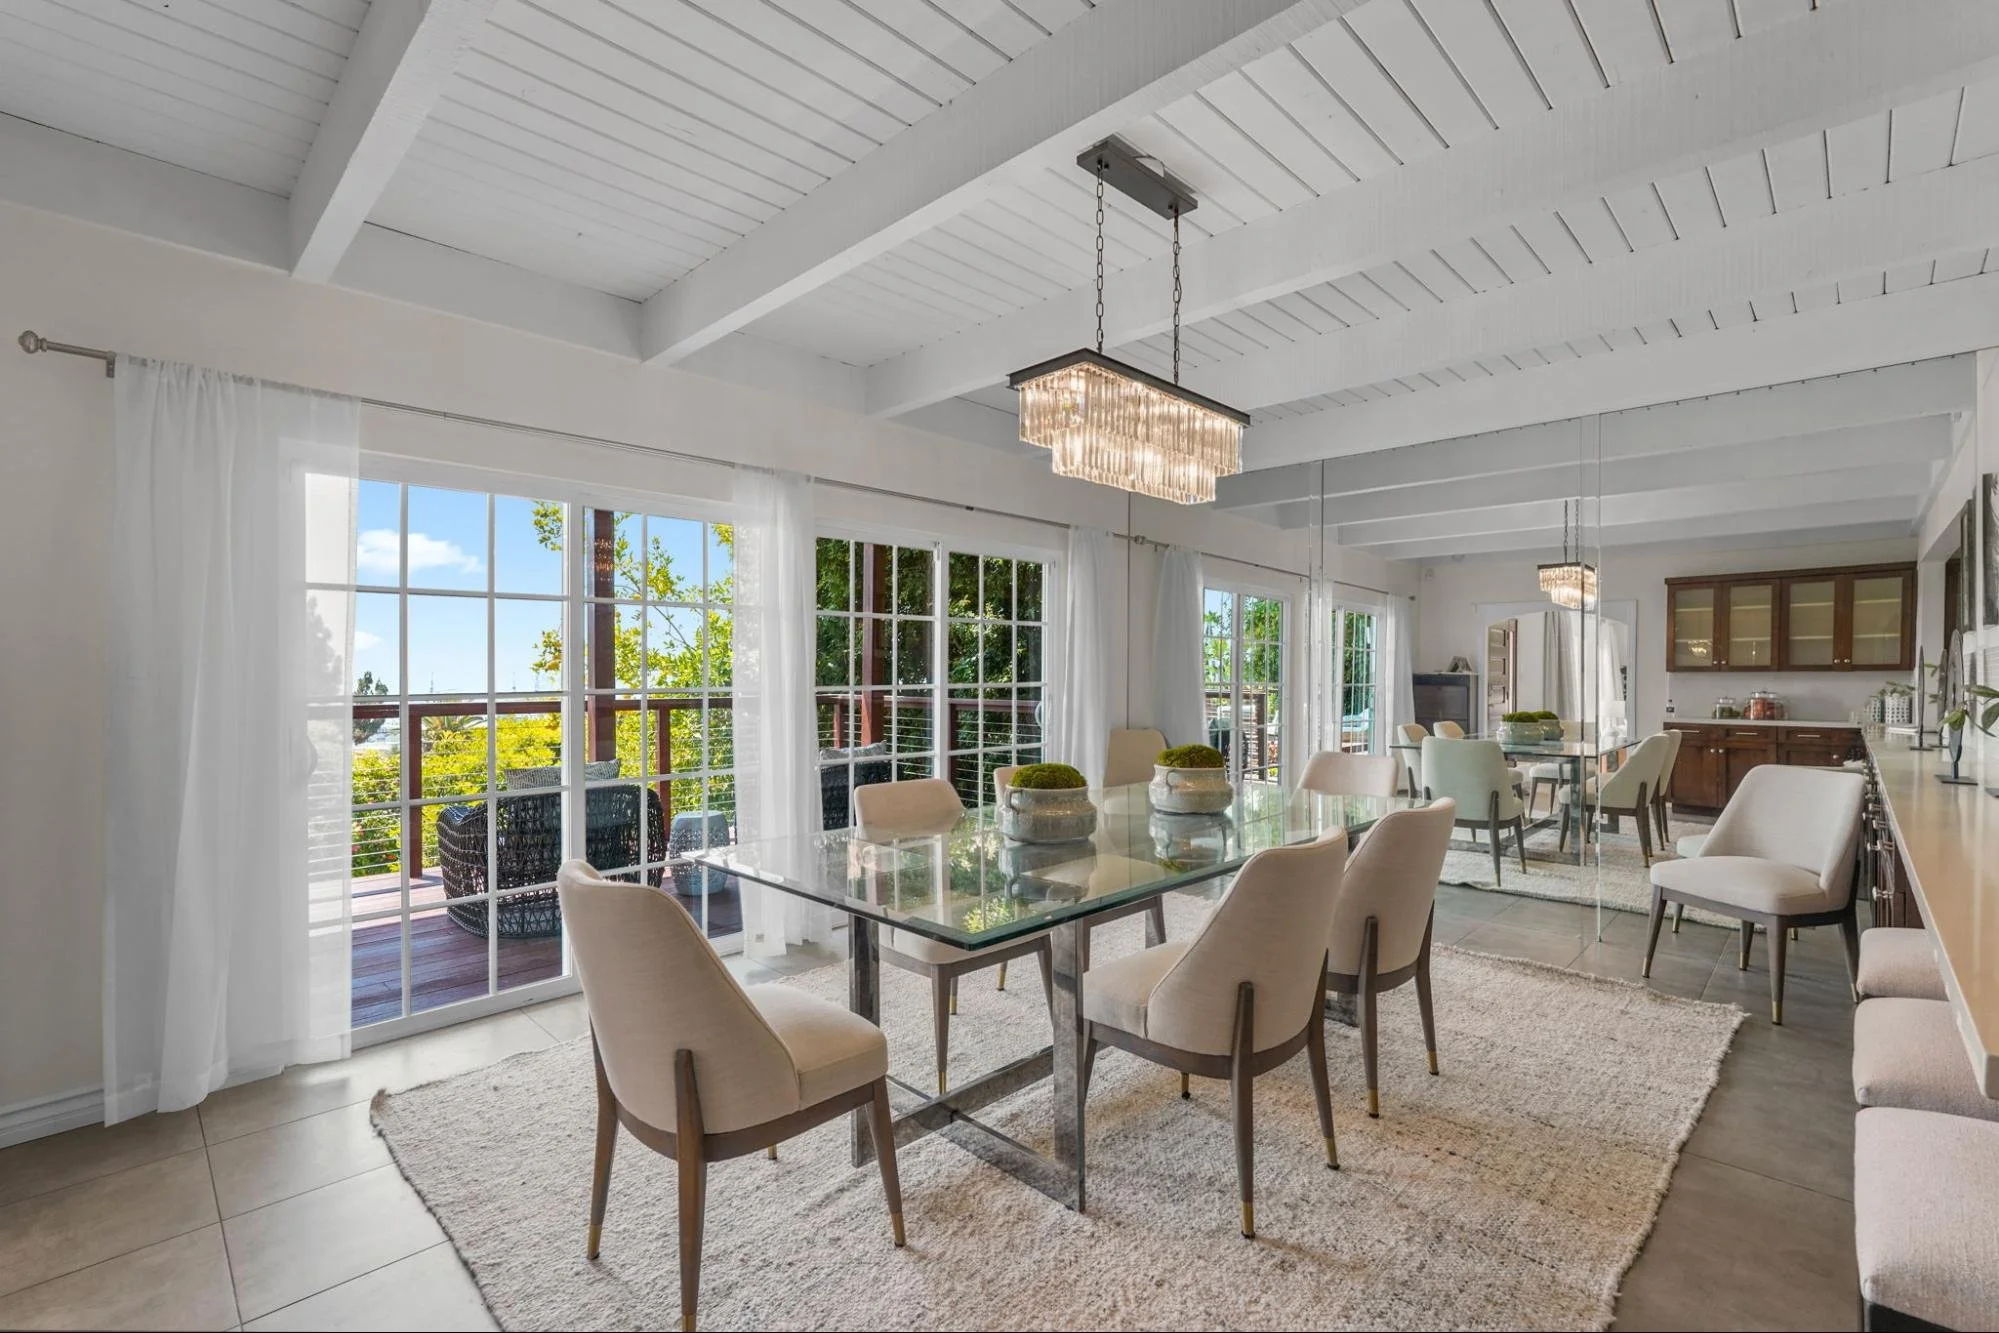
The dining table should be in the middle and the chairs should be placed at equal distances. If the extra chairs cause the flow of people to seem cramped, they can be taken away.
A simple centrepiece can be used to give an idea of the room's size, but if the floral arrangement is too large it might obstruct the view across the room. The arrangement must be low enough so that the table and the surrounding architecture can be seen clearly.
When the dining area is connected to either the kitchen or the living room, all three areas should be checked together. Clutter in one room can still be seen in photographs taken from another room.
As House of Pix points out, this is among the most often neglected aspects of preparation; the rooms might have each been cleaned separately without anyone taking into account the overall view.
Preparing the Primary Bedroom
The bedroom main room should have a calm atmosphere instead of being extensively decorated.
The bedding should be smoothed or steamed, the visible corners of the mattress should be hidden and both sides of the bed should be balanced in appearance. It is not necessary for the nightstands to be identical but they should have a similar visual weight.
It is necessary to remove the charging cables, the tissues, the medications, the laundry and other very personal items. If any part of it is visible, the floor under the bed should be cleared.
Using too many pillows can make the bed look less deep and can make the room seem smaller.
When the bedroom has direct access to a balcony, garden or scenic view, that view should not be blocked. The link with the outside area may in fact be more important than the decorative items in the room.
Preparing Bathrooms
Bathrooms need to be thoroughly cleared out since they have a lot of small items and reflective surfaces.
The toiletries, toothbrushes, bath items, scales, toilet brushes and cleaning supplies should be taken out. The toilet lids must be closed and the freestanding bins removed. The used towels should be replaced by clean, coordinated towels.
Mirrors, the glass used in showers, the taps and the polished tiles must be cleaned carefully and the room then checked from a number of angles since mirrors can show clutter in the hallway or in another room.
Photos of small bathrooms generally come out better when more of the floor is visible and you can achieve greater clarity by getting rid of an unnecessary basket, stool or storage unit rather than by adding some decoration.
Preparing Offices and Secondary Bedrooms
Each room should convey a single definite purpose.
It is hard to understand from a single photograph a room which includes exercise equipment, storage boxes and also serves as a temporary office. The function which is most relevant to the advertisement should be stated, and those objects which go against this function should be excluded.
Office desks ought to be simplified and the visible cables sorted out. Computer monitors should be switched off unless the screen is part of a deliberate arrangement. Documents with personal or business information must be stored securely.
It's possible for children's rooms to stay warm and have their individual character while at the same time being well organised. The aim isn't to get rid of personality but to stop personal items from hiding the room's size, condition and function.
Preparing Outdoor Living Areas
Outdoor areas should be in a state ready for use.
The seating should be arranged in a conversational manner and the cushions pulled straight. The tables, the barbecue areas, the pools and the glass railings should all be cleaned, and the pool equipment, the covers, the toys, the tools and the maintenance supplies should be taken away.
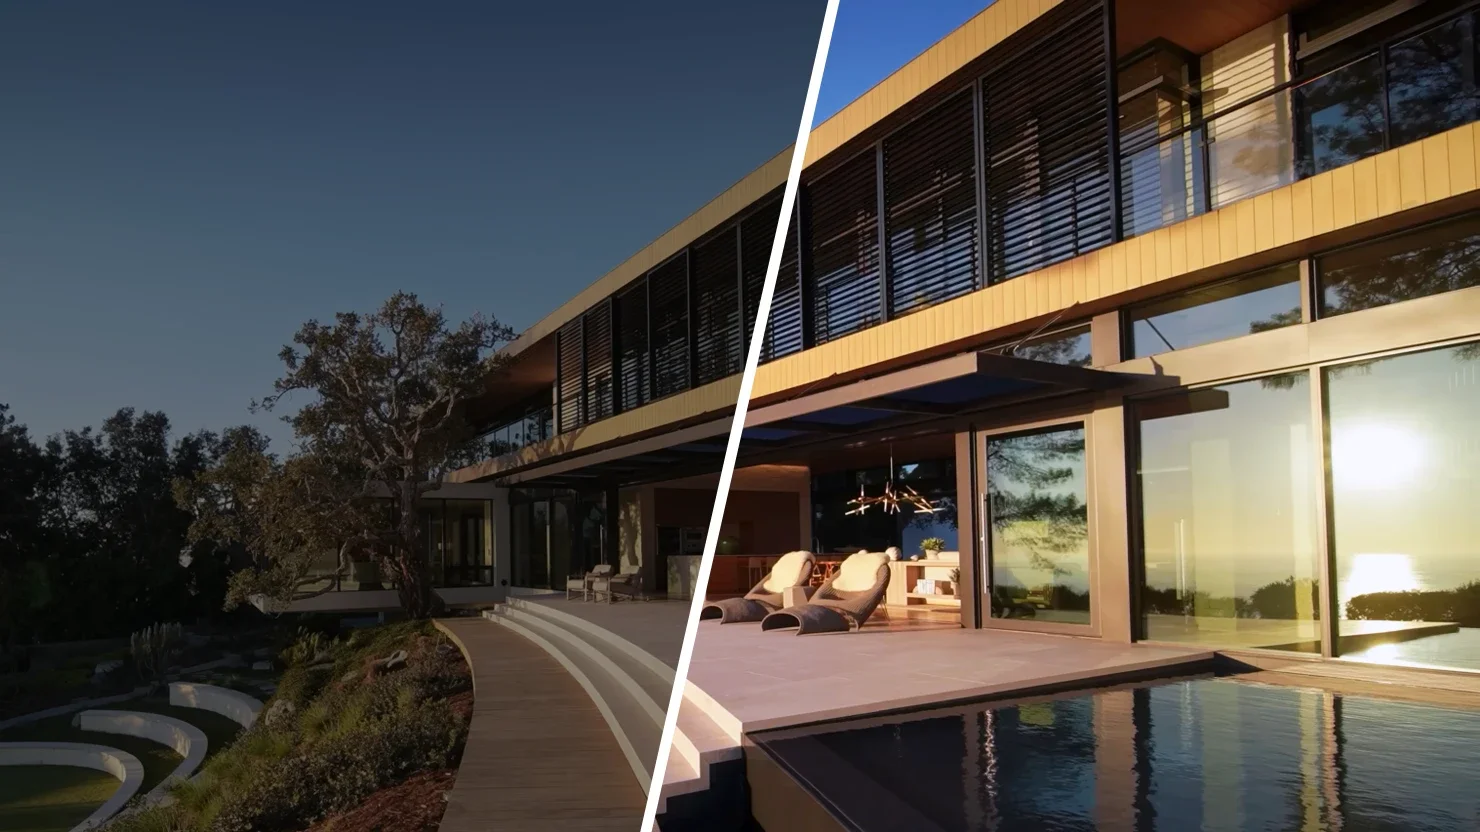
The fountains, the fire effects and the pool lighting should all be checked before the photographer comes. The most intense exterior lighting will only stay on for a short period, especially around sunset.
The operational problems must be dealt with first so that the photographer can focus on the changing light.
Should every light be turned on?
The fact that all the lights are switched on does not necessarily lead to an improved photograph.
In a room different types of bulbs can cause orange, green and blue tints to appear. If these colours are seen against daylight then the walls and finishes may look inconsistent.
Bulbs that have failed should be replaced and the fixtures in the same room should use color temperatures that are compatible. The blinds should be opened regularly and the ceiling fans should have their switches turned off so that their blades stay still.
After the lighting has been tested, the photographer will be able to decide which combination of natural and interior light most accurately represents the room.
What alterations can be made during the editing process?
Professional editing is able to adjust exposure, white balance, perspective, ordinary lens distortion and the difference between interior and exterior brightness.
Editing should not be taken in place of preparation since it is unable to naturally remedy dirty surfaces, deeply wrinkled bedding, crowded rooms or furniture which obstructs circulation.
It must also never be used to misrepresent the condition of permanent property. Removing an adjacent building, altering the finishes, replacing the view or digitally redesigning a room goes beyond the scope of ordinary photographic correction.
According to House of Pix, the most effective editing starts with a property that has been properly prepared; its aim is to improve the photograph, not to reconstruct the house.
Pasadena Mid-Century Home: A Preparation Case Study
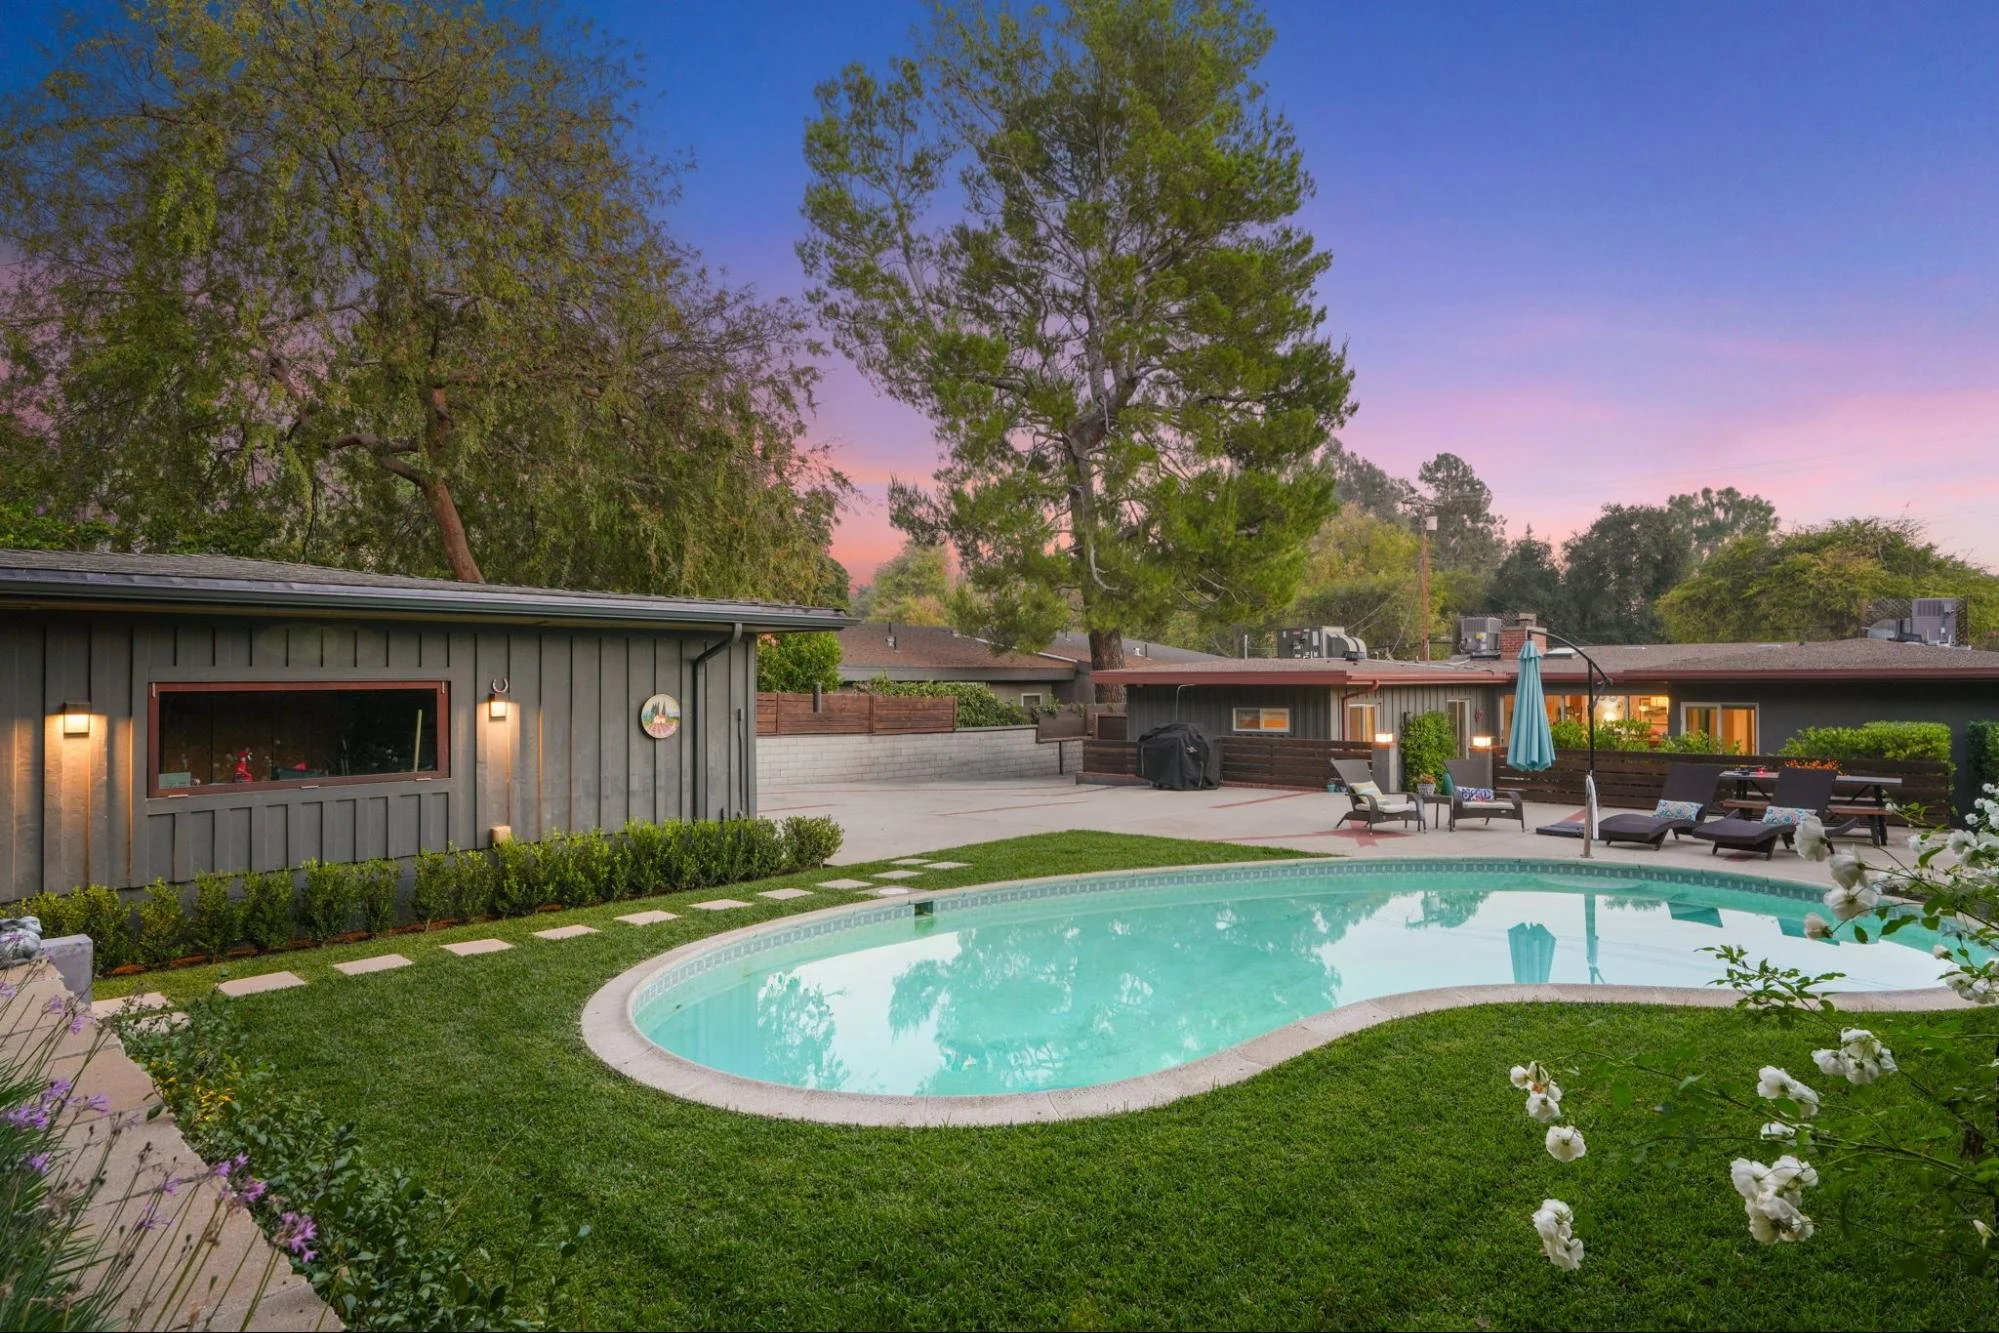
A House of Pix project with a 1947 mid-century home in Pasadena shows why connected rooms need to be set up as a single visual flow.
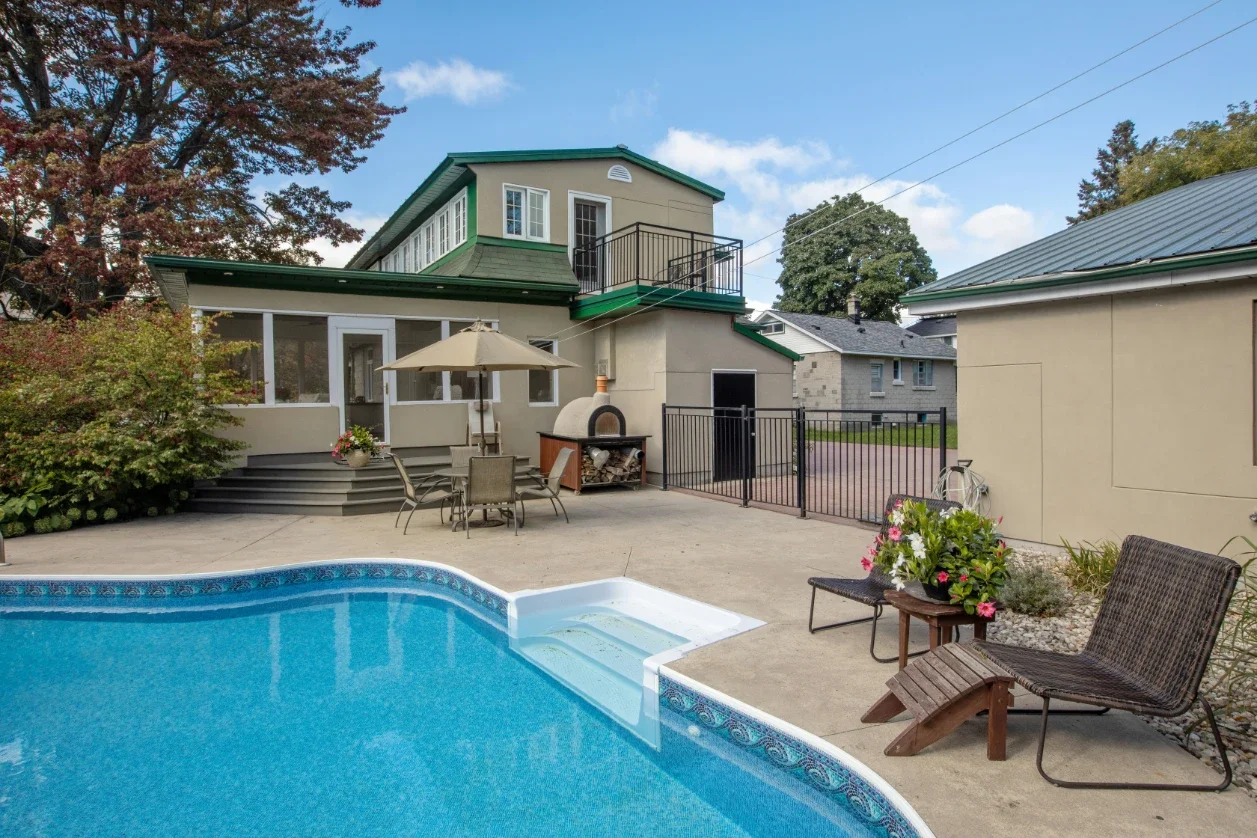
The property consists of the main house, a pool, landscaped outdoor areas and a separate studio. The difficulty posed by the photographic task was not merely in making each area look attractive; it was in showing how the interior, the pool, the landscape and the studio related to one another.
The connected areas had to be prepared as a unified whole. When considering the outdoor furniture, the pool features, the interior lighting and the passage from the house to the garden, all of these had to be treated as forming one single composition.
The timing was just as important since the daytime photographs showed the architecture and the site, while those taken at twilight showed the relationship between the illuminated interior, the pool and the landscape.
The Pasadena mid-century modern photography case study shows the need for preparation to go beyond just individual rooms; if the house and landscape are designed as a single composition, then they also have to be prepared and photographed in that same way.
The Final Inspection
The property should have a last inspection carried out about 30 minutes prior to the photographer's arrival.
The vehicles and bins should be moved, the hoses and tools hidden, the entrance swept and the gates opened. The televisions, monitors and ceiling fans should be switched off and the blinds should be opened all the time with the charging cables taken out.
The rugs, chairs and stools need to be straightened, the cabinets, drawers and toilet lids should be closed and the toiletries, cleaning products and used towels must be taken away.
Mirrors must be checked for any clutter that they reflect, and all rooms, gates and outbuildings should be accessible. The photographer should be given instructions regarding parking, the lockbox and the gate beforehand.
The controls for the external lighting, the pools, the fountains and the fire features should be labelled, and the pets should be kept in a place where they don't interfere with the photographic route.
How Empty Should the House Be?
A home that is ready to be photographed doesn't have to appear empty or impersonal; what it needs is a clear visual hierarchy.
Large areas should stay mostly unobstructed, the way in which people circulate should be clear, and the decoration should enhance rather than hide the architectural features.
Counters need not be entirely bare and it is not necessary for the rooms to lose all signs of their individual character. All that is required is to get rid of the items which compete with the property's most prominent features.
The effort put into preparing a house for real estate photography is not about producing an artificial appearance of the property; it is about aiding the camera in clearly showing the home.
Finish off what has not yet been completed, clean the surfaces that reflect light, take away any items that disrupt the room and keep the features that contribute to the property's character. Afterwards, look at the house from the spots where it will actually be photographed.
When the work involved in preparing the property and the photography complement one another, the end results appear well put together without seeming false. Buyers are able to understand both what is in the house and also how it might feel to live in it.
Stay up to date with our latest ideas!