How to Create a Backlit Statement Wall in Your Home Office or Media Room
Learn how to create a backlit statement wall in your home office or media room with smart lighting, materials, layout, and installation tips.
The wall typically with a clear purpose is the best wall for a back lit feature. If the home office is in the house, it may be the back of the desk. It can be a wall behind the TV or media unit in a media room. Prior to selecting the exact location, take measurements of the wall and record doors, windows, vents, shelves, sockets, and cable paths. These details have an impact on the size and depth of the panels that are available.
Take a look at the wall from the main vantage point as well. From the sofa you might think that there's a balance, but when viewed through the door, it could be too much. Do not remove access to the power and LED controls. If extra electrical wiring is needed, this should only be done by a licensed electrician and to local electrical code.
Pick a Wall Finish That Works With Backlight
The surface you place in front of the LEDs controls how the light appears. Some materials allow light to pass through, while others mainly show light around their edges or gaps. That difference should guide the design from the start.
Fabric graphics are useful when you want a smooth surface with a printed image, color, or pattern. A framed fabric system can also create a clean edge around the illuminated area. A seg lightbox frame uses a fabric graphic held within a frame, with LEDs placed behind the graphic to create an even glow. This approach can work well when you want a large image or plain color without visible light strips.
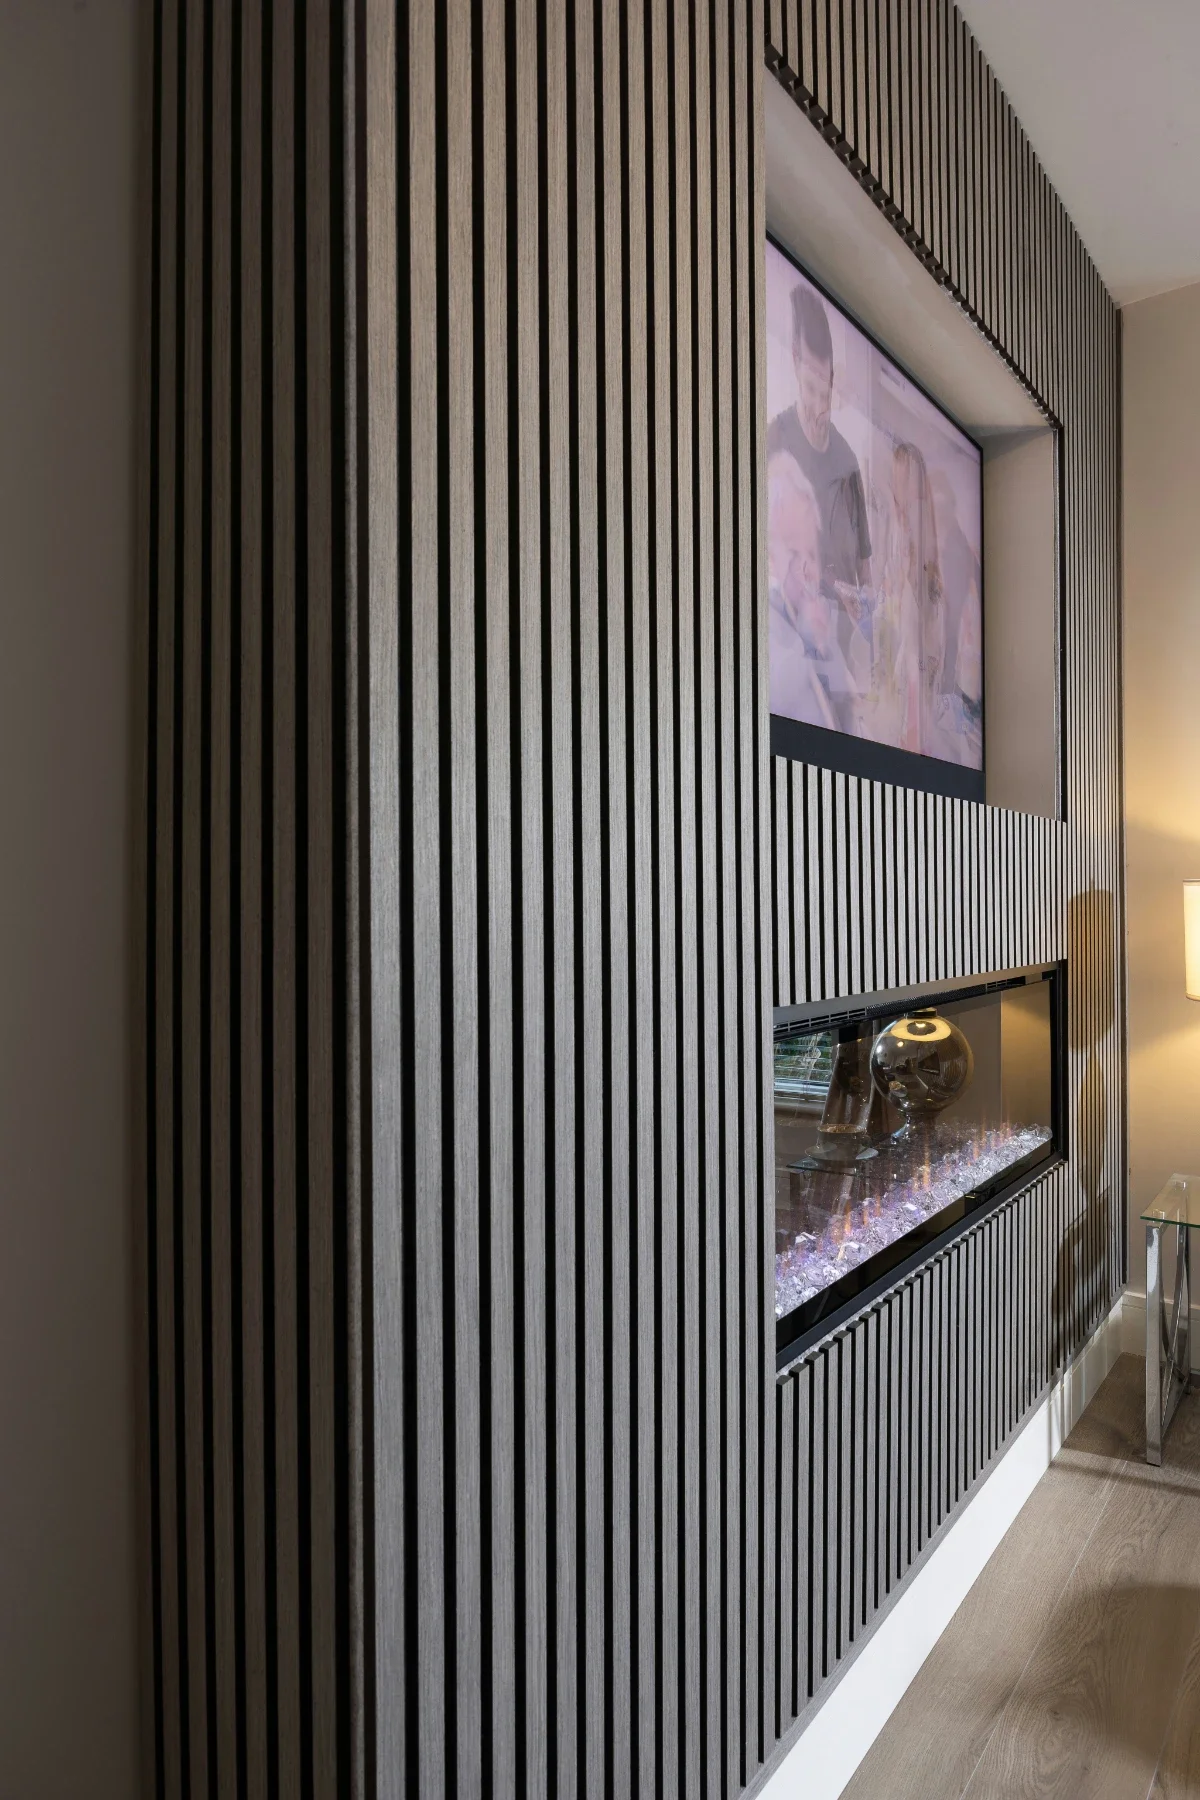
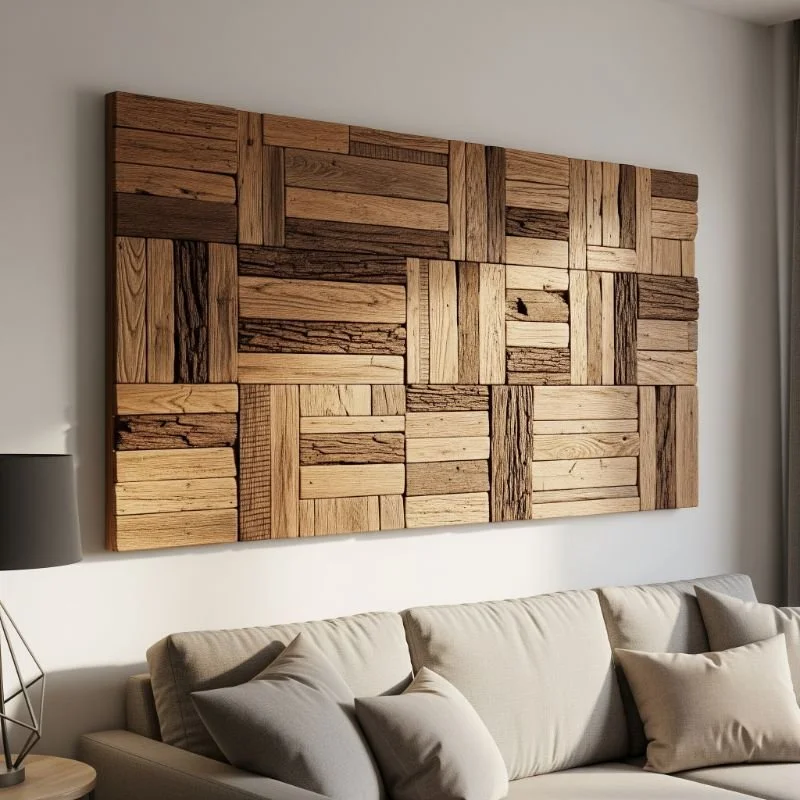
Wood slats create a different effect. LEDs placed behind the slats can produce lines of light through the gaps, while the wood adds texture. For a media room, wood or wood-look panels can also give the wall a warm finish.
Before fitting the final material, test a sample with the selected LEDs. Check the surface in daylight and at night. A finish that looks excellent without light may look uneven once illuminated.
Design the LED Backlight System
The first step to creating a good backlit wall is the light source, and not the decorative panel. LED strips are also popular as they can be placed behind panels or within a frame. There are many LED systems that have 12V or 24V power – it depends on the type of product. Avoid choosing a power supply by voltage.
Step 1: Determine the total load of the LEDs. If a strip consumes 10 watts per metre, and you have 5 metres, then the load is 50 watts. The power supply required for the system should be rated for the system, and the directions of the power supply should be followed to determine the size.
Spacing also matters. LED's can begin to 'show' through when placed too close to the surface. When light needs to be smoothed out, place them further away into the design or utilize a diffuser. To achieve an even light distribution, some backlit panel systems suggest a specific distance between the LEDs and the front surface.
A practical design should comprise of:
Check the voltage, power per metre, brightness and colour temperature.
Light distance: Use the spacing recommendations provided by the panel and LED manufacturer.
Power supply: Size for the total LED load.
Dimming: If having different work and play environments, add compatible dimming.
Cable access: Provide access to power and opportunity to contact the driver later.
Heat control: comply with the requirements of the LED manufacturer for ventilation and installation.
The frame for a seg lightbox is not visible, as the LEDs are installed within the frame. The frame depth and LED pattern of the LED must be identical to the manufacturer's system. Test entire frame before final wall installation. Note bright areas, dark corners, LED points that are clearly exposed, or shadows.
Lastly, try out the wall in the locations where you plan to utilize the room. The amount of task light in a home office room may be different from that in a media room. The back lighting should complement the primary lighting, not be used in place of it.
Build the Backlit Statement Wall
Adding a statement wall is a great way to create a room atmosphere without the need for bulkier furniture or intricate decoration and by adding a back light to the wall statement pieces can become the most interesting and eye-catching feature of a room. The secret is to design the light so it appears to be a part of the wall rather than a strip of LEDs behind a panel. Select a flat wall that is deep enough to accommodate the frame, lighting, and material (such as fabric or translucent) on the front. The framed fabric display is ideal since it provides a clean surface with light diffusion spread across the graphic.
Make sure you have a plan in mind for the electrical connection before you set anything in place, as well as where you would like the controls to be placed. Use LED lights that are intended for indoor architectural applications and a dimmable system. The U.S. Department of Energy states that LED products with a CRI of 80 or higher are recommended to be used in interior lighting; and a CRI of 90 or above offers greater colour fidelity.
Consider the use of the room when deciding on the colour of the light. Nearly 3000-3500K provides a nice warm, neutral white light; tunables allow flexibility of colour and brightness according to the type of work.
Measure wall prior to ordering the frame.
Don't do anything with access to power supply.
Wherever possible use dimmable LEDs.
Test the graphic and lighting prior to installation.
Design should be simple so that it is still attractive if the lights are turned off.
Adapt the Wall for a Home Office
You can't get enough of a great home office. The wall should maintain a reasonable level of clarity and shouldn't create glare on a screen or on video calls. Do not place the back-lit display directly across from a screen. This will help to minimize the chances of reflective light on the monitor.
To look professional, select a subtle graphic such as a company logo, architectural pattern, landscape, geometric shape or a texture of fabric in your color palette. If the wall will be seen in video calls, preview it using the webcam prior to installation. What looks well-balanced in person may look much lighter or darker in photographs.
Lighting control is very helpful in this case. According to the Department of Energy, colour-tunable LEDs can be used on a single installation to generate different light output and colour temperature. A cooler setting might be appropriate for a specific activity during the day, and a warmer lower setting can help to make the room more soothing in the evening.
Do not make the statement wall the lightest object visible in the field of view. It's not about strain but about controlling contrast. Ideally, add a separate task light for the desk to ensure a good level of light for working as well as the atmosphere the wall allows.
Adapt the Wall for a Media Room
There is a need for a new way with a media room. The backlit wall will add ambiance without distracting from the TV or projector screen here. Use it on a wall in front of primary viewing area or as a soft background behind seating.
Dimming is particularly crucial. A well-lit wall may distract from a movie, and a dim, cozy lighting can enhance the space without overshadowing the big screen. The Department of Energy classifies warm light as being in the range of 2700–3000K, and states that dim-to-warm LED systems are appropriate for areas where a casual mood is desired.
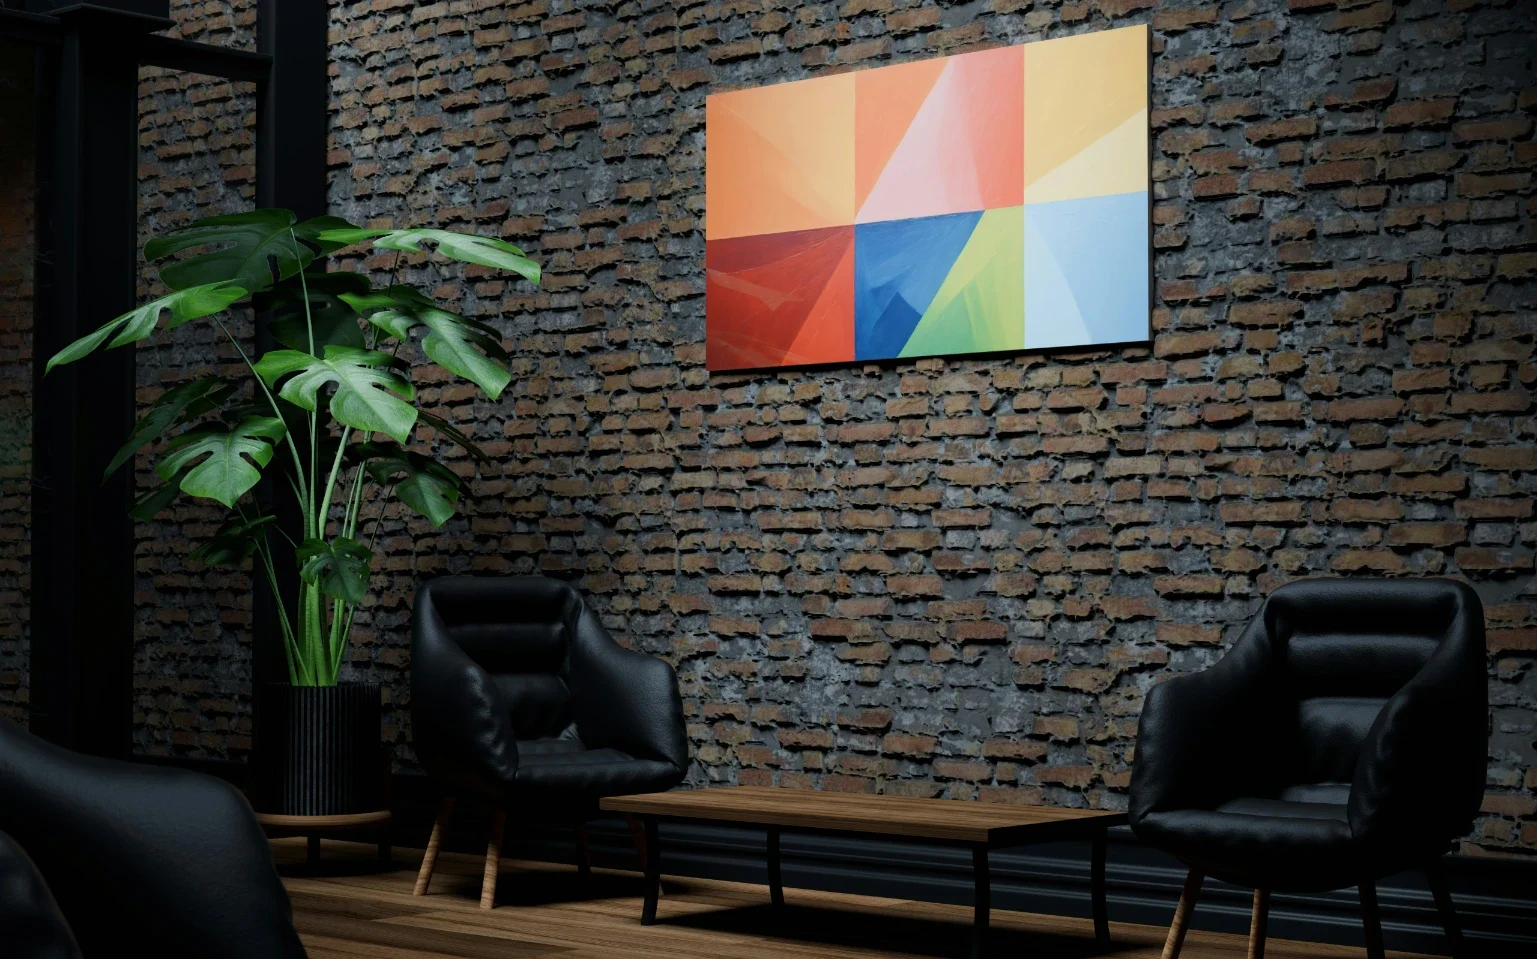
If you are using a media room, think of using a dark graphic, abstract art, or a subtle texture instead of intricate graphics. The best comes as a surprise when lights come on!
Stay up to date with our latest ideas!