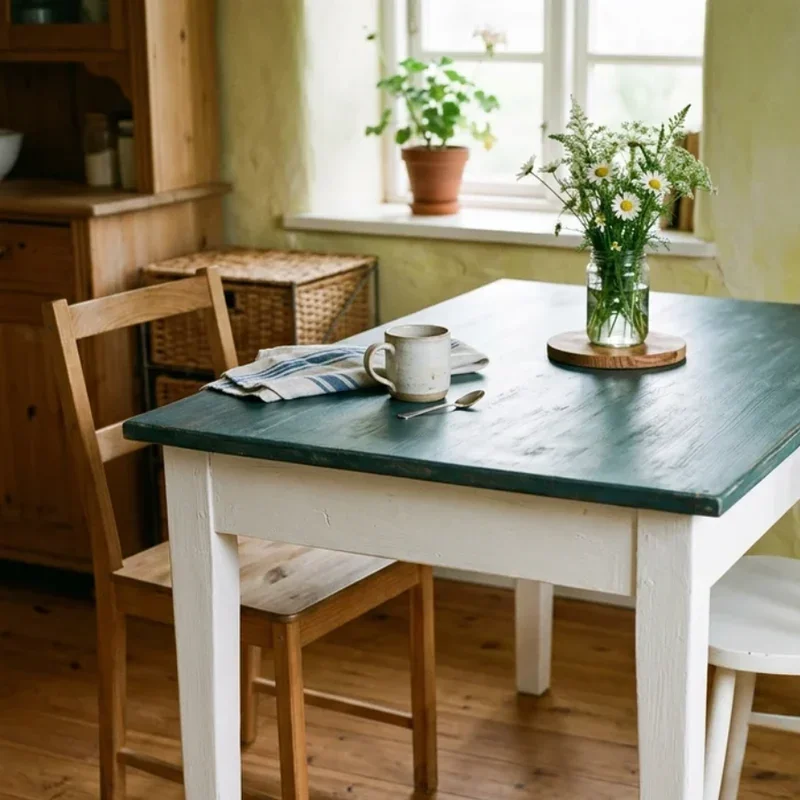
15 DIY Painted Kitchen Table Ideas for Stunning Makeovers
Discover 15 DIY painted kitchen table ideas for stunning makeovers that transform tired furniture into beautiful centerpieces with simple paint.
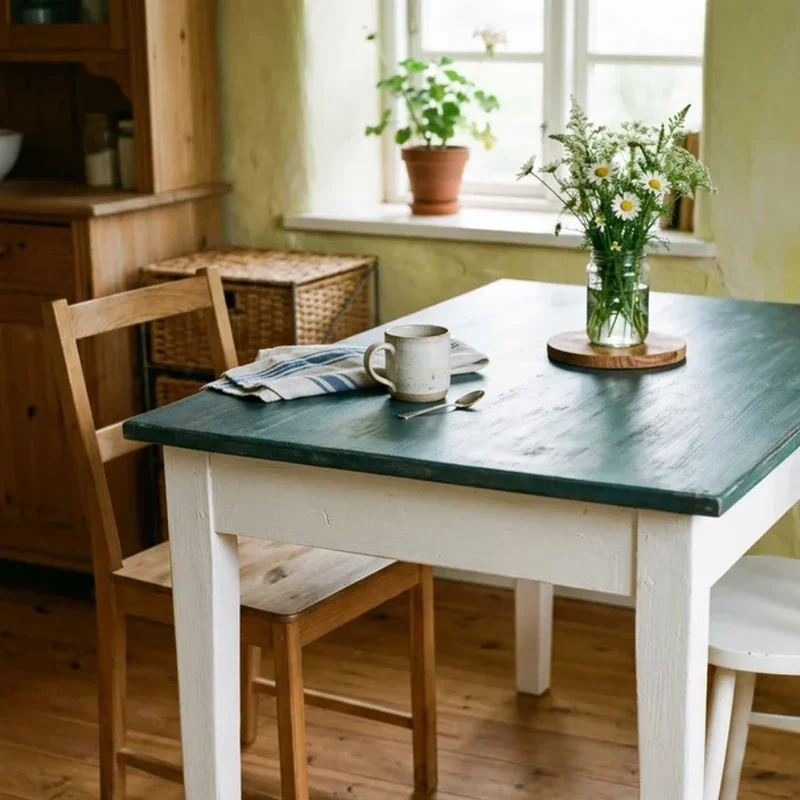
A painted kitchen table makeover transforms tired, scratched furniture into a stunning centerpiece without spending hundreds on a brand-new replacement. Have you ever looked at your beat-up kitchen table and imagined how gorgeous it could look with a fresh coat of the right paint? That vision sits closer than you think, because a can of paint and a free weekend deliver results that rival furniture store price tags at a fraction of the cost. Think of painting a table like giving old furniture a second life, where creative color choices resurrect pieces others would toss to the curb. Whether you favor farmhouse white, bold modern color, or chippy vintage charm, paintable options exist for every style and skill level. You control the shade, the technique, and the final reveal. Why buy new when stunning makeovers await? Let's explore fifteen ideas.
1. Classic White Farmhouse Table
A classic white farmhouse table never goes out of style, delivering clean, bright charm that makes any kitchen feel instantly welcoming and fresh. Sand the entire table surface smooth, then prime with a quality bonding primer, since proper preparation prevents peeling that ruins otherwise beautiful paint jobs. Apply two to three coats of durable semi-gloss or satin white paint, because kitchen tables endure daily abuse that flat finishes cannot survive. Choose a warm white like Swiss Coffee or Simply White rather than stark cool white, since warmer tones feel inviting while blue-toned whites read clinical in kitchen settings. Seal the finished surface with polycrylic or furniture wax for lasting protection. Think of white farmhouse tables like blank canvases anchoring any kitchen decor. Your table gains timeless, versatile beauty.
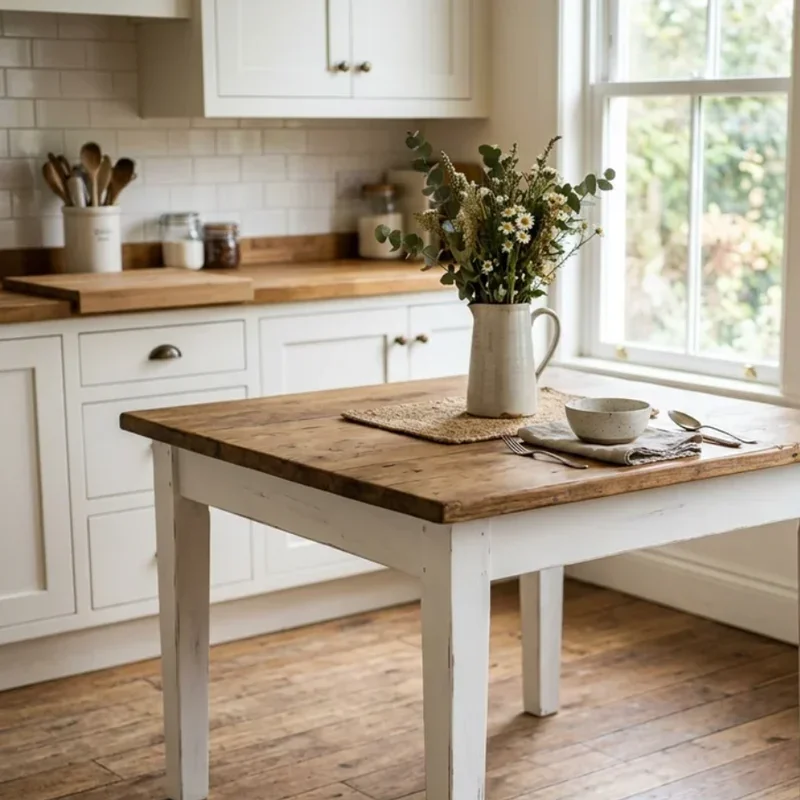
2. Two-Tone Stained Top and Painted Base
A two-tone stained top and painted base creates the most popular kitchen table makeover trending across design blogs, combining natural wood warmth with clean painted contrast beautifully. Strip the tabletop down to bare wood, then apply a rich walnut, espresso, or honey stain that showcases the natural grain. Paint the legs, apron, and base in white, black, or soft grey, since the color contrast between warm wood and painted structure defines the two-tone charm. Seal both surfaces separately, using polyurethane on the stained top and polycrylic on the painted base, because each finish demands different protection products. Tape the transition line carefully. Think of two-tone tables like wearing leather boots with clean denim. Your table gains dimensional, designer-level character.
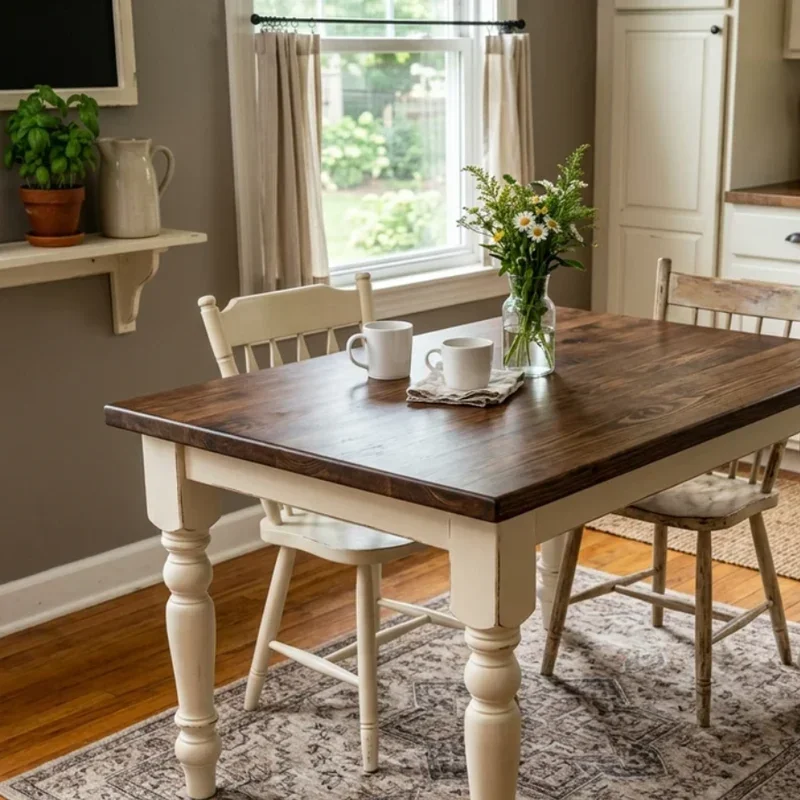
3. Chalk Paint Distressed Finish
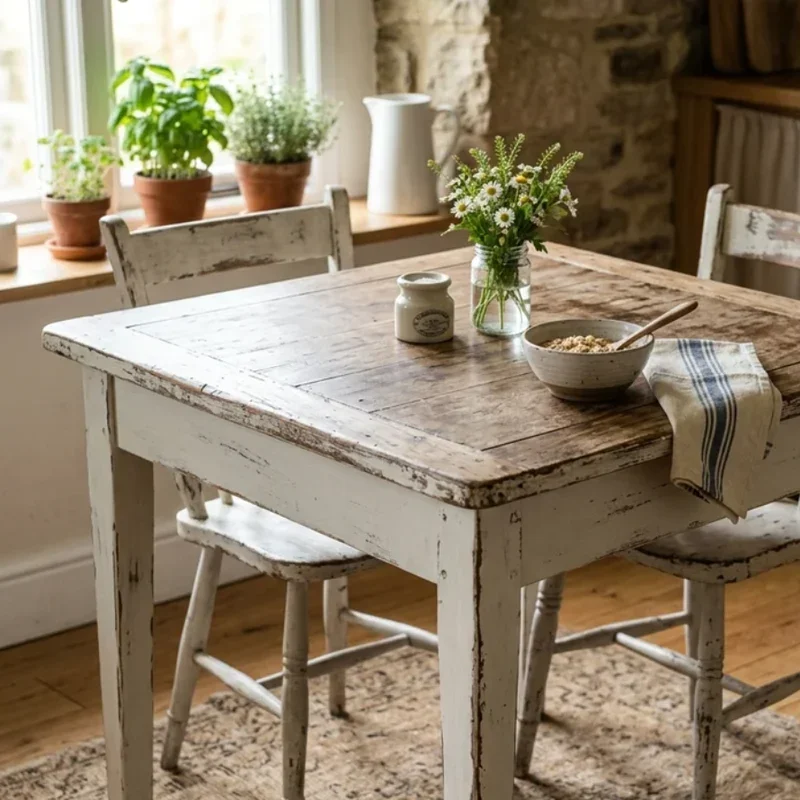
Chalk paint distressed finish delivers that beloved shabby-chic character where intentionally worn edges reveal layered color history beneath a matte, velvety surface. Apply chalk paint directly over existing finish without sanding, since chalk paint's unique formula grips most surfaces without primer. Choose soft grey, dusty blue, sage green, or antique white, because muted tones suit the vintage aesthetic chalk paint creates best. Let the paint dry completely, then sand edges, corners, and high-wear spots with fine-grit sandpaper, since selective distressing mimics natural wear that decades of use would produce. Apply furniture wax for protection, buffing it smooth once cured. Layer two different colors underneath for deeper revealed color depth. Think of distressed chalk paint like vintage storytelling through deliberate imperfection. Your table gains charming aged character.
4. Bold Color Pop Statement
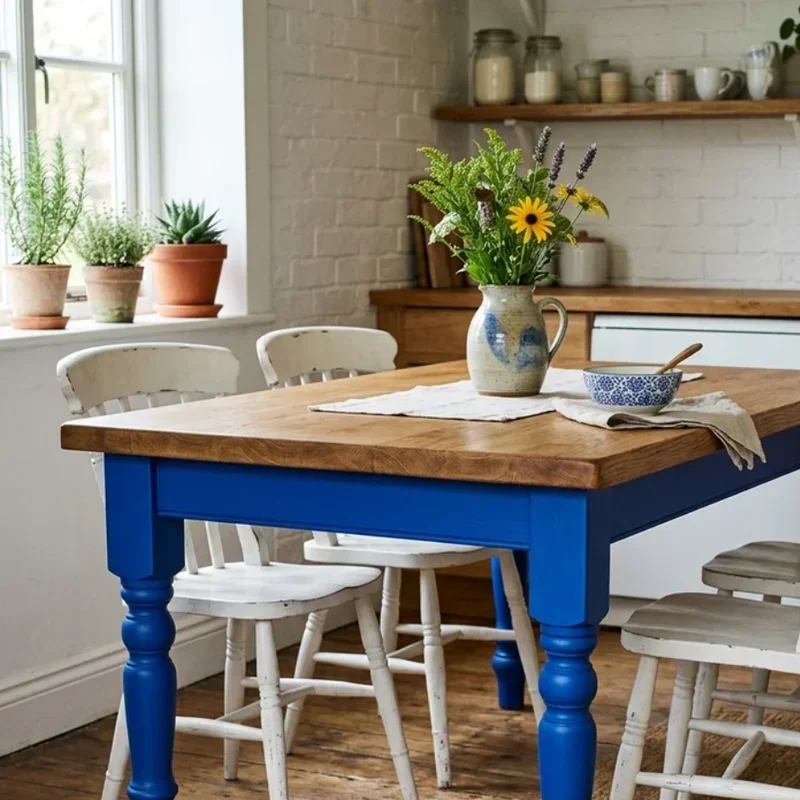
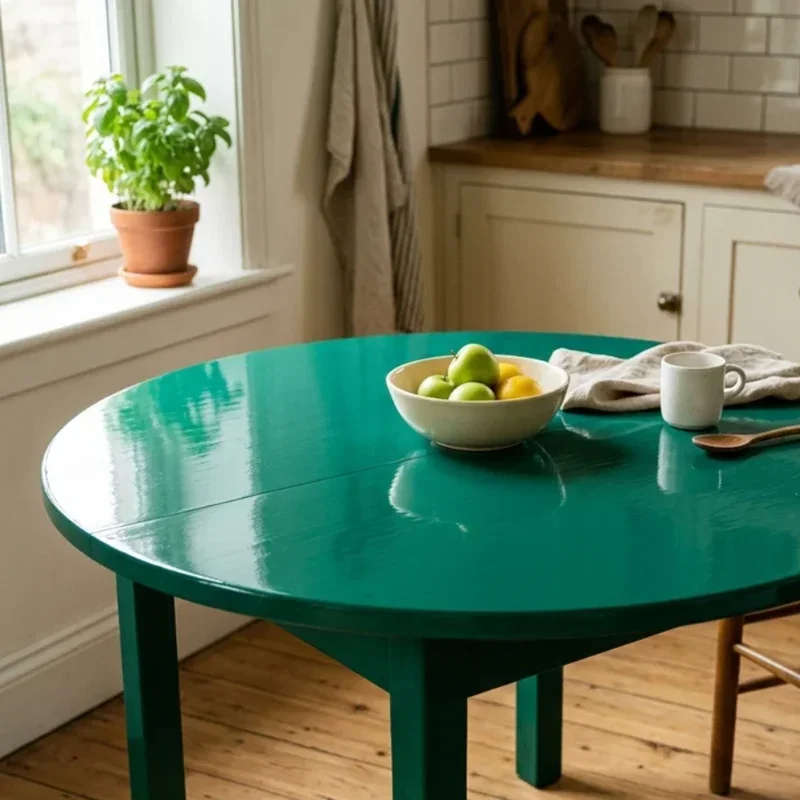
A bold color pop statement transforms your kitchen table into an eye-catching conversation starter that injects personality into neutral rooms like a shot of espresso waking up a sleepy morning. Choose a saturated hue like emerald green, deep navy, sunshine yellow, or rich terracotta, since bold colors demand confidence and deliver maximum visual impact. Sand, prime, and apply two to three coats of high-quality furniture paint in your chosen shade, because proper prep and multiple layers build the rich, opaque color depth that makes bold tables look intentional rather than impulsive. Pair the bold table with neutral surroundings, since competing colors diminish the statement's power. Seal with durable polycrylic. Think of bold tables like signature jewelry for your kitchen. Your room gains unforgettable personality.
5. Ombre Gradient Design
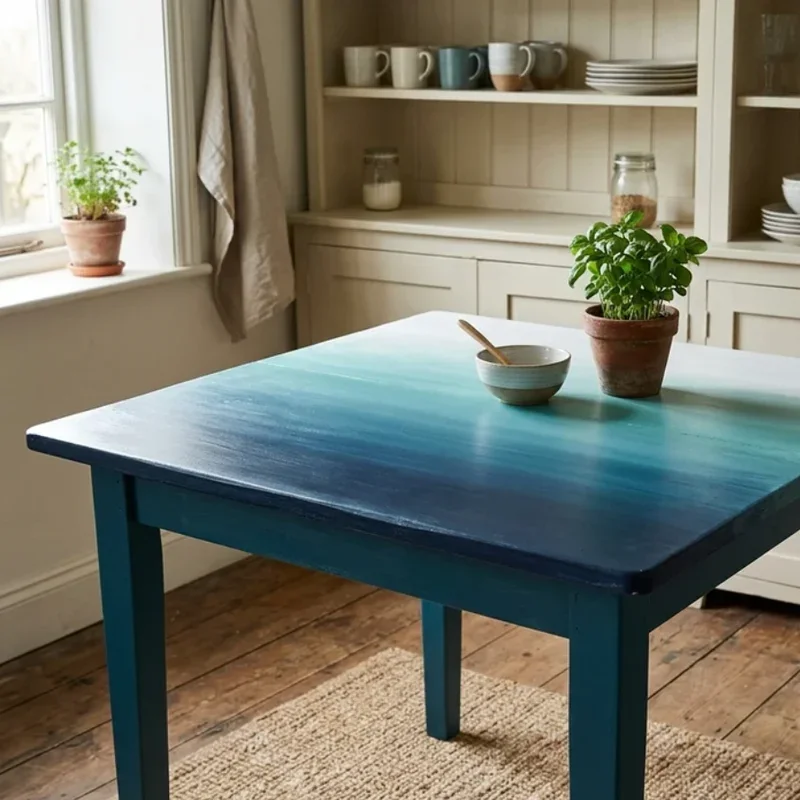
An ombre gradient design paints a smooth color transition across the tabletop, shifting from dark at one end to light at the other for a dreamy, artistic effect. Choose a single color family, since the gradient works best when tones flow naturally from deep to pale within the same hue. Mix three to four paint shades, from darkest to lightest, then blend them wet-on-wet using a wide brush or sponge in overlapping strokes. Work quickly, because blending requires wet paint edges meeting seamlessly before drying creates visible lap lines. Practice the technique on cardboard first. Seal heavily, since the artistic surface deserves maximum protection. Think of ombre tables like sunset captured across your dining surface. Your kitchen gains a truly unique, handcrafted artwork.
6. Stenciled Pattern Tabletop
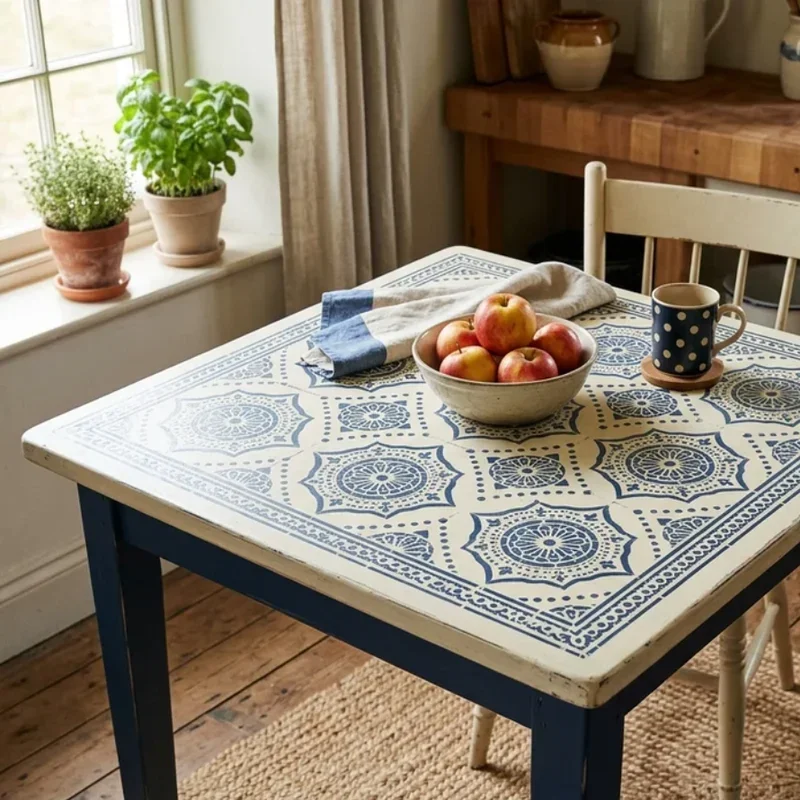
A stenciled pattern tabletop adds decorative detail that transforms a flat painted surface into an intricate, patterned showpiece guests mistake for custom tilework or professional decoration. Paint the table base color first, letting it cure completely, then tape a decorative stencil firmly across the tabletop surface. Apply contrasting paint through the stencil using a stippling brush or small foam roller, since dabbing prevents paint from bleeding underneath the stencil edges. Choose Moroccan, geometric, floral, or mandala patterns, because detailed designs create maximum visual complexity through simple, repeatable stencil application. Peel the stencil carefully, then seal the entire surface with several coats of protective finish. Reposition the stencil across the surface methodically. Think of stencils like stamps printing beauty onto your table. Your surface gains intricate, handcrafted pattern.
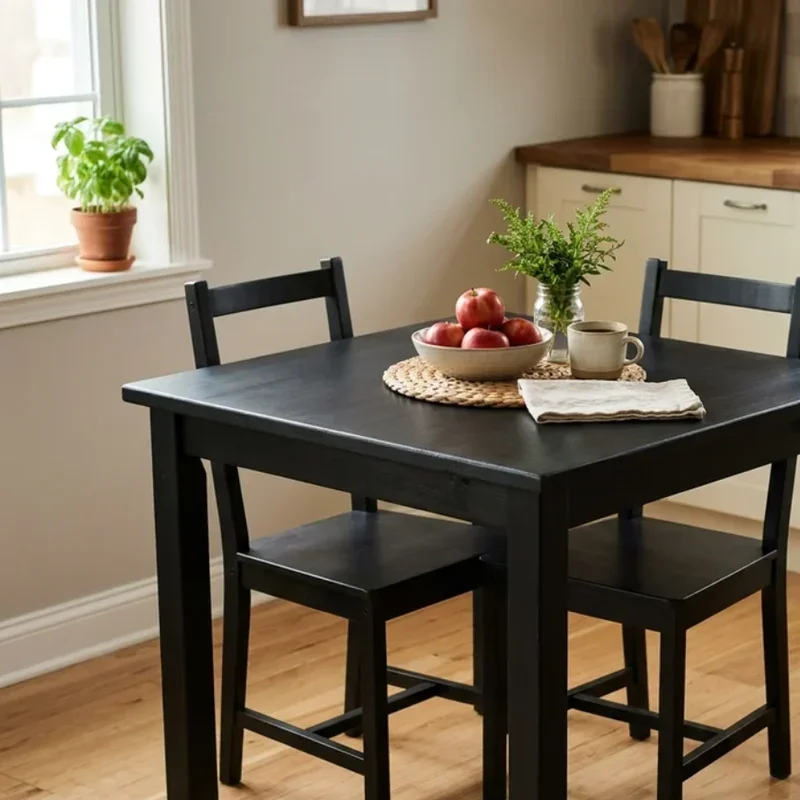
7. Black Matte Modern Finish
A black matte modern finish delivers sleek, dramatic sophistication that anchors contemporary kitchens with bold, confident visual weight no other color matches. Sand and prime the table thoroughly, then apply two to three coats of flat or matte black furniture paint, because even coverage matters more with dark colors where missed spots and streaks show dramatically. Choose a true matte finish, since flat black absorbs light for rich, gallery-level depth that glossy versions distract from with visible reflections. Pair the black table with natural wood chairs, metallic accents, or white decor, since contrasting elements prevent the dark surface from overwhelming the kitchen visually. Seal with matte polycrylic. Think of black tables like little black dresses for your kitchen. Your room gains modern, commanding elegance.
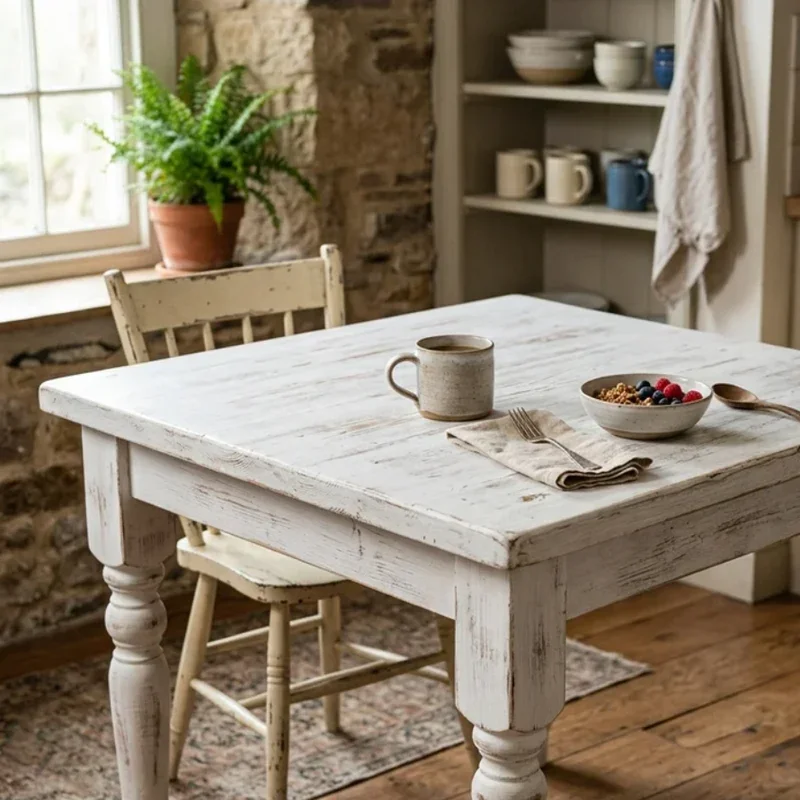
8. Whitewashed Rustic Look
A whitewashed rustic look allows natural wood grain to show through diluted white paint, creating the sun-bleached, coastal appearance that relaxed kitchens absolutely love. Strip the table to bare wood, then mix white paint with water at a one-to-one ratio, since thinned paint settles into grain valleys while wiping clean off raised surfaces. Brush the watery mixture across the wood, then immediately wipe with a clean rag, because removing excess paint before drying preserves the grain visibility that defines the whitewashed effect. Apply additional coats for stronger coverage. Let the wood's natural character guide the final look, since every board absorbs paint differently. Seal with matte polyurethane. Think of whitewashing like dressing wood in sheer white linen. Your table gains breezy, coastal-inspired softness.
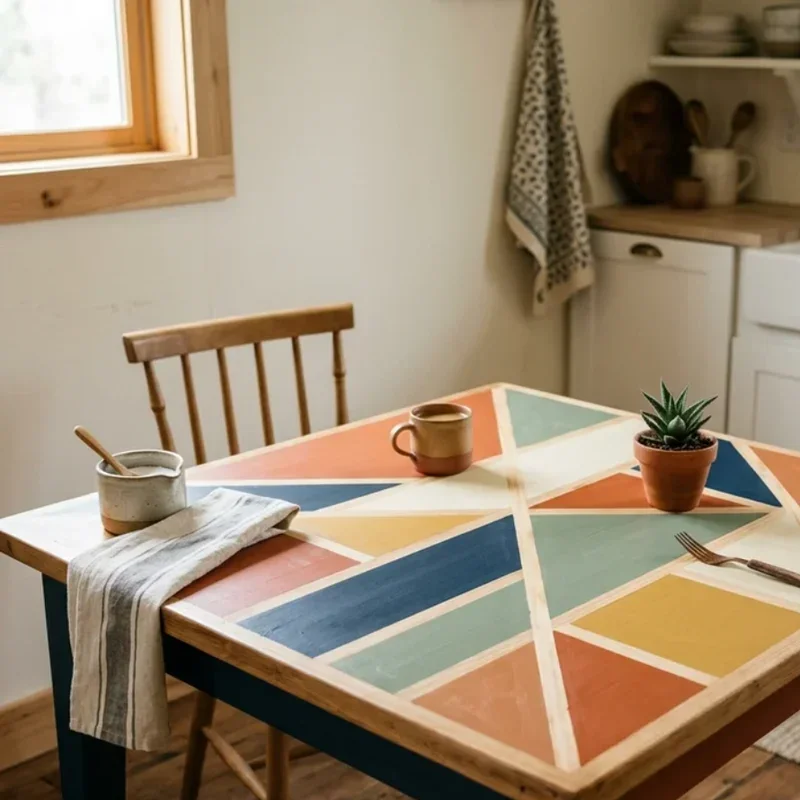
9. Color-Blocked Geometric Design
A color-blocked geometric design divides your tabletop into bold sections of contrasting color, creating modern graphic art directly on your dining surface. Plan your design using painter's tape, dividing the surface into triangles, rectangles, diamonds, or abstract shapes, since clean tape lines produce the crisp boundaries that define professional color blocking. Choose two to four complementary or contrasting colors, because limited palettes keep the design cohesive while too many shades create visual chaos. Paint each section individually, letting borders dry before taping adjacent sections. Peel tape slowly at an angle. Apply multiple protective topcoats, since geometric designs demand flawless surfaces that scratches would compromise. Think of color-blocked tables like modern paintings you eat breakfast on. Your kitchen gains bold artistic personality.
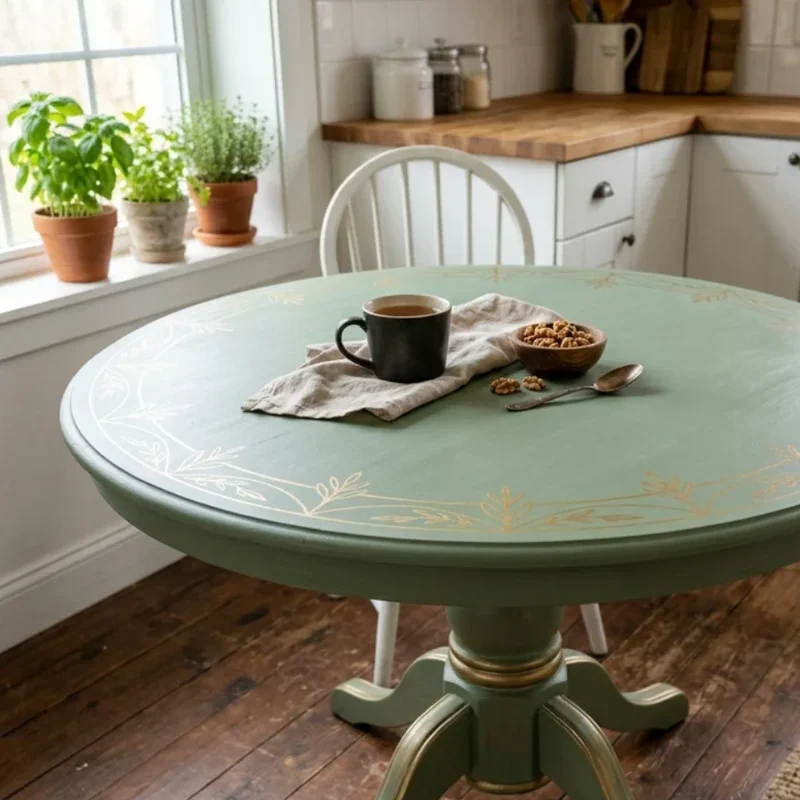
10. Metallic Gold or Silver Accent
Metallic gold or silver accent details add glamorous shimmer to painted tables, threading luxury through legs, edges, or decorative elements without overwhelming the primary finish. Paint the table in a base color like black, white, or navy, then apply metallic paint to specific details using a small brush. Choose gold for warm glamour or silver for cool sophistication, since the metallic tone shifts the table's entire personality from casual to elevated. Dip table legs, paint edge banding, or stencil metallic patterns onto the tabletop for varied application approaches. Use quality metallic paint, since cheap versions look plasticky while premium metallics shimmer convincingly. Seal metallic surfaces with non-yellowing topcoat. Think of metallic accents like jewelry adorning your furniture. Your table gains glamorous, sparkling finishing details.
11. Milk Paint Chippy Vintage
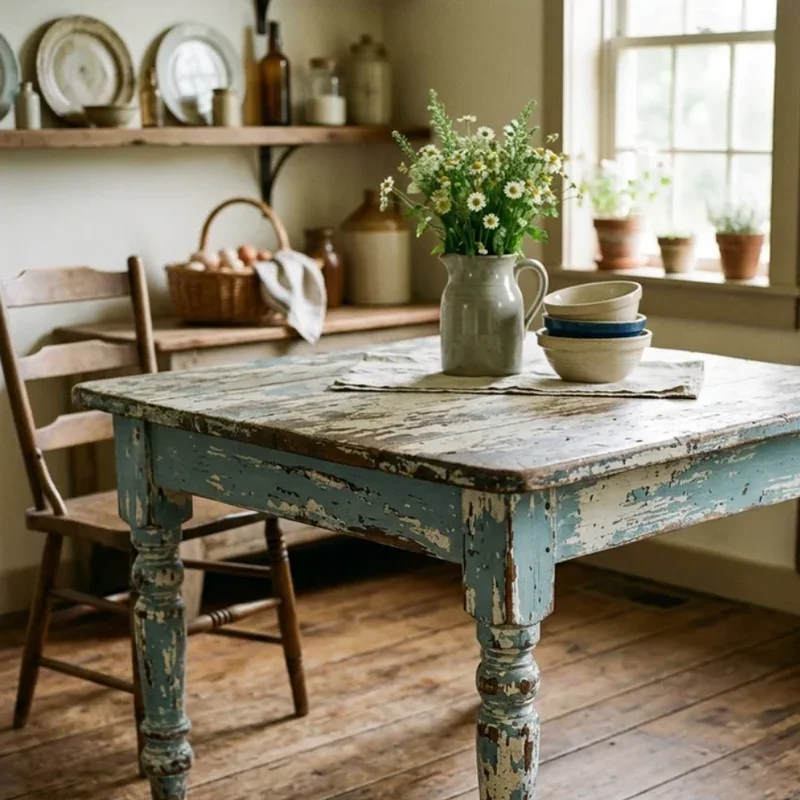
Milk paint chippy vintage finish creates authentic antique character where paint naturally chips, flakes, and peels in unpredictable patterns that no distressing technique deliberately replicates this organically. Mix powdered milk paint with water according to package directions, then apply directly over bare or lightly prepped wood, since milk paint bonds inconsistently without bonding agent, creating the natural chipping that defines its beloved vintage character. Choose traditional colors like mustard, barn red, Federal blue, or linen white, because historic tones reinforce the antique aesthetic authentically. Let the paint cure, then watch chips develop naturally or encourage them with light sanding at edges. Seal lightly with hemp oil or furniture wax. Think of milk paint like time-traveling your table backward. Your furniture gains genuinely antique personality.
12. Striped Tabletop Design
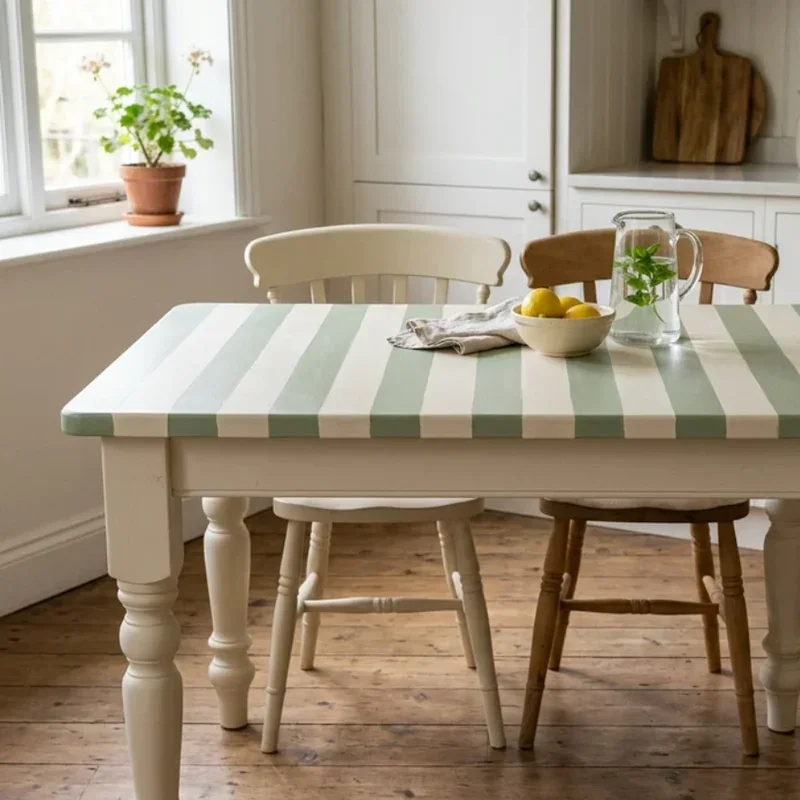
A striped tabletop design adds classic pattern to your painted table, creating visual rhythm that stretches the surface lengthwise while delivering timeless decorative charm. Paint the entire tabletop in the lighter stripe color first, letting it cure completely before applying tape. Lay painter's tape in evenly spaced parallel lines, since consistent spacing produces professional-looking stripes that uneven gaps would undermine. Paint the darker stripe color between the tape lines, applying thin, even coats to prevent bleeding underneath the edges. Peel tape slowly while the final coat remains slightly tacky. Choose two-tone combinations like white and grey, cream and navy, or soft blue and white. Think of striped tables like classic awnings brought indoors. Your surface gains charming, orderly pattern.
13. Decoupage Patterned Surface
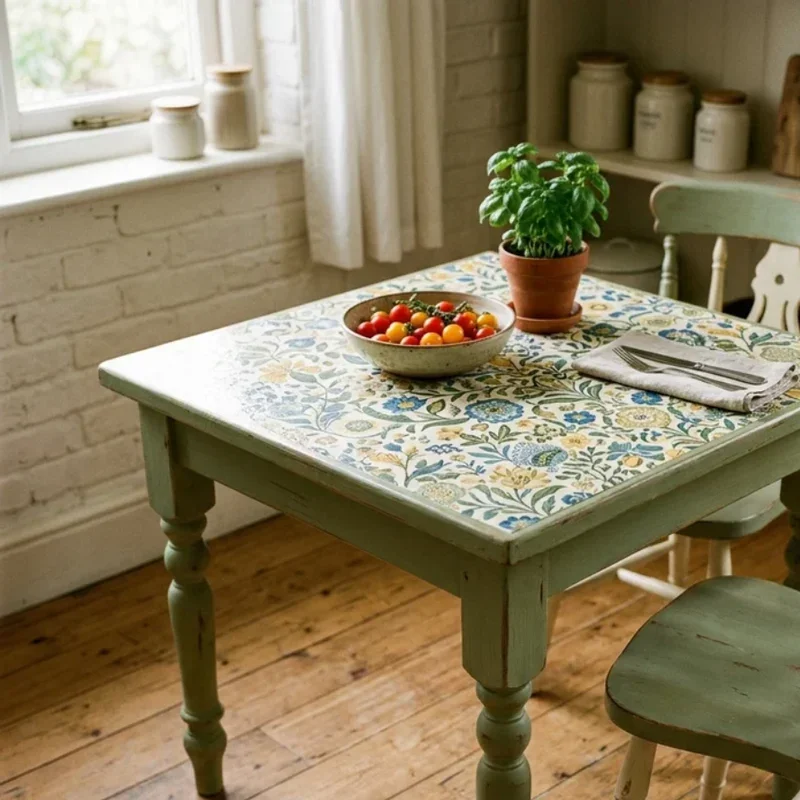
A decoupage patterned surface layers decorative paper, fabric, or printed images onto your tabletop, creating a unique, personalized design sealed beneath protective clear coats for lasting beauty. Choose decorative napkins, wrapping paper, sheet music, or vintage maps, since varied paper sources create dramatically different visual outcomes from whimsical to sophisticated. Apply decoupage medium to the table surface, carefully lay the chosen paper, then smooth out air bubbles with a brayer or credit card. Seal with multiple coats of decoupage sealer or polycrylic, because layered protection prevents moisture damage and peeling during daily kitchen use. Trim overhanging edges cleanly. Think of decoupage tables like scrapbooked furniture. Your kitchen gains a completely unique, personalized conversation piece.
14. Weathered Gray Driftwood Finish
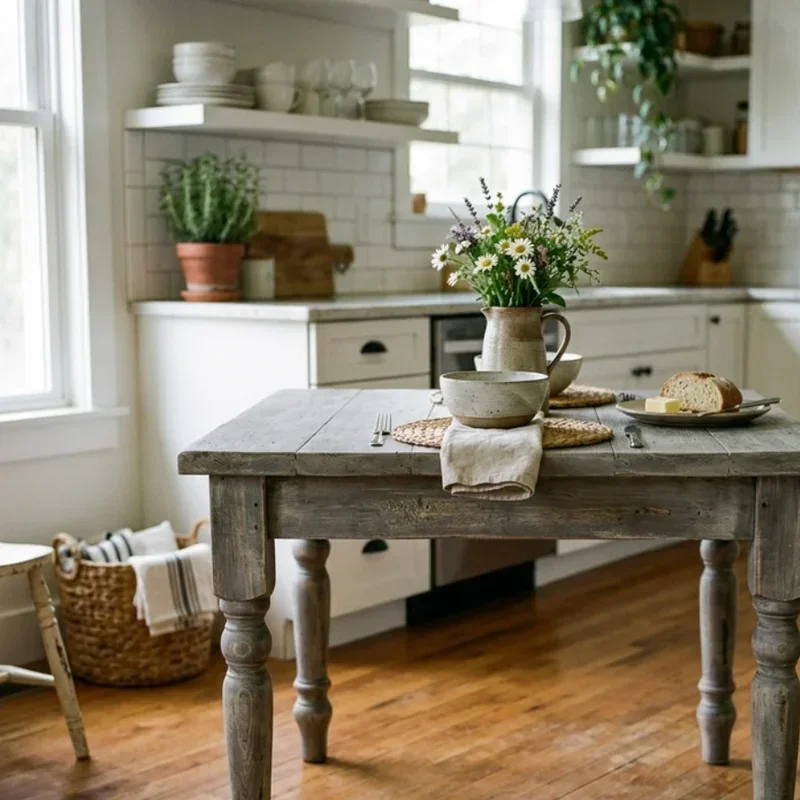
A weathered gray driftwood finish transforms ordinary wood into coastal, storm-worn character that looks naturally aged by decades of salt air and ocean weather. Strip the table to bare wood, then apply a gray wood stain mixed with white paint, since the translucent combination mimics driftwood's sun-bleached, silvery appearance authentically. Wipe the mixture with the wood grain, building color gradually through thin layers rather than heavy single coats. Sand lightly between applications, because gentle abrasion reveals varied tonal depth mimicking genuine weathering patterns. Seal with matte finish only. Choose lighter gray tones for beachy vibes, or darker grays for moody, sophisticated character. Think of driftwood finishes like capturing oceanside aging in a single afternoon. Your table gains serene, coastal-inspired elegance.
15. High-Gloss Lacquer Transformation
A high-gloss lacquer transformation delivers mirror-like reflective finish that elevates ordinary tables into sleek, contemporary showpieces dripping with polished, modern luxury. Sand the surface ultra-smooth through progressively finer grits, since lacquer magnifies every imperfection hiding beneath its glass-like reflective surface mercilessly. Apply multiple thin coats of spray lacquer, sanding lightly between each application, because building thin layers produces deeper, more flawless gloss than thick single coats. Choose bold colors like fire engine red, deep emerald, or jet black, since high-gloss finishes amplify color intensity dramatically beyond what matte or satin achieve. Work in a dust-free environment, because airborne particles embed permanently in wet lacquer surfaces. Think of lacquered tables like polished luxury automobiles. Your kitchen gains sleek, head-turning sophistication.
Conclusion
DIY painted kitchen table makeovers prove a can of paint and a free weekend transform tired furniture into stunning centerpieces that rival brand-new purchases at a fraction of the cost. These fifteen ideas span classic farmhouse white to high-gloss lacquer, matching every skill level, style preference, and kitchen personality imaginable. Whether you distress with chalk paint or stencil intricate patterns, creative paint techniques breathe new life into tables others would discard. The secret lies in proper preparation and choosing the right paint for your vision. Start your table makeover today.
Read next: 15 Farmhouse Kitchen Table Ideas for Cozy Dining Spaces
Frequently Asked Questions
Q1: What type of paint works best for kitchen tables?
A: Chalk paint, milk paint, and high-quality furniture paint deliver the most durable, beautiful kitchen table finishes.
Q2: Do I need to sand before painting a kitchen table?
A: Yes, light sanding and priming create the adhesion that prevents peeling and ensures lasting beautiful results.
Q3: How do I protect a painted kitchen table from scratches?
A: Apply two to three coats of polycrylic, polyurethane, or furniture wax for durable daily-use surface protection.
Q4: How long does a painted kitchen table makeover last?
A: Properly prepped and sealed painted tables last five to ten years before needing touch-ups or refinishing.
Q5: Can I paint a laminate kitchen table successfully?
A: Yes, use bonding primer specifically designed for laminate surfaces, then paint and seal with durable topcoat.
Stay up to date with our latest ideas!