Before You Upgrade Your Bathroom Fixtures, Check These Plumbing Essentials
Before upgrading your bathroom fixtures, learn the plumbing essentials to check for smoother installation, better performance, and fewer costly surprises.
New faucet. Rainfall showerhead. That sleek vanity you have been eyeing for months. Upgrading bathroom fixtures is one of the most satisfying home projects you can take on, and one of the easiest to get wrong. Here is what trips people up: the fixtures are the visible 10%.
The plumbing behind the wall is the other 90%, and bolting a shiny new faucet onto tired pipes, a seized shut-off valve, or pressure that runs too high is how a weekend upgrade turns into a flooded floor. Most stay invisible until the wall is open, when fixes cost least.
The plumbing essentials decide whether the upgrade actually lasts. Water pressure, aging supply lines, hidden leaks, and failing shut-off valves can all affect how well new fixtures perform, which is why they should be checked before any renovation begins.
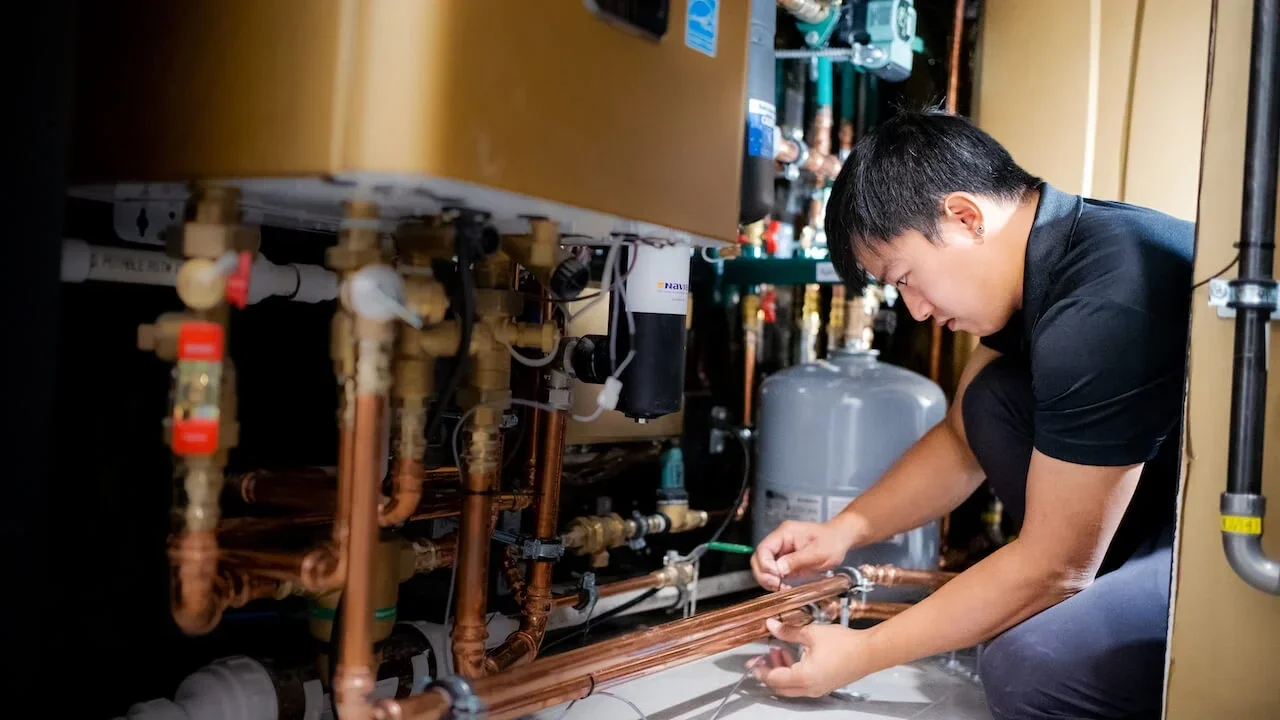
Whether you're tackling the project yourself or working with plumbing services by Green Energy Mechanical, addressing these issues first can help prevent costly surprises later. Run these checks first, and your new fixtures will actually perform like new.
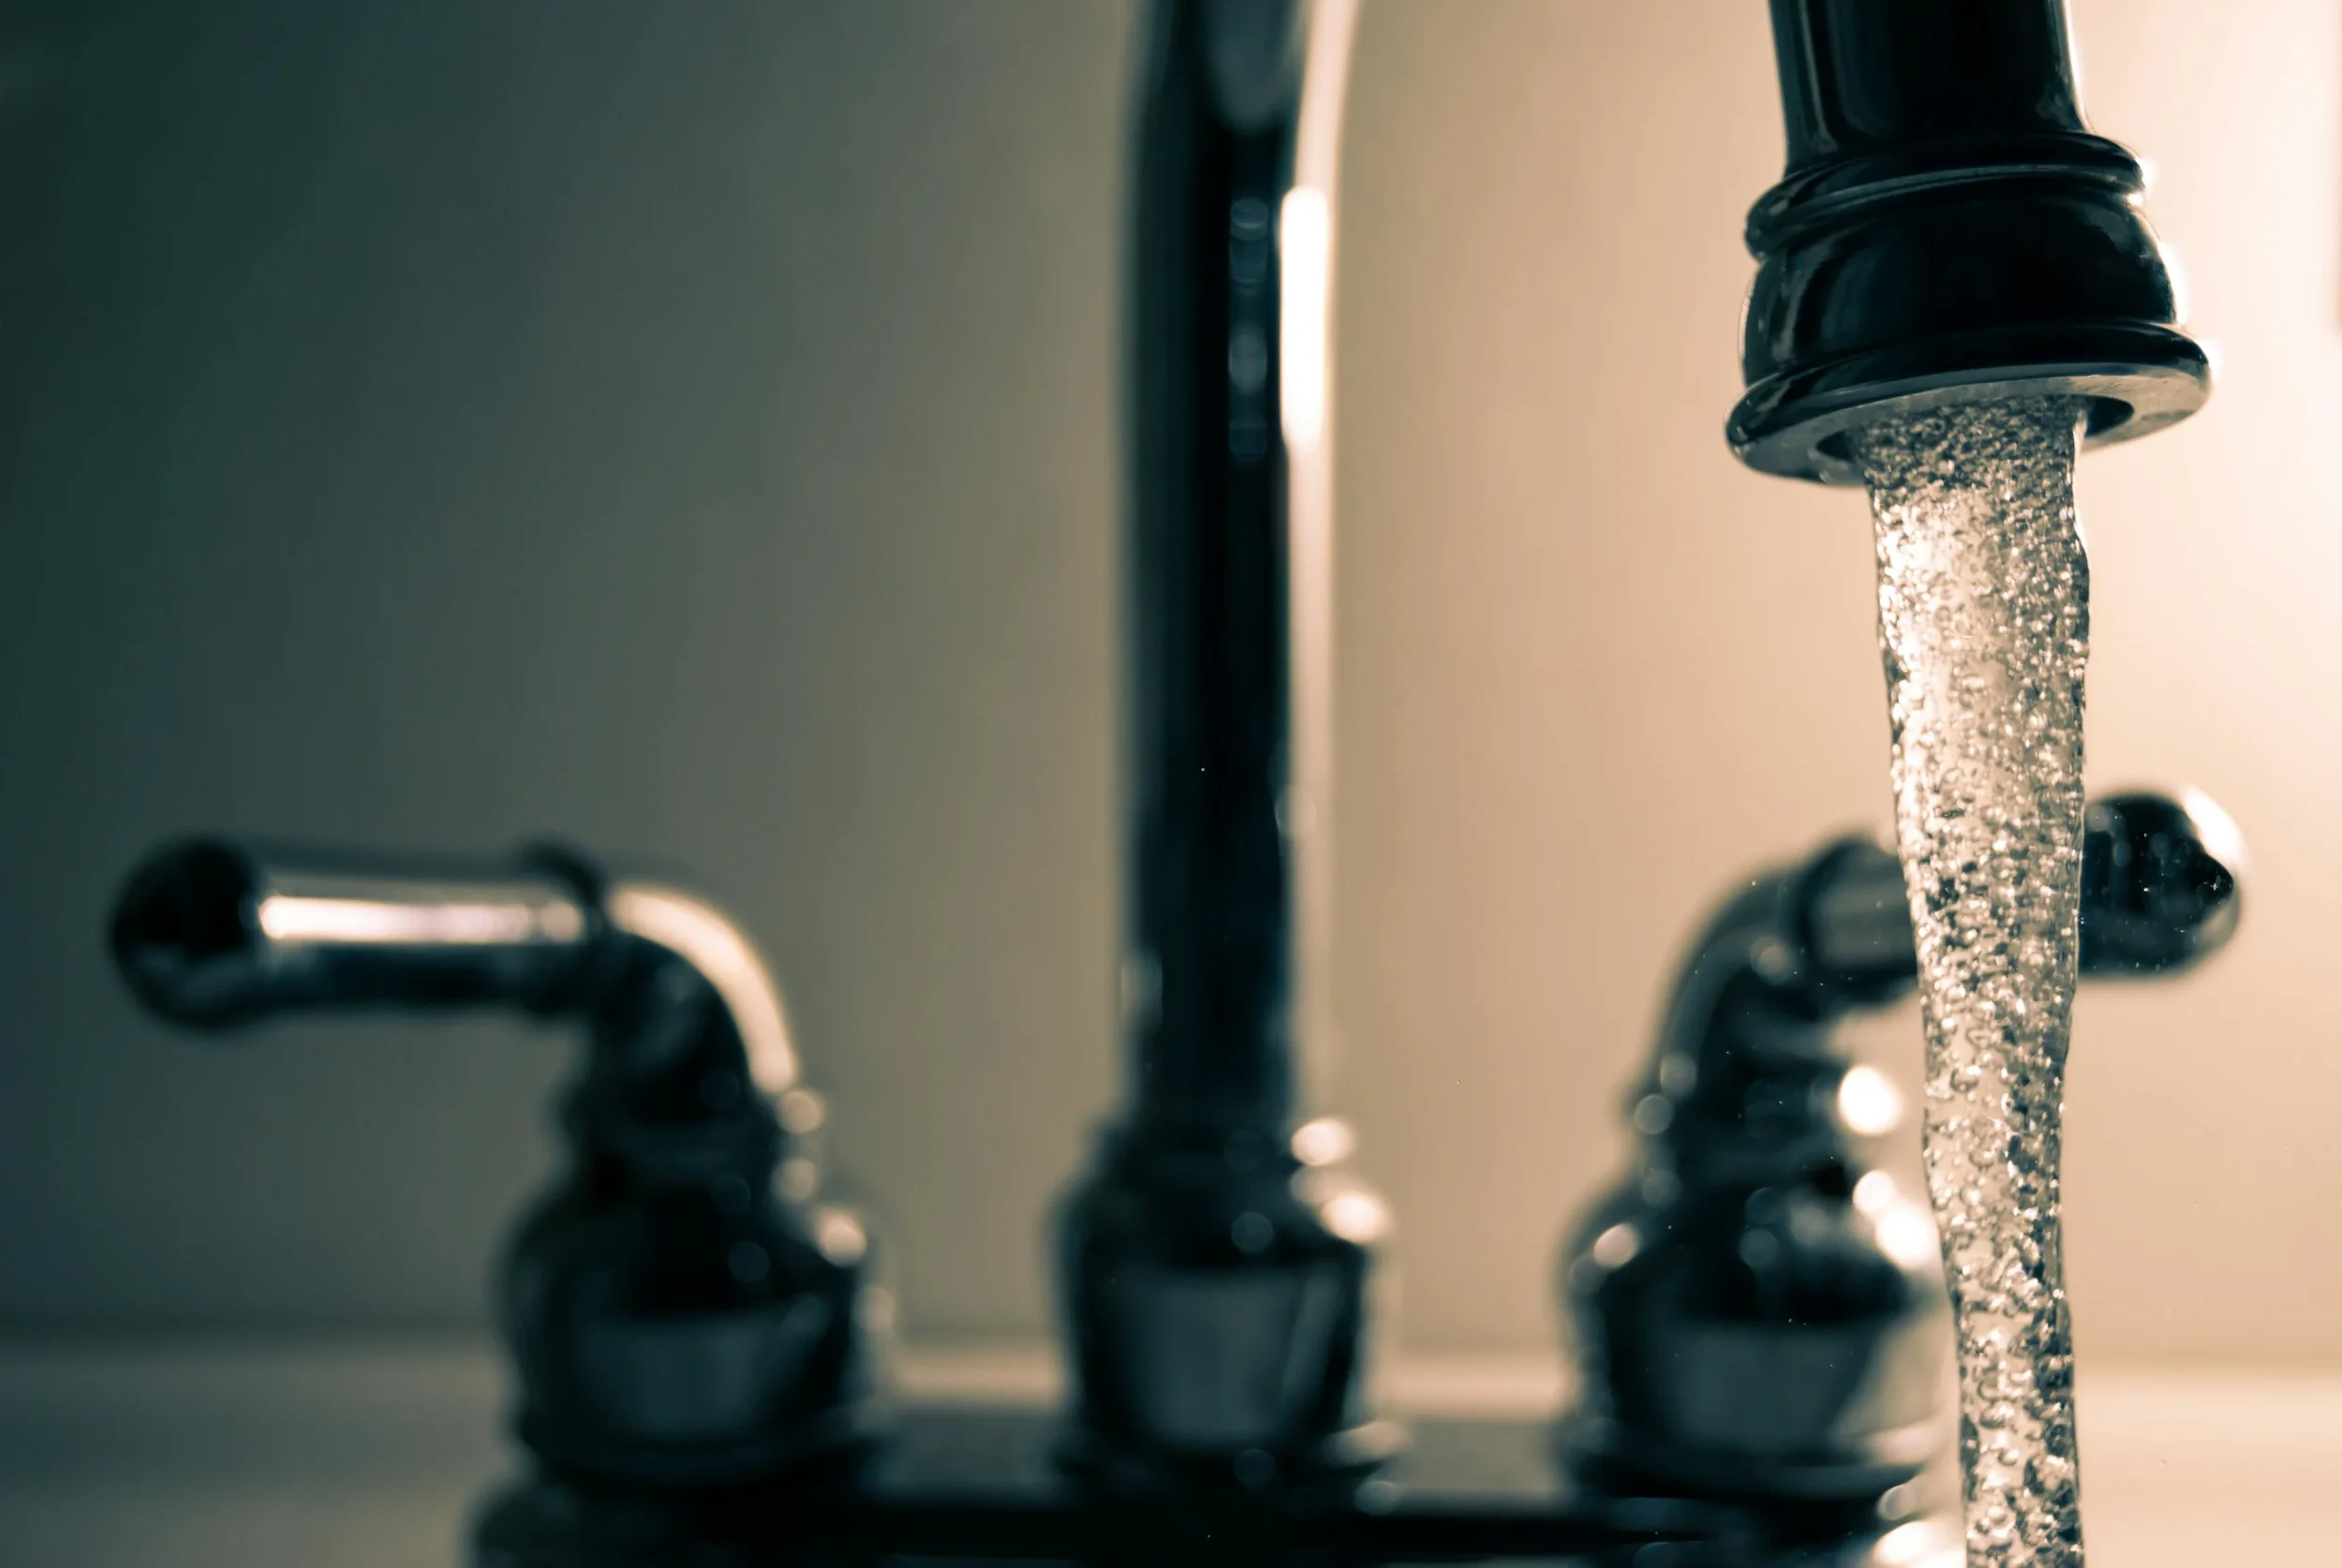
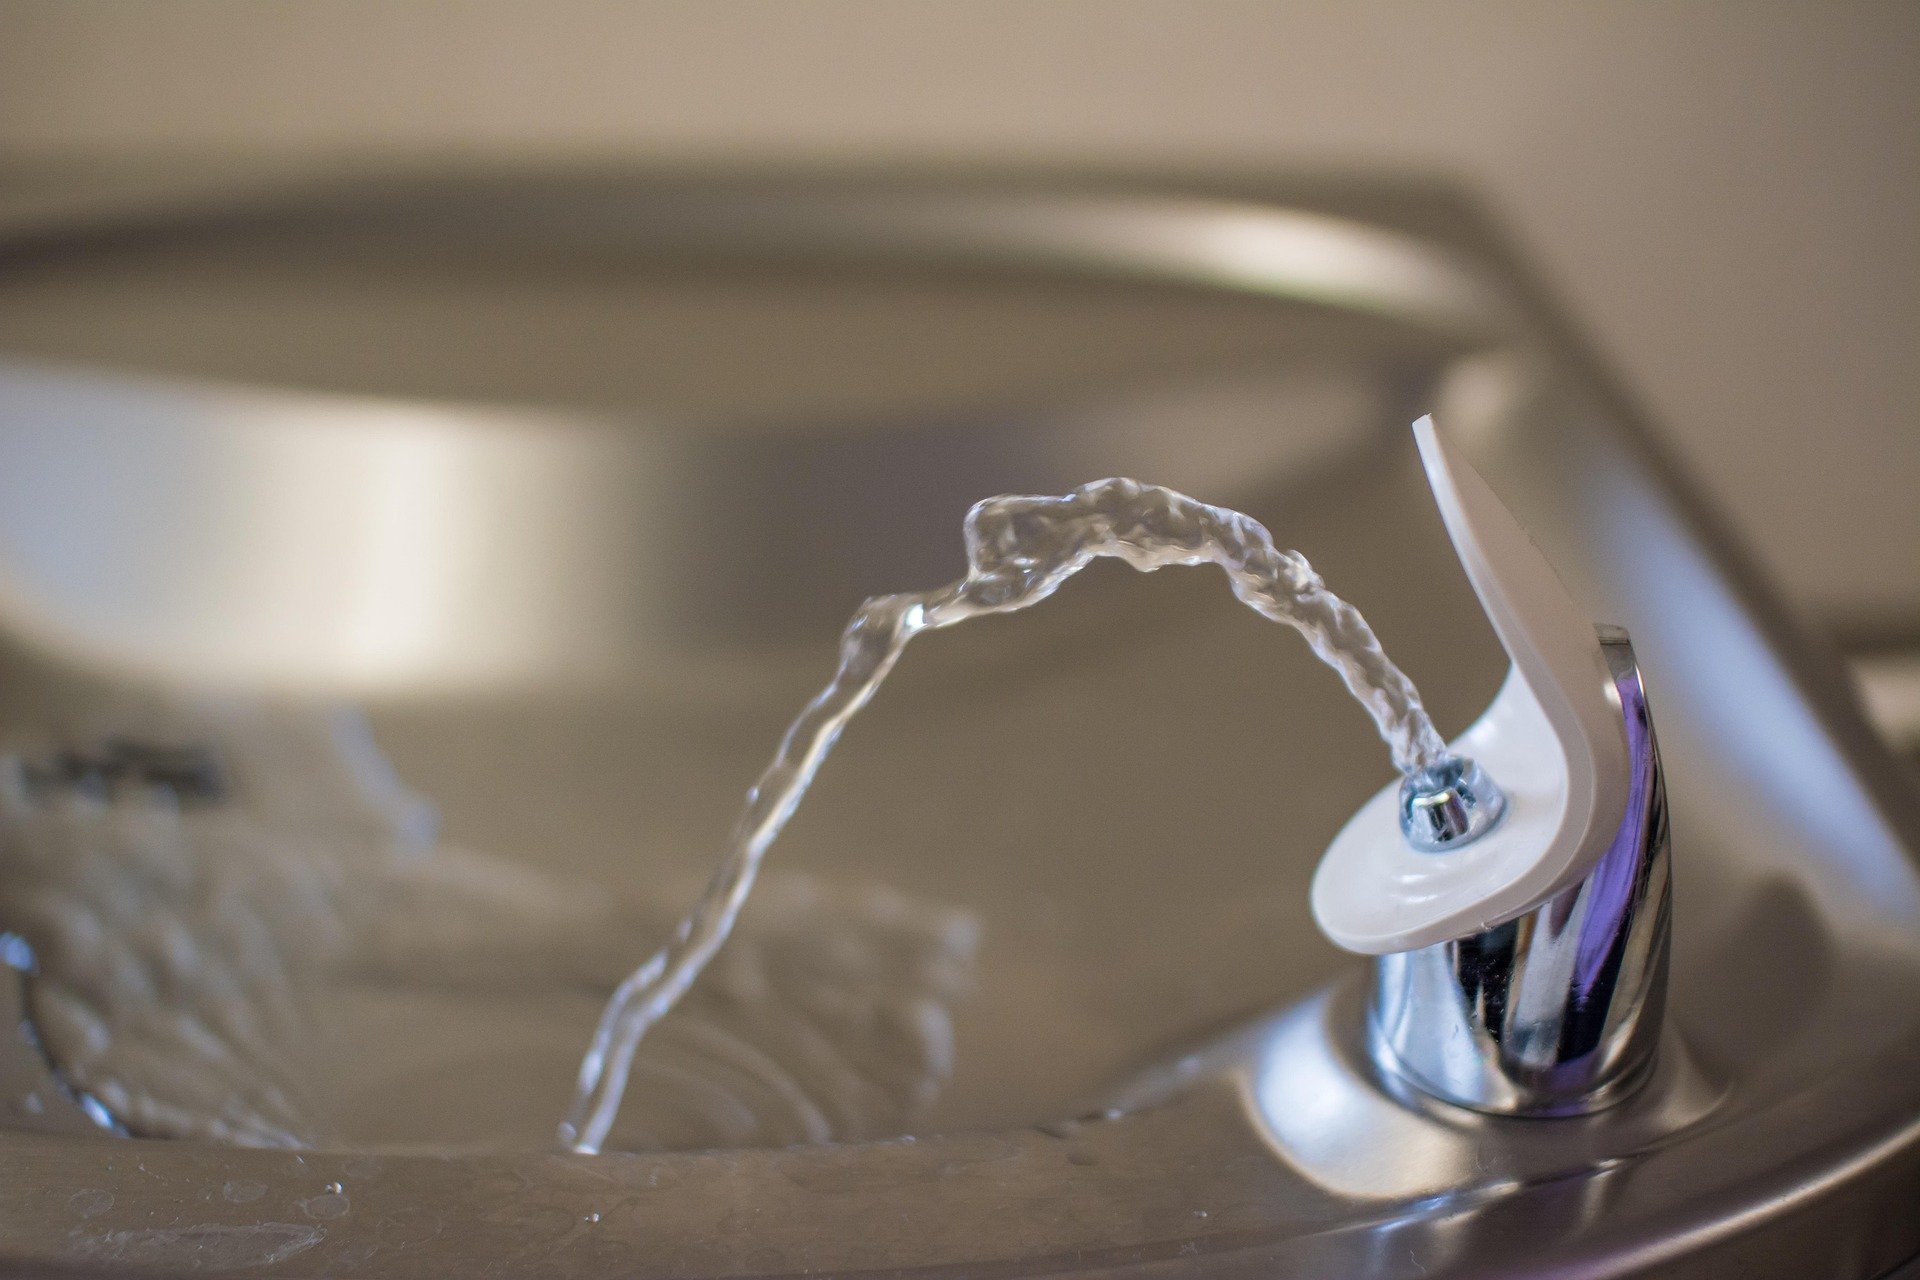
Test Your Water Pressure First
Water pressure is the single most overlooked plumbing essential before a fixture upgrade, and the one most likely to wreck new hardware. Pressure that is too high stresses every seal, valve, and cartridge you install.
The ideal range for a home sits between 40 and 60 psi, with anything above 80 psi considered dangerous to fixtures and appliances. Many shut-off valves and faucet cartridges are rated right around that 80 psi ceiling, so pressure creeping past it shortens their life fast.
Pick up a pressure gauge that screws onto a hose bib, or have it checked. If you read above 80 psi, a pressure reducing valve at the main line protects everything downstream, including the fixtures you are about to install.
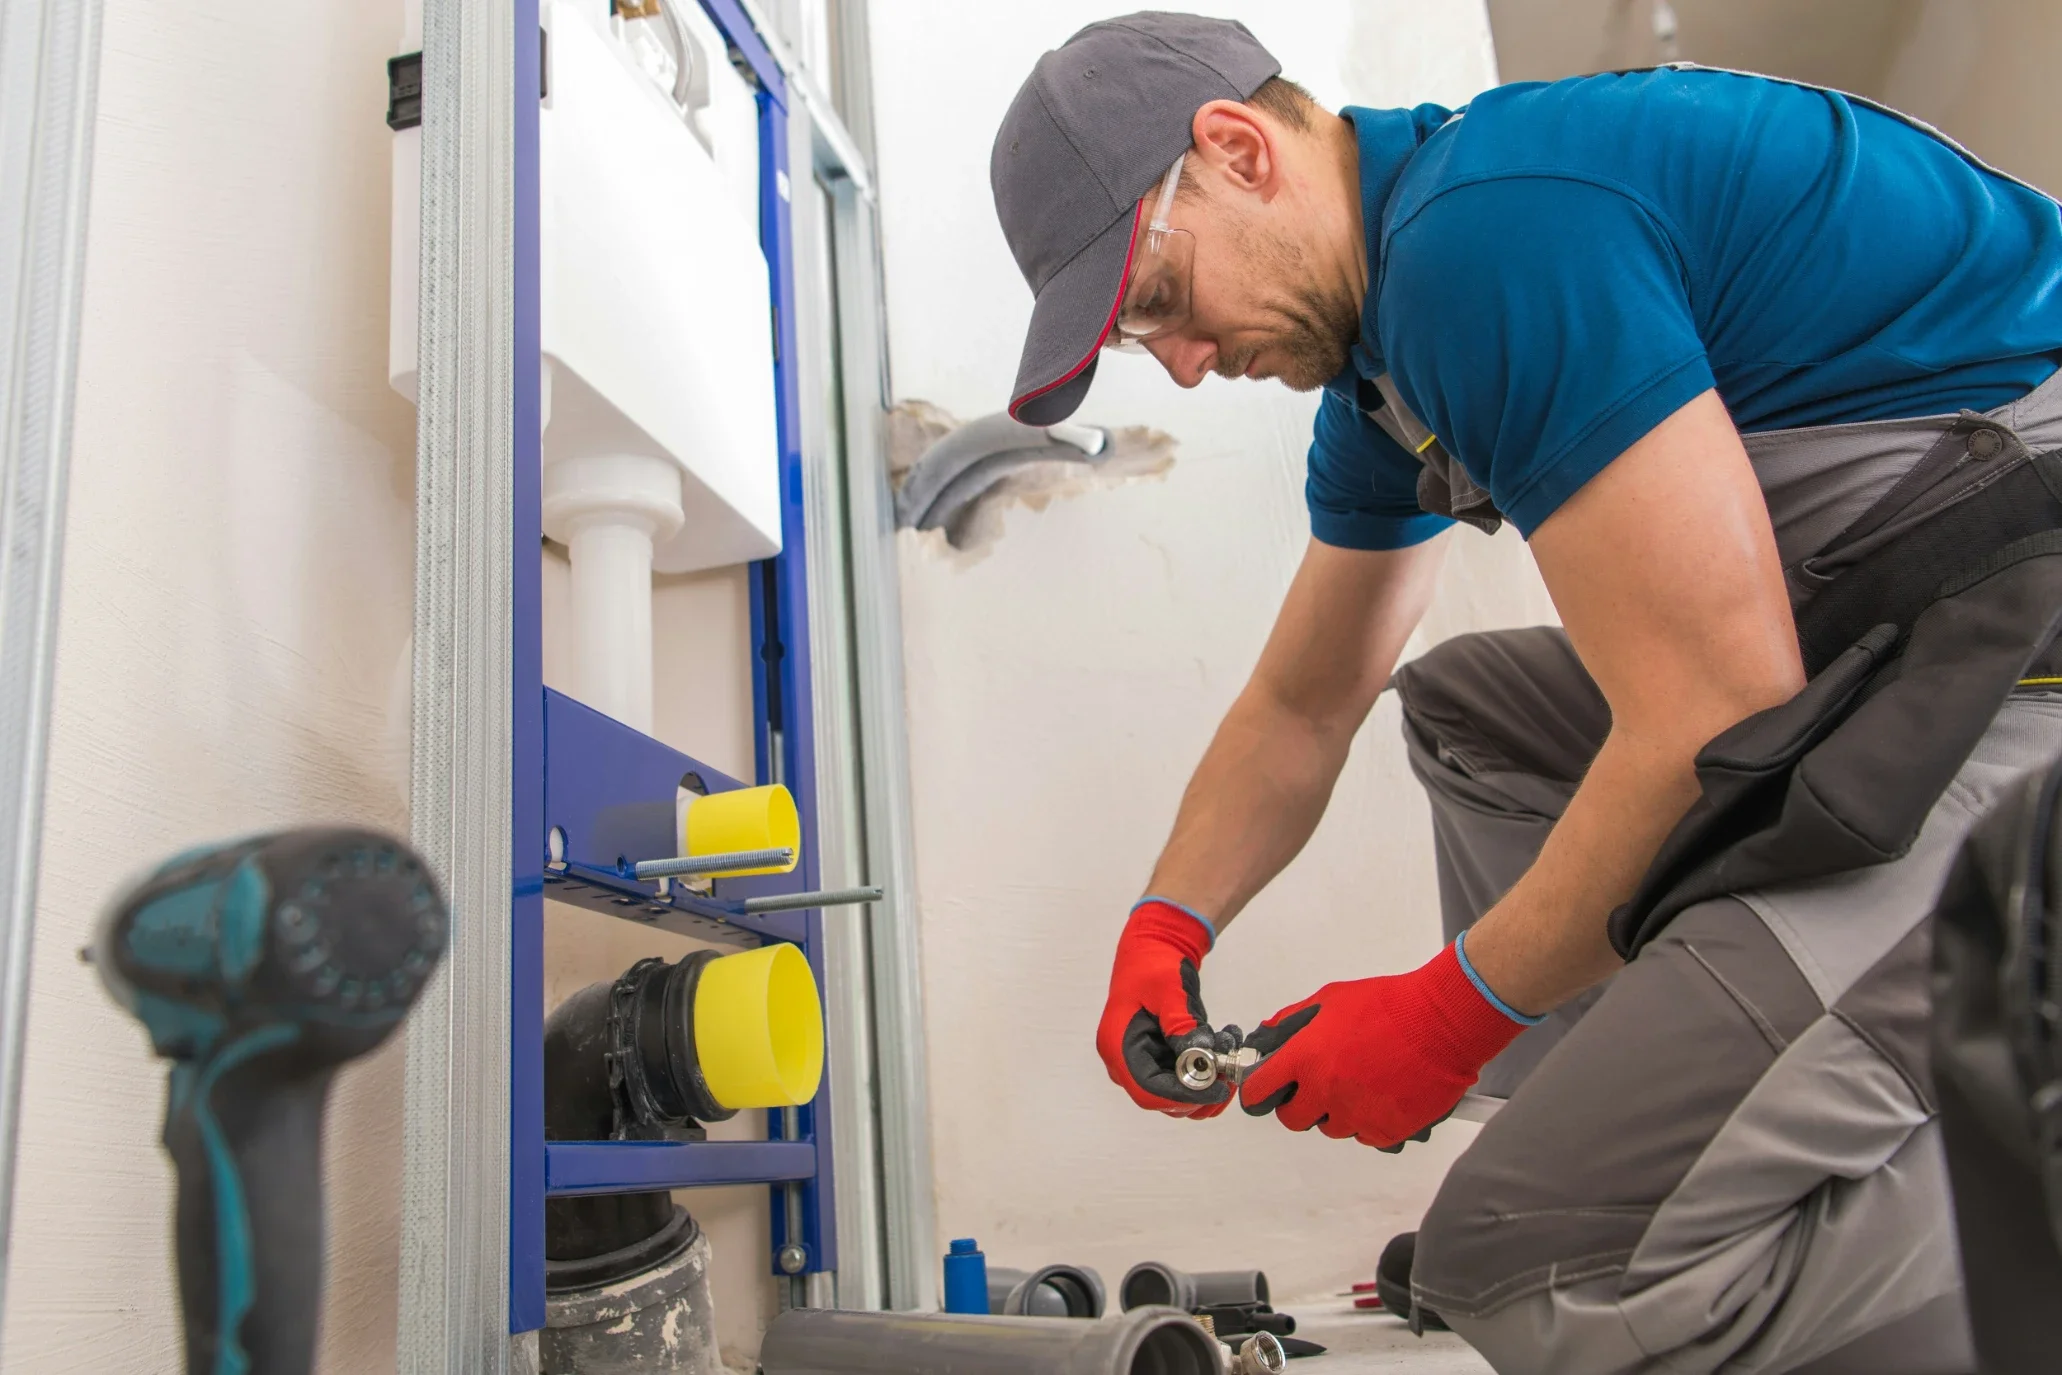
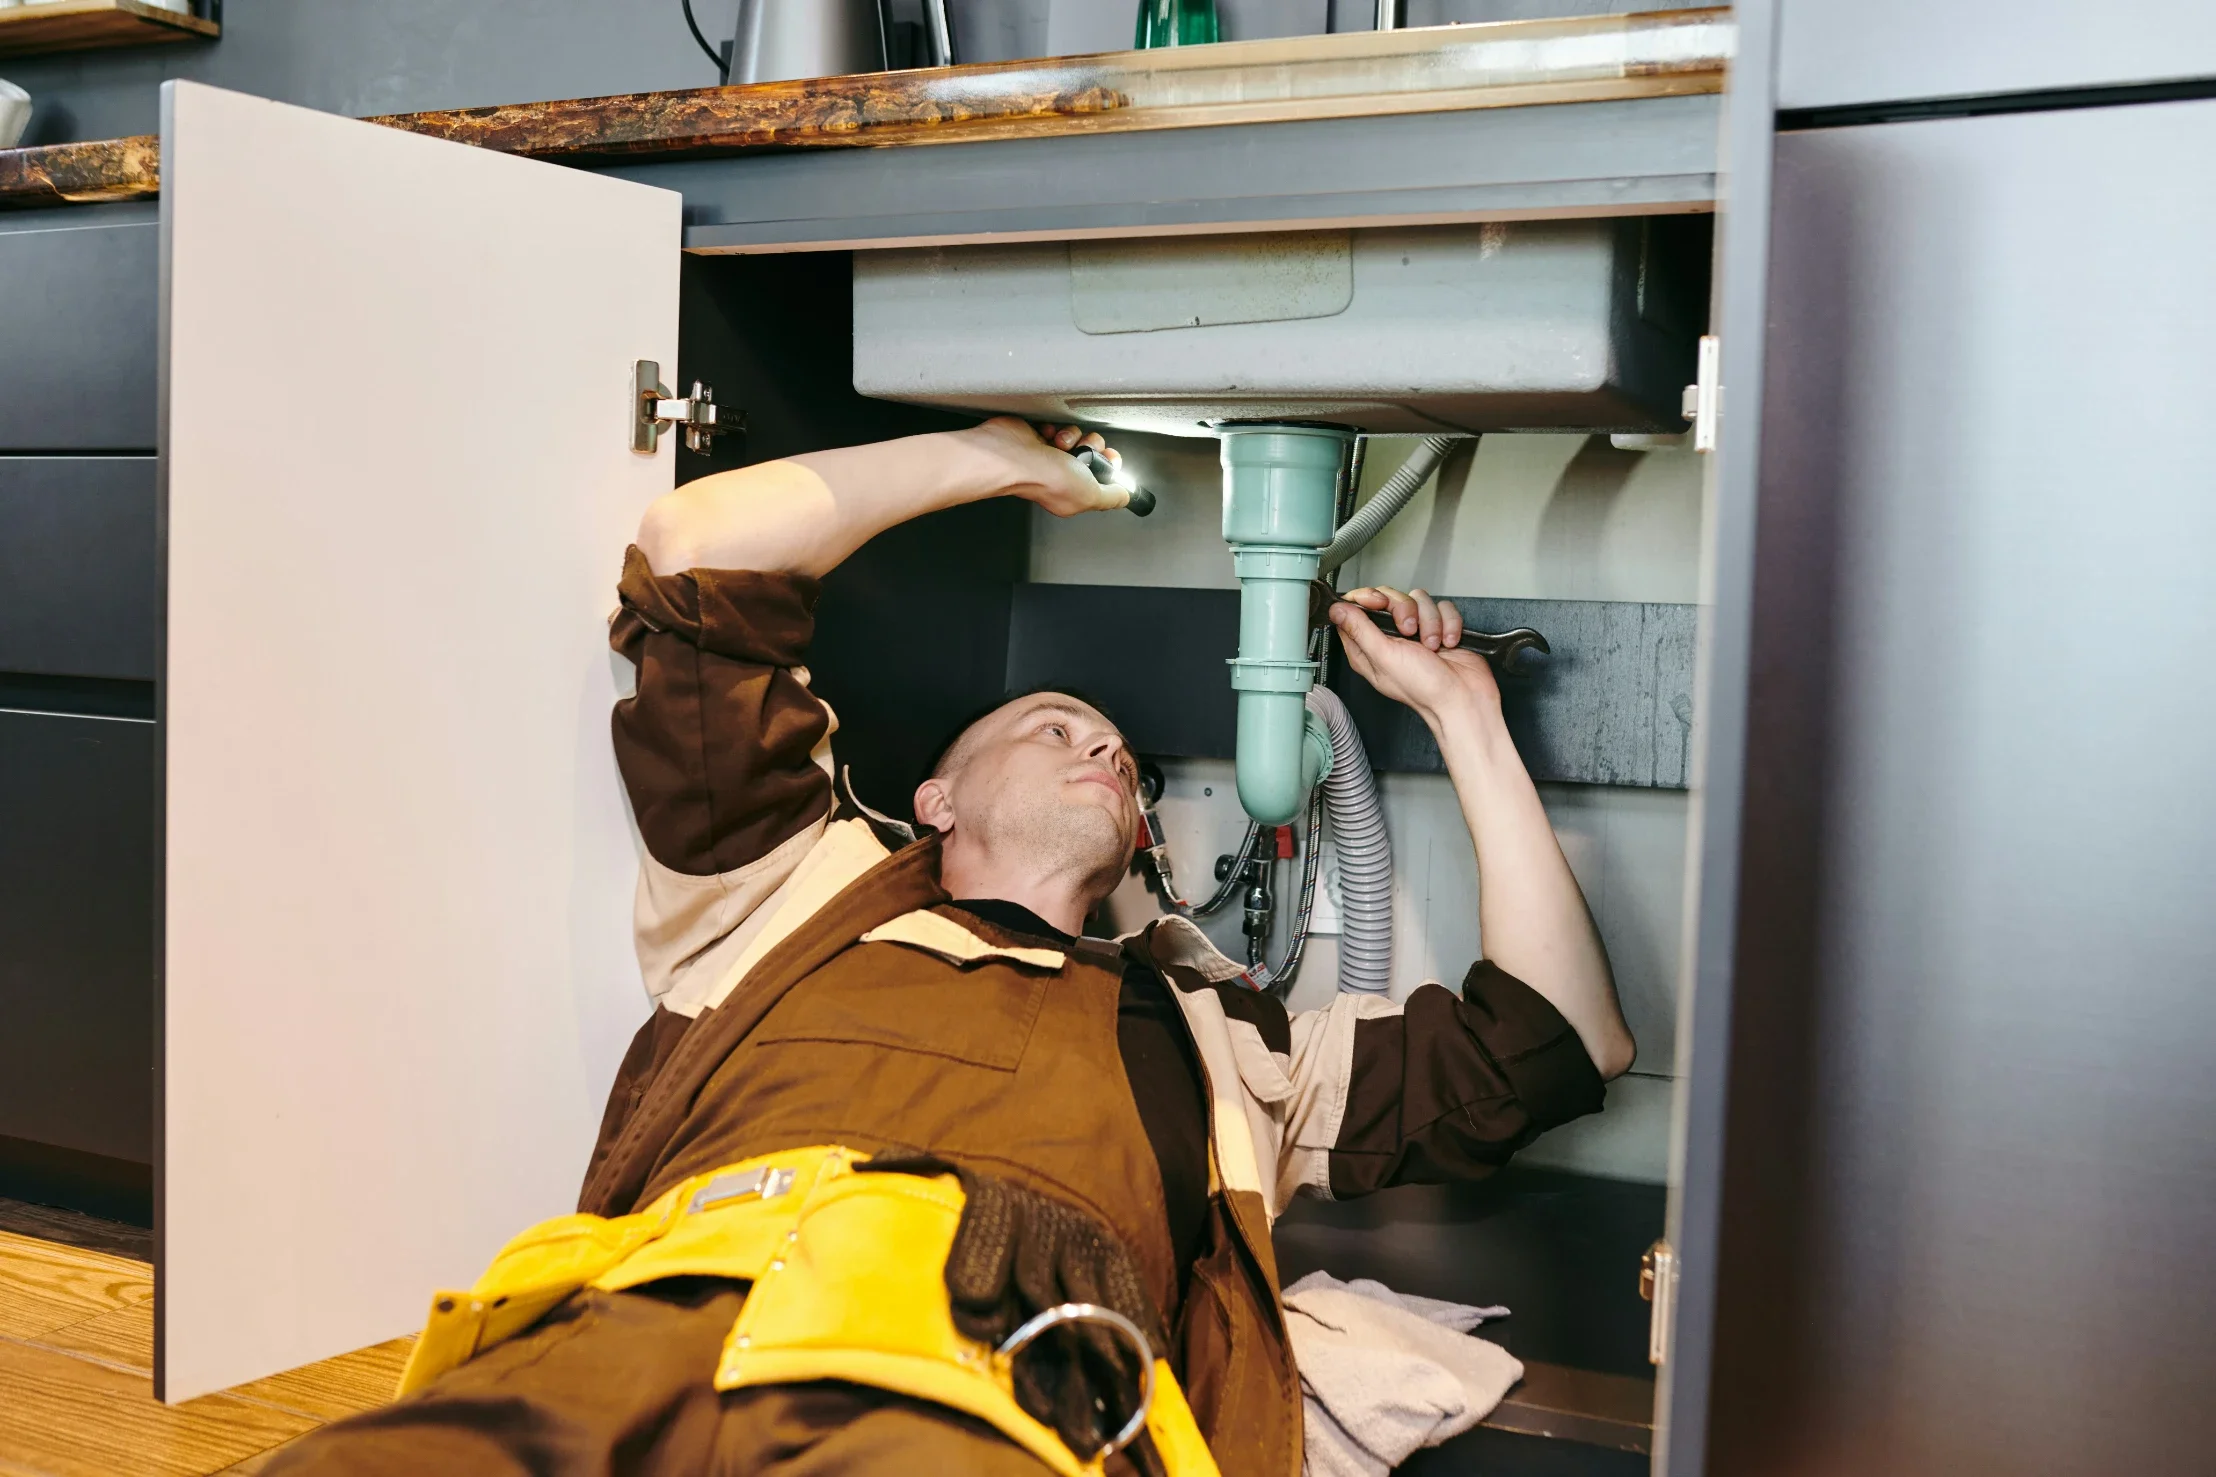
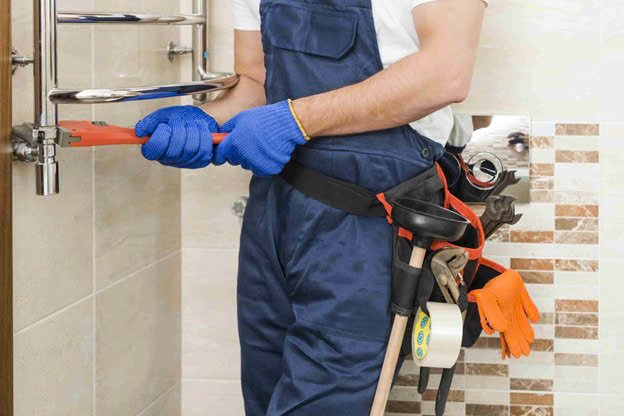
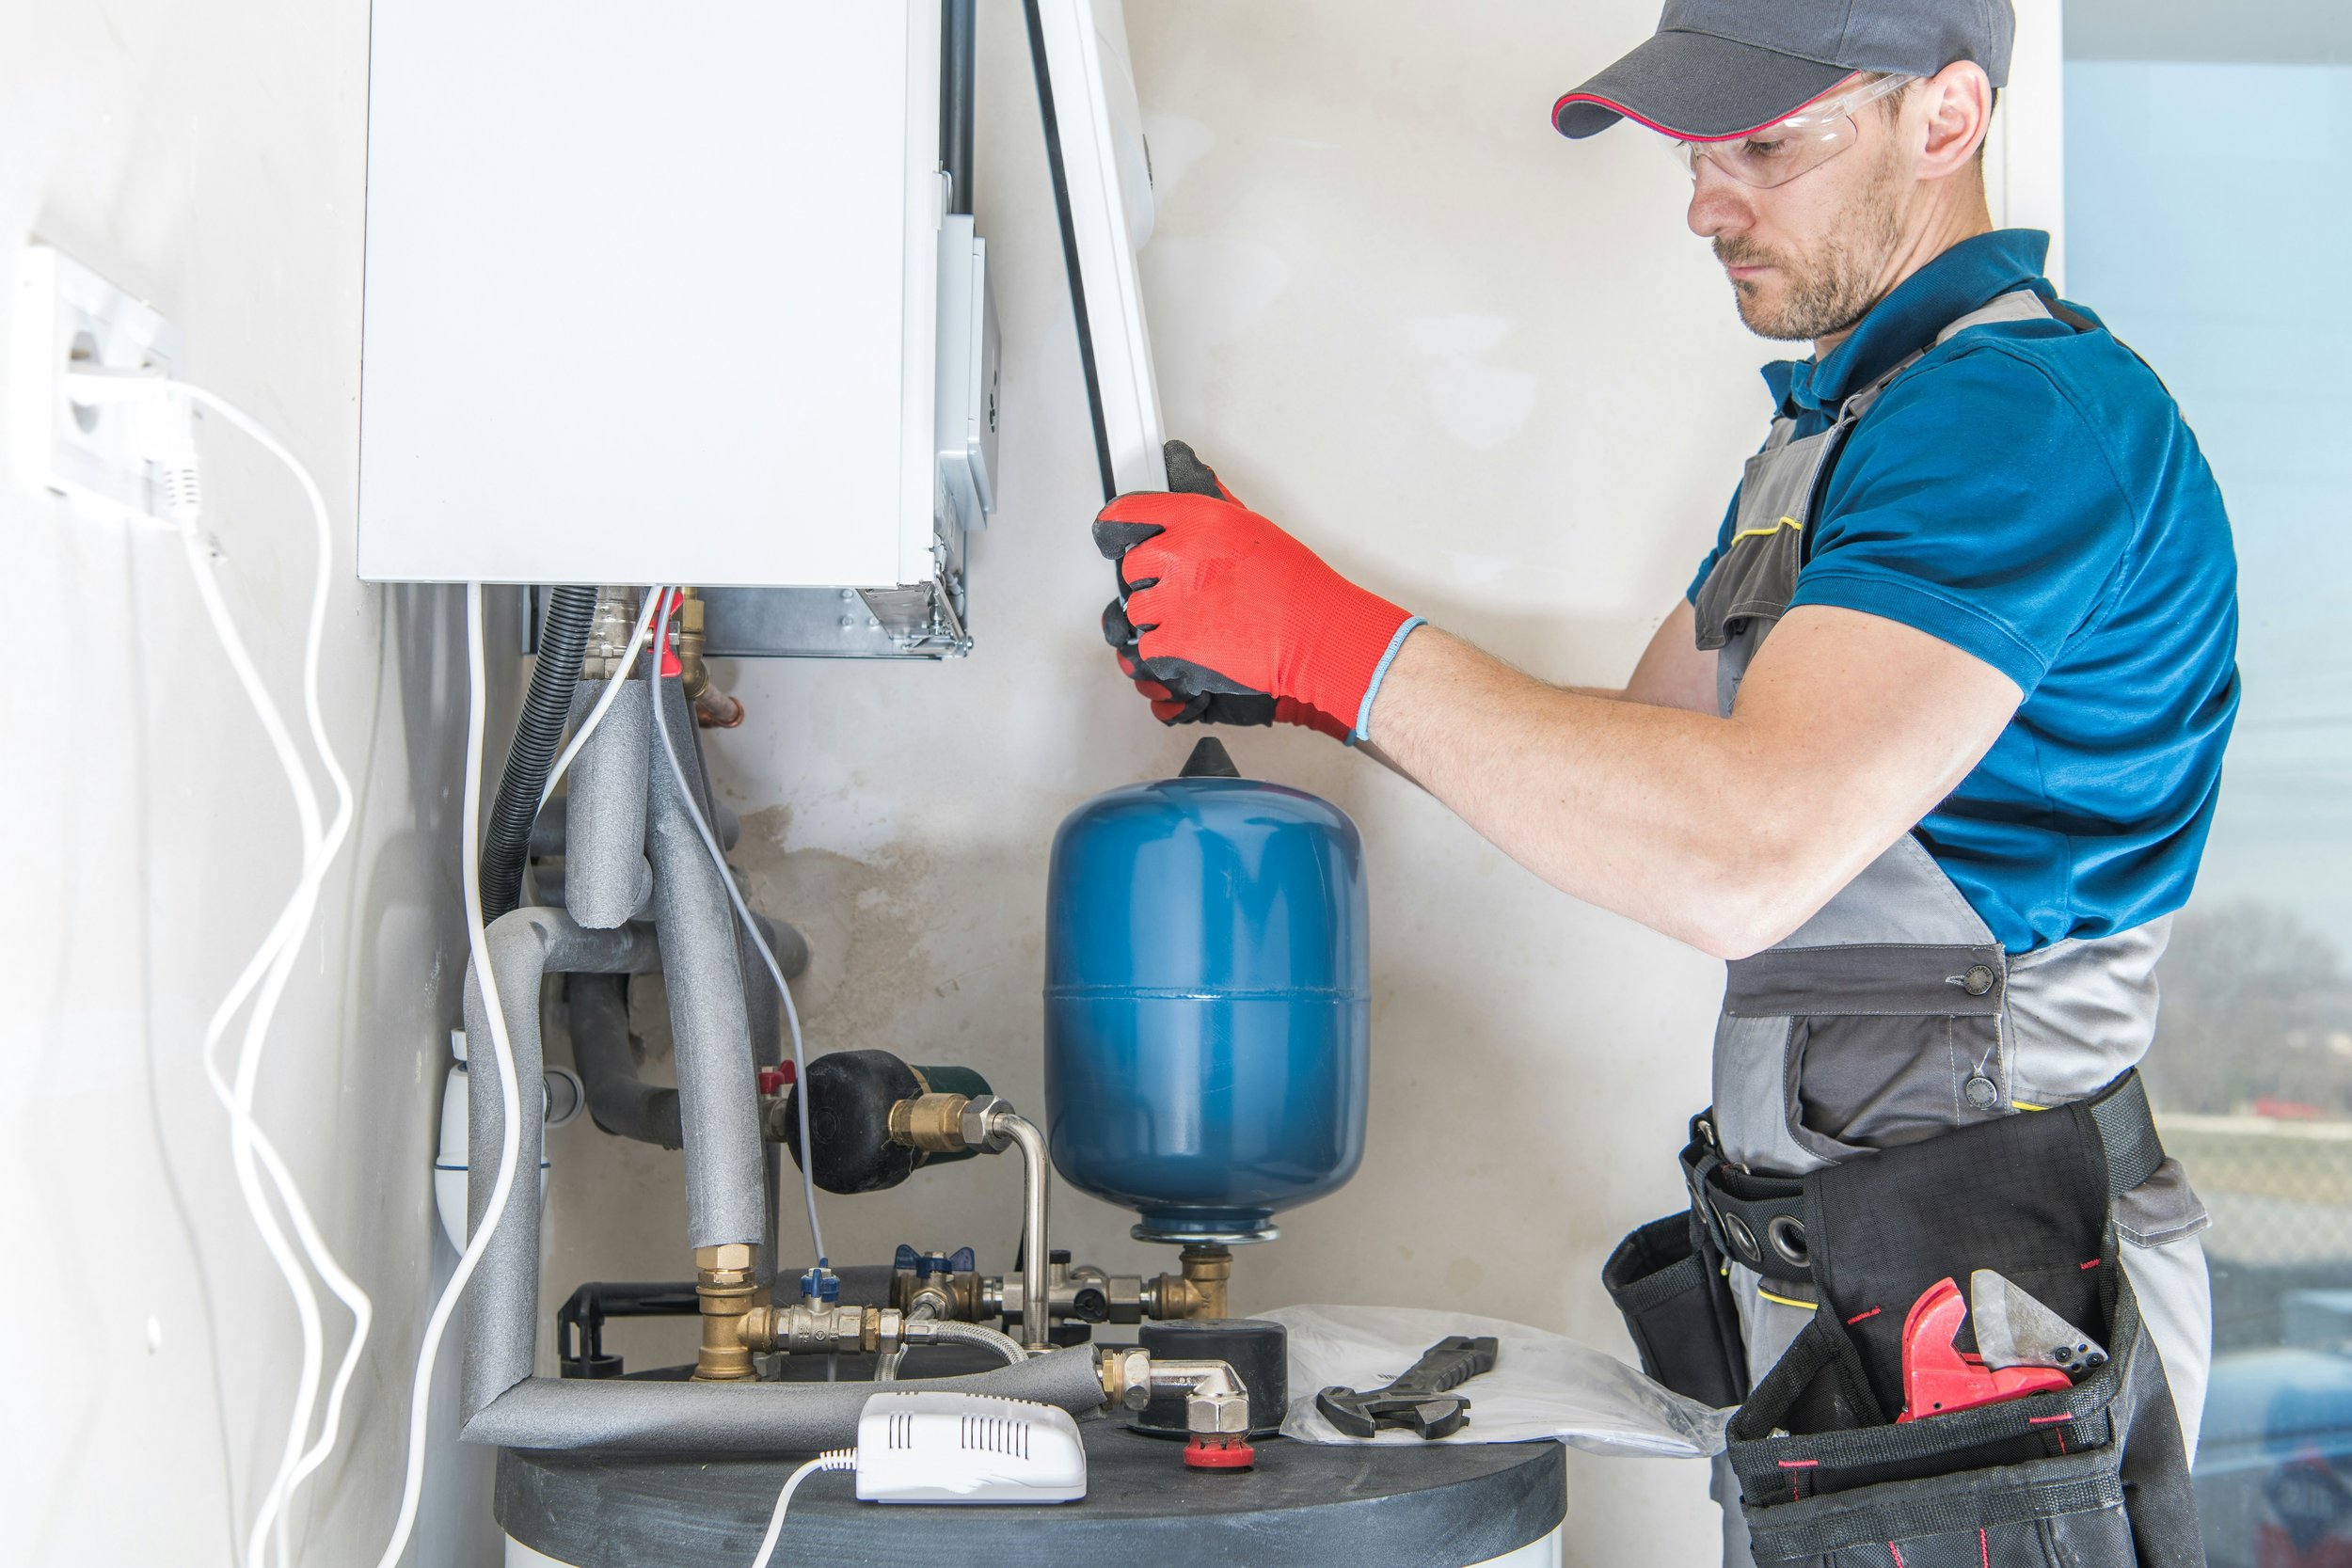
Inspect and Replace Old Shut-Off Valves
The small shut-off valves under your sink and behind your toilet are the plumbing essentials people remember only when they fail. A valve that has not been touched in fifteen years often seizes, and the moment you need it most is the moment it won't budge.
Worse, an old valve that will not fully close turns a five-minute faucet swap into an emergency. You loosen a supply line and water keeps coming because the valve no longer seats.
Before any fixture work, test every shut-off valve. If one is stiff, corroded, or weeping, replace it while the area is already open. Quarter-turn ball valves are far more reliable than the older multi-turn style.
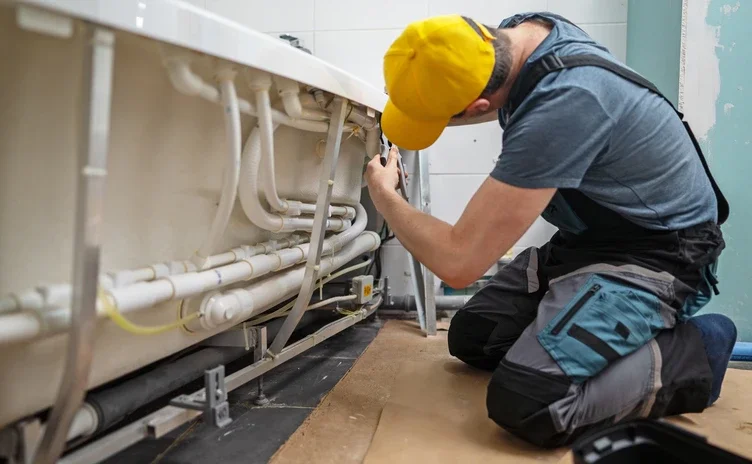
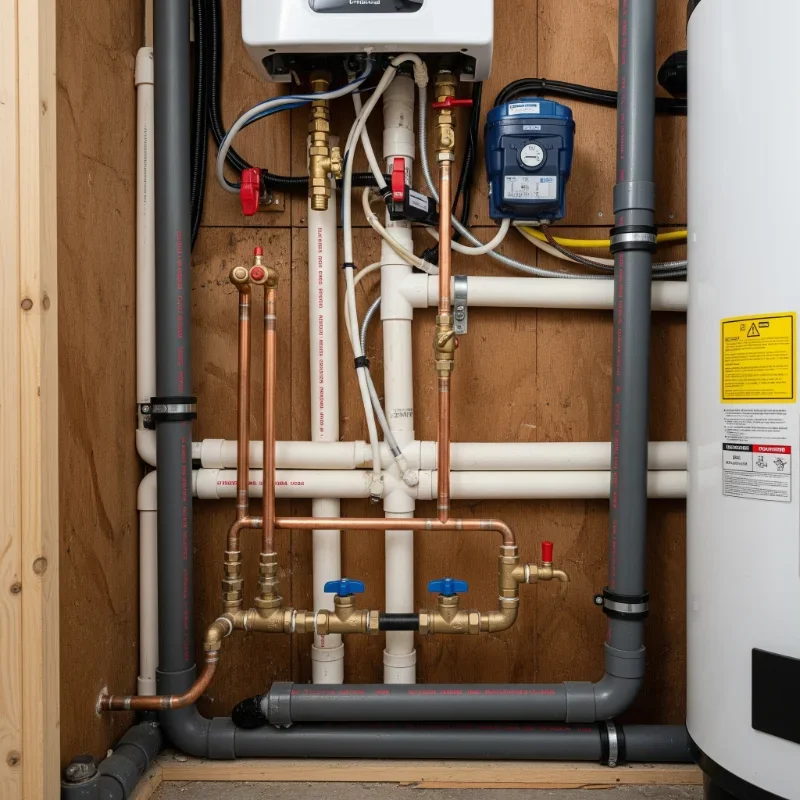
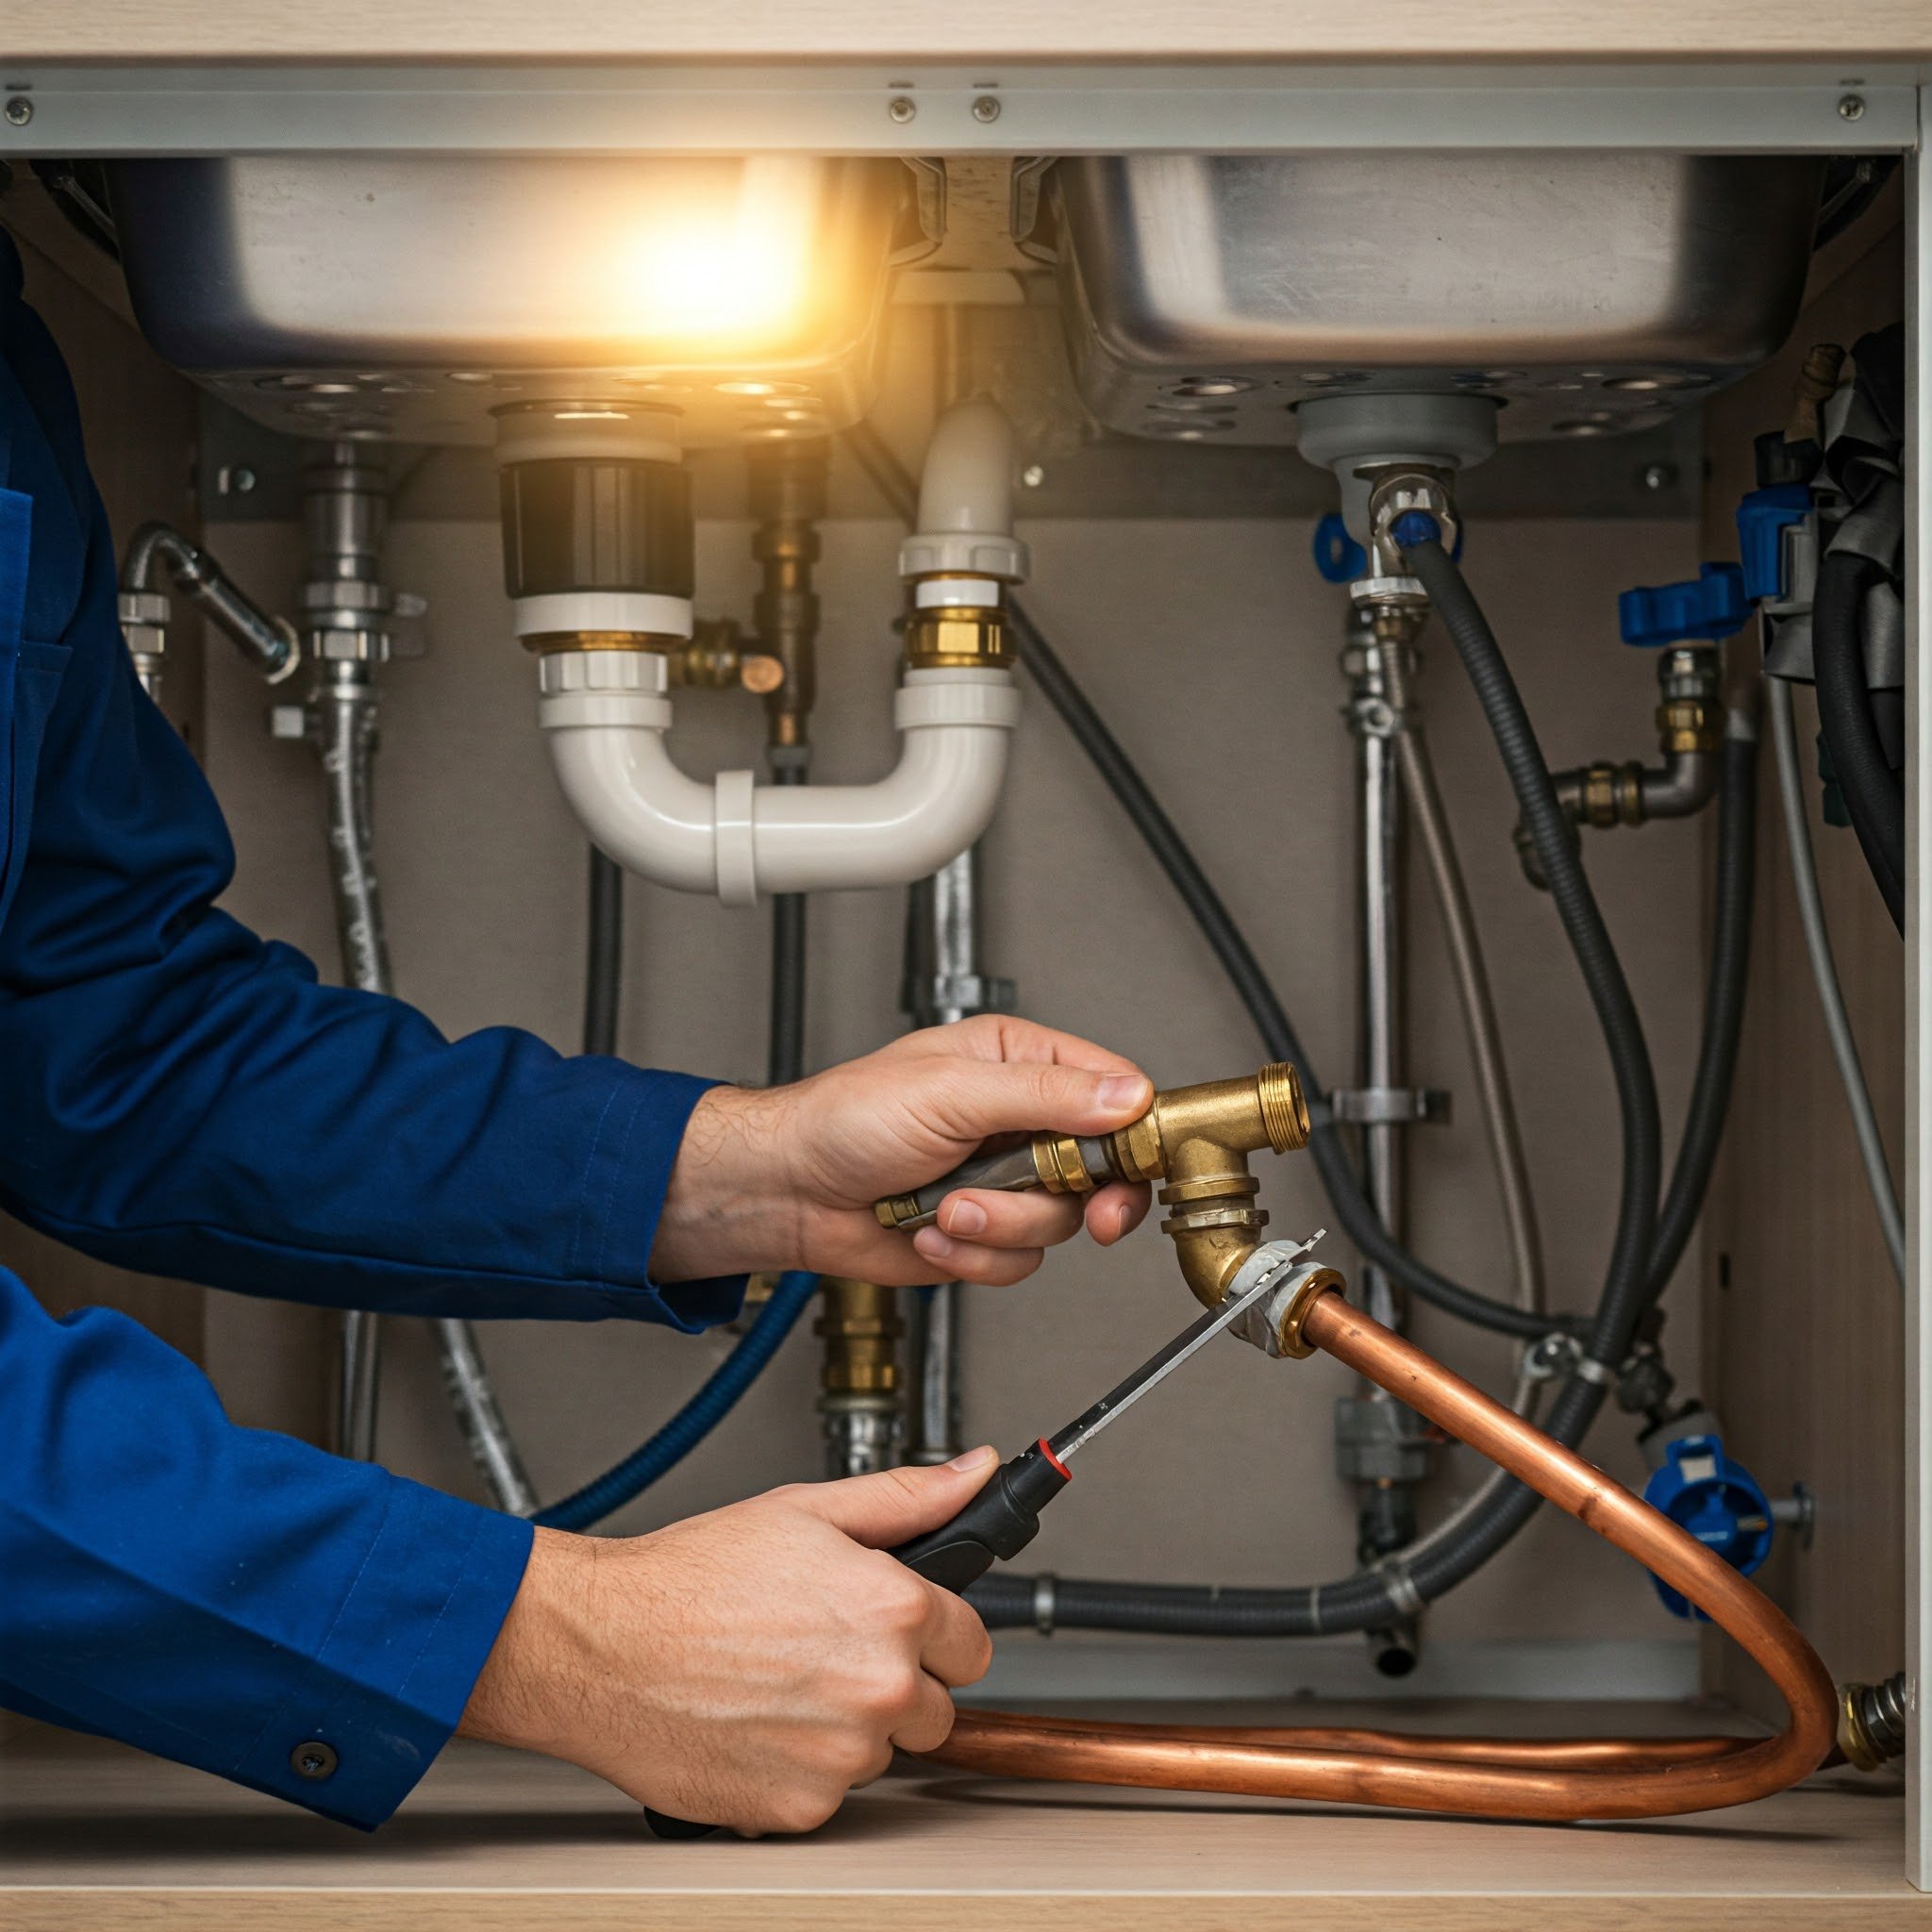
Check What Your Pipes Are Actually Made Of
The age and material of your supply and drain lines decide how smoothly an upgrade goes, especially in older homes. Connecting modern fixtures to corroded pipes is a recipe for leaks and weak flow.
Homes built before the 1970s often have galvanized steel or cast iron lines. Galvanized pipe corrodes from the inside out, narrowing over decades until flow drops and rust appears at the threads. A galvanized drain that is rotting or clogged will give you slow drains no matter how good the new fixture is.
If you open a wall and find an aging galvanized or badly corroded pipe, that is the moment to replace it. With the wall already open, swapping a section to modern materials costs a fraction of doing it later.
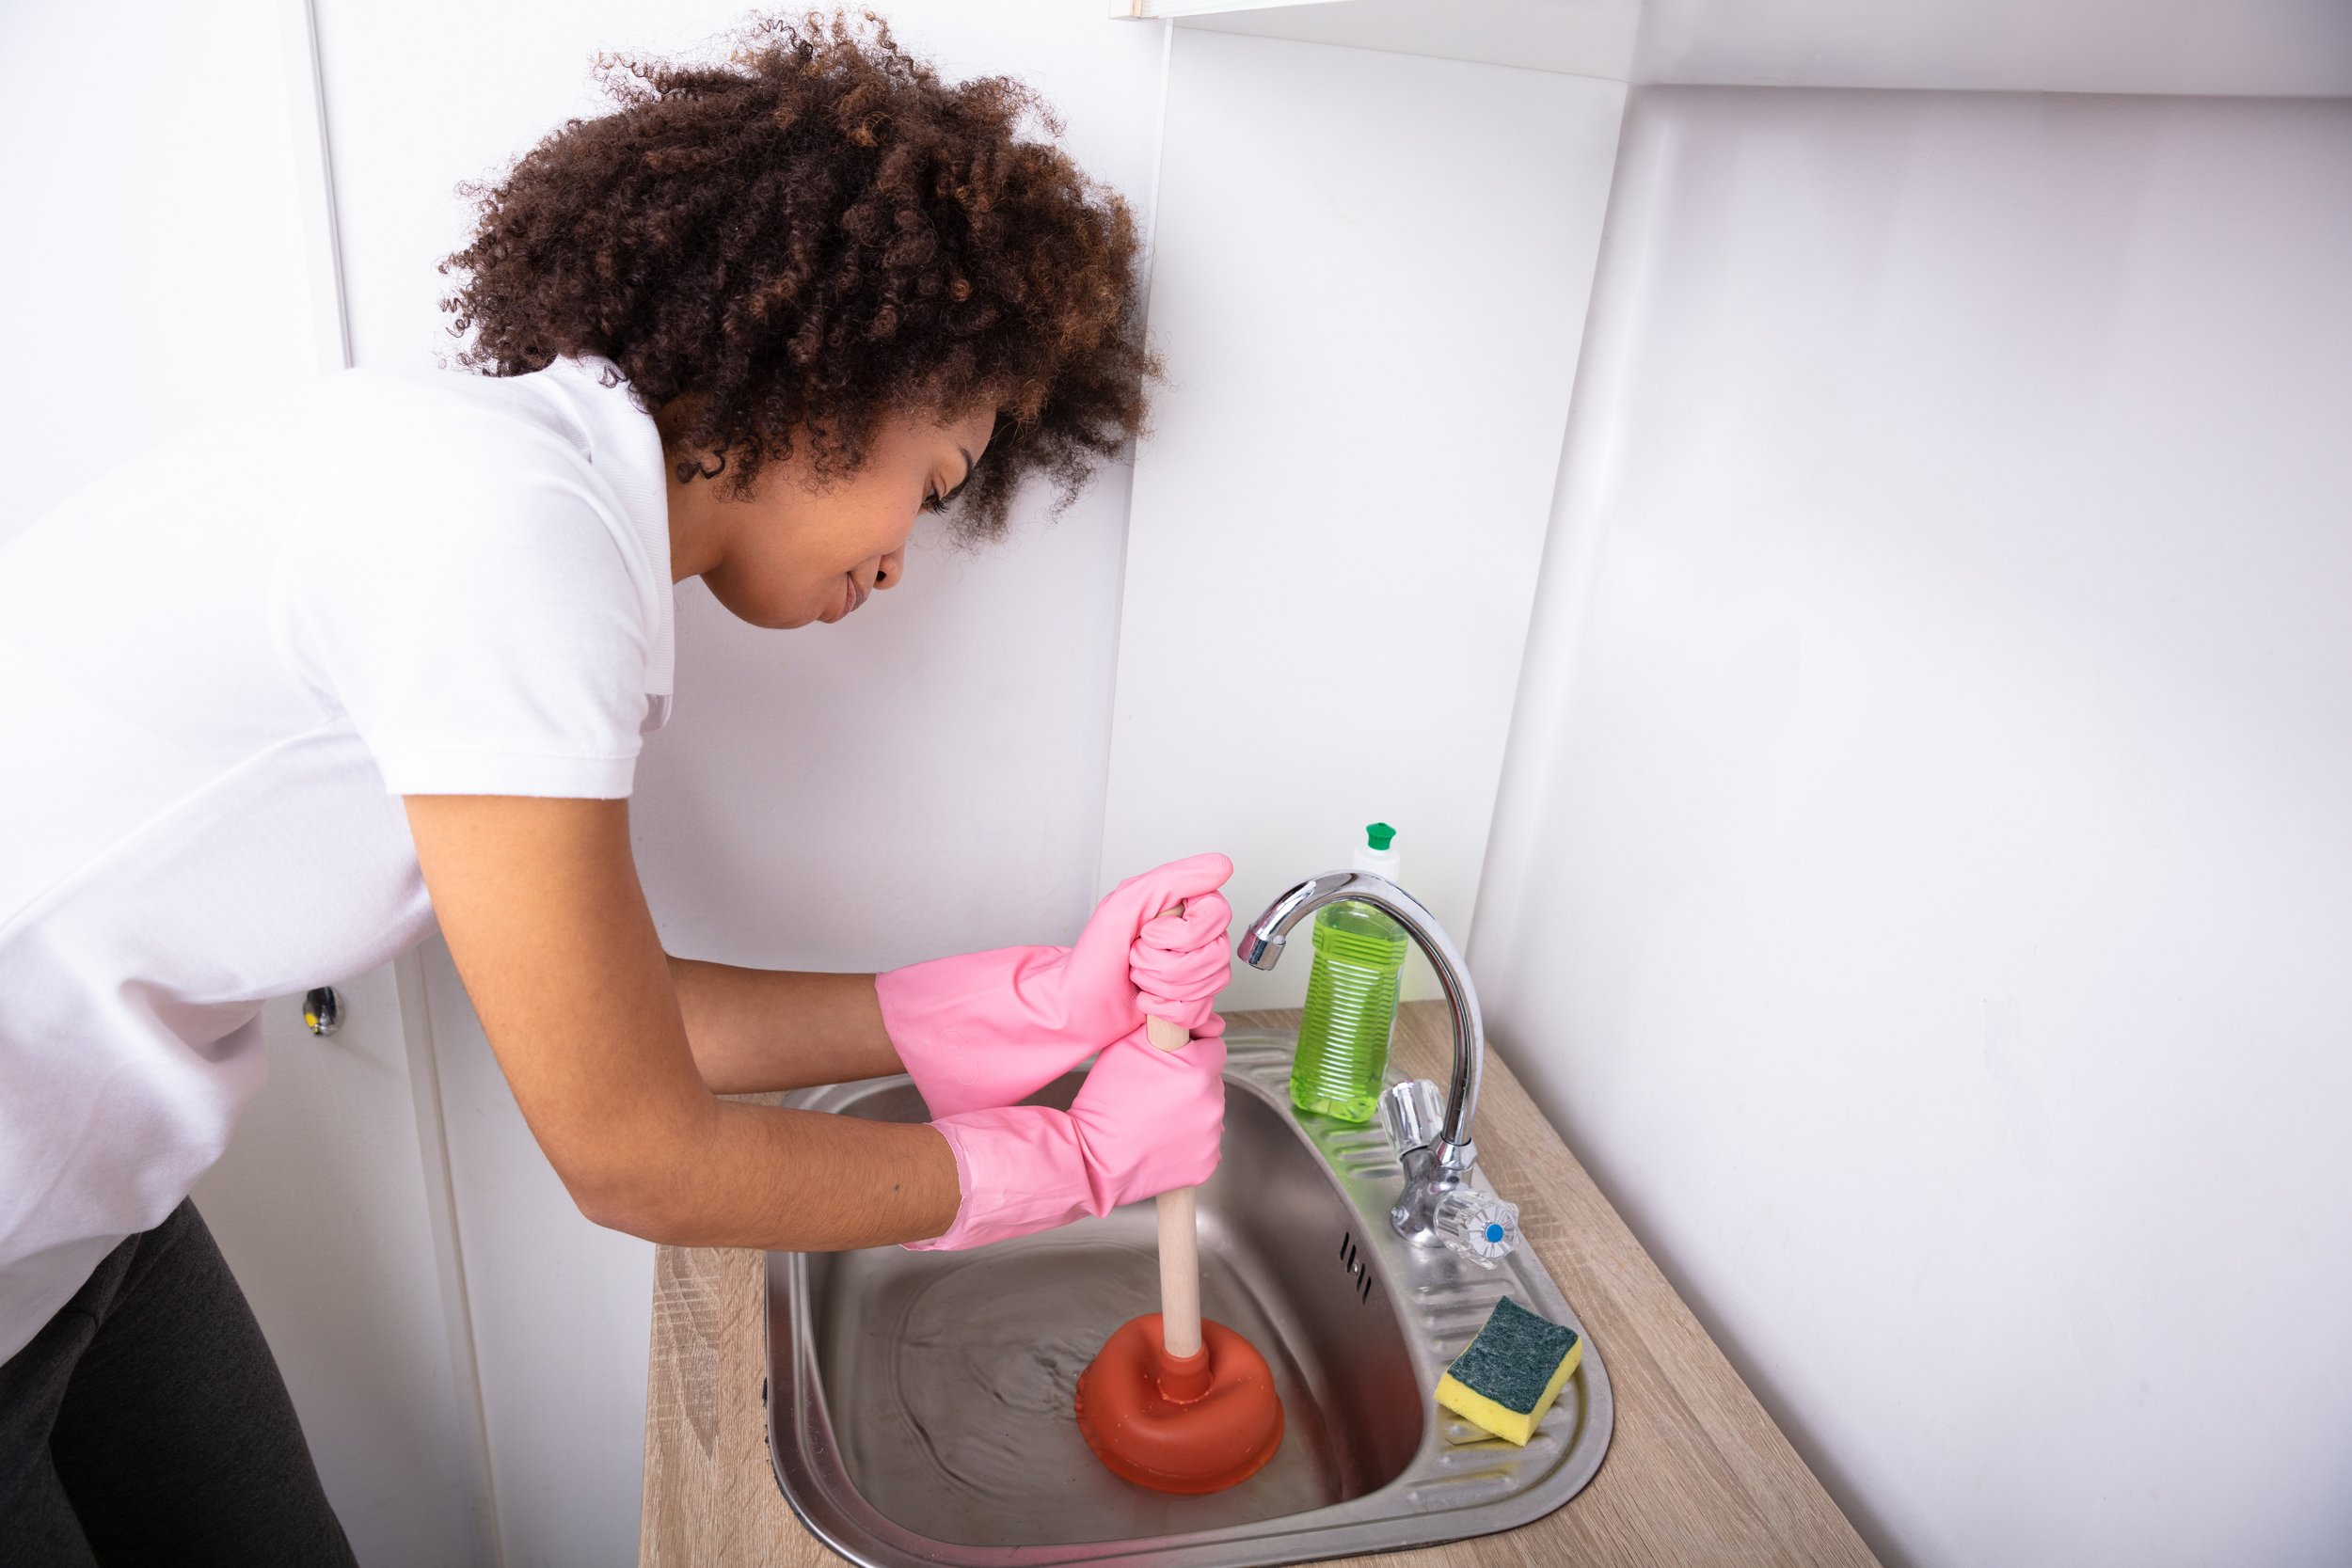
Look for Hidden Leaks Before You Tile Over Anything
A bathroom remodel is the rare chance to see what is behind the wall, so use it. Tiling over an active leak buries a problem that will resurface as mold, rot, and a much bigger repair.
Hidden leaks waste more than you would guess. The EPA estimates the average household's leaks waste nearly 10,000 gallons of water a year, and a slow drip inside a bathroom wall can run for months unnoticed.
While the wall or vanity is open, look for water stains, soft drywall, corrosion on fittings, and that telltale musty smell. Fix anything you find now, before new fixtures and fresh tile seal it out of sight.
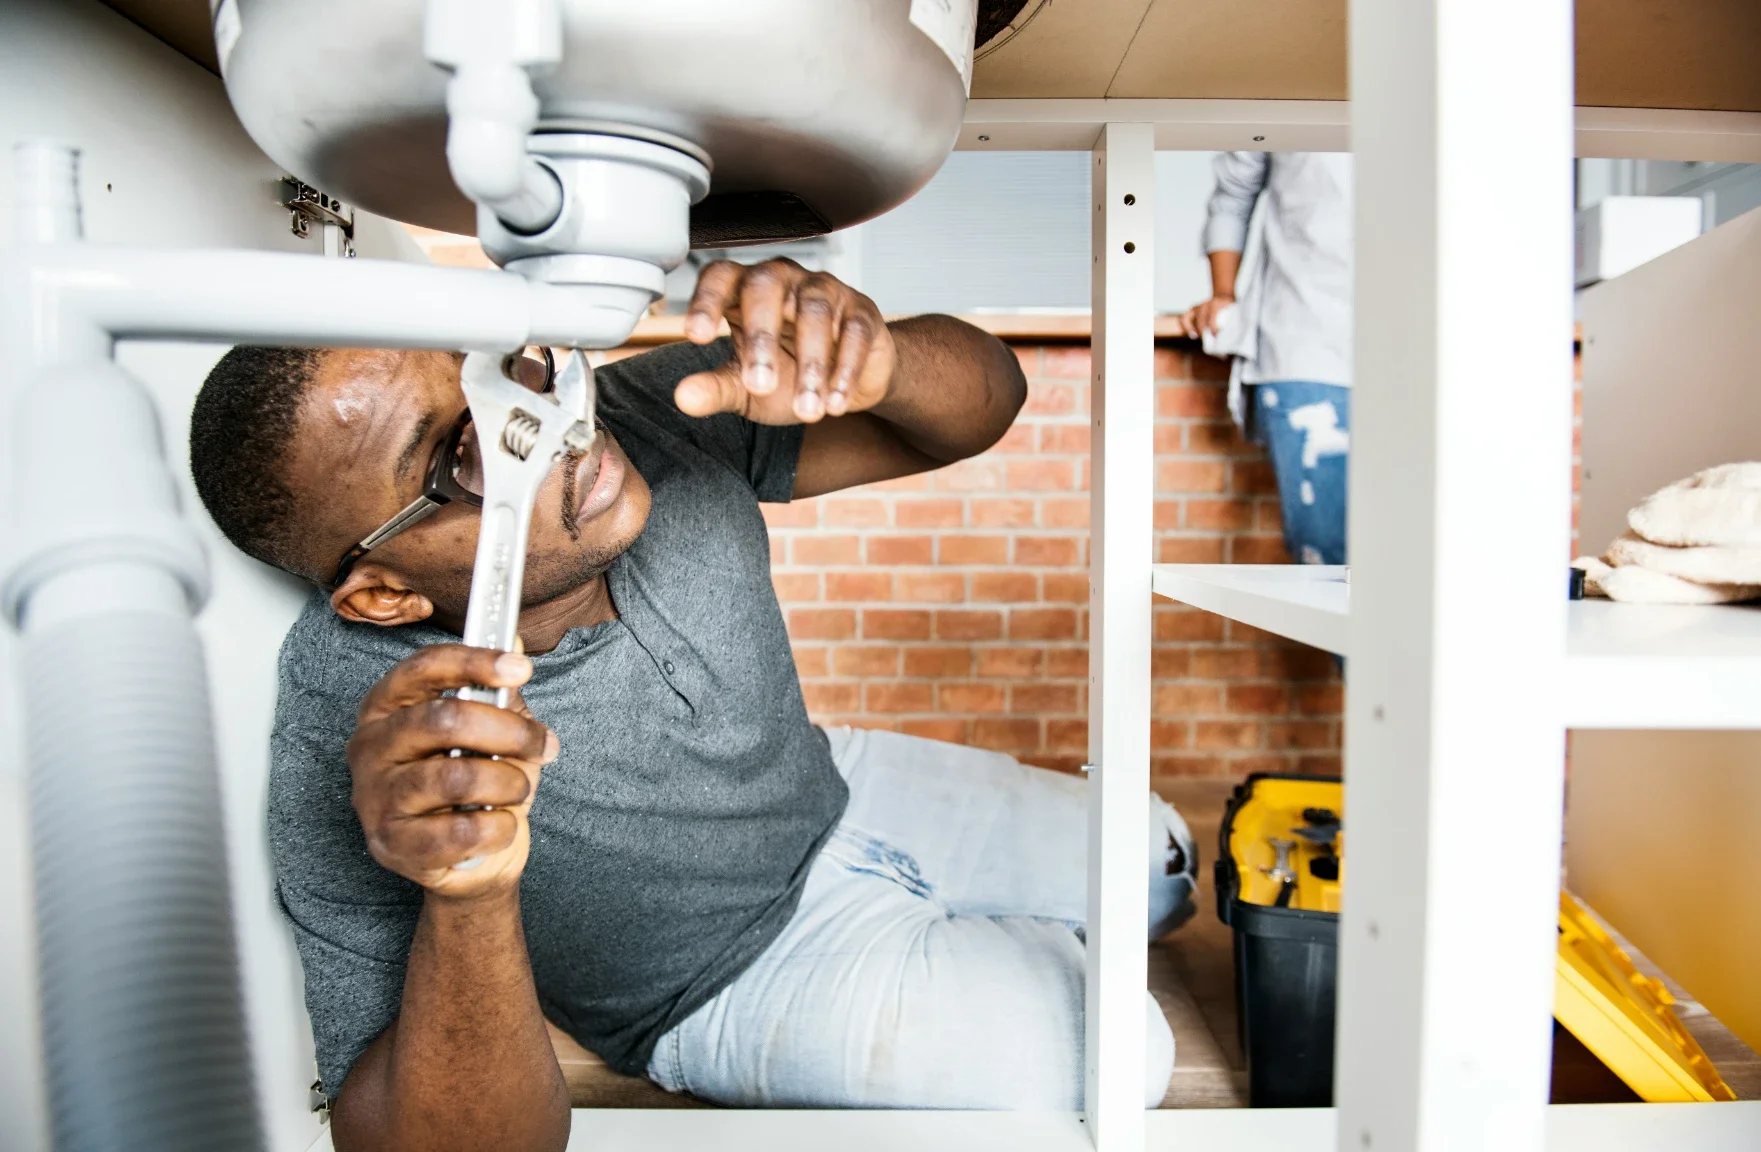
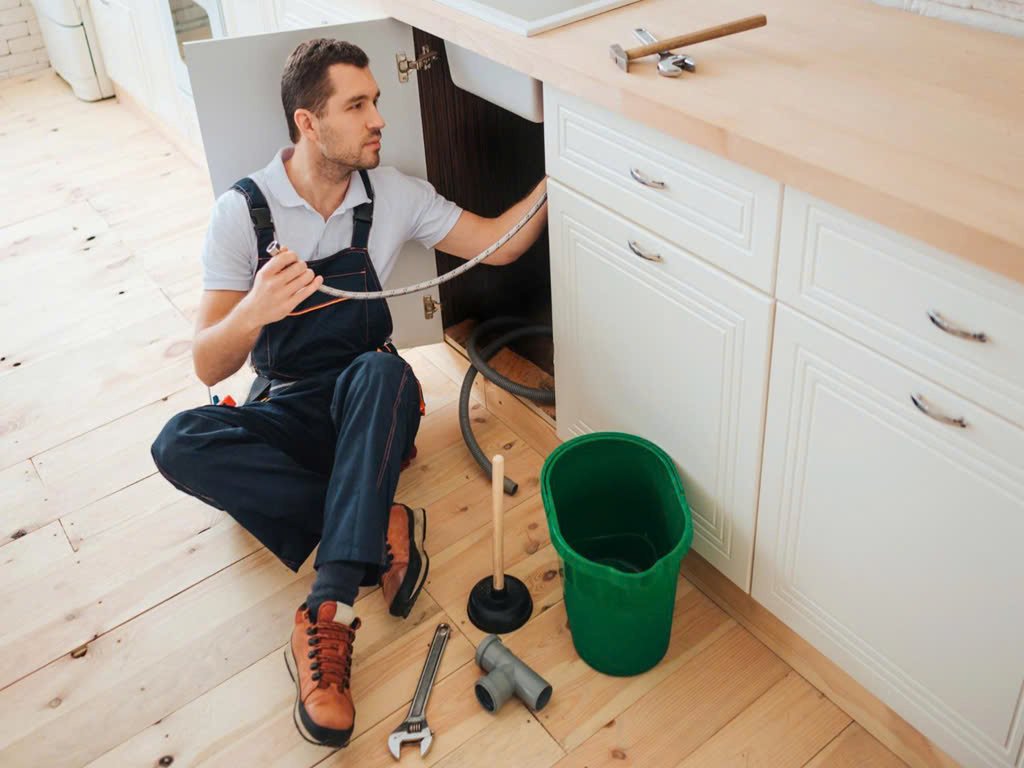
Confirm Your Drains and Venting Can Keep Up
Drainage and venting are the plumbing essentials nobody thinks about until a new sink gurgles or drains slowly. If you are moving fixtures or adding a second sink, the existing drain and vent setup may not be sized for it.
Every fixture needs proper venting to drain correctly, and codes limit how many fixture units a single vent can serve. Push past that limit and you get slow drains, gurgling, and traps that siphon dry and let sewer gas in.
If your upgrade relocates a toilet or adds fixtures, confirm the drain slope and vent capacity before you commit. This is the kind of detail that is invisible until it fails, then impossible to ignore.
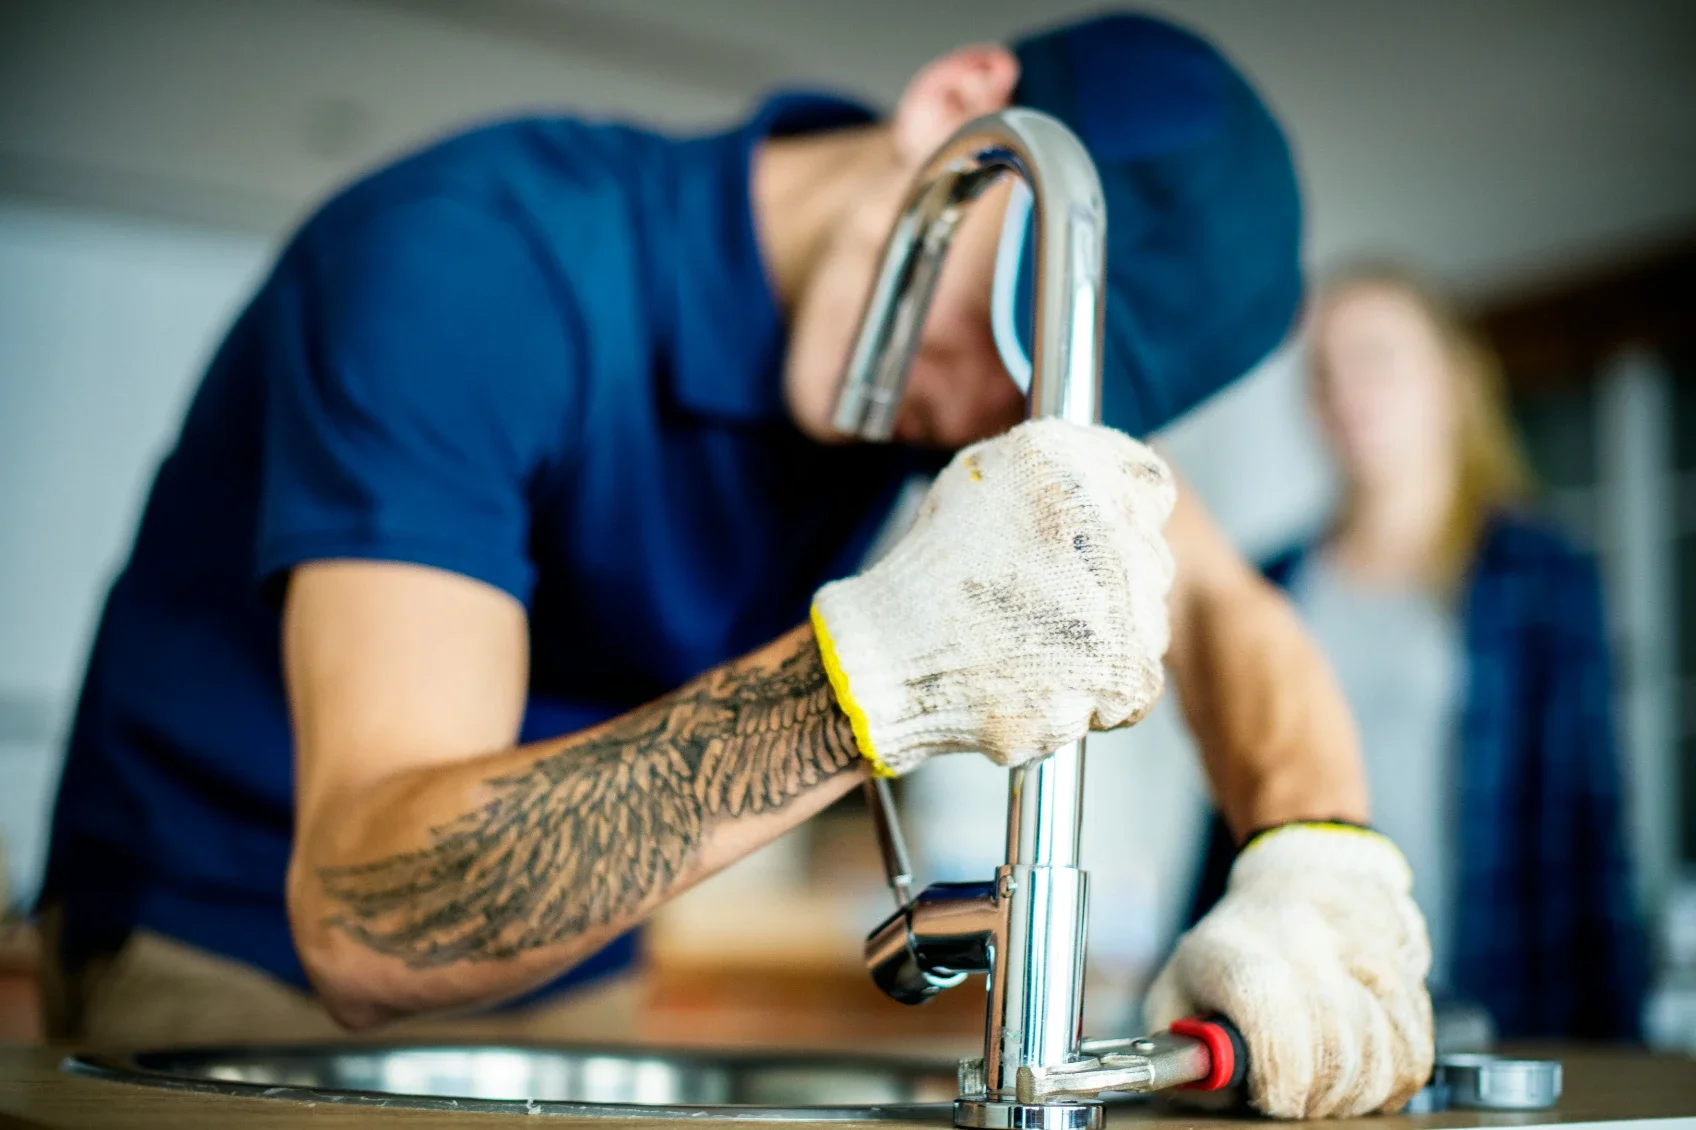
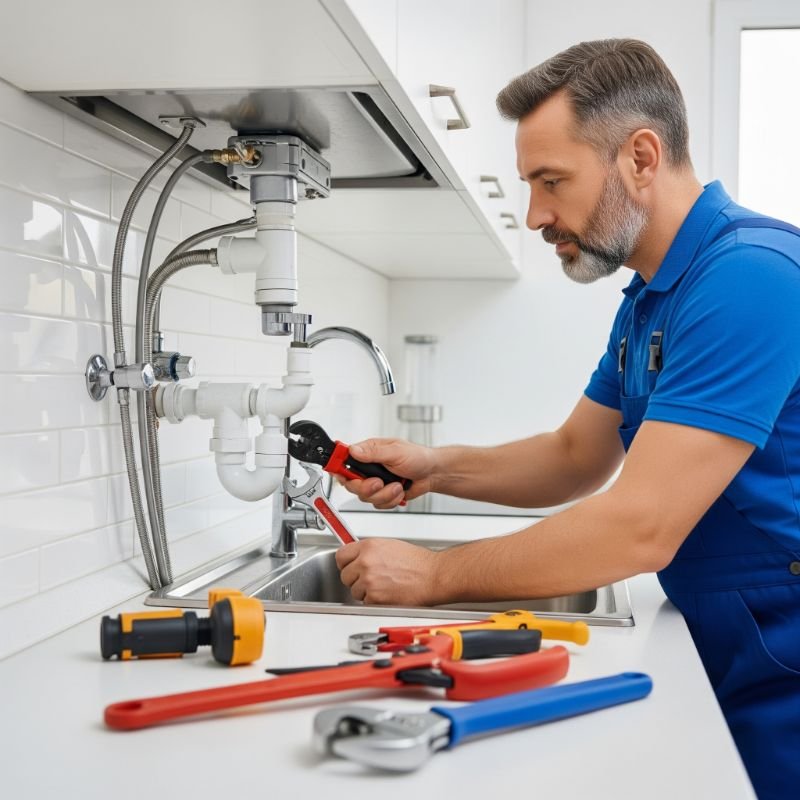
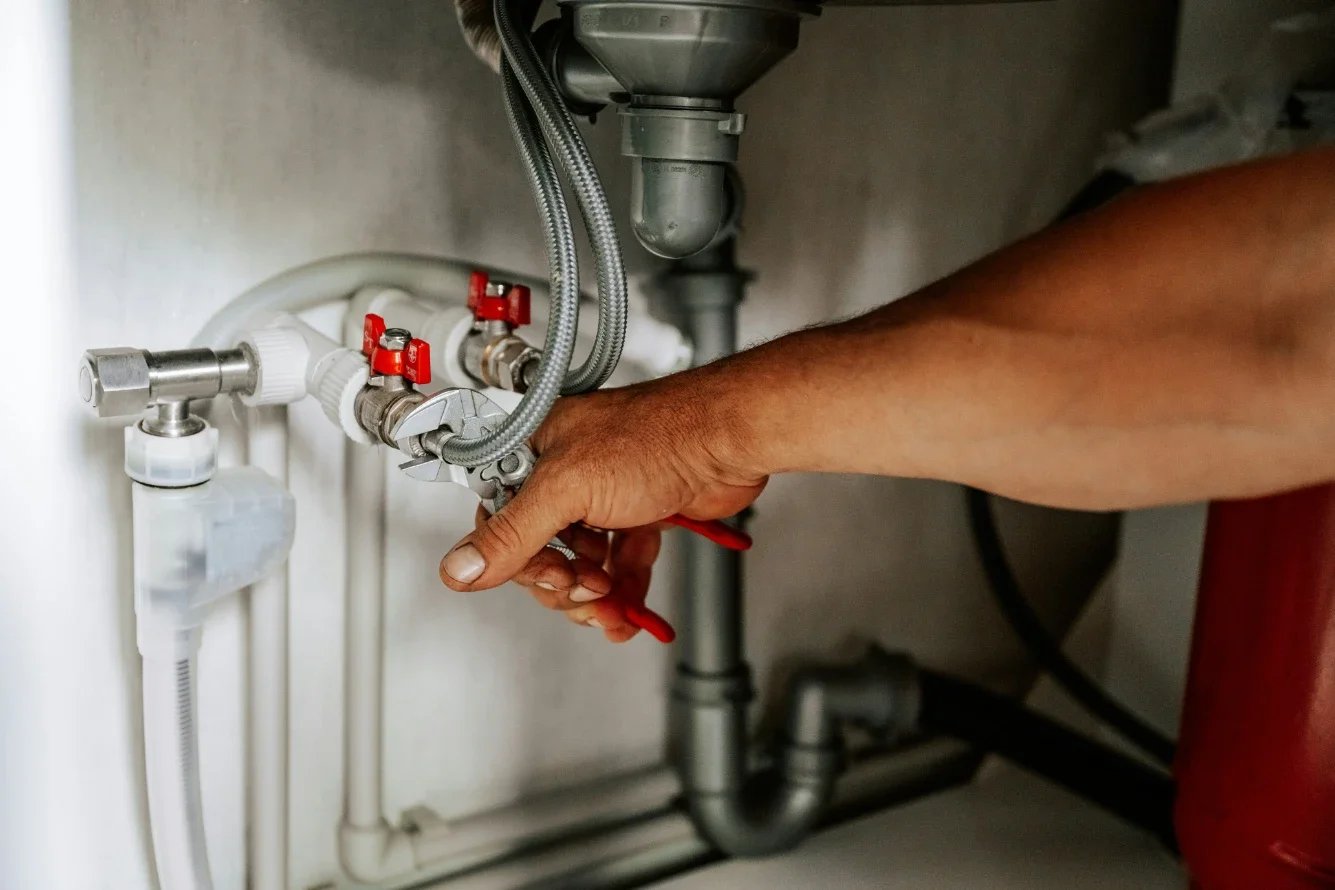
Match Supply Lines and Connections to the New Fixtures
New fixtures don't always bolt onto old connections, and assuming they will is how a quick job stalls halfway through. Supply line length, valve thread size, and drain rough-in heights all have to match.
A new vanity may sit at a different height than the old one, leaving your supply lines too short or your P-trap misaligned. A modern faucet may need different connections than the ones currently in the wall.
Measure the rough-in dimensions and check connection sizes before you buy. Knowing what fits saves a frustrating second and third trip back to the store mid-project.
What Separates a Clean Upgrade From a Costly One
The pattern across all of these plumbing essentials is the same: the fixture is never the hard part. The hard part is everything connected to it, and the homeowners who skip the behind-the-wall checks are the ones who end up paying twice, once for the upgrade and again for the damage it uncovered.
Run the checks in order. Test pressure, work the shut-off valves, inspect pipe material, hunt for leaks, confirm drainage and venting, and verify your connections fit. Most of these take minutes and cost little, yet they decide whether your new fixtures last for decades or leak by next winter.
When a check turns up high pressure, corroded pipe, or a venting question you can't answer, that is the point to bring in a licensed professional before the tile goes up, not after. Catching it while the wall is open is always cheaper than opening it again.
FAQ
What plumbing should I check before upgrading bathroom fixtures?
Start with water pressure, shut-off valves, pipe material and condition, hidden leaks, and your drain and vent setup. Pressure above 80 psi and corroded valves or pipes are the most common problems that ruin new fixtures, and all are easiest to fix while the wall or vanity is open.
Can I install new fixtures on old pipes?
Sometimes, but it depends on the pipe condition. If your supply and drain lines are modern and in good shape, new fixtures connect fine. If you have corroded galvanized or aging cast iron, connecting new hardware to it often leads to leaks and weak flow, so replacing the bad sections first is the smarter move.
What water pressure is too high for bathroom fixtures?
Anything above 80 psi. The ideal home range is 40 to 60 psi. Many fixture cartridges and shut-off valves are rated near 80 psi, so higher pressure wears them out quickly. A pressure reducing valve at the main line brings it back into a safe range.
Should I replace shut-off valves during a bathroom remodel?
Yes, if they are stiff, corroded, or more than a decade old. Old valves often seize or fail to fully close, which turns a simple fixture swap into a water emergency. Replacing them with quarter-turn valves while the area is open is cheap insurance.
How do I know if my bathroom has a hidden leak?
Look for water stains, soft or discolored drywall, corrosion on fittings, a persistent musty smell, or an unexplained jump in your water bill. A remodel is the ideal time to inspect, since the wall is open and a small leak is far easier to fix before new tile and fixtures cover it.
Stay up to date with our latest ideas!