How to Use a Plumbing Camera to Diagnose Household Clogs?
Learn how to use a plumbing camera to accurately diagnose household clogs, identify pipe issues, and choose the right solution before costly repairs.
Clogs are frustrating because the symptoms don’t always match the cause. A slow kitchen sink can be grease buildup… or it can be a venting issue, a sagging pipe, or a blockage farther downstream. A plumbing camera (also called a drain camera or pipe inspection camera) takes the guessing out of the equation by showing you exactly what’s happening inside the line—so you can choose the right fix the first time.
In this guide, you’ll learn when a camera inspection makes sense, how to do it safely at home, what common clogs look like on screen, and when it’s time to call a plumber.
Table of Contents
When a Plumbing Camera Is Worth Using
What You Need Before You Inspect
Step-by-Step: Camera Inspection for Common Household Drains
What Different Problems Look Like on Camera
What to Do After You Find the Cause
When to Call a Pro (and What to Ask For)
Quick FAQ
When is a Plumbing Camera Worth Using?
A plumbing camera is most useful when:
The clog keeps coming back after plunging or snaking.
Multiple fixtures are slow or backing up (example: toilet + shower acting up together).
You smell persistent sewer odors and suspect a vent or main line issue.
You’ve tried basic cleaning and still can’t tell where the blockage is.
You want to confirm whether it’s a simple buildup or something more serious (like damage, roots, or a “belly” in the pipe).
If your drain is only mildly slow and improves with a simple trap cleanout, you may not need a camera. But if you’re stuck in a cycle of “temporary fixes,” a camera inspection is often the fastest way to break it.
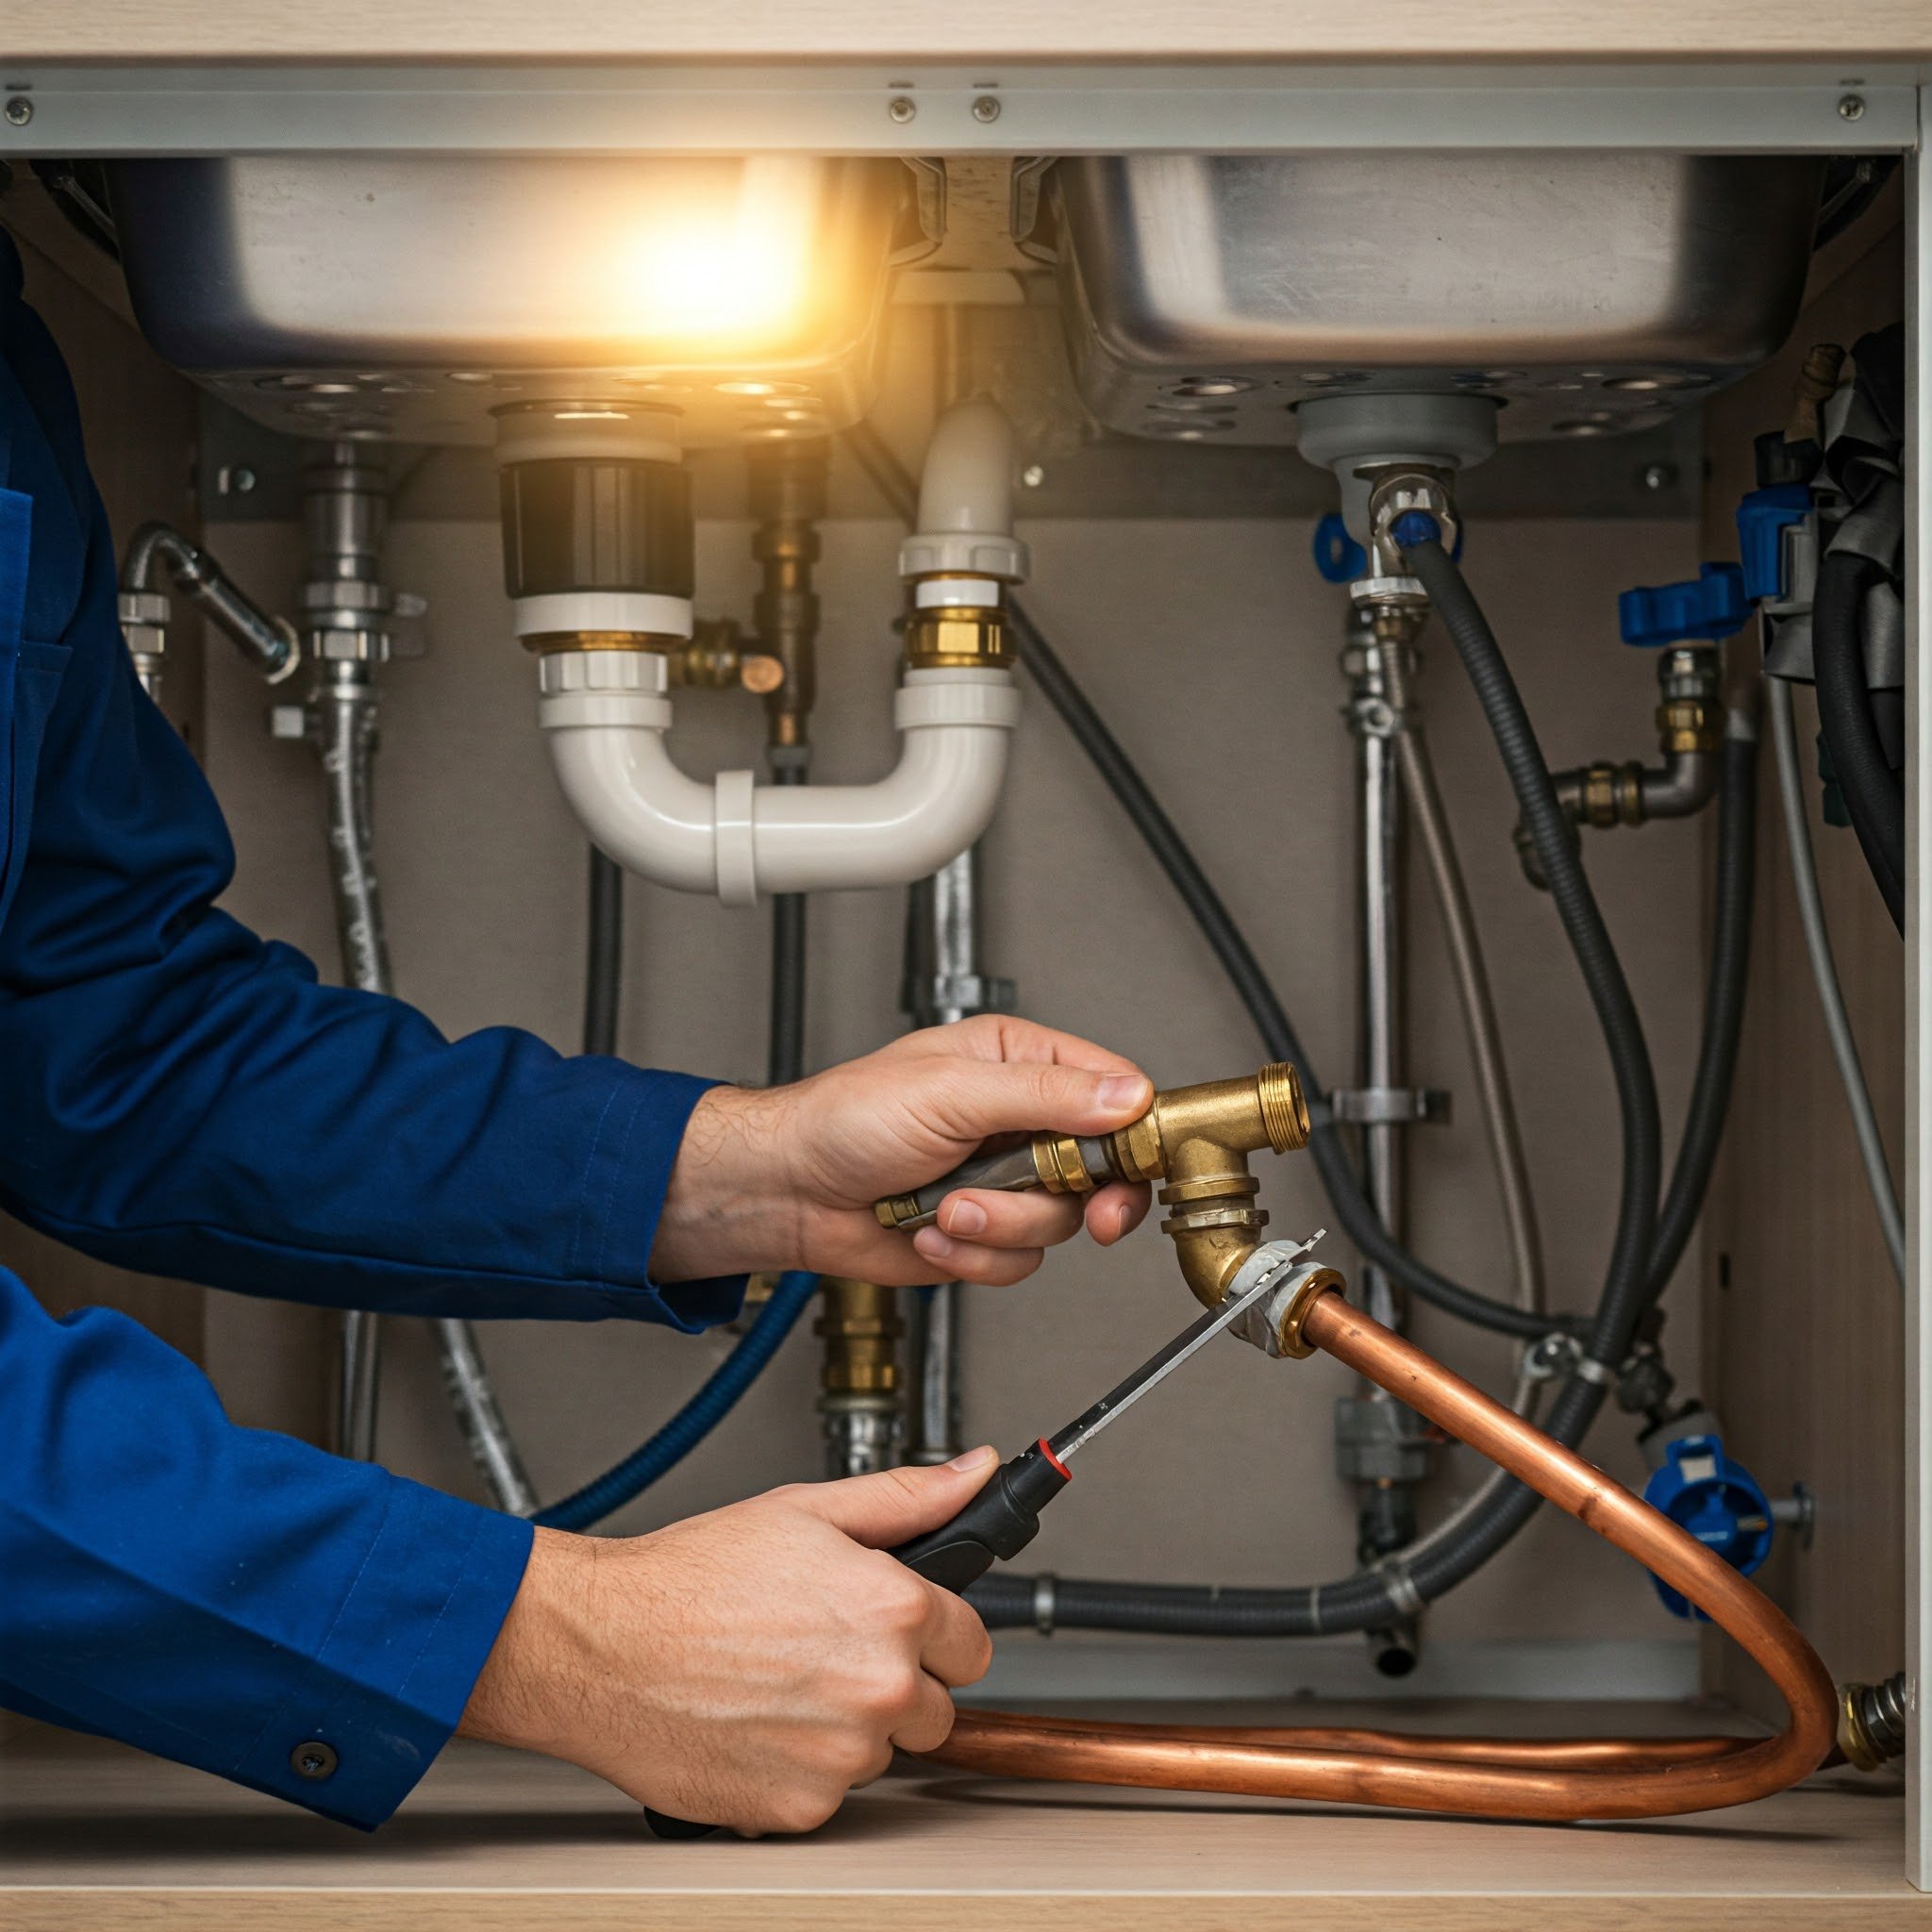
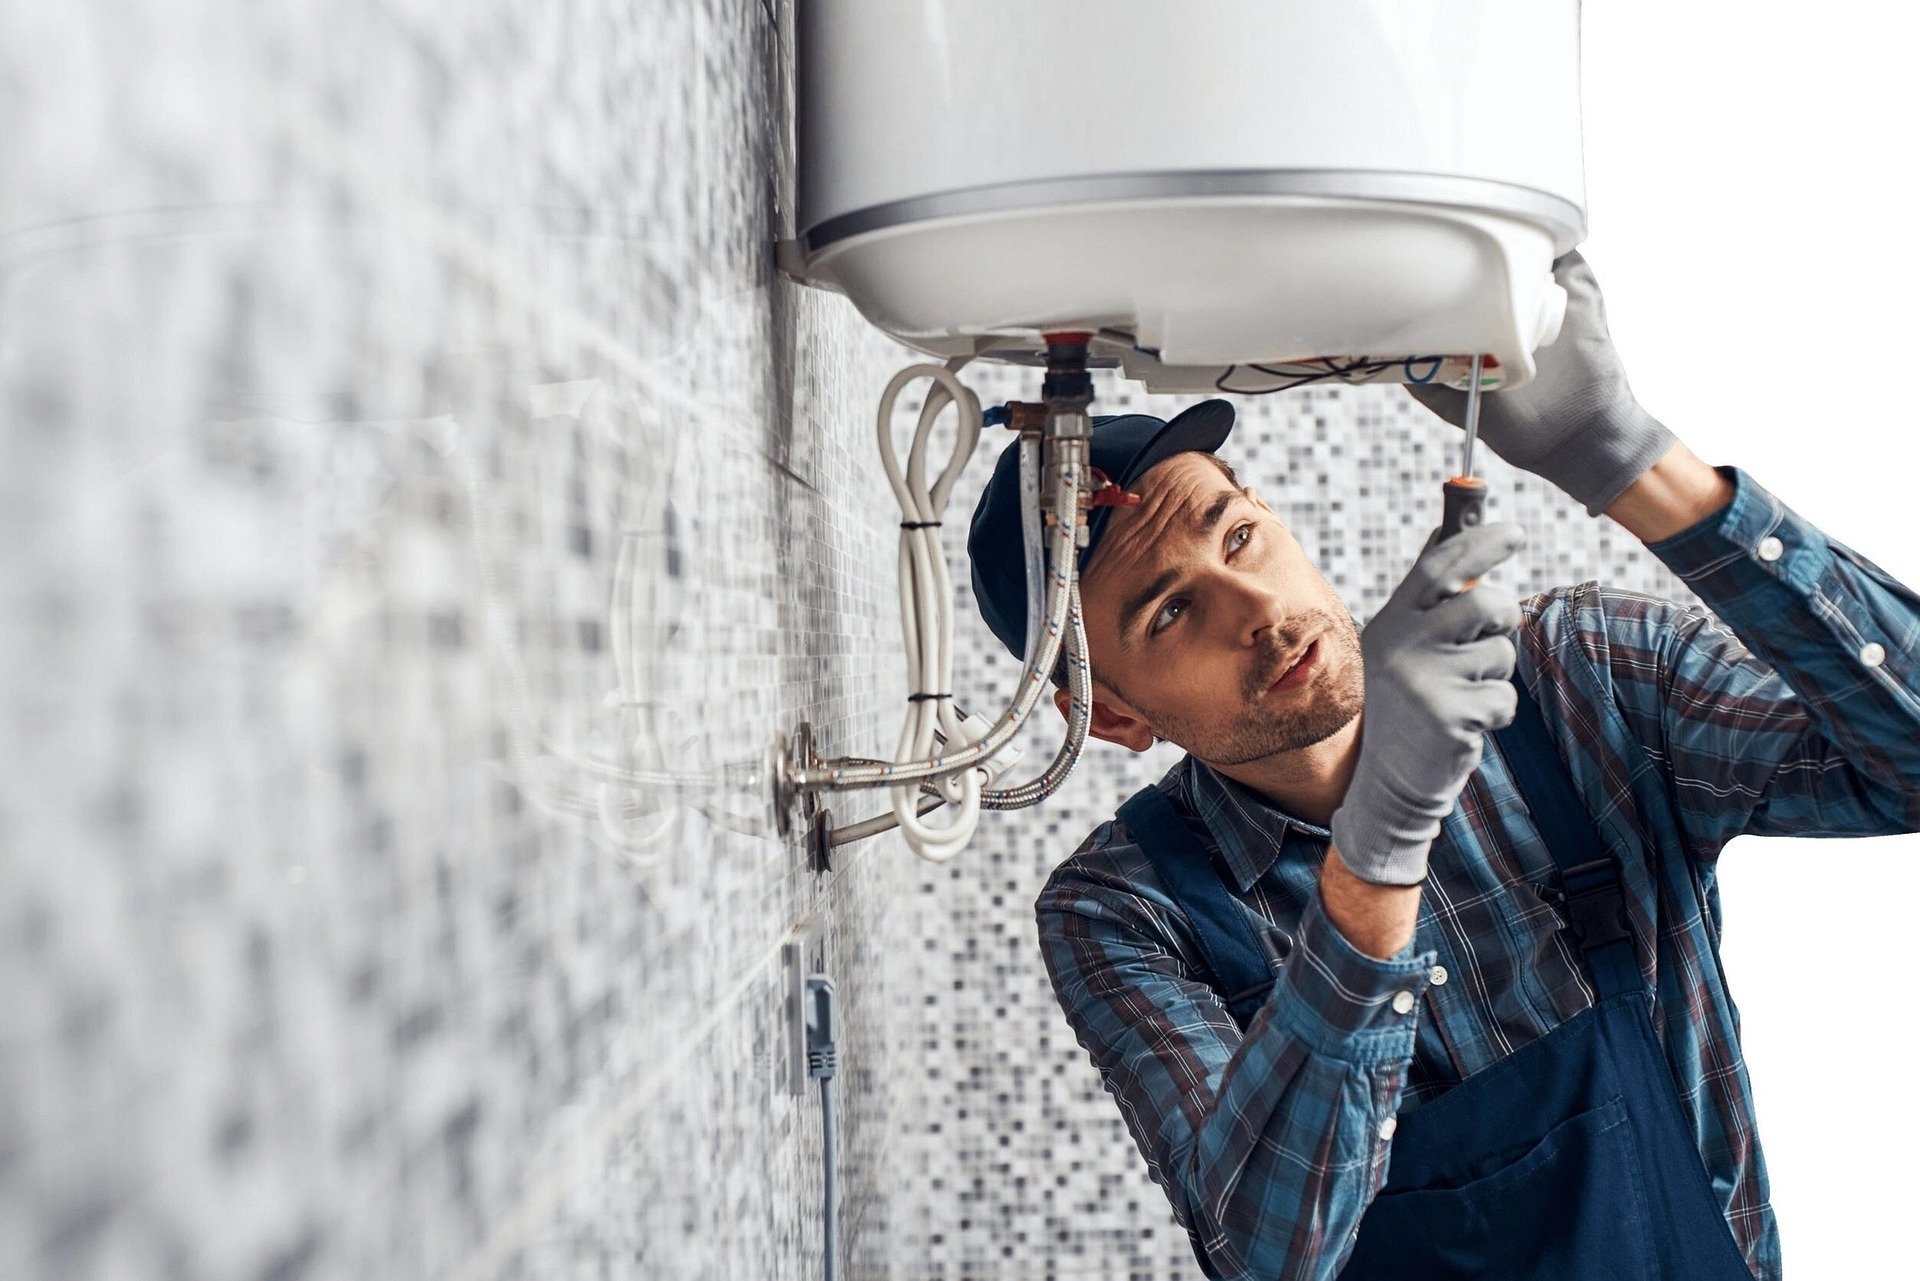
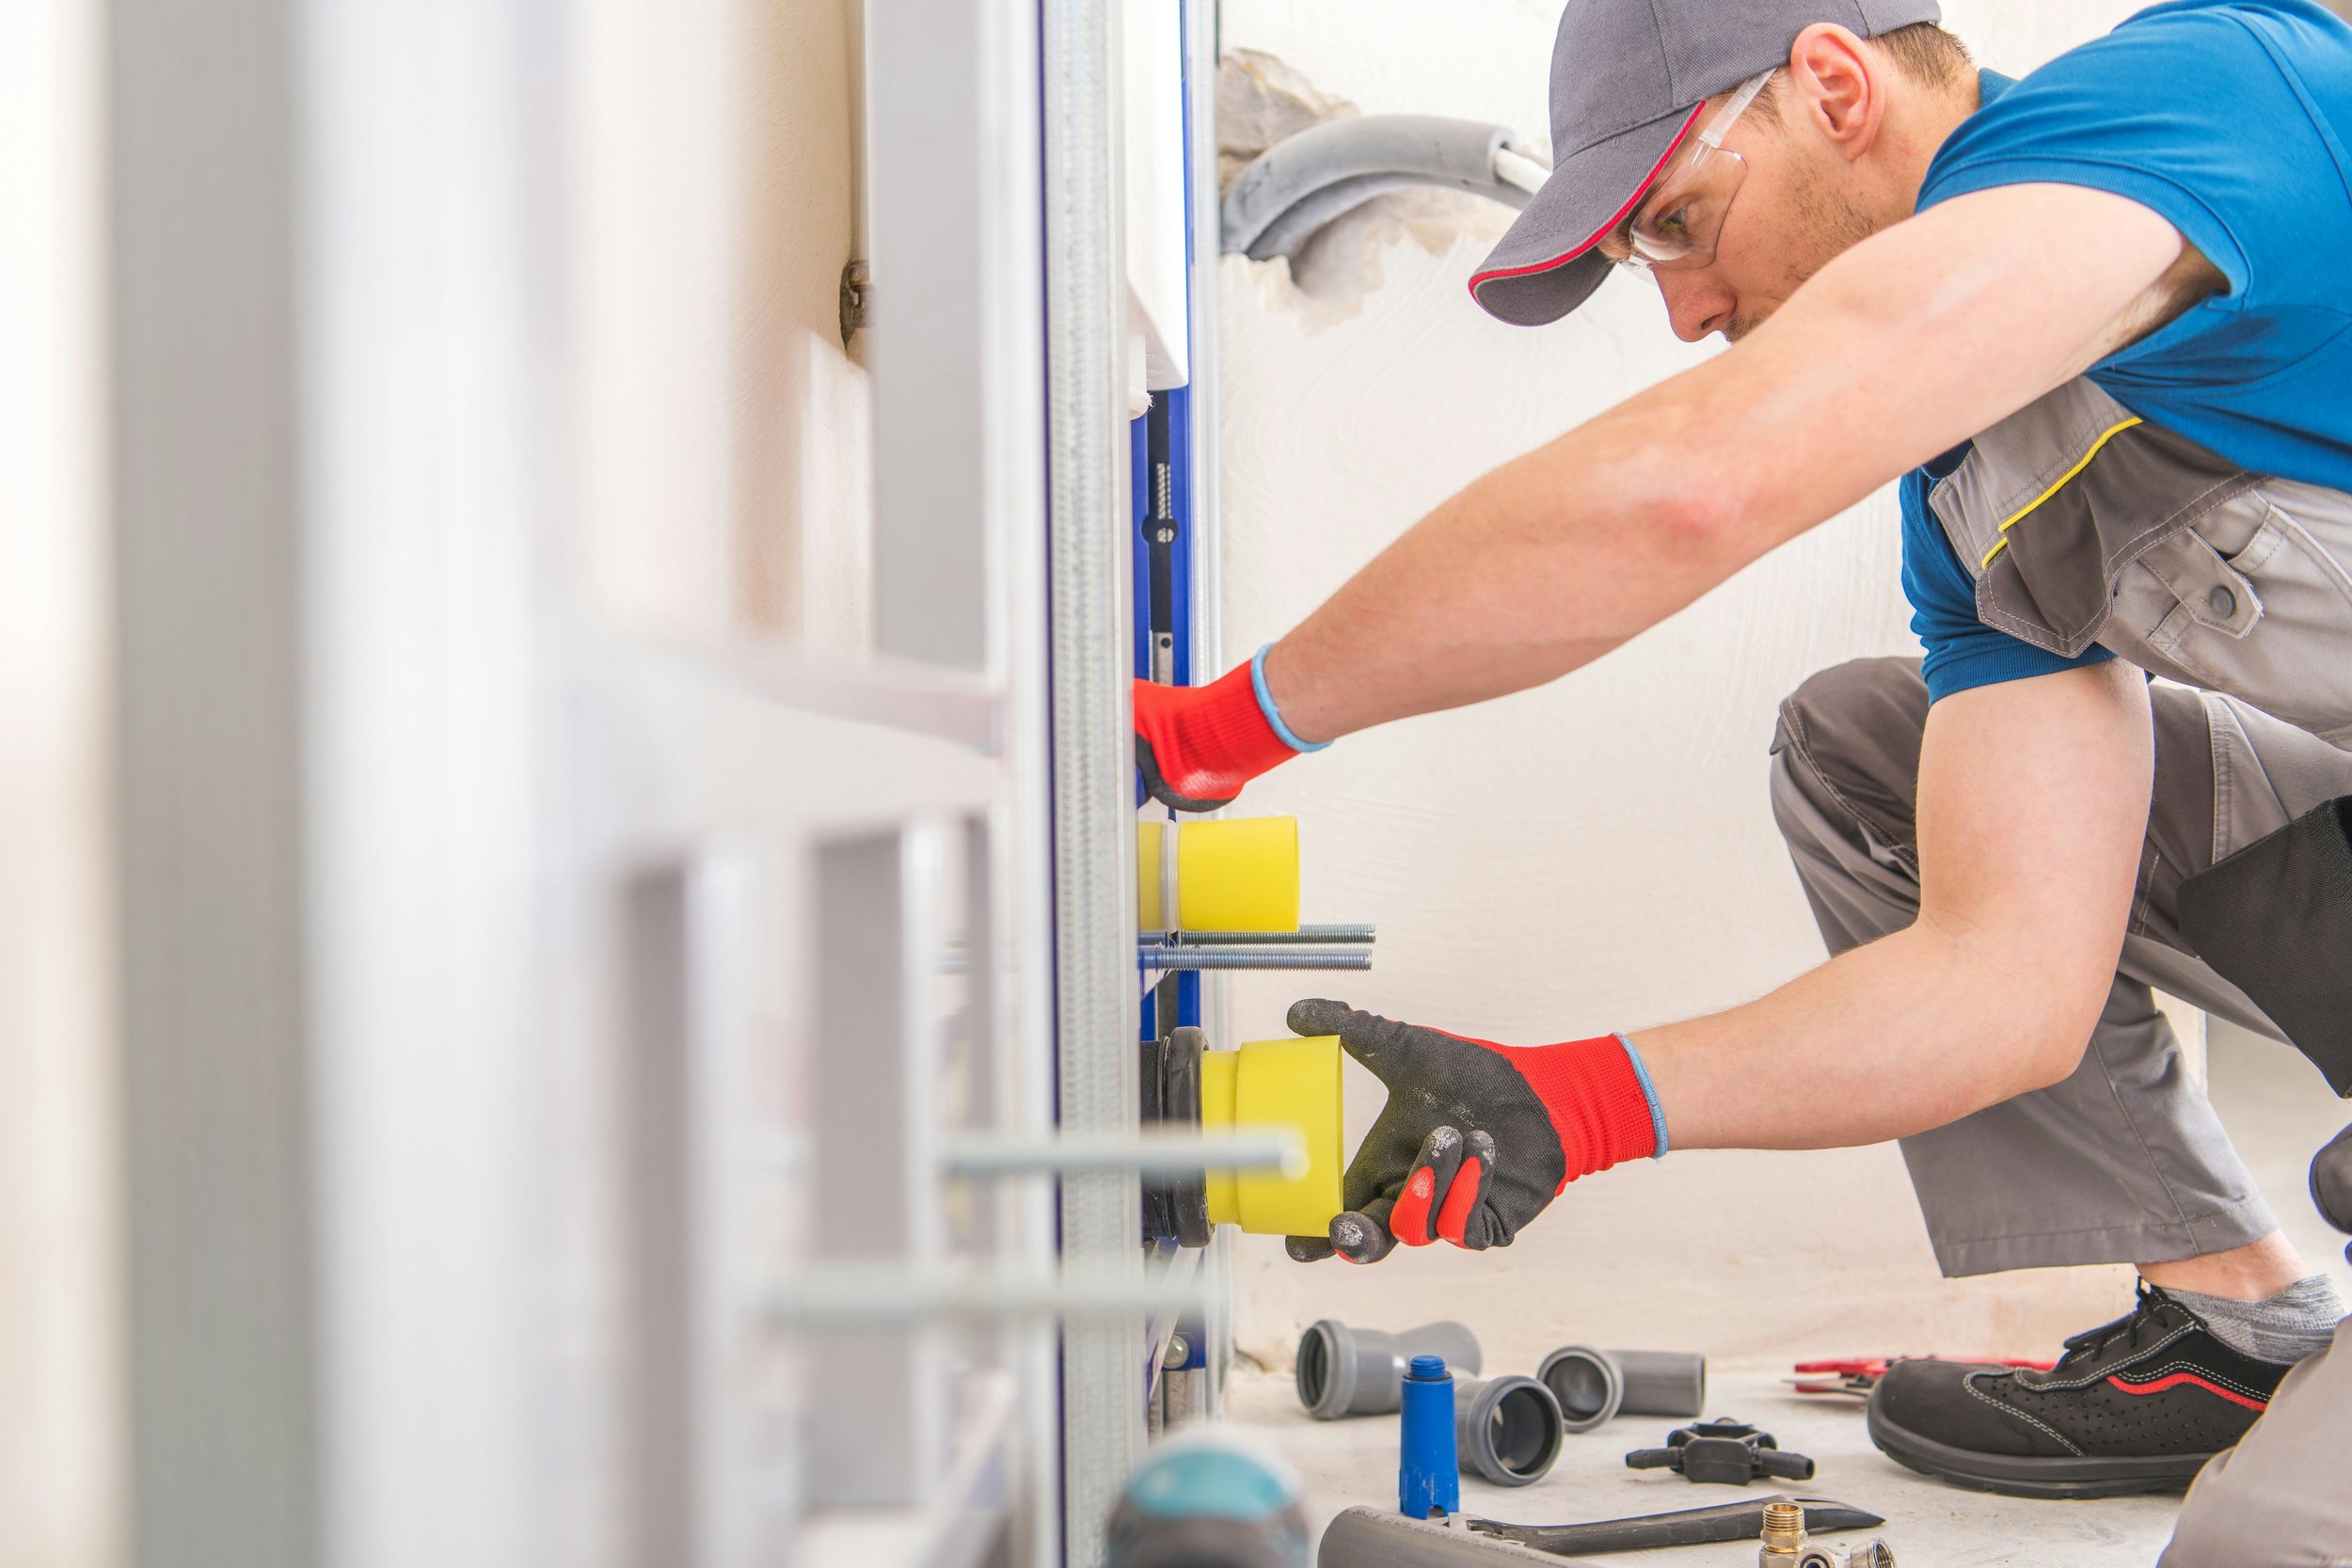
What You Need Before You Inspect
1) The right camera type for the job
For typical home troubleshooting, you’ll usually see two setups:
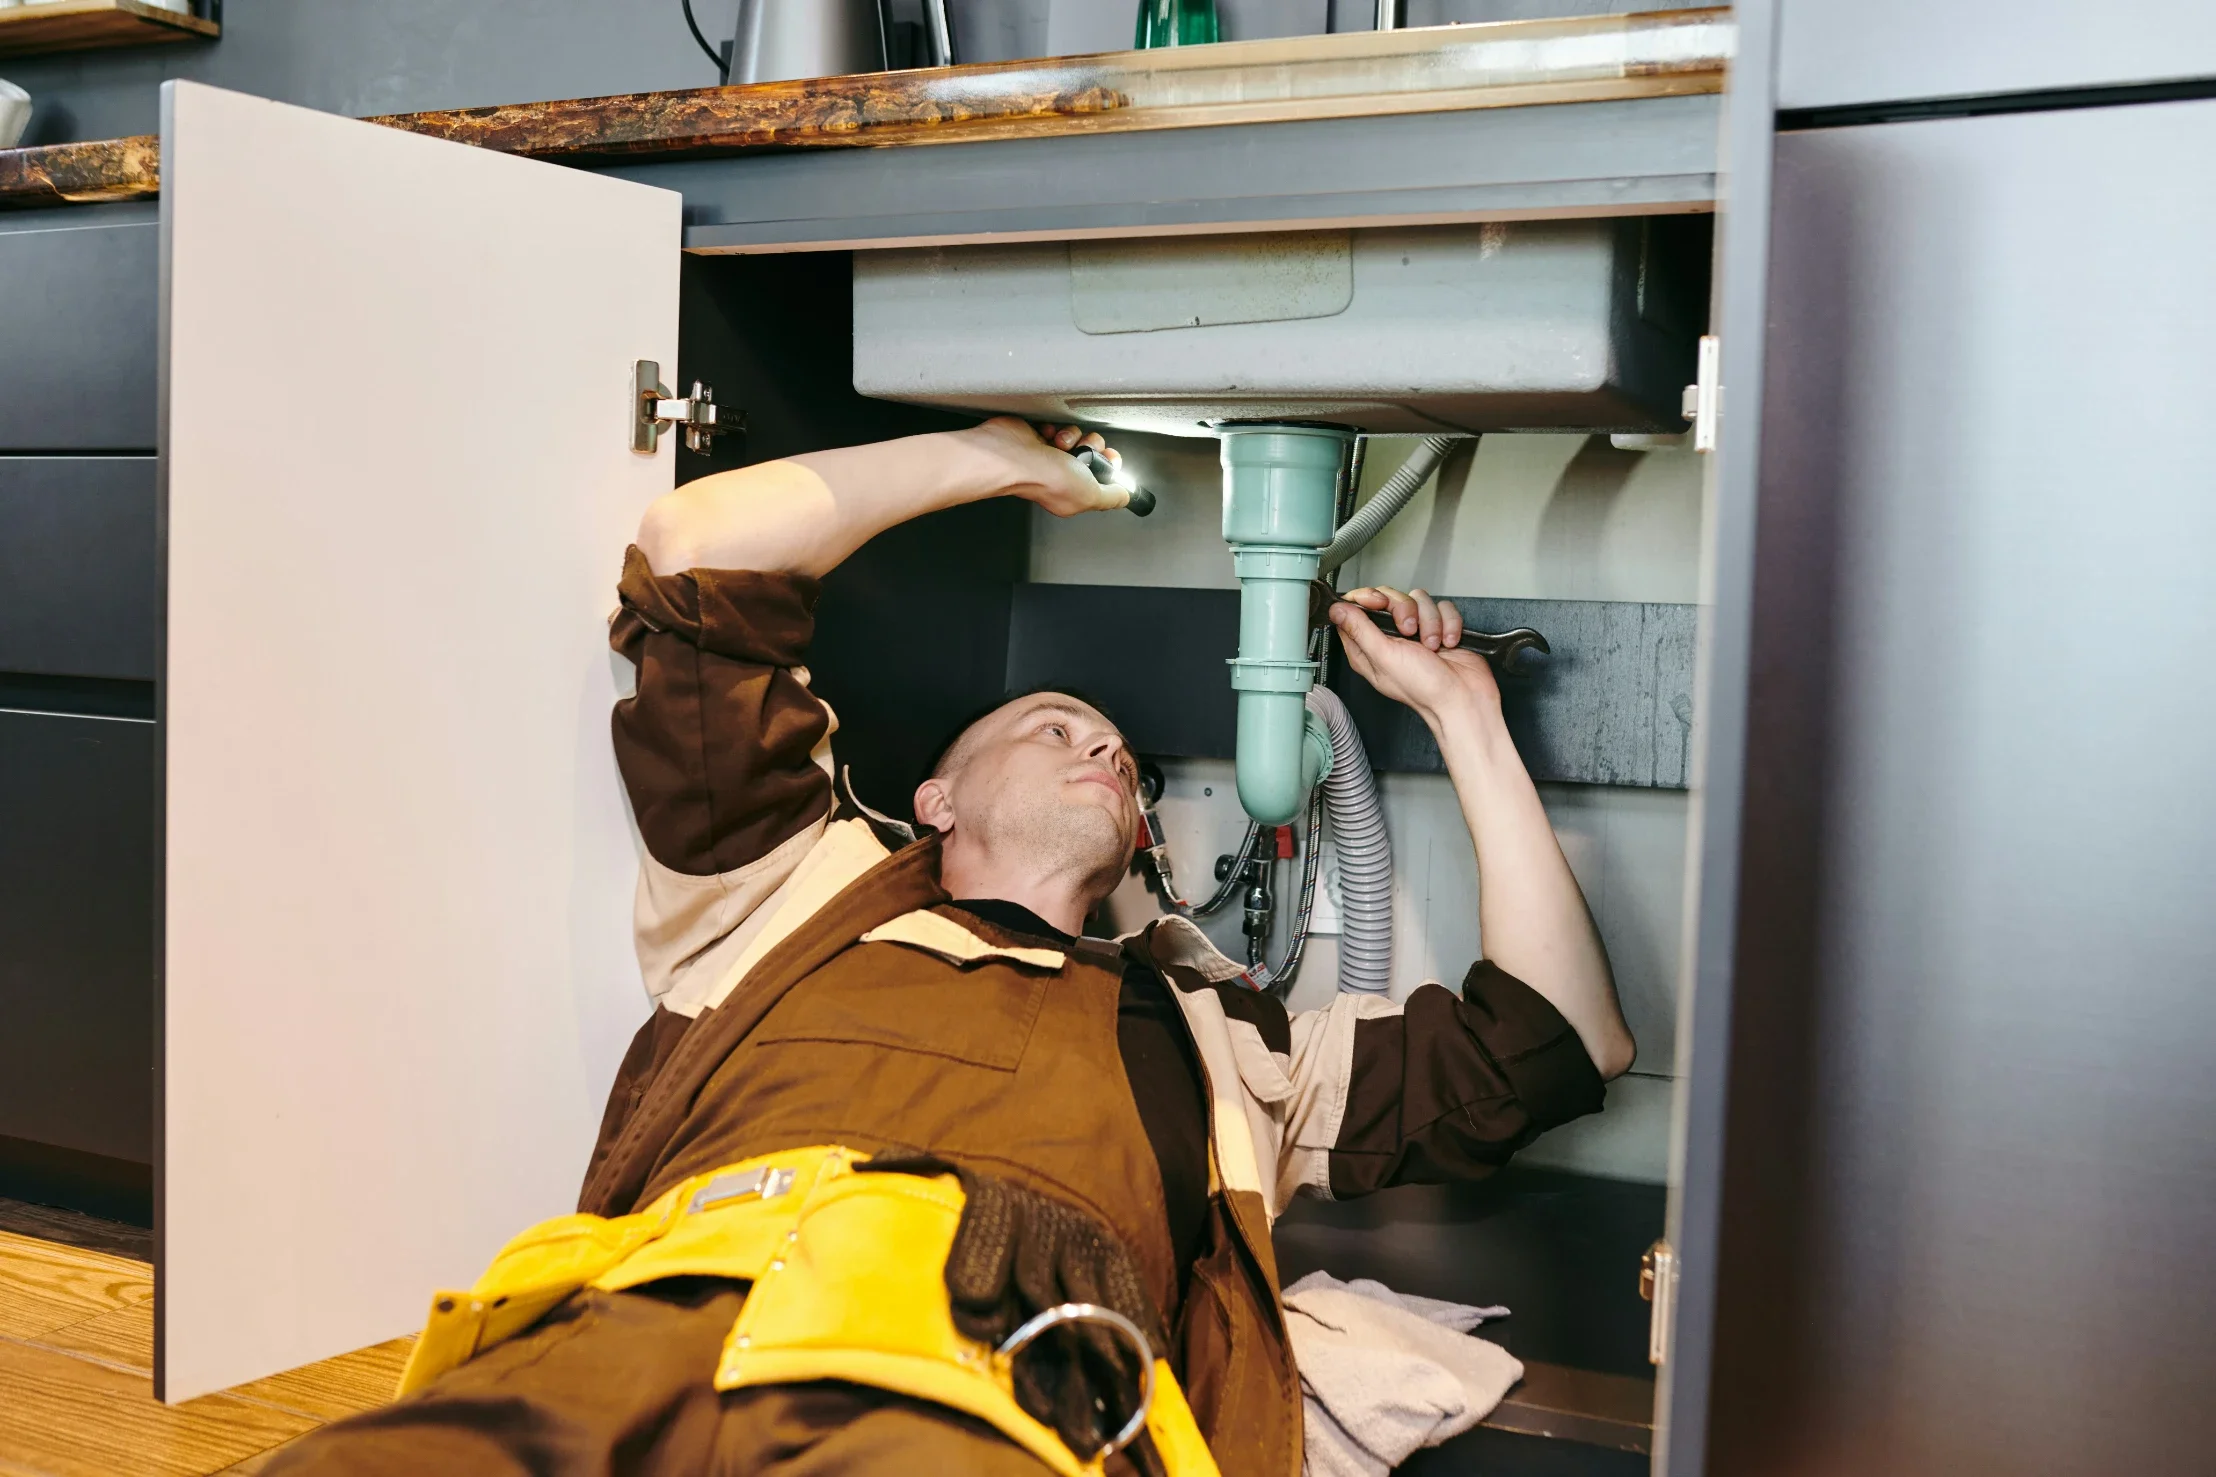
Handheld/Endoscopic Cameras: Best suited for confined spaces and short distances (e.g., traps, near walls, or under sinks).
Push-stick Drain Cameras: Better suited for longer lines and offer better control when bending (available in various sizes).
Push-stick cameras are easier to operate if the inspection distance exceeds several feet, as they are designed to travel through pipe bends without deformation.
Related reading: Borescope vs Sewer Camera
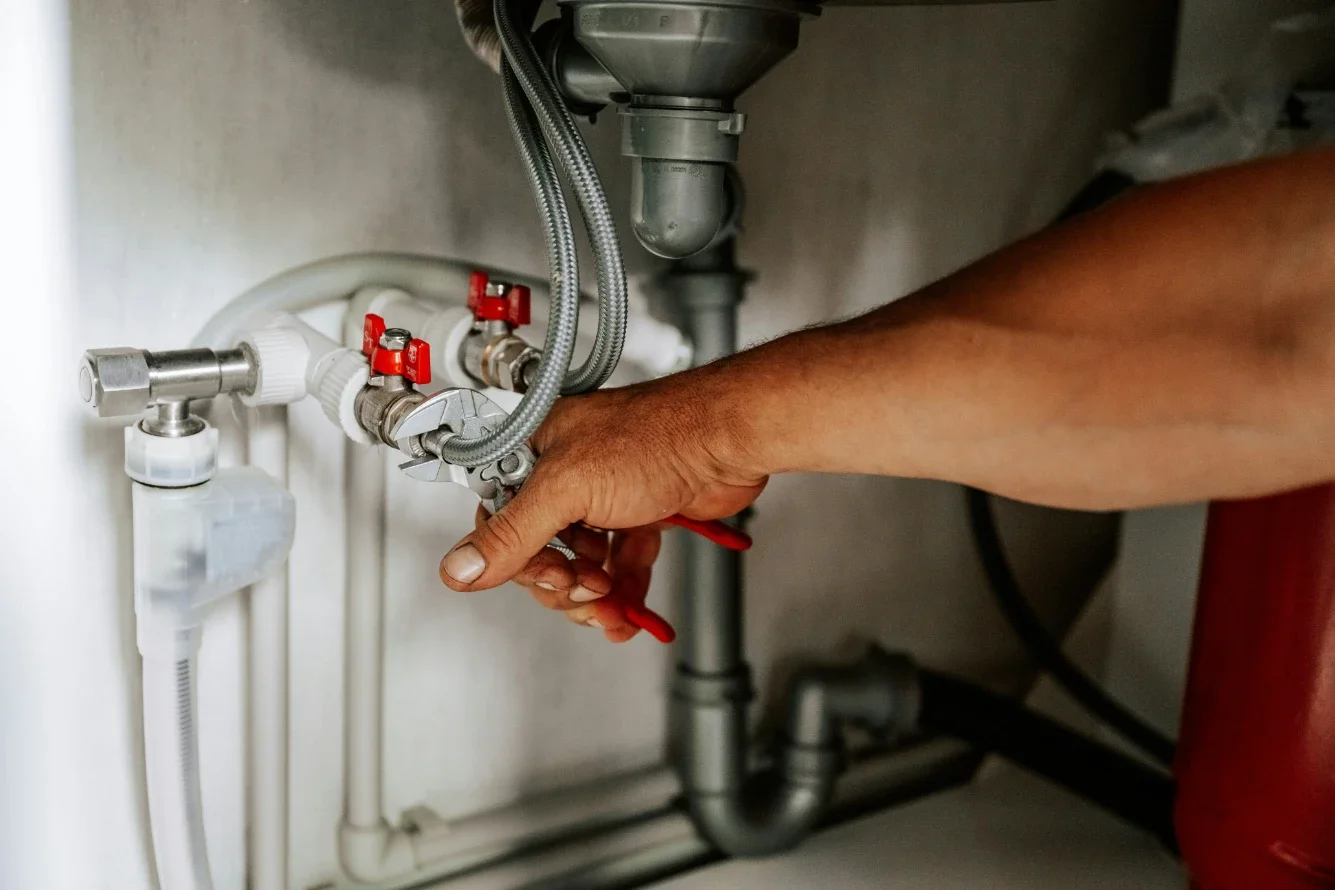
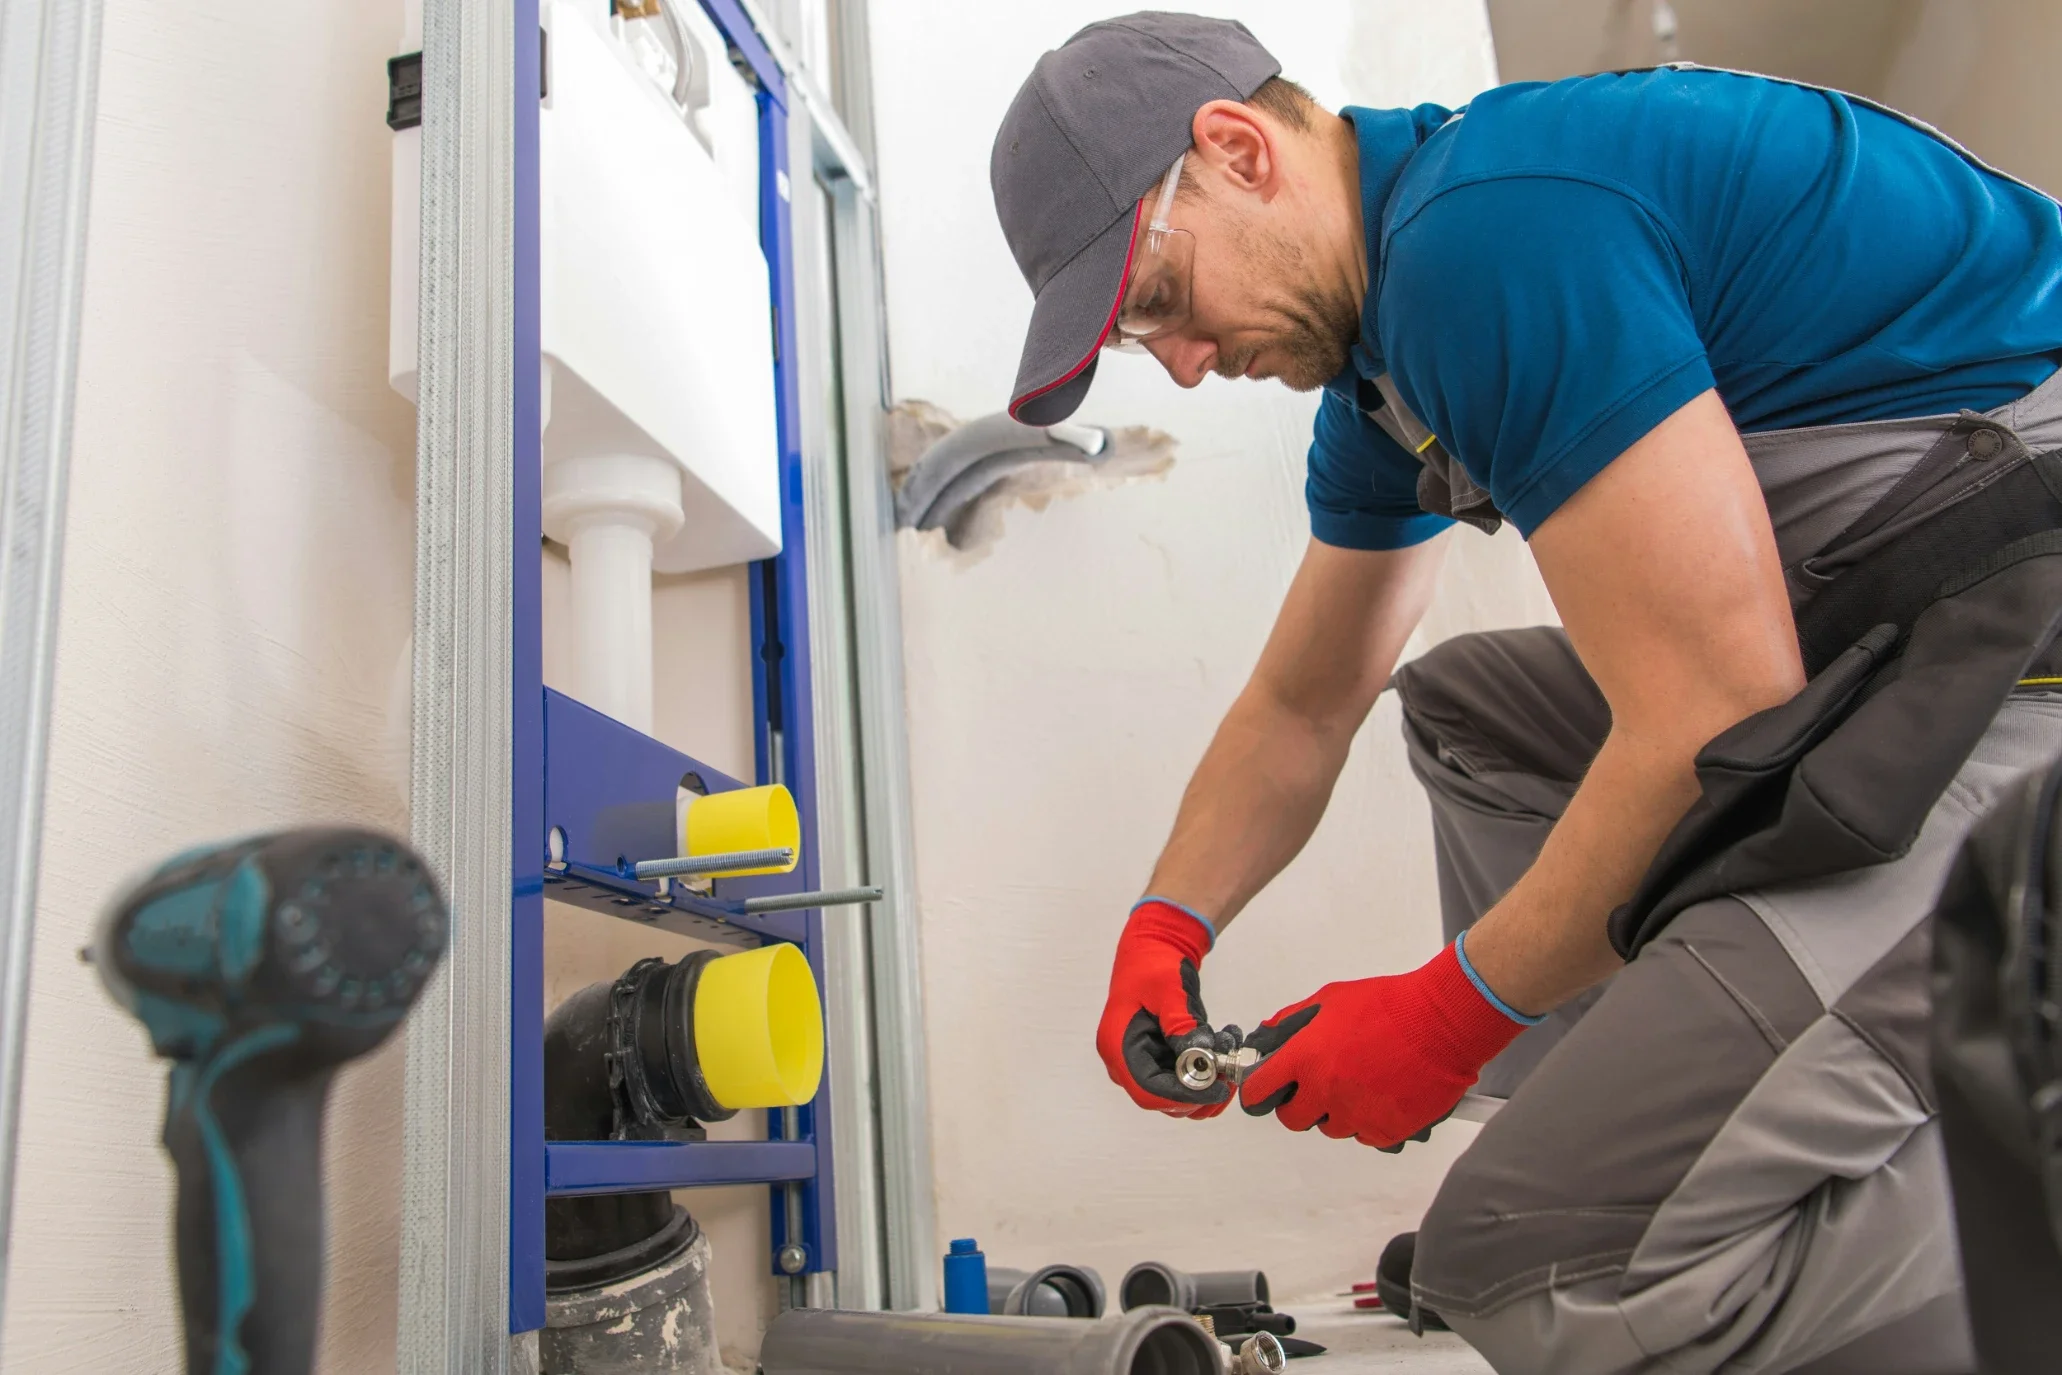
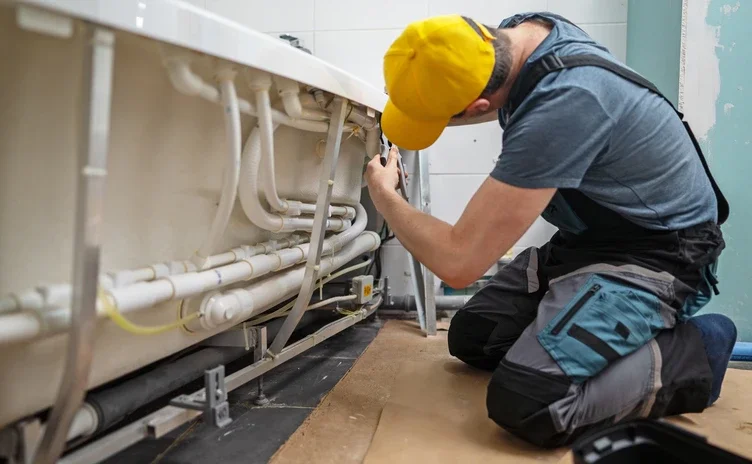
2) A safe access point
Pick an access point that lets you enter the pipe without dismantling half the bathroom:
Under-sink trap cleanout or trap removal
A cleanout cap (ideal if your home has one)
Toilet removal can be effective, but it’s more labor-intensive and messy—save it for when you strongly suspect the issue is in the toilet branch or main line.
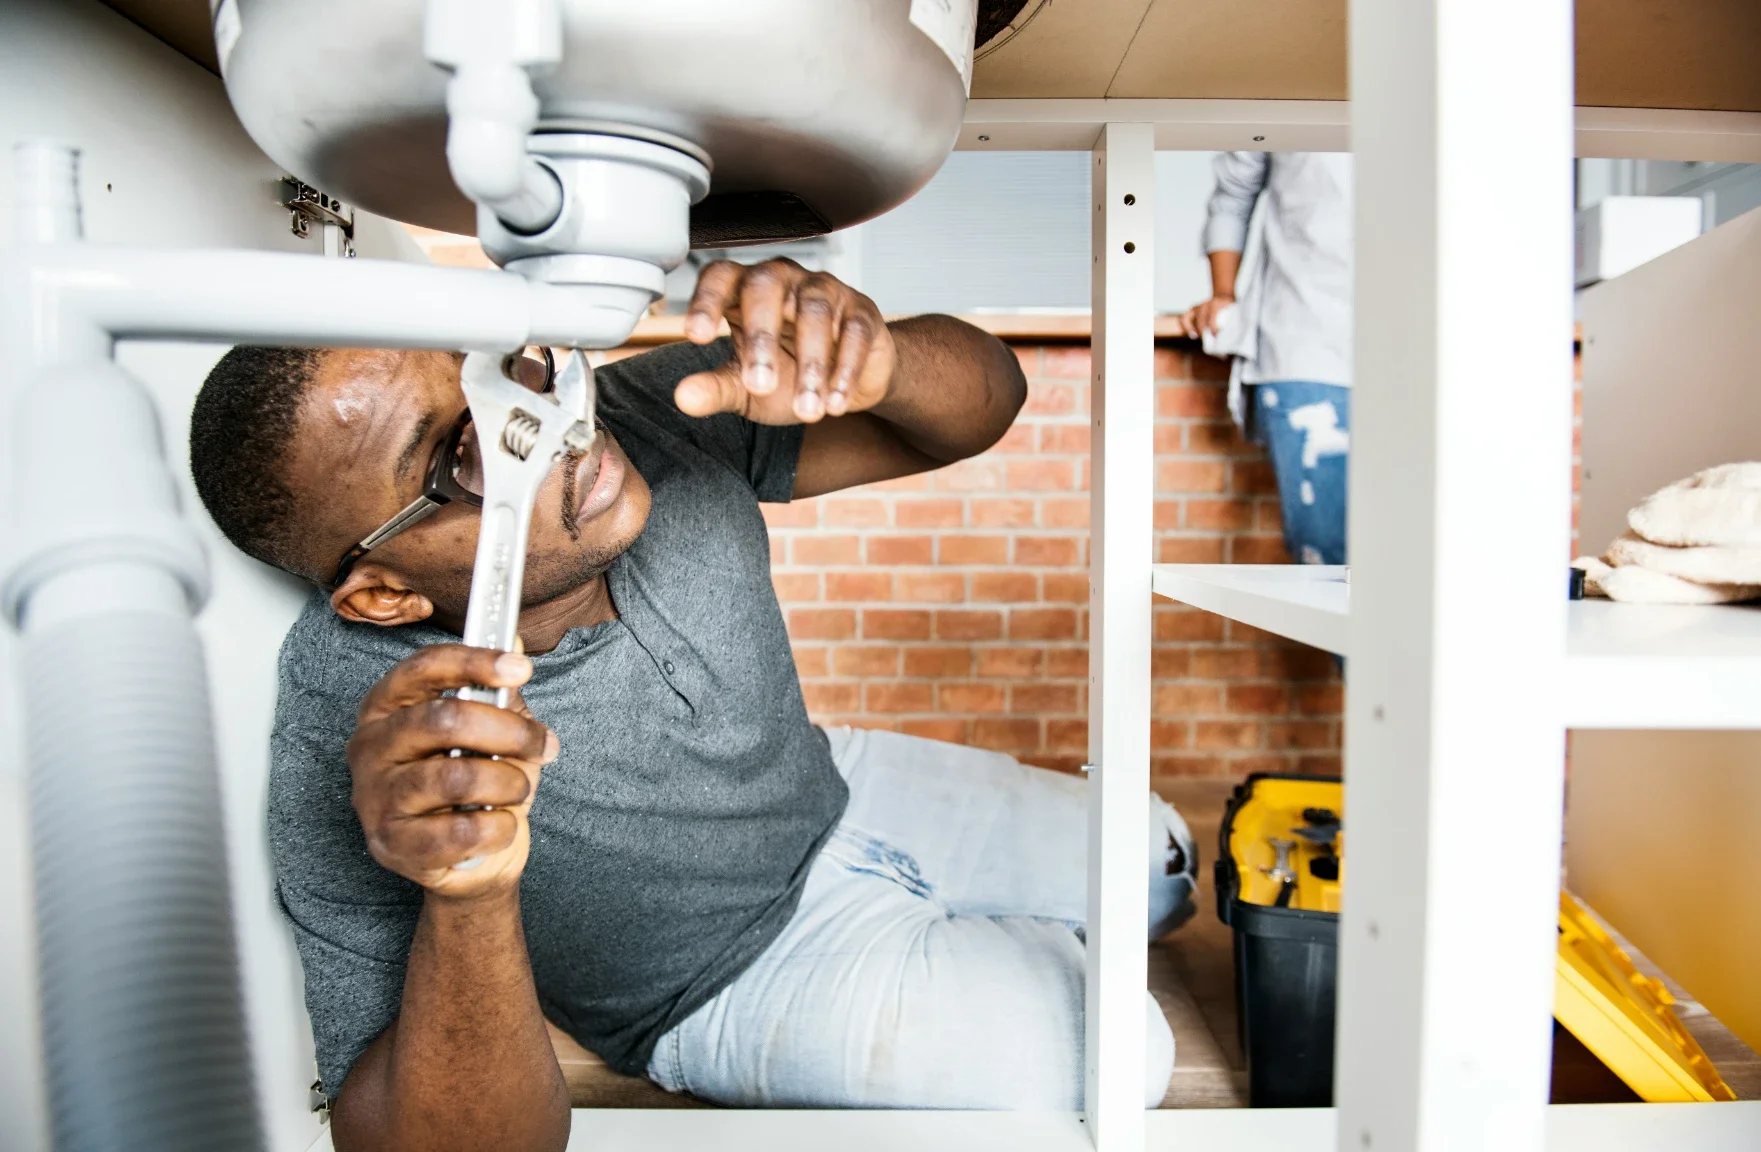
3) Basic safety and cleanup
You’ll thank yourself for setting up first:
Gloves, eye protection, towels/rags
A bucket and a small container for dirty water
Good lighting and a stable place for the monitor/phone screen
Disinfectant for cleanup
Important: If you’ve recently used chemical drain cleaners, avoid putting your face close to the drain opening and be cautious of splashing—chemicals can linger in standing water.
Step-by-Step: Camera Inspection for Common Household Drains
Step 1: Confirm the symptom and isolate the fixture
After turning on the illumination, advance the probe at a low speed and with controlled force to ensure the image remains in focus. If a "hard obstruction" occurs, stop advancing immediately, retract, adjust the angle, and try again; simultaneously, record the cable markings for easy positioning.
If lens contamination causes blurry images, withdraw and clean the probe before continuing to avoid missing crucial clues, such as minute cracks or misaligned interfaces.
Step 2: Choose the closest “clean” entry point
Try to descend from the nearest and cleanest entrance to avoid getting stuck in thick sludge that obstructs visibility and hinders progress.
Remove and clean the sink trap first (clogging often occurs here); for showers/bathtubs, check if the overflow outlet is accessible, but in most cases, the cleanout is required; if drainage is slow in multiple areas throughout the house, prioritize using the main cleanout.
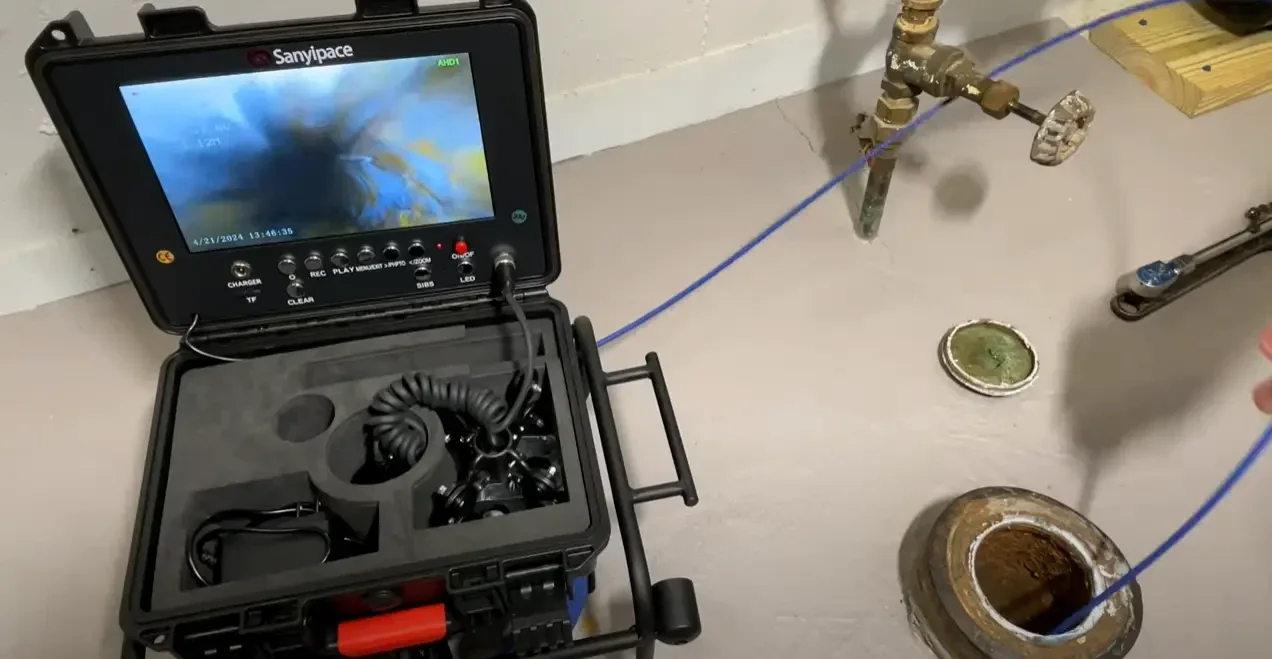
Step 3: Start with a slow, controlled feed
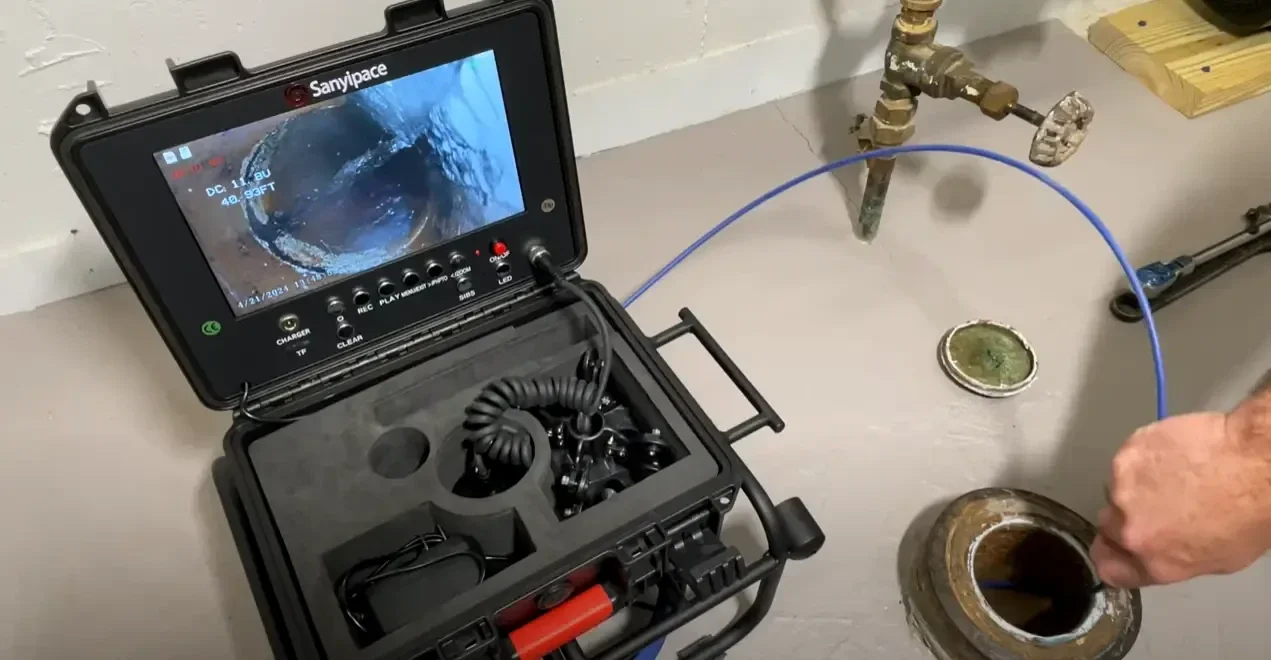
Turn on the camera light and begin feeding gently:
Don’t force the rod—if it hits a hard stop, back up slightly and try a different angle.
Move slowly so the camera can focus and you can interpret what you see.
If your camera has distance markings, note them.
Tip: If the lens gets smeared, pull back a foot, wipe, and re-enter. A cloudy lens can make a minor crack or offset joint invisible.
Step 4: Look for “landmarks” to keep orientation
Inside pipes, everything can look the same. Track your progress by noting:
Pipe direction changes (bends)
Branch connections (a Y-connection looks different than a smooth elbow)
Visible joints or couplings
This helps you describe findings accurately later (especially if you need a plumber).
Step 5: Record key moments
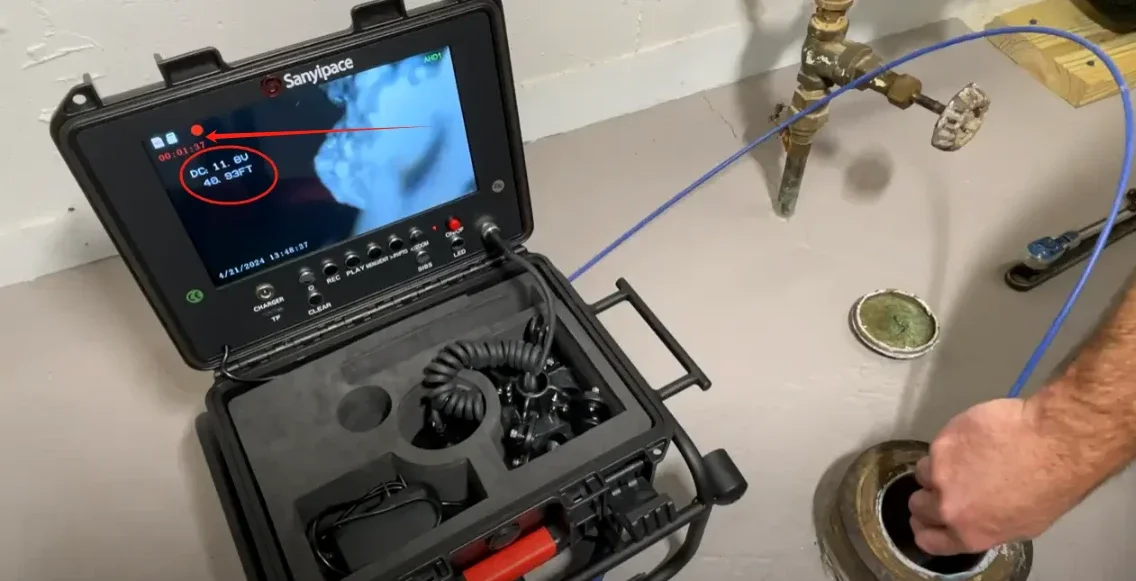
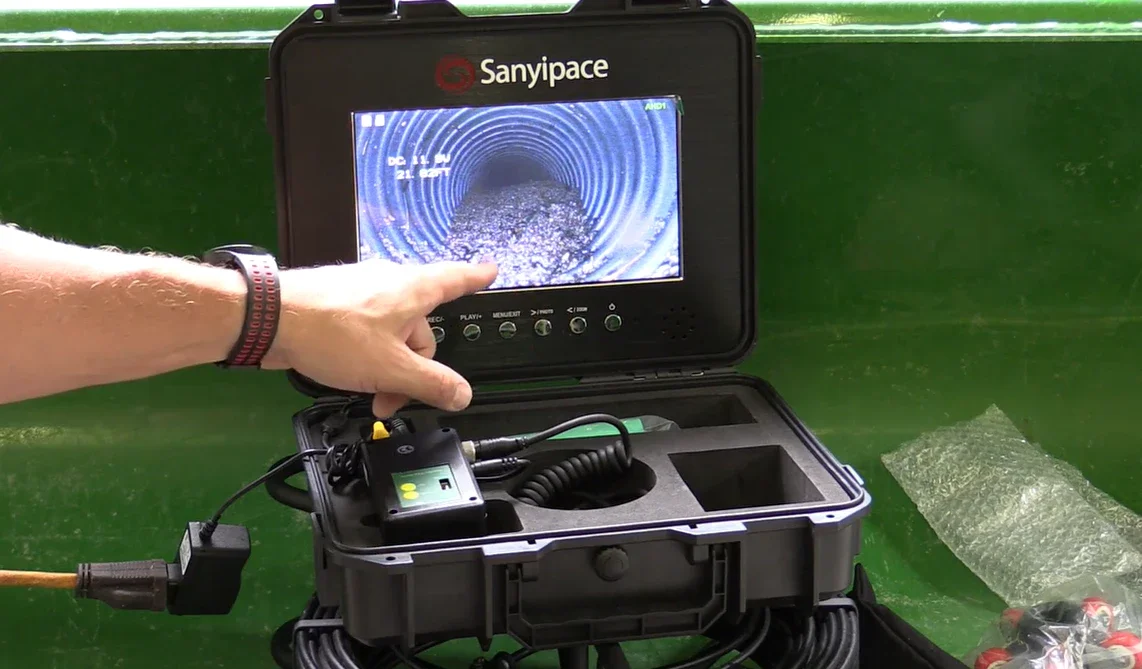
If your camera supports video recording, record the inspection. If not, take screenshots as soon as you spot: the first signs of buildup narrowing the pipe, the exact “hard stop” point, and any cracks, offset joints, root intrusion, or standing water. A few clear images can save time (and money) if you end up calling a plumber.
For example, most SANYIPACE plumbing camera models support photo/video recording, which helps homeowners quickly share clear evidence and exact locations with a professional—making diagnosis and repairs faster and more accurate.
What Different Problems Look Like on Camera?
Grease and kitchen sludge (common in sink lines)
Waxy, sticky coating on pipe walls
Narrowed channel with a dull, matte look
Food debris clinging to the sides
This often responds to proper cleaning and, in stubborn cases, professional jetting.
Hair and soap scum (common in tubs/showers)
Fibrous clumps, stringy mats
“Web-like” buildup catching more debris
Often located near the first bend downstream
Sometimes a mechanical removal works well if it’s close to the trap.
“Flushable” wipes and foreign objects (common in toilets)
Dense mass that doesn’t break apart
A single object wedged at a bend
Repeated snag point when you pull back and re-feed
If you see a solid object lodged, aggressive DIY attempts can push it deeper.
Root intrusion (more likely in older sewer lines)
Hair-like strands entering from a joint
Growth that looks like a small brush or net
Debris caught on the roots
Roots typically require professional tools and may signal the need for repair, not just cleaning.
Pipe damage or misalignment
A visible crack line
An “offset joint” where the pipe edges don’t line up
Rough, broken surfaces that snag the camera
If the camera repeatedly catches at the same point, it can indicate misalignment or collapse risk.
Standing water in a horizontal run (“belly”)
You see water sitting in the line even when the fixtures aren’t running
The camera transitions into a pool section and stays submerged
Debris settles in that area
A belly often causes recurring clogs because the flow can’t fully clear the solids.
What to Do After You Find the Cause?
If it’s a soft buildup (grease/soap/mineral scale)
Start with mechanical removal (proper snaking) rather than chemicals.
Flush thoroughly with water afterward.
Adjust habits to prevent recurrence (grease disposal, hair catchers, routine hot-water flushes where appropriate).
If it’s a localized blockage near the fixture
Clean the trap/fixture branch thoroughly
Re-check with the camera to confirm the line is fully open (not just “slightly better”).
If it’s roots, a belly, or structural damage
This is the point where a camera earns its value: it tells you when not to waste time.
Roots: you may need professional cutting/jetting and possibly line repair
Belly: Cleaning may help briefly, but recurrence is likely without correction
Damage/offset/collapse: prioritize professional assessment to prevent backups and water damage
If the issue looks beyond a simple clog, stop forcing tools down the line—pushing harder can turn “repairable” into “emergency.”
When to Call a Pro (and What to Ask For)
Call a plumber if:
Multiple drains back up at once
You see roots, damage, or standing water (belly)
The camera can’t pass a point, and you suspect a deeper obstruction
You’ve had repeated clogs despite reasonable DIY attempts
When you call, ask for:
Video drain inspection with a clear explanation of findings
Whether they recommend snaking vs. hydro-jetting (and why)
If they suspect damage, what repair options exist (spot repair vs. relining vs. replacement)
What preventive steps make sense after the fix
A good professional should be willing to explain what they’re seeing—your camera footage and screenshots make that conversation much easier.
FAQ
1. Can I use a plumbing camera after using a drain cleaner?
You can, but be careful—chemicals may remain in standing water and can splash. Use gloves and avoid close exposure to the drain opening.
2. Will a camera clear the clog by itself?
Usually no. A camera is primarily a diagnostic tool. Some systems have attachments, but most homeowners use cameras to locate the problem, then choose the right removal method.
3. What’s the biggest mistake people make with drain cameras?
Forcing the rod when it hits a hard stop. If you can’t pass a point gently, you may be dealing with an object, roots, or pipe damage.
Final Thoughts: Diagnose First, Fix Smarter
Household clogs are often easy to treat—but hard to treat correctly without knowing what you’re dealing with. A plumbing camera gives you clarity: whether it’s a simple buildup, a recurring snag point, or a sign of structural trouble. With a few careful steps, you can avoid repeated guesswork, reduce unnecessary mess, and make the right call between DIY cleaning and professional help.
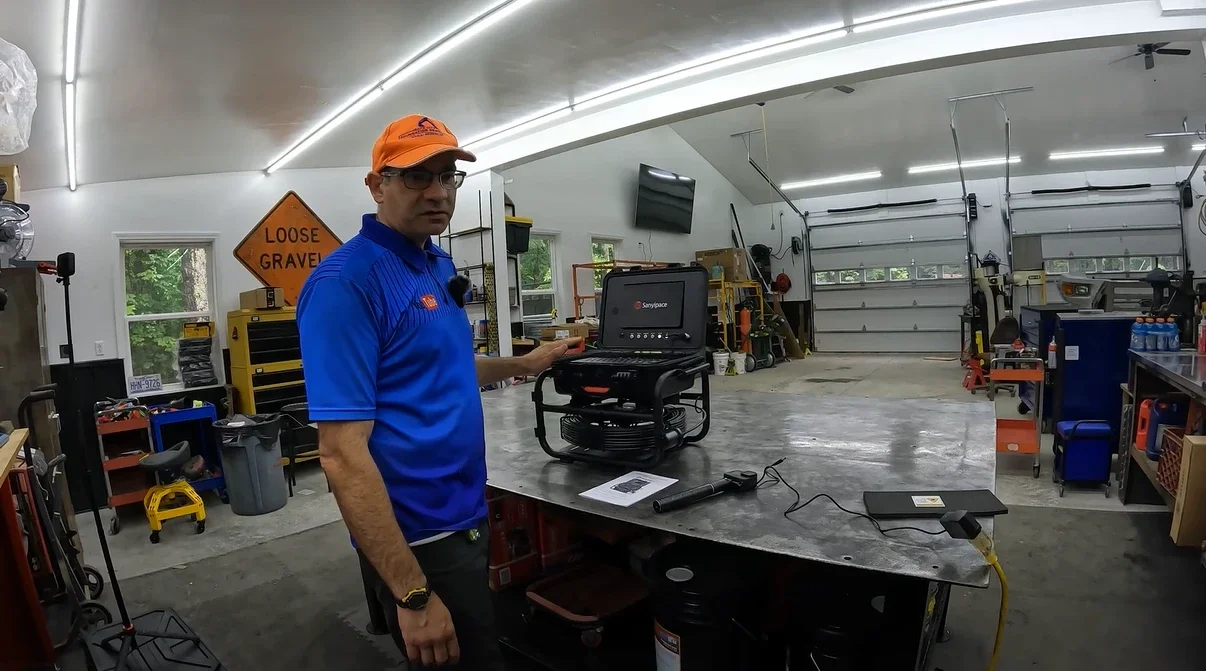
If you're looking to buy your own plumbing camera, check out Sanyipace Sewer Camera; they offer a variety of models to help you troubleshoot any blockages.
Stay up to date with our latest ideas!