The Weekend DIYer's Guide to Painting and Finishing Cabinets
Learn how to paint and finish cabinets like a weekend DIYer, with practical tips for preparation, sanding, priming, painting, sealing, and achieving smooth results.
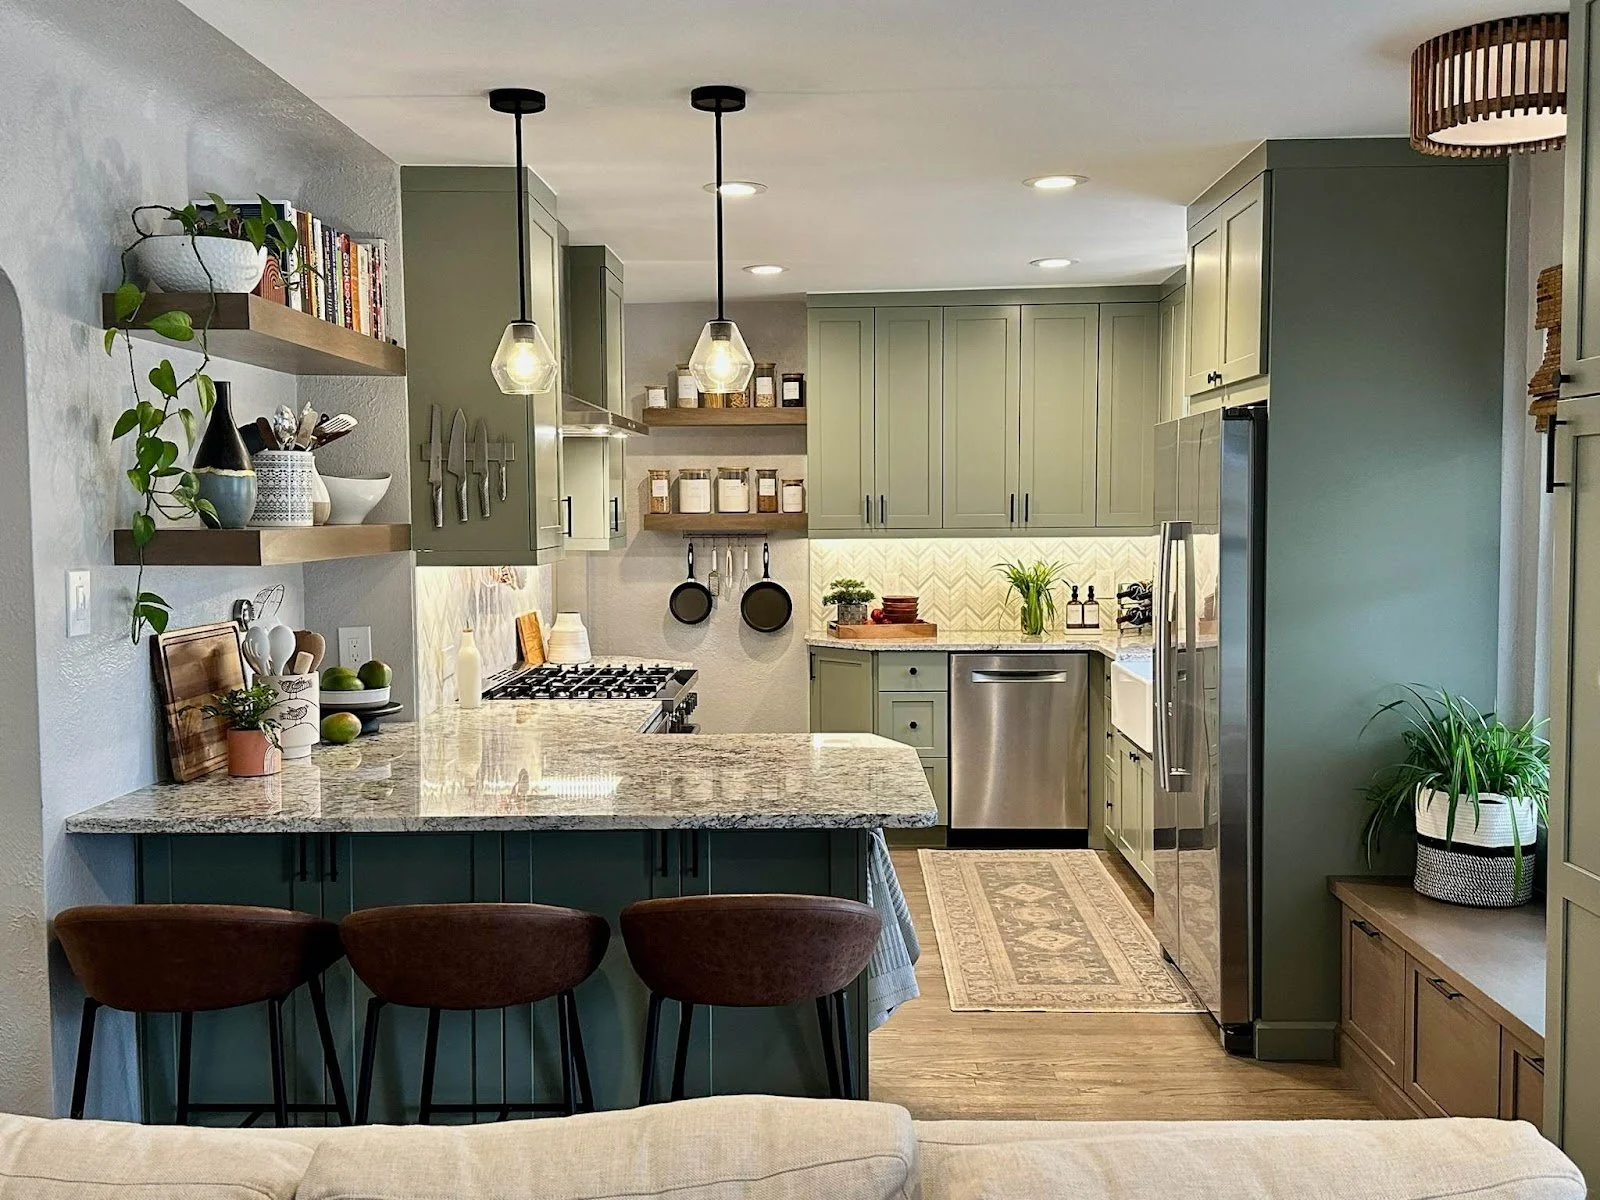
Factory-finished cabinets look great in the showroom, but that polish comes at a price, and it locks you into whatever color the manufacturer offers. If you'd rather choose your own shade, save a few hundred dollars, and get your hands a little dusty, painting and finishing cabinets yourself is a project you can knock out over a couple of weekends. It takes patience more than skill, and the results hold up just as well as anything that left a factory.
Here's how to go from raw or dated cabinet boxes to a finish that looks intentional and lasts for years.
1. Start With the Right Cabinets
Not every cabinet takes paint the same way. Cabinets with a heavy factory laminate or a glossy pre-finish need extra prep just to get paint to stick, and even then the results can chip. This approach works especially well if you start with unfinished RTA cabinets, since raw wood takes primer and paint more evenly than a factory-finished surface. You're not fighting an existing coating, you're building one from scratch, which means fewer adhesion problems down the line.
If you're working with cabinets you already own, give them an honest look before you commit. Solid wood or plywood boxes are worth the effort. Particleboard with a peeling laminate usually isn't.
2. Set Up a Workspace That Won't Fight You
Cabinet painting goes faster and cleaner when you're not working around a kitchen full of appliances and foot traffic. Pull the doors and drawers, label each one with painter's tape on an inside edge, and move the whole project to a garage, basement, or spare room with decent ventilation.
A few things make the process easier:
A pair of sawhorses or a folding table to keep doors flat and off the ground
Drop cloths, since sanding dust and paint spatter travel further than you'd expect
A box fan pointed out a window for airflow during priming and painting
3. Sand Before You Do Anything Else
Sanding is the step people rush, and it's the one that determines whether your paint job looks smooth or shows every brush mark for the next five years. Start with 120-grit sandpaper to knock down the surface and remove any old finish, then follow with 220-grit to smooth things out. You're not trying to strip the wood down to bare grain, just scuff it enough for primer to grip.
Wipe every surface down with a tack cloth afterward. Sawdust left behind will show up as texture under your paint.
4. Prime Before You Reach for Color
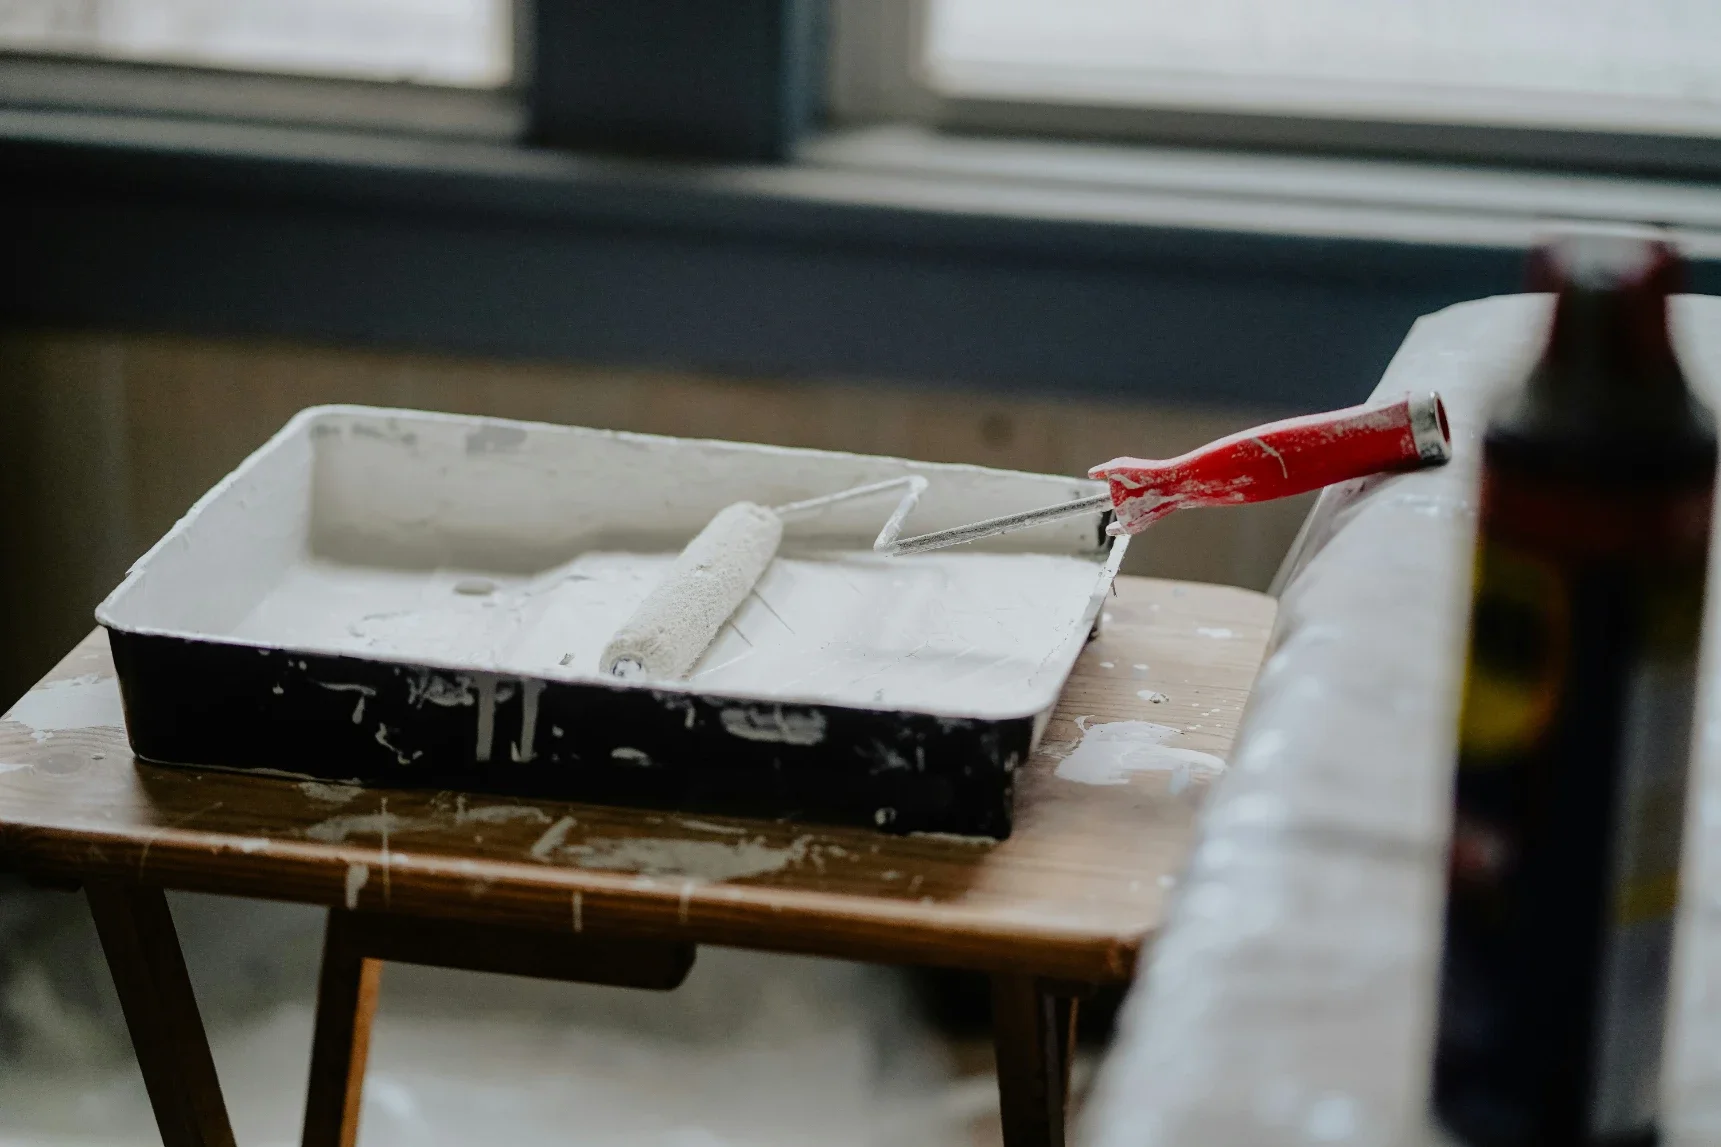
Primer isn't optional if you want a finish that holds up to daily use. A bonding primer designed for cabinetry seals the wood, blocks stains and tannins from bleeding through, and gives your topcoat something consistent to grip. Apply it in thin, even coats with a foam roller for flat surfaces and a brush for edges and profiles, then let it cure fully before moving on.
Two thin coats of primer beat one thick one. A heavy coat pools in corners and takes far longer to dry evenly.
5. Choose Paint That's Built for Cabinets
Wall paint and cabinet paint are not the same thing, even if the color looks identical on the swatch. Cabinets get touched, wiped down, and bumped constantly, so you want a paint formulated for durability. A few solid options:
Hybrid enamel: dries hard like an oil-based paint but cleans up with water
Acrylic urethane: excellent chip resistance, ideal for high-traffic kitchens
Cabinet-grade satin or semi-gloss: easier to wipe clean than a flat finish
Apply your color coats the same way you handled primer, thin and even, with light sanding between coats using a fine 320-grit paper to knock down any dust or brush texture.
6. Seal It So the Work Actually Lasts
A topcoat isn't always necessary with cabinet-grade paint, but it adds a real layer of protection in kitchens that see a lot of use. A water-based polycrylic or a dedicated cabinet topcoat protects against grease, water splashes, and the wear that comes from opening and closing doors hundreds of times a month. Apply it thin, let it cure according to the label, and resist the urge to rush the process by stacking doors before they're fully hardened.
7. Give It Time Before You Hang Everything Back Up
Paint can feel dry to the touch within a day, but full cure time is a different story. Most cabinet paints need one to two weeks to reach full hardness, even though you can technically handle them sooner. Rehang doors and drawers as soon as they're dry enough not to smudge, but hold off on heavy use, like leaning on an open door or loading a drawer with pots, until the paint has had time to cure completely.
Frequently Asked Questions
Do I need to remove cabinet hardware before painting?
Yes. Pulls, hinges, and knobs should come off completely. Painting around hardware leads to uneven coverage and makes it much harder to get clean lines.Can I skip primer if I'm using paint-and-primer-in-one?
It's not recommended for cabinets. Combination products work fine on walls, but cabinets need a dedicated bonding primer to handle daily wear and prevent peeling.How long does a full cabinet painting project take?
Plan for two weekends. One for sanding, priming, and a first coat, and a second for additional coats, topcoat, and reassembly, with drying time built in between each step.
Painting cabinets yourself takes more patience than skill, but the payoff is a kitchen that looks custom without a custom price tag. Take the prep work seriously, give each coat time to dry, and you'll end up with a finish that holds up as well as anything that came out of a factory.
Stay up to date with our latest ideas!