Step-by-Step Siding Installation Guide: Pro Tips for a Flawless Finish
Discover expert siding installation tips, from prep to panel mounting. Avoid common mistakes and get professional results with this step-by-step guide.

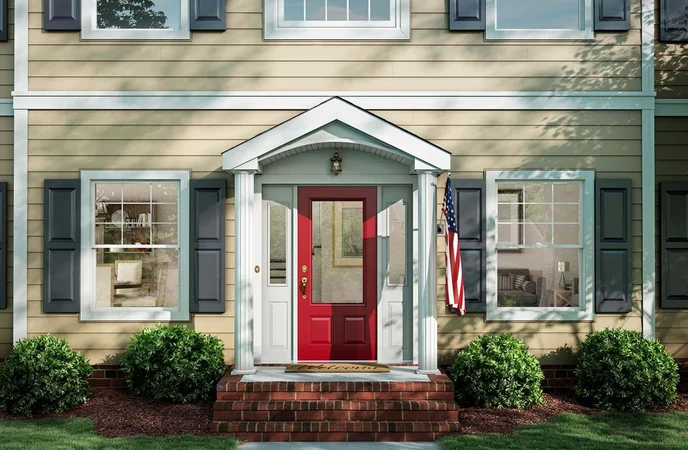
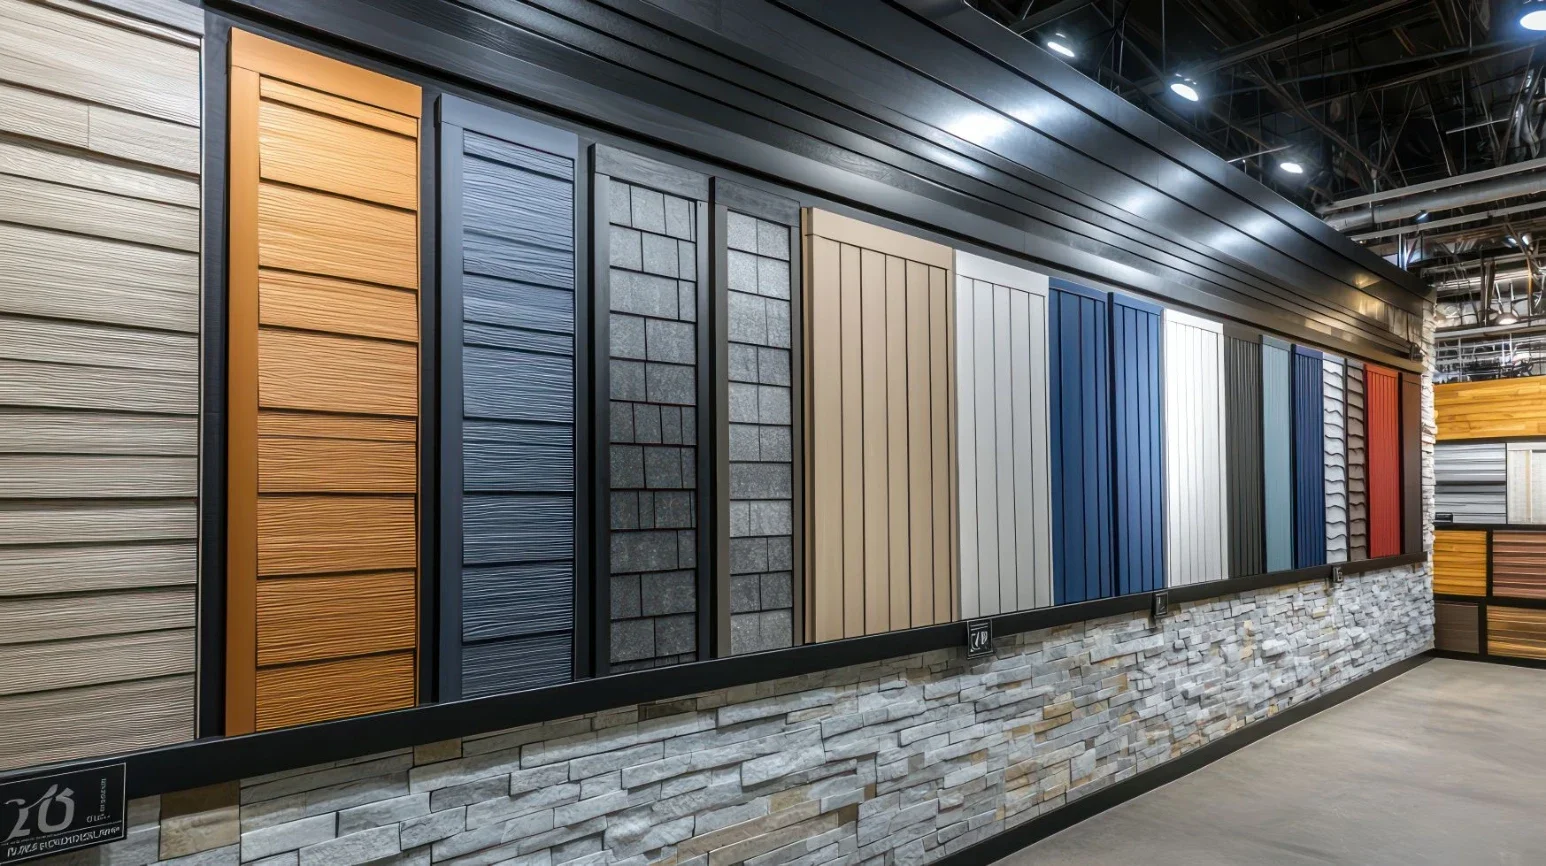
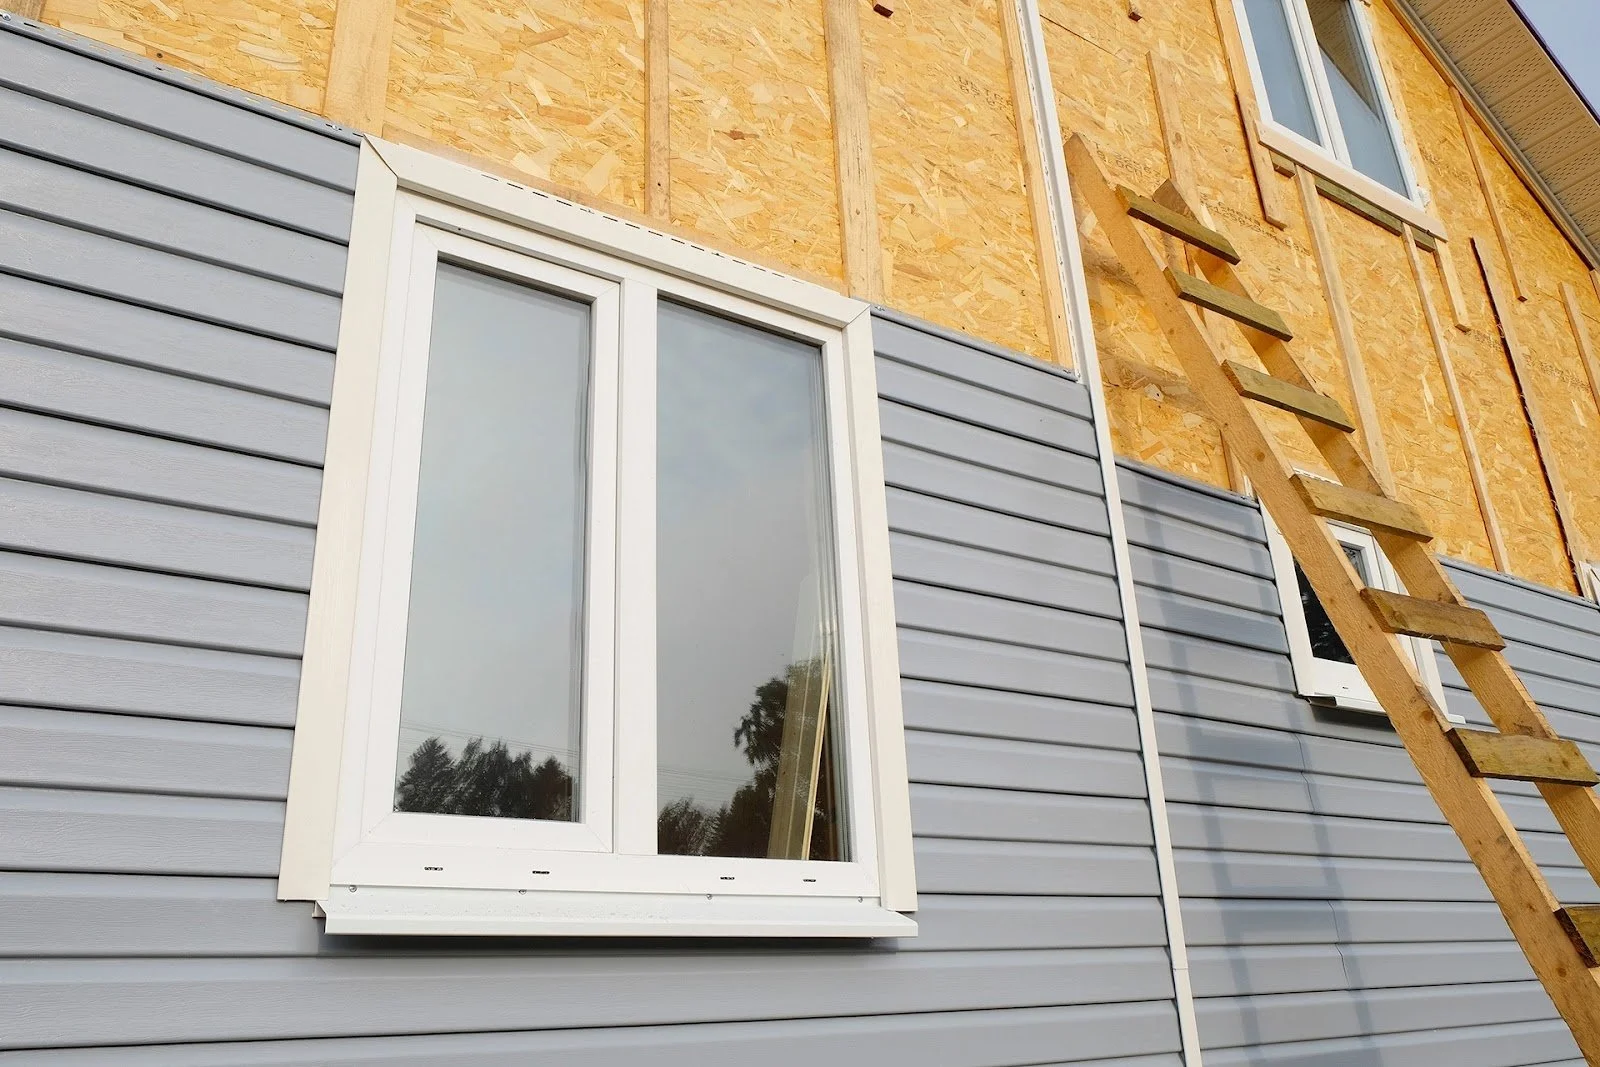
Siding is a type of façade that protects the walls of a building from weather conditions and improves their aesthetics. Commonly used siding materials include wood, vinyl, fiber cement, metal, brick, and stone. The siding can be installed horizontally or vertically. What are the specific recommendations for its installation?
Information provided by our partner - Custom Exterior Innovation
Before You Start Assembly
Installation work should start with removing all elements from the façade of the building that may interfere with work and filling in holes and cracks in the walls. Next, you need to seal the gaps around the door and window openings.
The best skirting boards for processing are those made of well-dried and impregnated softwood, with a cross-section depending on the thickness of the insulation layer, but not less than 25 x 50 mm. Skirting boards for flashing door and window openings, as well as building corners, should be twice as wide.
Reference Lines
It is very important to determine the horizontal reference line before starting the installation. Most often, it is determined by selecting the lowest point on the corner, which will be covered with siding, and then measuring a distance above it equal to the width of the starting strip, hammering a nail and measuring the distance from it to the eaves or the top edge of the wall.
The distance thus determined should also be marked on the other corners, and the line should be marked with a rope stretched over the nails driven into them. The cord marks the upper edge of the starter strip fixing, so below it, you should attach the wider wooden strips using wall plugs.
Timber Construction
Previously prepared structural strips should be mounted on the wall of the building in a vertical orientation, using wall plugs with a diameter of not less than 8 mm. The length of the dowels depends on the thickness of the slats and the material from which the walls are made. It is worth remembering that the distance between the wall plugs should not exceed 100 cm.
Installation should start from the corners. In the first step, the skirting board is placed vertically, perpendicular to the upper edge of the wall or eaves. Subsequent vertical slats are installed at intervals of no more than 60 cm so that the oblong holes cut in the panels are in the middle of the slats.
Other vertical skirting boards should be cut shorter, adjusting their length to the finishing width of the wooden skirting board mounted horizontally. Wide slats should be fixed around window and door openings.
Sometimes the walls are not even. This must be balanced with leveling wedges. On the other hand, the space between the skirting boards is filled with insulating material - preferably seasoned polystyrene.
Attaching the Starter Bar
The location of the starter bar is determined by a cord running along the horizontal reference line. The first skirting board is installed on the corner of the building, remembering to leave space for finishing strips. It is recommended to leave an expansion joint on each of the joints, which will eliminate the effect resulting from the expansion of the siding.
It is assumed that it should be 6 mm. Galvanized nails with a head of not less than 8 mm should be hammered every 20 cm, perpendicularly into the center of the oblong holes.

Corner Mounting
Start from 6 mm below the top edge of the wall or eaves and 6 mm below the bottom edge of the starter strip, driving a nail into the top of the top hole and positioning the plumb line precisely. Further nails must be hammered every 30 cm into the center of the oblong holes.
To connect two corner profiles, cut off 2.5 cm of the top of the bottom corner (excluding the front part) and slide the top corner over the bottom corner to a depth of 1.9 cm. Of course, we do not forget to leave 6 mm of expansion joints taking into account the expansion of the siding.
The procedure for fixing the inside corner is similar. It should be remembered that the panels will be installed at right angles to the corners.
Installation of Panels at Window and Door Openings
If you want to cut the panel to fit the door and window openings, place it against the opening and mark the width of the cut-out, adding 6 mm on each side. The distance should be measured starting from the edge of the last latch of the panels to the top edge of the end strip. The marked place should be cut out using scissors and a knife, and then fitted to the hole.
The snap buttons should be pressed 6mm from the edge, every 15cm. The panel prepared in this way must be closed in the latch of the bottom panel and the attached end strip. The so-called "J" strips are used to process window and door openings. They are attached to the wooden structure, but they should be longer than the width and height of the hole to be processed.
Make an incision at the bottom of the top rail and bend it so that it slides into the side rail to create a drain for water.
The front part of the ends of the top molding should be cut at an angle of 45 degrees, and the upper ends of the side "J" moldings should be cut at a right angle.
In the inner (middle) part, a cut-out should be made at a depth equal to the width of the front part of the skirting board. The lower ends of the side slats must be machined in the same way as the ends of the upper slat, and both ends of the bottom slat in the same way as the upper ends of the side slats.

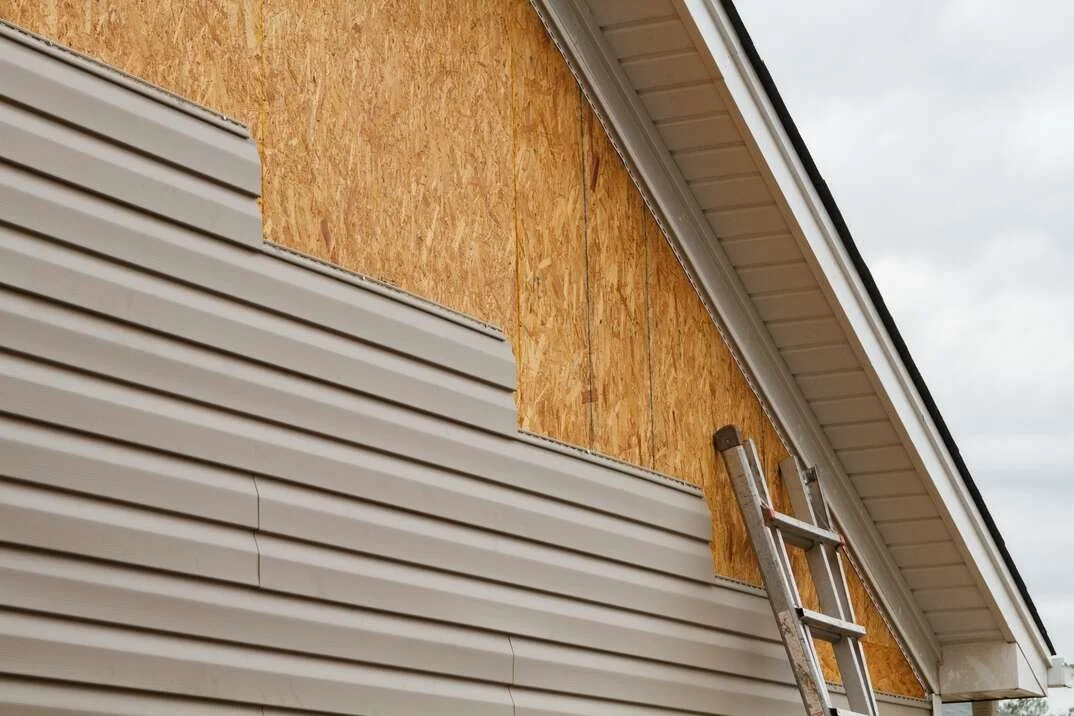
Installation of Panels on the Façade
The panels are fixed from the lowest layer, by attaching the panels to the latch of the starter strip. We nail them with nails, from the center of the strip, perpendicular to the wall, always in the middle of the oblong hole. It is necessary to remember to leave about 0.8 mm of space between the nail head and the vinyl board. On the other hand, there must be an expansion joint between the side plane of the panel and the corner or finishing strips.
Start nailing from the center of the strip, hammering the whistles perpendicular to the wall, always in the middle of the oblong hole, leaving about 0.8 mm of space between the nail head and the vinyl board. Between the side plane of the panel and the corner or finishing strips, we always leave an expansion joint.
If the temperature is lower than 4 degrees Celsius during installation, it should be 10 mm, if the temperature is higher - 6 mm is enough. You should also keep the 2.5 cm overlay. Usually, we want the connections to be invisible. This effect can be achieved if the panels overlap from the side of the place we look at most often.
When connecting the panels, make sure that the joints are offset by 60-100 cm from each other. To connect, use special tabs cut out at the end of the panel. Panels shorter than 60 cm should be avoided. It should also be remembered that the joints of the panels should cover each other no more often than in every second layer, and that the panels should not be stressed during nailing.
Installation Under Eaves or Wall Edge
The actual trim strip should be nailed to the wooden structure and then the distance between the top inner edge of the trim strip and the latch of the last row of panels should be measured. Then cut the last panel to this size and press the latches 6 mm from the edge, up to a maximum of 15 cm, using the squeezer. Slide the panel into the bottom panel latch and the end strip.
Mounting on Building Tops
For siding installation on the gables of buildings, use the "J" strip again, pressing it carefully against the eaves and nailing it to the mounting rail. The panel should be cut at the right angle, using the appropriate template to determine it.
To make this template, insert one piece of the panel into the latch of the lower panel, and place the other piece against the edge of the eaves, marking the necessary angle. In the same way, we make a template for the other side. It is worth remembering that under the last vinyl panel it is usually necessary to place a wooden slat pad.
Stay up to date with our latest ideas!