How to Quilt a Blanket at Home, Step by Step
Learn how to quilt a blanket from start to finish with easy-to-use tools, straightforward steps, beginner-friendly fixes, and a professional finish.
Key Takeaways
Start simple, keep pieces large, and choose cotton fabric that behaves.
Build a neat quilt sandwich, then quilt straight lines before trying curves.
Bind slowly, press often, and correct small mistakes immediately.
Add a custom woven label for a professional finish.
What This Guide Covers
This beginner-friendly guide shows how to quilt a blanket from start to finish. I’ll walk you through the tools, planning, build process, and common fixes. The steps are simple on purpose. I think simple is kinder when you are learning, and honestly, it often looks cleaner.
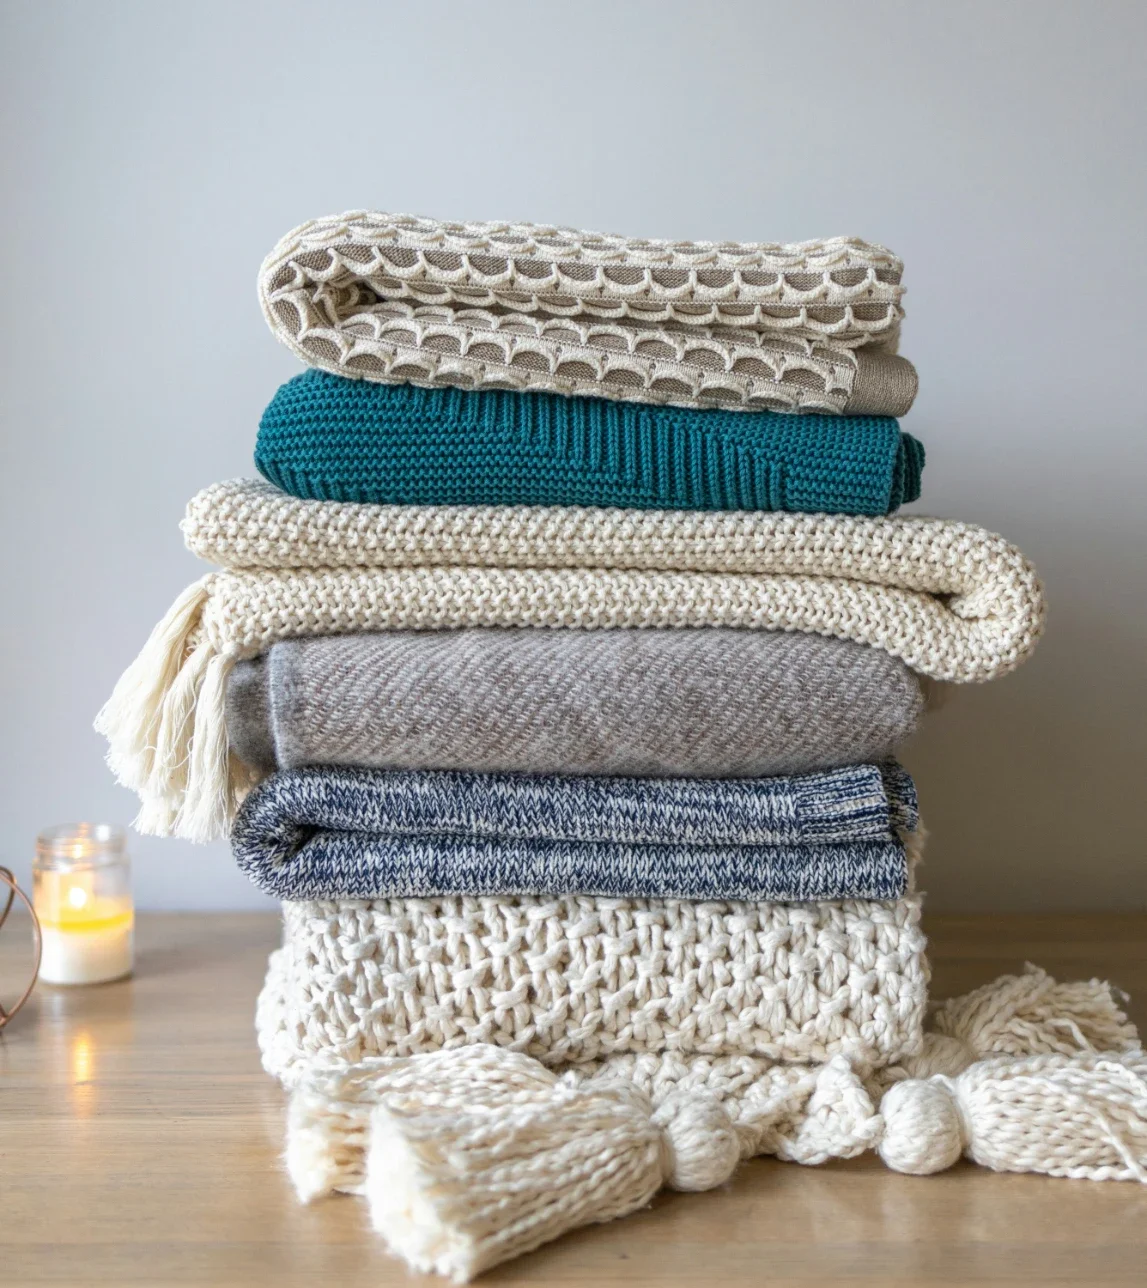
Before You Begin: Plan Your Quilt
Planning saves time. It also keeps nerves down when the fabric scissors come out. Pick a throw size so you do not feel overwhelmed. Choose two or three fabrics that you love, then add a quiet solid so the colors can breathe. For batting, cotton is easy to work with and lies flat, while a cotton blend is a touch puffier and warmer—either works. If you are unsure, I usually reach for low-loft cotton since it presses well and looks tidy.
Choose Your Pattern
Keep the pattern basic at first. Big squares or simple strips are perfect for learning how to quilt a blanket. Straight lines are friendly. I sometimes think about triangles, then remember how much I like finishing a project in the same week.
Gather Tools and Materials
You will need quilting cotton, batting, and a backing fabric that is a bit larger than your quilt top. A rotary cutter, a self-healing mat, and a clear acrylic ruler make cutting faster and safer. Use a thread that matches or softly contrasts. A walking foot is helpful for the quilting stage, though a regular foot can work with patience. Safety pins or temporary basting spray will hold layers together.
Step by Step: How to Quilt a Blanket
Step 1: Cut and Press
Prewash and press your fabrics so they will not surprise you later. Cut pieces slowly, hands steady on the ruler. I like large pieces because the quilt grows fast and the seams stay straight. After cutting, press again to keep the edges crisp. It feels a little repetitive, yet crisp edges make everything easier.
Step 2: Piece the Quilt Top
Sew with a quarter-inch seam. Chain piecing small sets can speed things up, although you do not have to rush.
Piecing Rows
Sew blocks into rows, then join the rows. Line up seams by nesting them, which means pressing one seam to the left and the matching one to the right.
Pressing Seams
Press after every join. Up and down with the iron, not back and forth. It helps the blanket lie flat and minimizes stretching.
Step 3: Build the Quilt Sandwich
Lay the backing fabric on a clean floor or big table, wrong side up, smooth, and tape the edges if you can. Add batting next, soft again, then place the quilt top right side up. This stack is your quilt sandwich. The backing and batting should extend at least an inch past the quilt top on all sides. A little extra is good, almost comforting.
Step 4: Baste the Layers
Use safety pins every hand span or so if you try to spray, mist lightly, and work with a window open. The goal is simple: keep the layers from shifting when you quilt. If the fabric bubbles, gently lift and smooth it before proceeding. Do not power through bubbles; they wait and come back.
Step 5: Quilt the Layers
Start in the center and work outward. Straight lines are the easiest path for learning how to quilt a blanket. A walking foot feeds layers evenly. Stitch in the ditch, which means sewing right along the seam, or try gentle diagonal lines. Keep stitches even, and if things drift a little, breathe and correct on the following line. Perfection is not the point, warmth is.
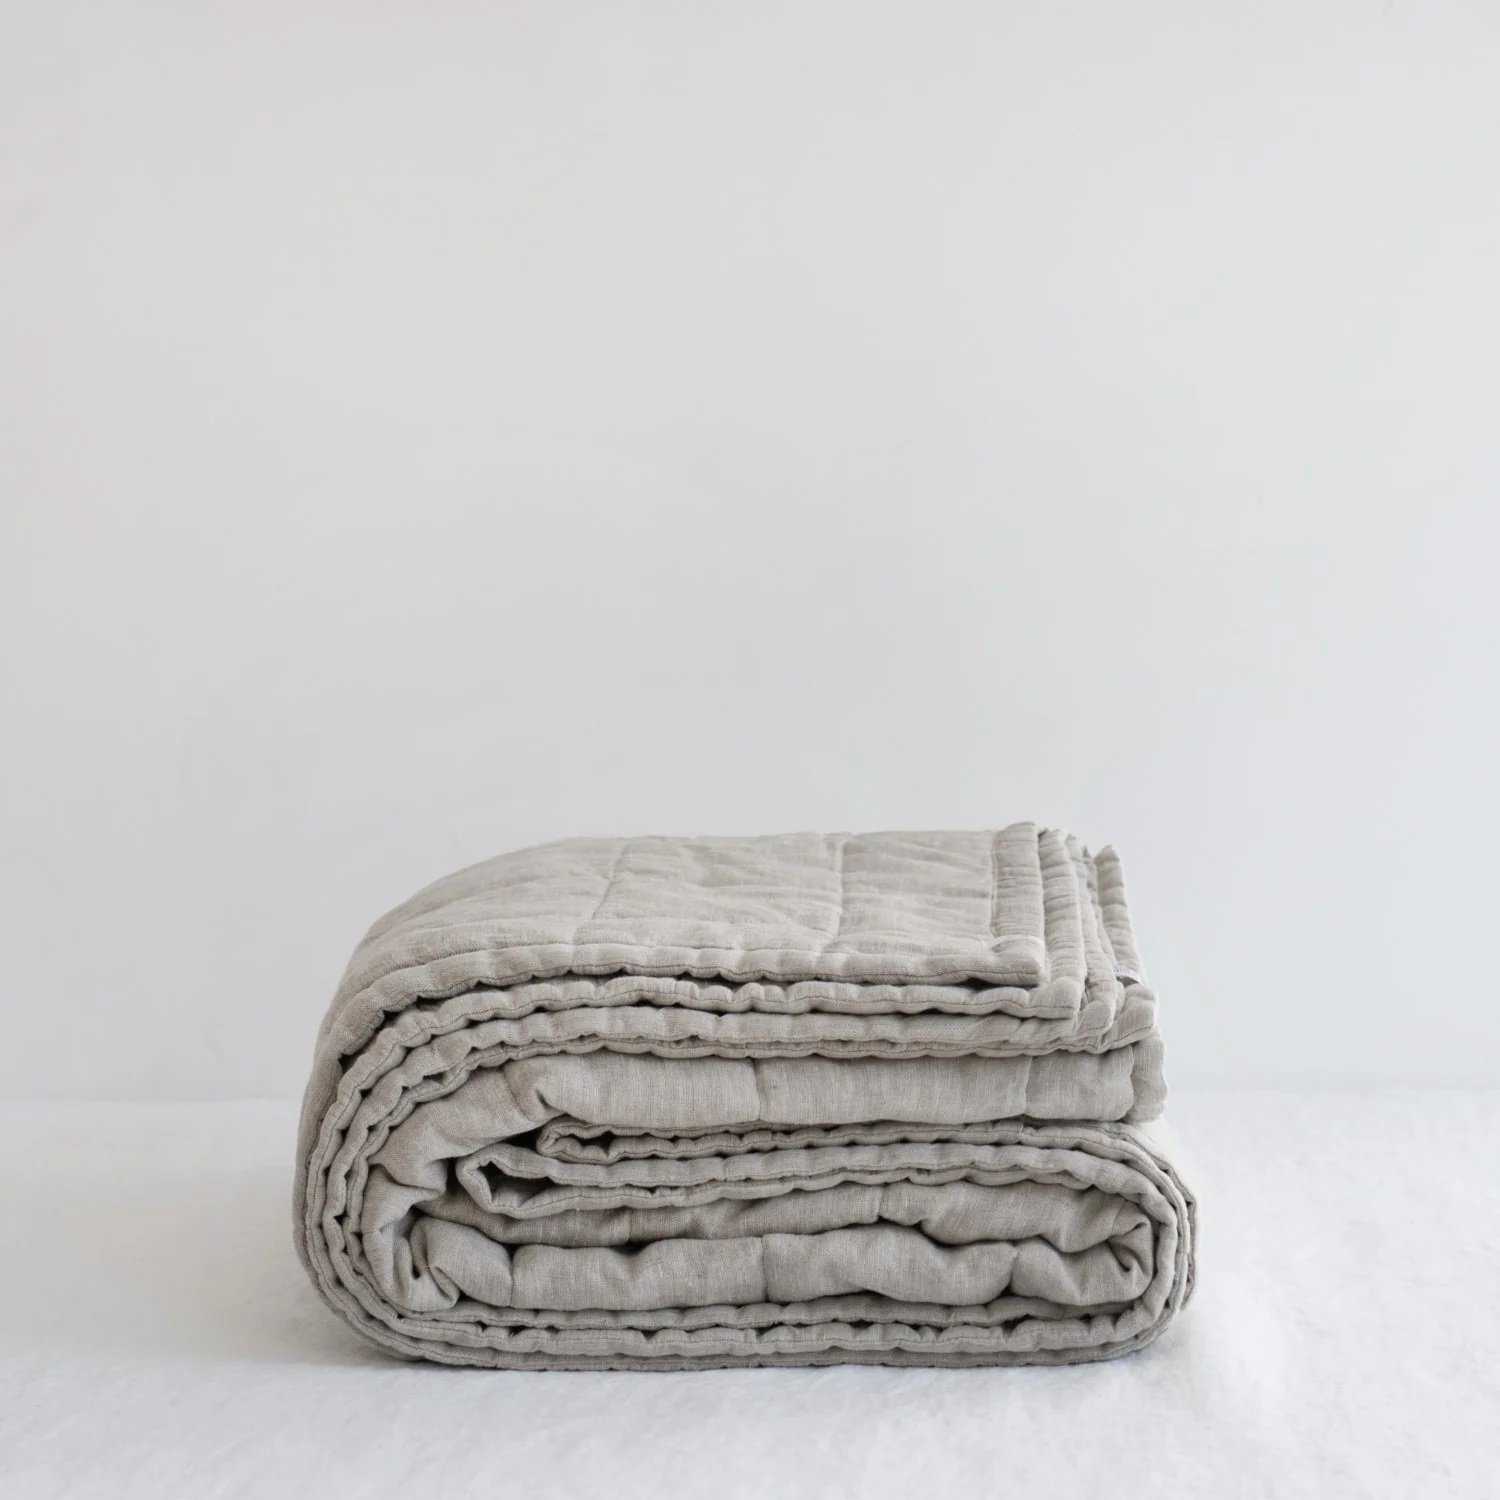
Step 6: Trim and Bind
Trim the extra batting and backing so the edges are square. Make a binding from strips of fabric, usually two and a half inches wide, joined on the diagonal so the seams are smooth.
Mitered Corners
Fold the binding at each corner to make a neat angle. Pause here. Corners always prefer a slow hand.
Final Stitch
Sew the binding to the front by machine, then fold it to the back and finish by hand or machine. Hand stitching is calmer and looks classic, though I admit the machine finish is fast and strong. You can decide later and still be right.
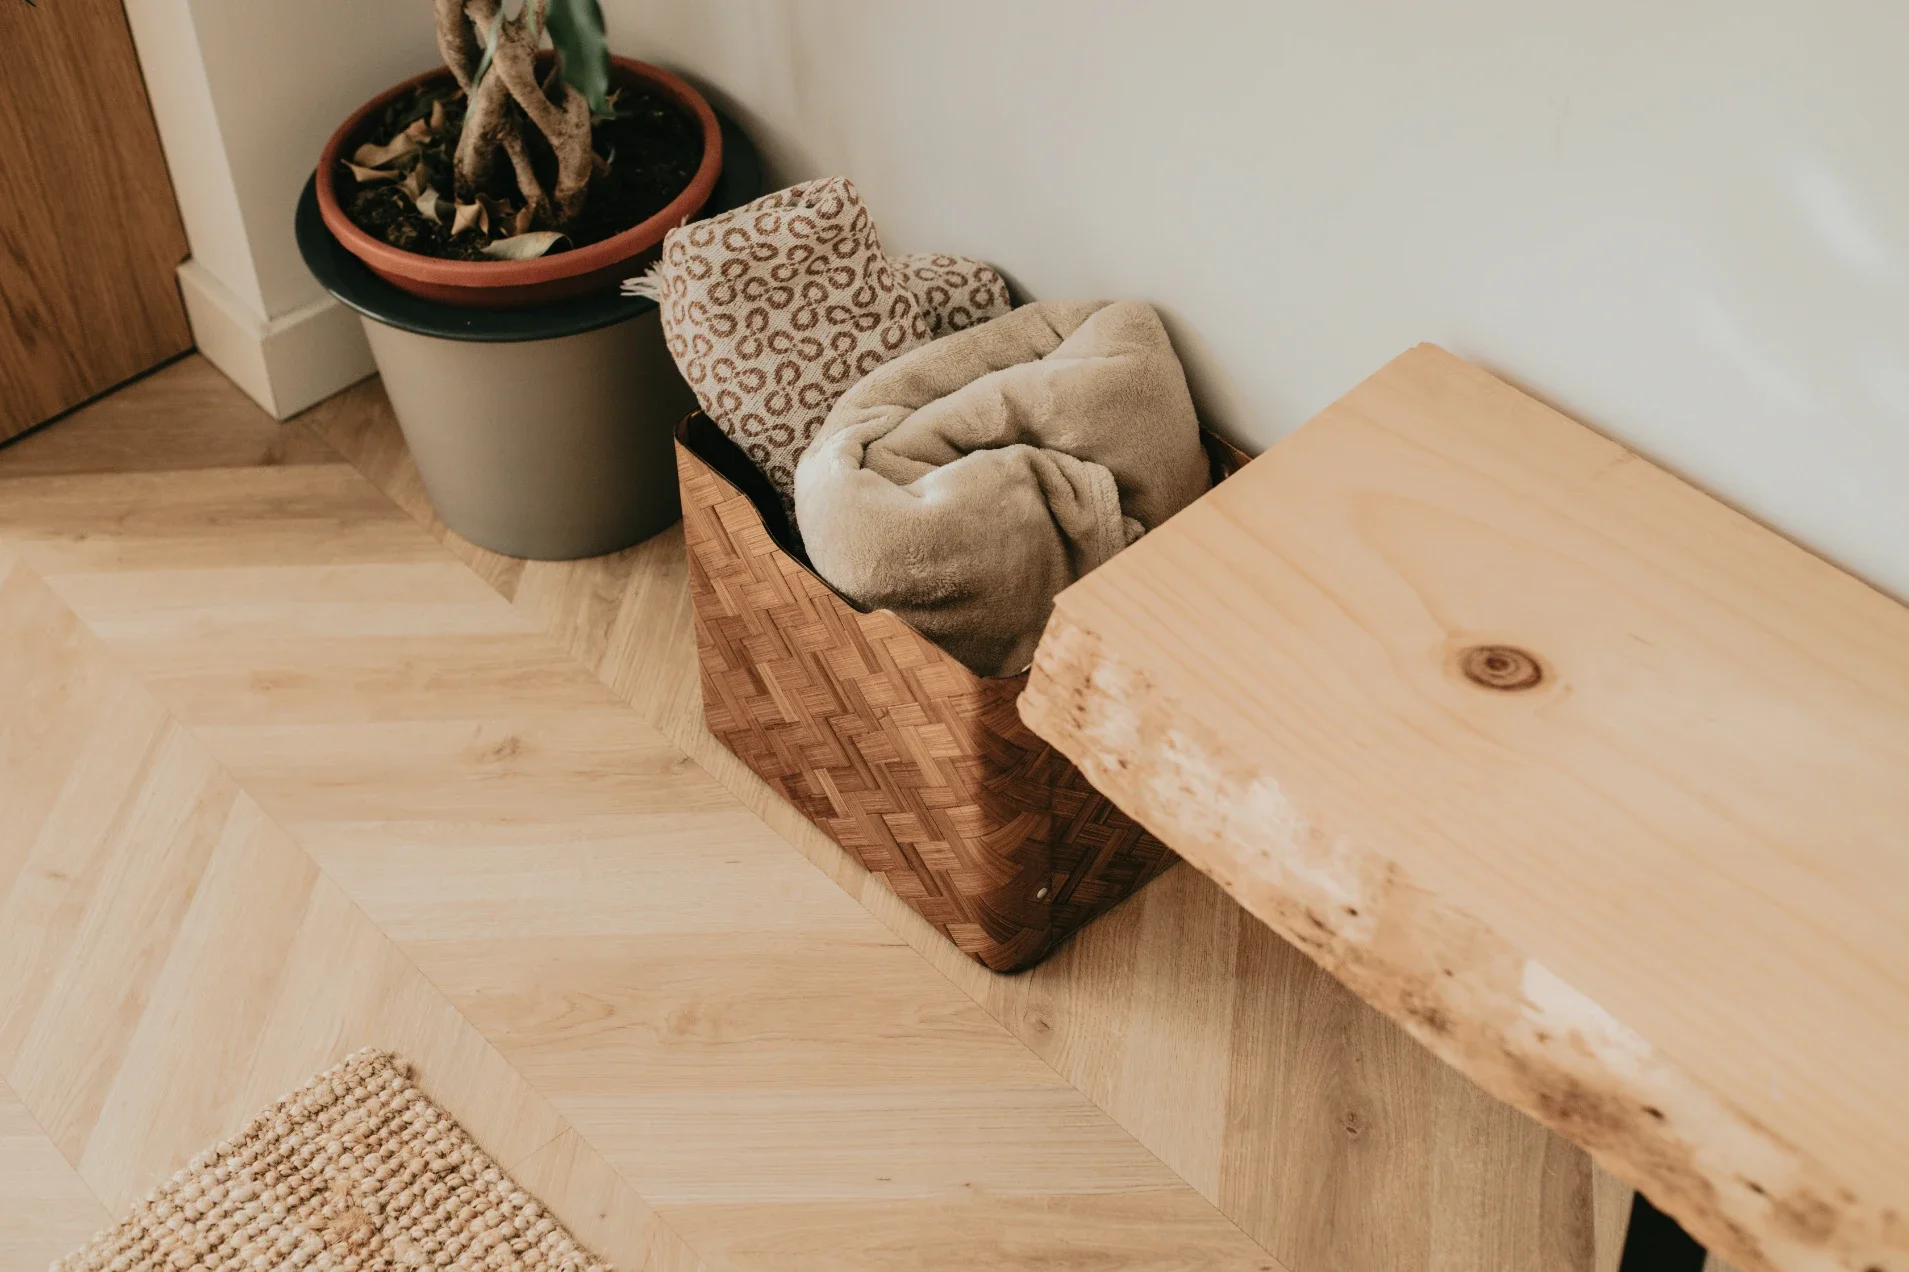
Finishing Touches That Matter
A label tells the story of your quilt. Add your name, the year, maybe who you made it for. A small custom woven label looks clean and lasts through many washes, which I think is the whole point of a favorite blanket. If you prefer a rustic look, a small leather tag works too, but woven labels stay soft at the edges and feel gentle against the skin.
Why A Woven Label
Woven labels are thin, durable, and readable. They do not crack like some prints. Sew one into the binding or the back corner. It makes the quilt feel finished, like a signature. If you want your family name, a date, or a short message, and keep your message or branding consistent across future quilts, it is a slight relief when the making bug returns.
Common Mistakes and Easy Fixes
If layers shift, you likely need more pins or a slower pace. Add pins, smooth the sandwich, and keep quilting from the center out. If a seam opens, re-stitch that spot before quilting over it. If the quilt ripples, press the area with steam and block it flat while it cools. Sometimes ripples relax after a wash. Sometimes they do not, and the blanket is still loved.
Care Tips So It Lasts
Wash on gentle with cool water and a mild detergent. Tumble dry on a low setting or line dry to preserve the batting's shape. A light press now and then refreshes the look. If a binding stitch pops, mend it right away. Minor repairs keep a quilt in the family for years. I like that idea, even if my own quilts take a few movie nights to fix.
A Soft Finish
Learning how to quilt a blanket is part craft and part patience. It is also a little joy tucked into fabric. Please keep it simple, try again when a corner fights back, and add that small woven label when you are done. Suppose you want a clean, lasting label with your name or logo, custom woven labels that look professional and feel soft at the edge. Your quilt deserves that tiny moment of polish.
Stay up to date with our latest ideas!