Beginner's Guide to Customizing a Luxury Crystal Chandelier — 7 Quick Wins ✨
Learn how to personalize a luxury crystal chandelier with simple steps. This beginner's guide shares 7 quick wins for timeless elegance at home.

You love the sparkle—but you also want your chandelier to fit your home, your style, and your budget. This U.S.-friendly guide shows you exactly how to take a Luxury crystal chandelier from box to breathtaking. You’ll learn about sizing, hanging height, bulb and dimmer choices, crystal upgrades, finish tweaks, smart controls, and safe cleaning. No jargon—just clear steps, simple formulas, and real-life examples you can use today.
Key takeaway: a few smart adjustments can completely transform the look, comfort, and energy cost of your chandelier—often within a single weekend.
What “Customizing” Really Means
Customizing doesn’t require expensive rewiring or rare parts. It’s about dialing in the basics:
Size (diameter that matches your room)
Height (drop distance from ceiling or table)
Light quality (lumens, color warmth, CRI)
Controls (dimmers and smart options)
Details (crystals, chains, canopies, finishes)
Done right, you’ll enjoy:
Better sparkle
Less glare
Lower energy bills
A look that actually fits your room
If you want a quick history or to brush up on terminology, see the Chandelier entry on Wikipedia—it’s a handy primer when shopping.
Picture Your Plan (So Decisions Feel Simple)
Use these four mental images while reading:
Installation: chandelier and chain alignment with the junction box.
Controls: a wall dimmer next to your chandelier in action.
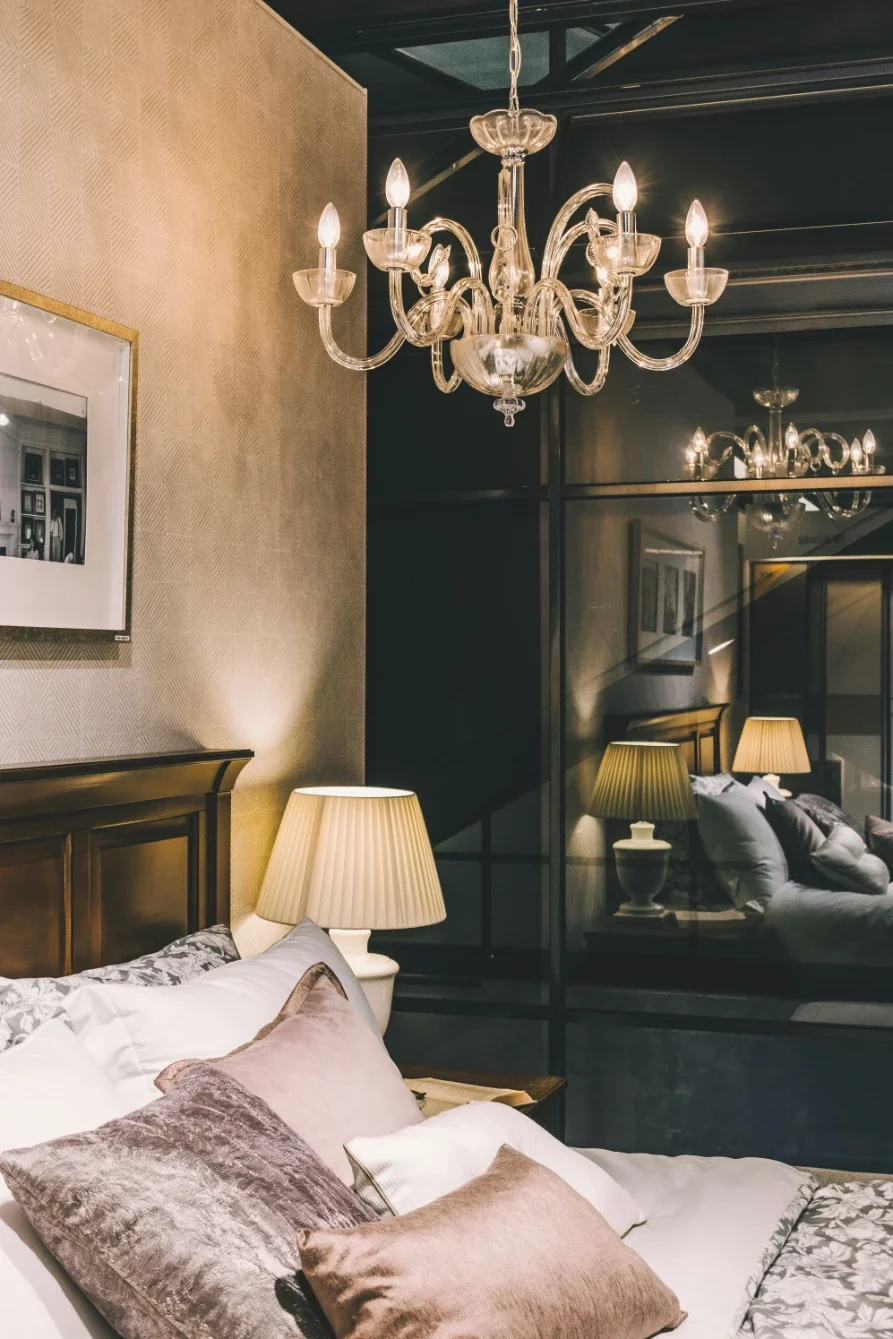
Comparison: two chandeliers—different sizes and color temperatures (2700K warm vs. 3000K neutral).
Maintenance: a gloved hand safely polishing a crystal prism.
7 Quick Wins for Beginners
Get the size right (see Formula 1).
Set the drop height correctly (see Formula 2 and Table 1).
Pick bulbs by lumens, Kelvin, and CRI—not watts.
Match bulbs with a tested dimmer to avoid flicker.
Upgrade crystals/trim to your preferred style.
Refresh hardware—chains, canopy, shades—for a custom look.
Clean with alcohol–distilled water mix or EPA Safer Choice products.
FORMULA 1 — Will It Fit?
Chandelier Diameter (inches) ≈ Room Length (ft) + Room Width (ft)
Example: A 12 ft × 10 ft dining room → 22 in chandelier.
Airy frames can look smaller
Dense, tiered frames can look larger
FORMULA 2 — How Long Should the Chain Be?
Chain Length = Ceiling Height − (Table Height + Desired Clearance) − Fixture Height
Example: 9 ft ceiling (108"), 30" table height, 32" clearance, 18" chandelier → Chain = 28".
Why it works: protects sight lines and creates elegant “float.”
Hanging Heights (Safe U.S. Defaults)
Over dining tables: bottom of chandelier = 30–36" above the tabletop (add 3" for each foot above 8 ft ceilings).
Foyers/open spaces: at least 7 ft clearance below; align with an upper landing for balance.
Pick Bulbs Like a Pro
Lumens: measure brightness (ignore watts).
Kelvin: 2700K = warm & classic; 3000K = crisp but cozy.
CRI (Color Rendering Index): 90+ makes crystals and finishes sparkle naturally.
Dimmer tip: always buy bulbs and dimmer together from the same compatibility list. Test the lowest dimming level right away.
Safety First
Use a ceiling box rated for the fixture’s actual weight (many U.S. boxes = 50 lb).
Look for UL 1598 listing on the spec sheet.
Follow the National Electrical Code (NEC).
When in doubt, hire a licensed electrician—it’s cheaper than a cracked chandelier (or worse).
Everyday Scenarios (Exact Tweaks)
Small dining (10×12 ft, 8-ft ceiling): 22" chandelier, 30–32" above table, 2700K CRI 90 LEDs, simple TRIAC dimmer.
Open kitchen/dining (14×18 ft, 9-ft ceiling): linear chandelier + pendants; use ELV/0–10V dimming for smoother LEDs.
Two-story foyer: bottom near second-floor landing, 7–8 ft clearance, canopy/chain tweaks if box isn’t centered.
Crystals, Trims & Finishes = Big Impact
Crystal cuts: octagons = classic; pendalogues = dramatic; smoked = modern.
Shades: fabric/glass soften sparkle.
Finishes: swap chain/canopy to match your room’s metals.
Pro tip: order 10–15% extra crystals for breakage.
Cleaning Made Simple
Dust monthly with microfiber.
Deep clean 1–2×/year: 1 part isopropyl alcohol (70%+) to 3–4 parts distilled water.
Use lint-free gloves to avoid streaks.
Check EPA’s Safer Choice directory for safe cleaners.
Quick Math: How Much You Save
6 × 60W incandescents (5 hrs/day) = ~$2.12/week.
6 × 8.5W LEDs (5 hrs/day) = ~$0.30/week.
LEDs + dimming = ~$0.18/week.
That’s $95/year saved just by swapping bulbs.
Buyer’s Checklist
UL listing (UL 1598)
Ceiling box matches fixture weight
Bulb/dimmer tested compatibility
Bulbs: 2700–3000K, CRI 90+
Spare crystals & bulbs on hand
3 Common Mistakes
Wrong size → Use Formula 1 + tape mockup.
Wrong dimmer → Always check compatibility list.
Weak ceiling box → Upgrade to fan/fixture-rated box.
Final Word
With the right size, hanging height, bulbs, and a flicker-free dimmer, your luxury crystal chandelier will look custom, feel comfortable, and cost less to run—every single day.
Stay up to date with our latest ideas!