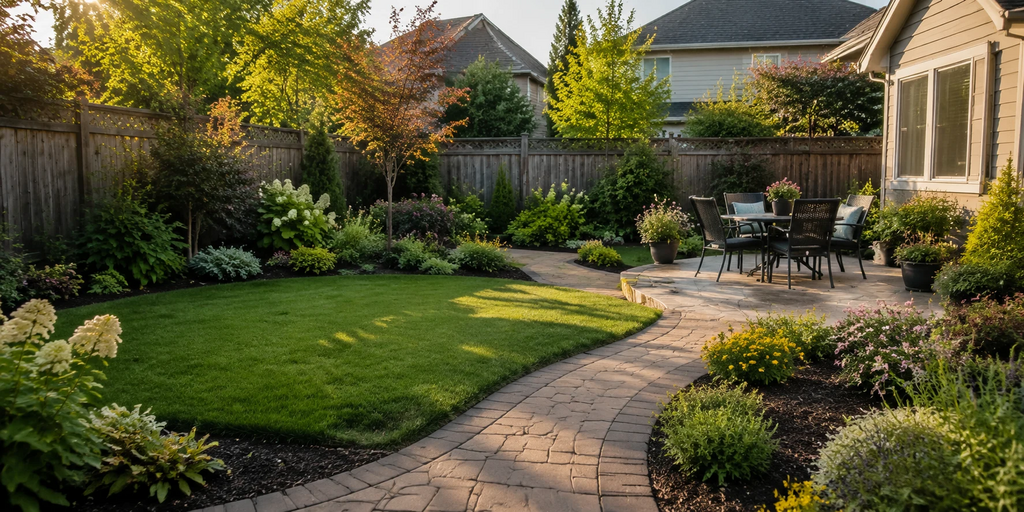
How to Plan a Stunning Backyard Landscape Without Hiring a Designer
Learn how to plan a stunning backyard landscape without hiring a designer using practical layout ideas, smart plant choices, and budget friendly tips.
Hiring a professional landscape designer sounds like a dream — until you see the quote. For most homeowners, professional landscape design runs anywhere from $1,500 to $7,000 just for the plans, before a single plant goes in the ground.
The result? Most of us either muddle through on our own or put the project off entirely, watching the backyard stay stuck as a flat slab of grass year after year.
But that calculus is changing. A new generation of AI-powered design tools now lets you visualize, iterate, and refine a complete landscape plan in an afternoon — no CAD skills required, no waiting weeks for a designer's revisions. In this guide, I'll walk you through a practical process for transforming your outdoor space using these tools, and show you exactly how it all fits together.
Why Traditional Landscape Planning Falls Short
The classic approach — hiring a designer, reviewing hand-drawn plans, and making changes by email — was designed for commercial projects, not residential gardens. For a backyard makeover, it introduces three common pain points:
Cost: Hourly design fees stack up quickly, and most designers charge for every revision.
Speed: A typical residential project takes 4–8 weeks from first meeting to final plan.
Communication gap: Describing what you want in words — or even with Pinterest boards — rarely captures the full vision. Surprises happen during installation.
What homeowners actually need is the ability to see their ideas quickly, experiment cheaply, and arrive at a clear picture before any money goes toward plants or hardscaping. AI design tools are built exactly for that.
Step 1: Define Your Space and Goals
Good landscape planning starts offline. Before you open any software, spend 20 minutes walking your yard with your phone and answering these questions:
What do you actually use the yard for? (Kids' play, entertaining, gardening, pets?)
What's the biggest frustration with the current layout?
Which areas get full sun, partial shade, or deep shade?
What's your rough budget — plants only, or including hardscaping like patios and paths?
Are there views you want to frame, or neighbors you'd like to screen?
Snap photos from multiple angles: standing near the house looking out, from the far end looking back, and overhead if you can get it (a second-floor window works). These become your reference material.
The clearer your answers here, the better your AI-generated concepts will be — the tool is only as good as the brief you give it.
Step 2: Use an AI Tool to Generate Your First Concepts
This is where things get genuinely exciting. Tools like ArchyBase are built specifically for this moment — upload a photo of your yard, describe the style and features you want, and within seconds you have a rendered concept showing what the space could look like.
Here's how to get the most out of your first session:
Upload your best angle shot. Choose the photo that shows the most context — ideally the view you see from inside the house looking out.
Describe the style you're drawn to. Be specific: "cottage garden with lots of texture," "clean modern lines with gravel and ornamental grasses," or "lush tropical feel with bold foliage."
Mention key functional elements. If you need a path, a seating area, or a screen planting, say so explicitly.
Iterate. The real value is in running five or six variations with small tweaks — more screening here, less lawn there — until the concept clicks.
The ai landscape design feature is especially useful for homeowners who struggle with spatial visualization — seeing your actual yard with proposed changes rendered in place is completely different from looking at a flat planting plan.
Step 3: Choose a Design Direction
After your first round of AI concepts, you'll likely have two or three directions that feel promising and several that don't suit your space. This narrowing process is valuable — it forces you to articulate what you actually like and don't like, which is harder than it sounds.
At this stage, consider sharing your top two concepts with someone whose taste you trust. Fresh eyes often catch things you've stopped noticing — a path that seems to dead-end awkwardly, a plant mass that would block a window you love.
What to Lock In Before Moving Forward
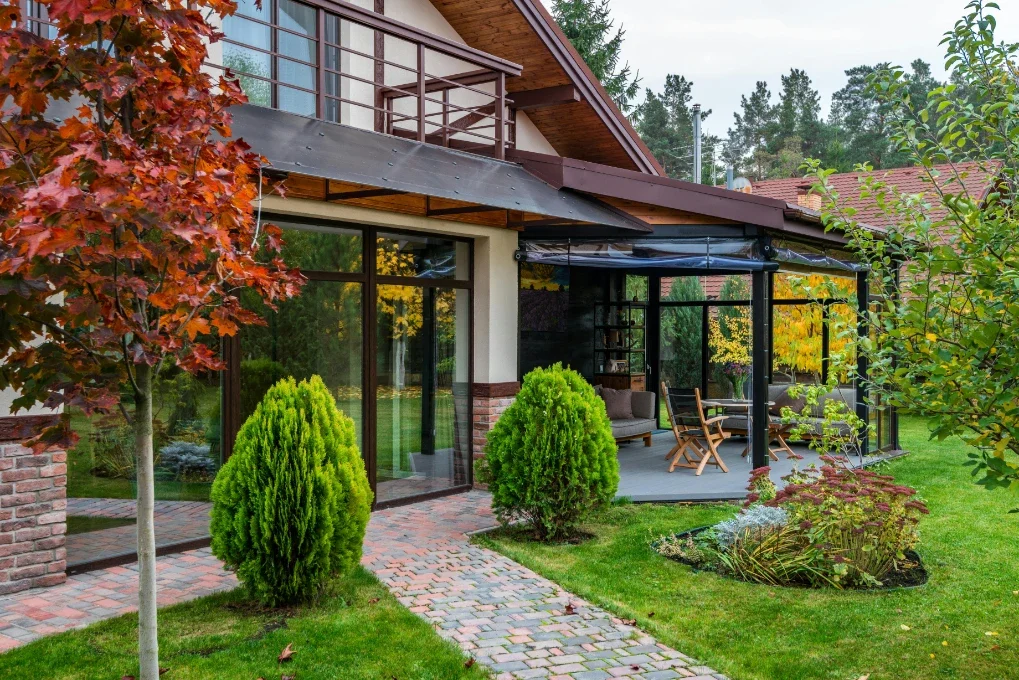
Hardscape first. Patios, paths, edging, and retaining walls define the structure of the garden. Get these right before deciding on plants.
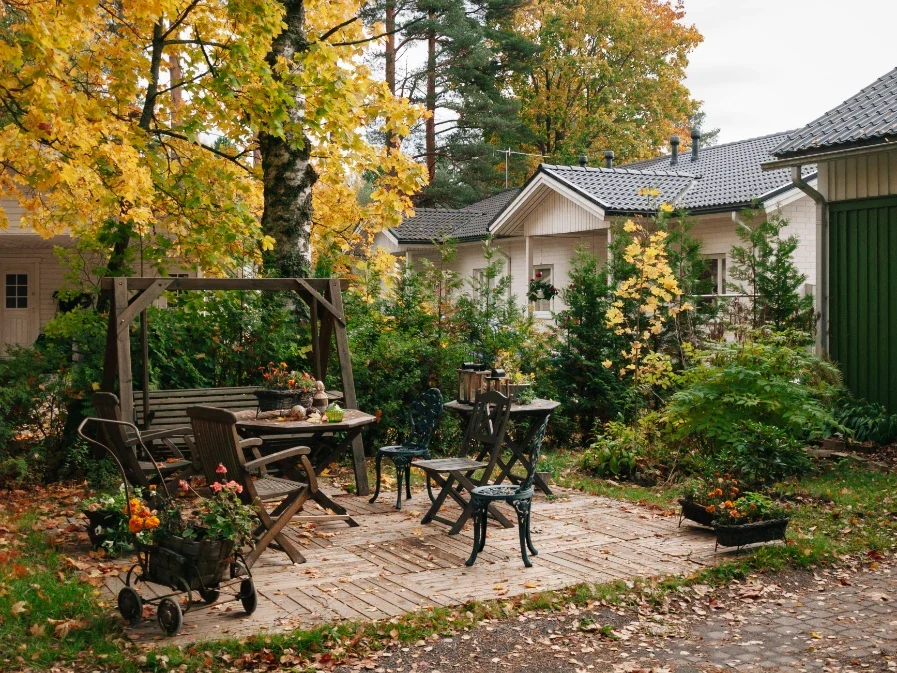
Focal points. Every good garden has a moment that draws the eye — a specimen tree, a water feature, a bold planting. Identify yours early.
Traffic flow. How do people move through the space? Paths should follow desire lines, not fight them.
Step 4: Build Your Plant List
With a clear design direction, you can now make planting decisions with purpose rather than impulse-buying at the nursery.
A practical way to build your list: work from the AI concept and note the types of plants shown — tall screening shrubs, mid-border perennials, ground cover, seasonal color. Then research locally appropriate varieties that fill those same roles. What works in coastal California is very different from what thrives in the Midwest or the Pacific Northwest.
A few principles worth holding:
Odd numbers look more natural. Plant in groups of three or five, not pairs.
Layer heights. A border with tall, medium, and low plants reads as lush even when individual specimens are small.
Repeat plants through the design. Using the same plant in two or three locations creates visual rhythm and makes a modest budget go further.
Think about all four seasons. A garden that's spectacular in summer but empty in winter is a missed opportunity.
Step 5: Phase the Project (and Your Budget)
One of the most common landscape mistakes is trying to do everything at once. A whole-garden renovation is expensive, physically demanding, and leaves you with no established plants while you're waiting for the new ones to settle in.
Instead, divide your design into phases:
Hardscape and structure. Install any paths, edging, patios, or raised beds. This is the skeleton of the design.
Trees and large shrubs. Woody plants take the longest to establish, so plant these first.
Perennials and filling plants. Add the mid-layer once the structure is in place.
Seasonal color and finishing touches. Annuals, ground covers, and decorative elements fill in the gaps.
Spreading this over 2–3 seasons also gives you the chance to observe how the space actually gets used before you commit fully to the final planting scheme.
Quick Wins: Changes You Can Make This Weekend
Not every improvement requires a full plan. If you want to see progress now while you're working on the bigger picture, these low-effort changes make an immediate difference:
Edge existing beds cleanly — a crisp line instantly makes plantings look more intentional
Add a layer of fresh mulch to all planting areas
Remove any dead or struggling plants that are dragging the space down visually
Add one large container with a bold plant near the house or seating area as a focal point
Define a simple path with stepping stones, even temporarily
The Takeaway
Planning a landscape used to require either professional help or a high tolerance for trial and error. AI design tools have genuinely changed that equation — you can now see a credible vision for your space in an afternoon, iterate freely, and arrive at the nursery with a plan rather than a vague idea.
The process works best when you treat the AI as a thinking partner rather than a magic answer machine: bring it good reference photos, a clear brief, and a willingness to iterate. Tools like ArchyBase are built for exactly this kind of exploratory planning — and the gap between "I have an idea" and "I can see it clearly" has never been smaller.
Your backyard has more potential than you probably realize. The hardest part is just getting a clear picture of it.
Stay up to date with our latest ideas!