How to Fix a Power Outage in One Room of Your Home: A Step-by-Step Guide
Learn how to troubleshoot and fix a power outage in one room with this step-by-step guide—identify causes, reset breakers, and stay safe.

Experiencing a power outage in just one room can be both confusing and frustrating. It often leaves you wondering whether it’s a simple fix or something more serious. In many cases, it’s caused by something as minor as a tripped breaker, a single faulty appliance, or an overloaded circuit. With how much we rely on electricity, even a small disruption can throw off your routine. But don’t worry—many of these issues can be safely and efficiently resolved without calling in a professional.
This guide will walk you through the practical steps to troubleshoot and potentially fix the problem yourself. You’ll not only get the lights back on but also gain some handy knowledge that could come in useful down the track. Just remember: safety always comes first when working with anything electrical.
Understanding the Causes of a Power Outage in One Room
To start, it helps to understand the common causes of power outages that affect just one area of your home. A tripped circuit breaker is usually the top suspect. When a circuit gets overloaded, your home’s safety system automatically cuts the power to prevent further damage or even fire.
Another possibility? A faulty or aging appliance. Sometimes, a single plug-in item with wiring issues can short out a circuit. Overloaded circuits—when too many energy-hungry devices are connected at once—are also frequent troublemakers.
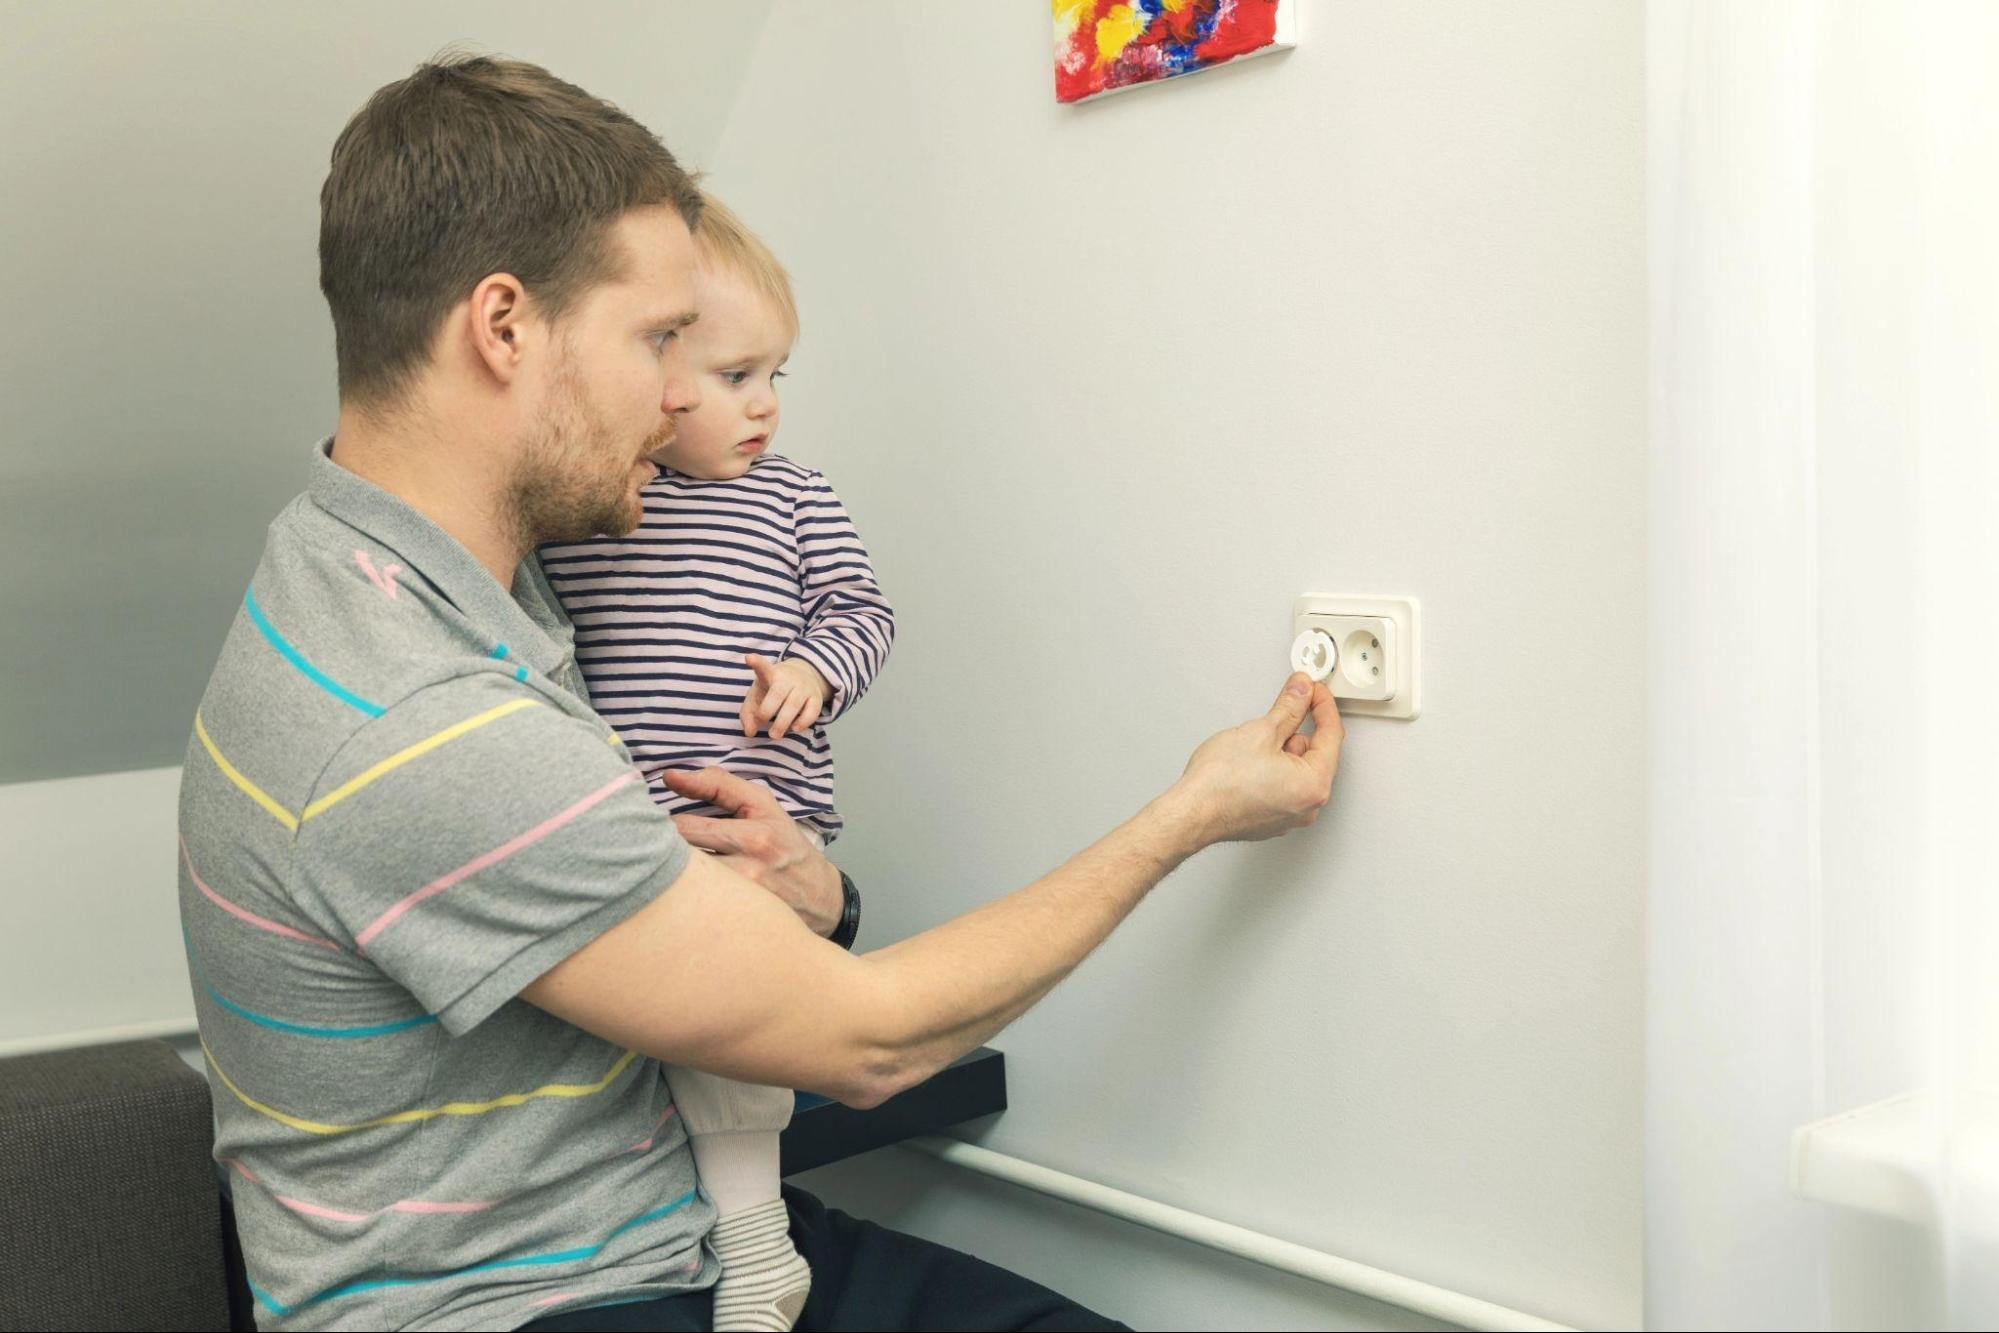
It’s a good idea to routinely check your electrical outlets and cords for wear and tear. Catching signs early, like burn marks or strange smells, can help you avoid bigger issues. If the obvious causes don’t pan out, there might be an underlying electrical fault, which is when it’s time to bring in a licensed electrician.
Safety First: What to Do Before You Start
Before you grab your tools, take a moment to prepare safely. Always turn off the main power at your electrical panel before inspecting outlets, appliances, or wiring. This reduces the risk of shock while you investigate.
You’ll want to have a few basic tools on hand, such as a flashlight, a voltage tester, and an insulated screwdriver. It’s also smart to wear rubber-soled shoes and keep your workspace dry, especially when dealing with electrical components.
And don’t go it alone if you’re unsure. Having a qualified electrician’s contact details saved in your phone is a wise move in case things get complicated.
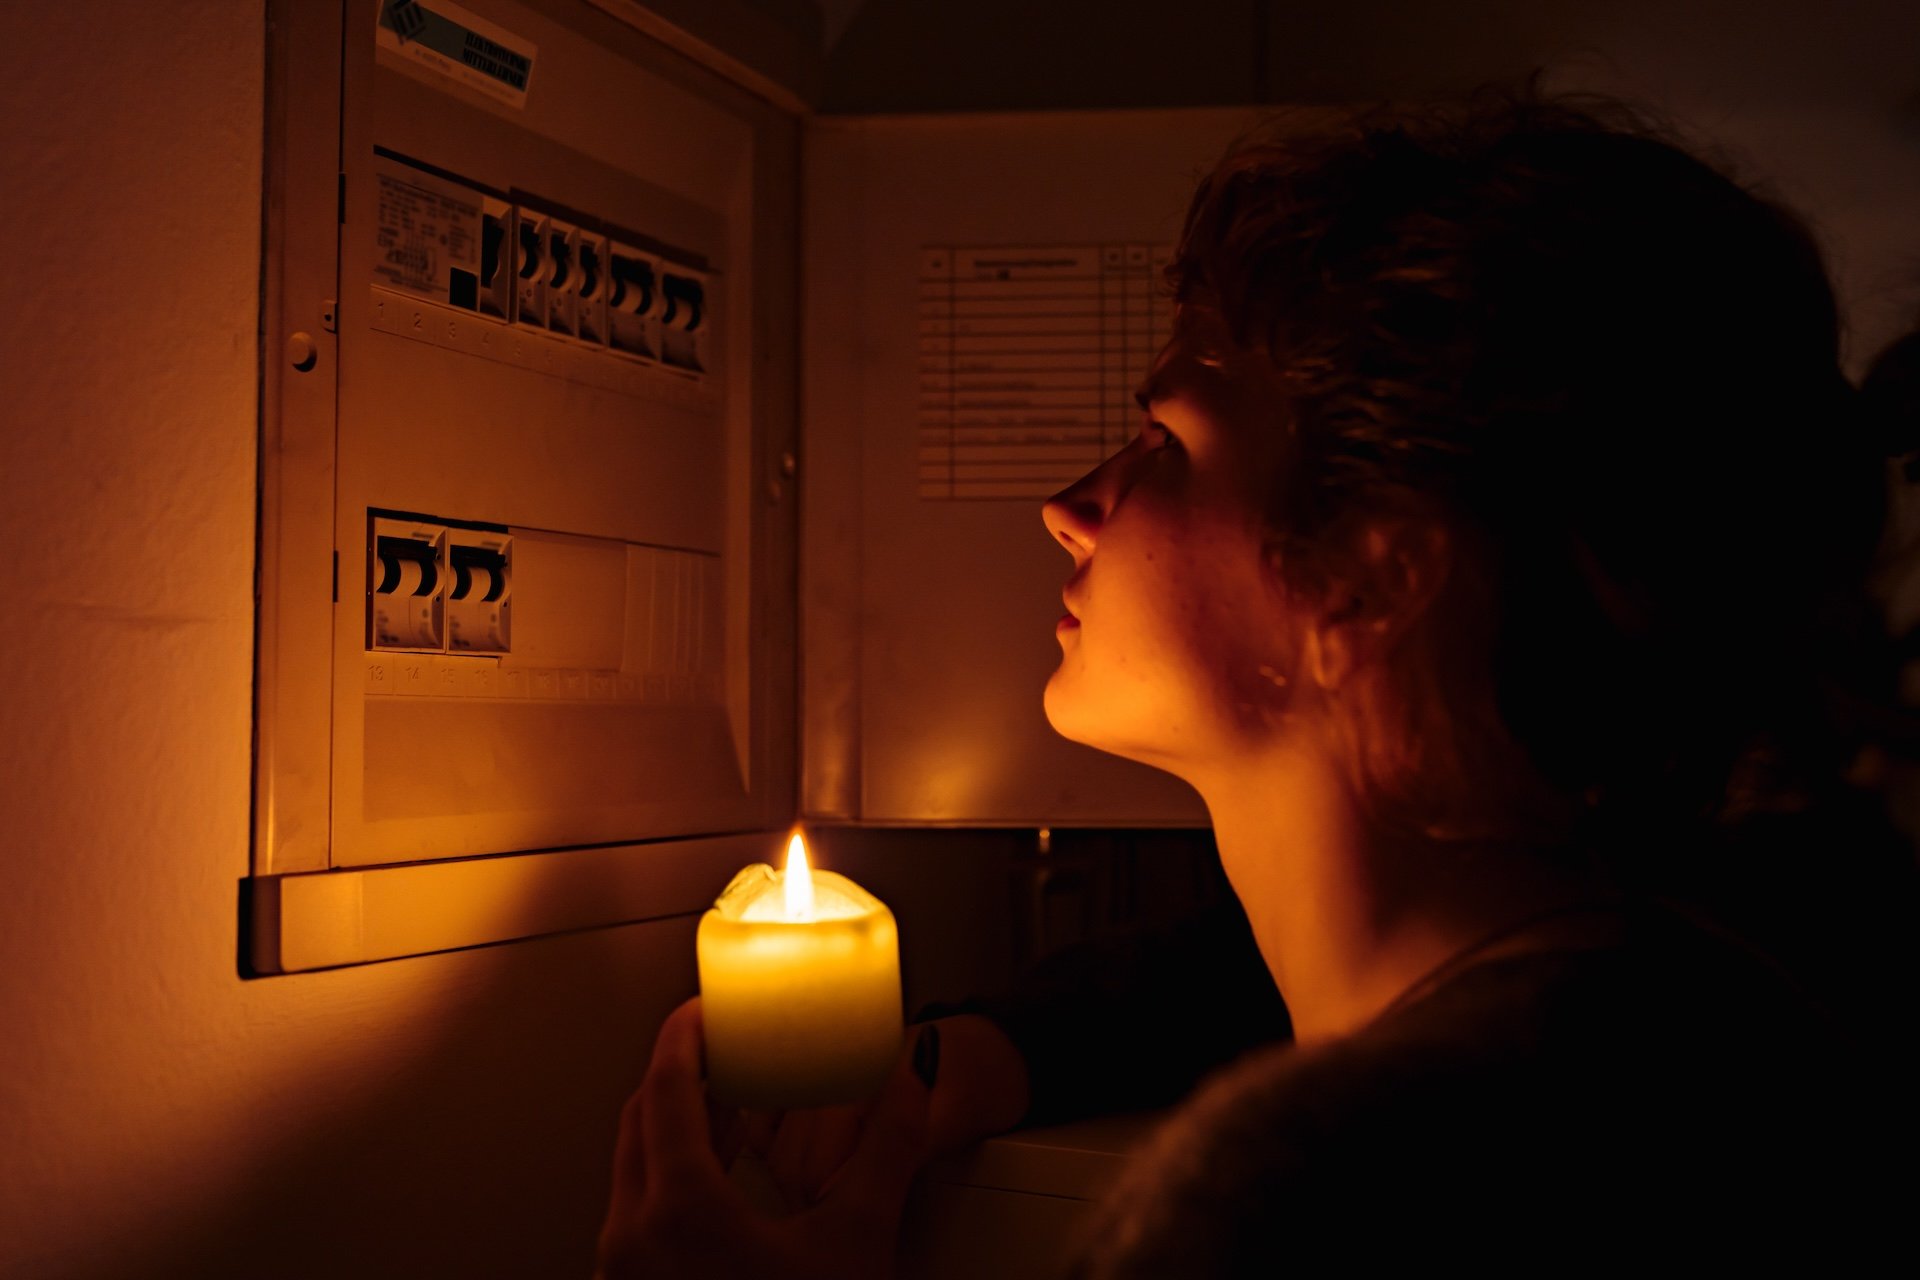
Step 1: Check the Circuit Breaker or Fuse Box
Your first stop should be the circuit breaker panel, often located in a garage, utility room, or basement. Open the panel and look closely for any breakers that appear stuck between the "on" and "off" positions. This usually signals a tripped breaker. Flip it fully to the "off" position, then back to "on" to reset it.
If your home uses fuses instead, look for any with a broken metal filament or dark, charred glass. With the power off, carefully replace blown fuses with ones of the same amperage.
To make future issues easier to diagnose, consider labelling each circuit while you’re there. It’s a small step that can save a lot of guesswork next time.
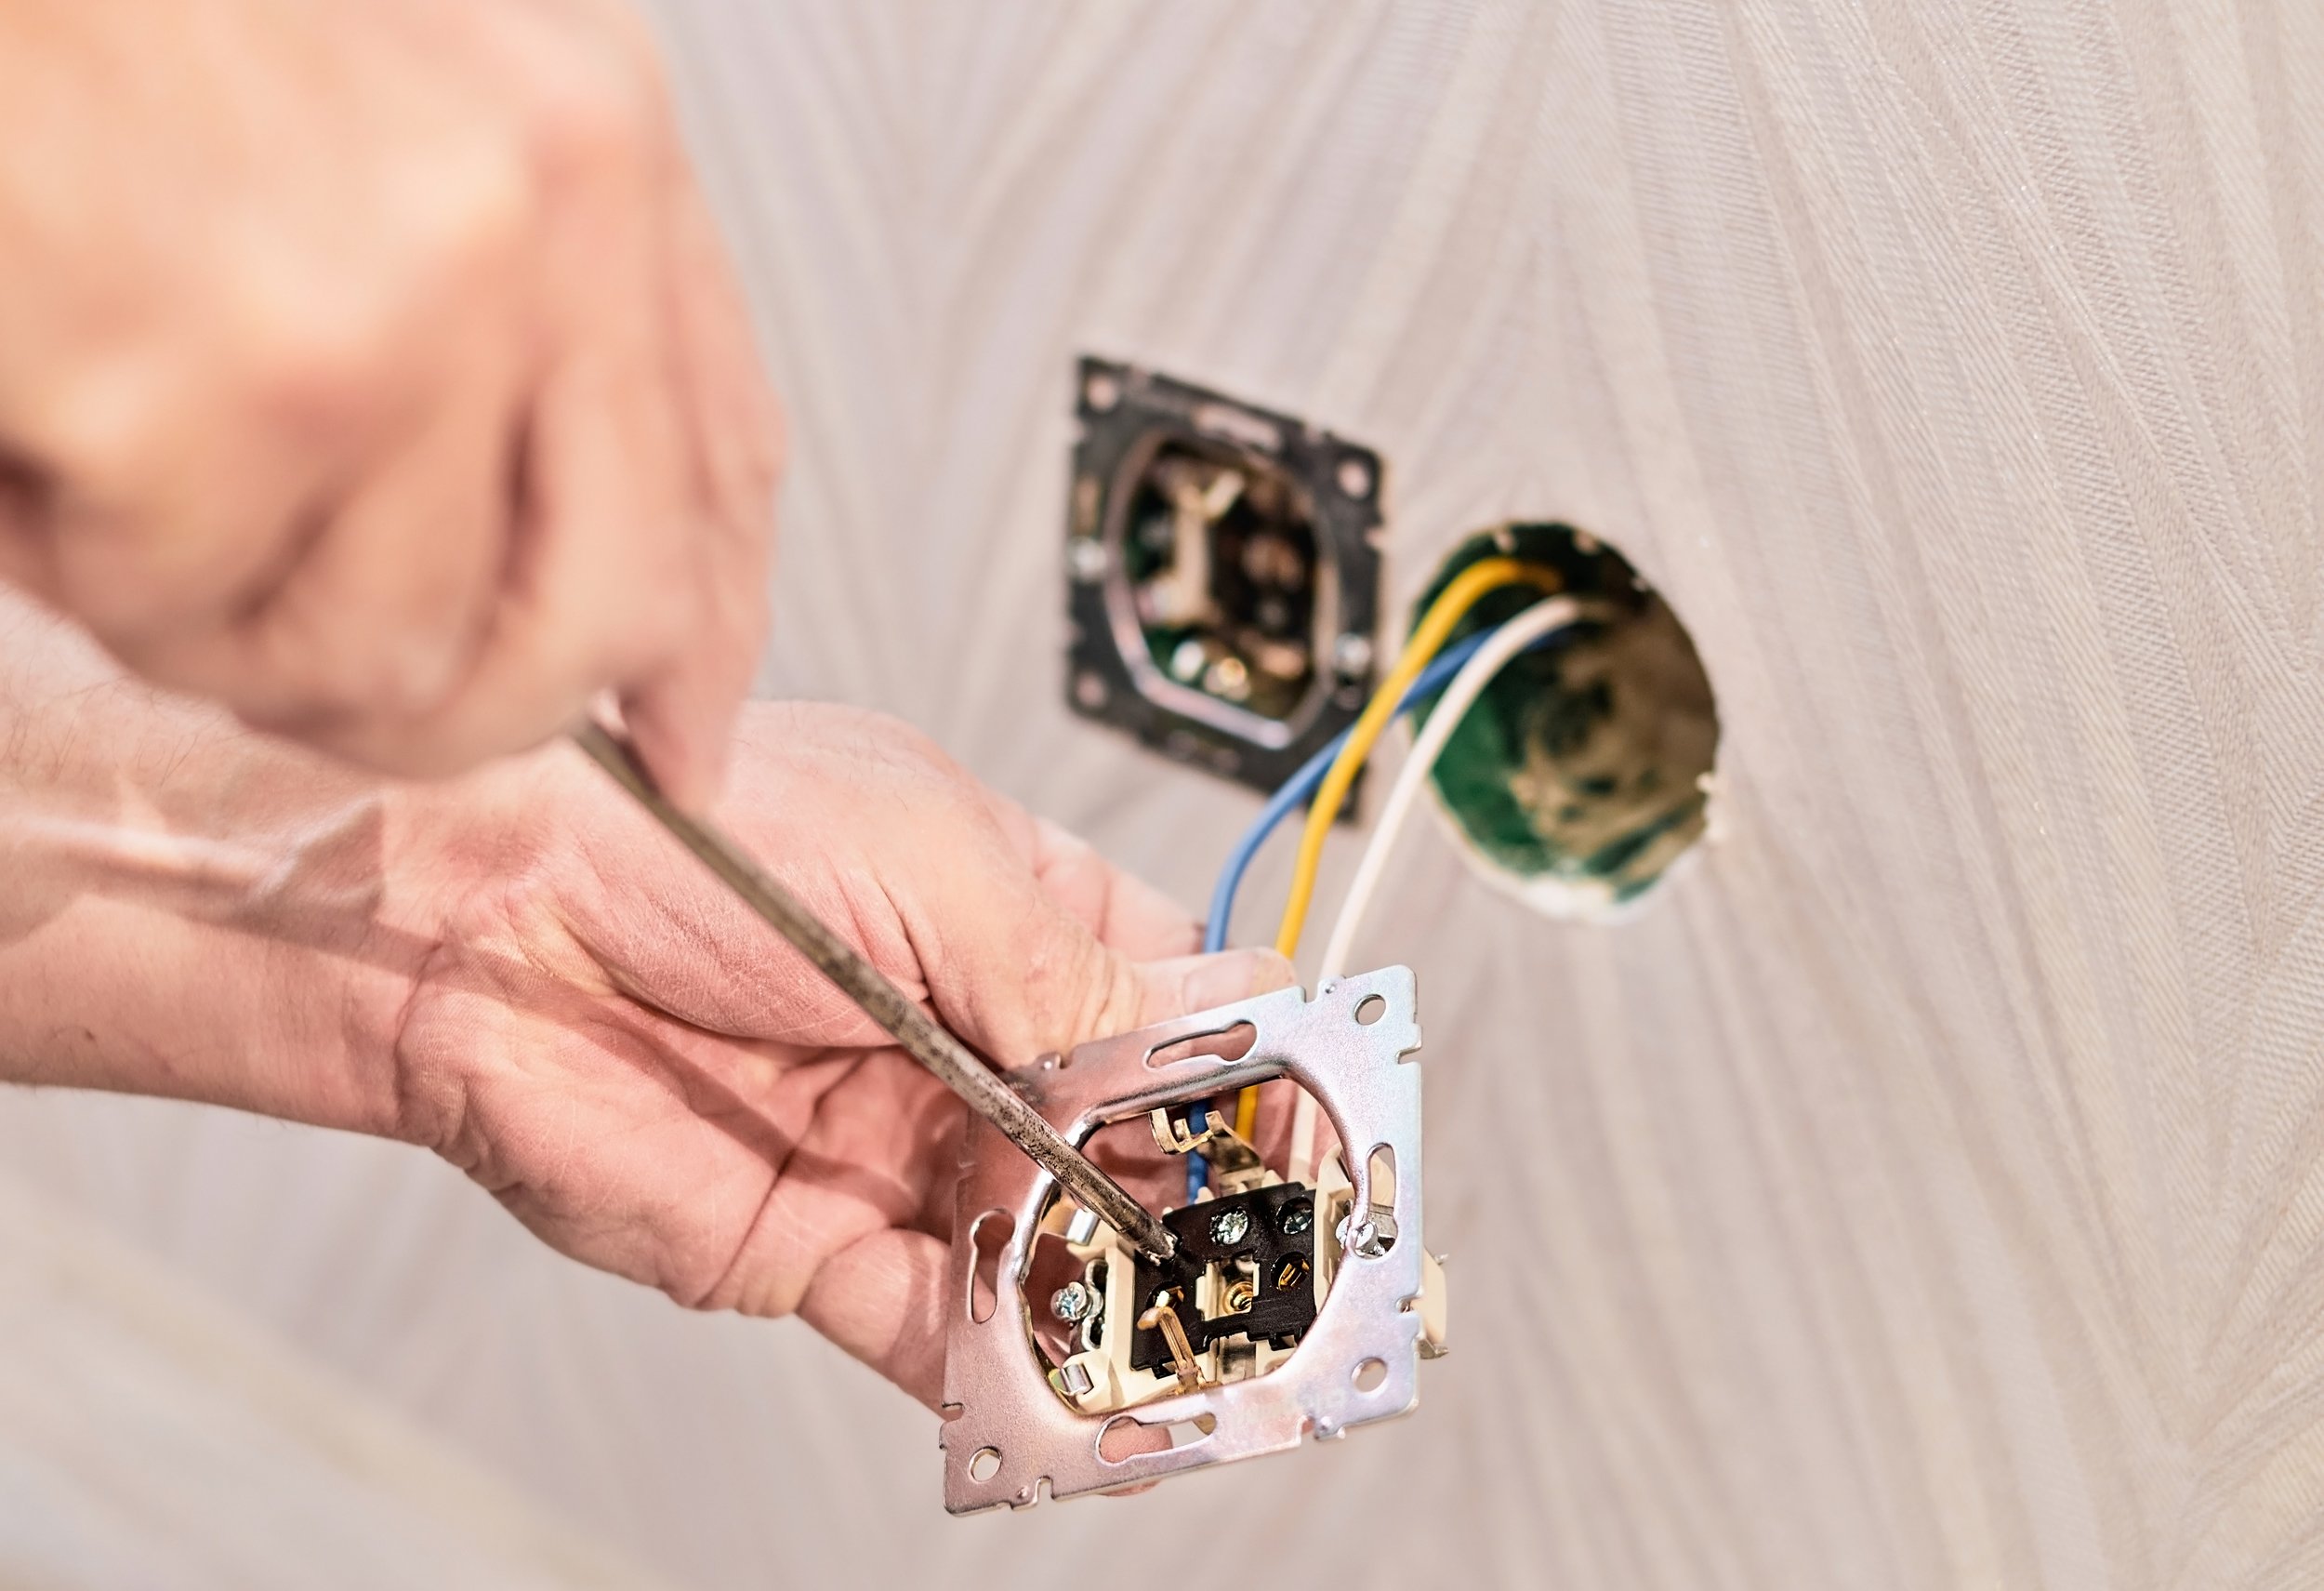
Step 2: Inspect Outlets and Switches
Next, check the outlets and switches in the affected room. Are there any signs of discolouration, a burning smell, or melting plastic? These can all point to electrical issues.
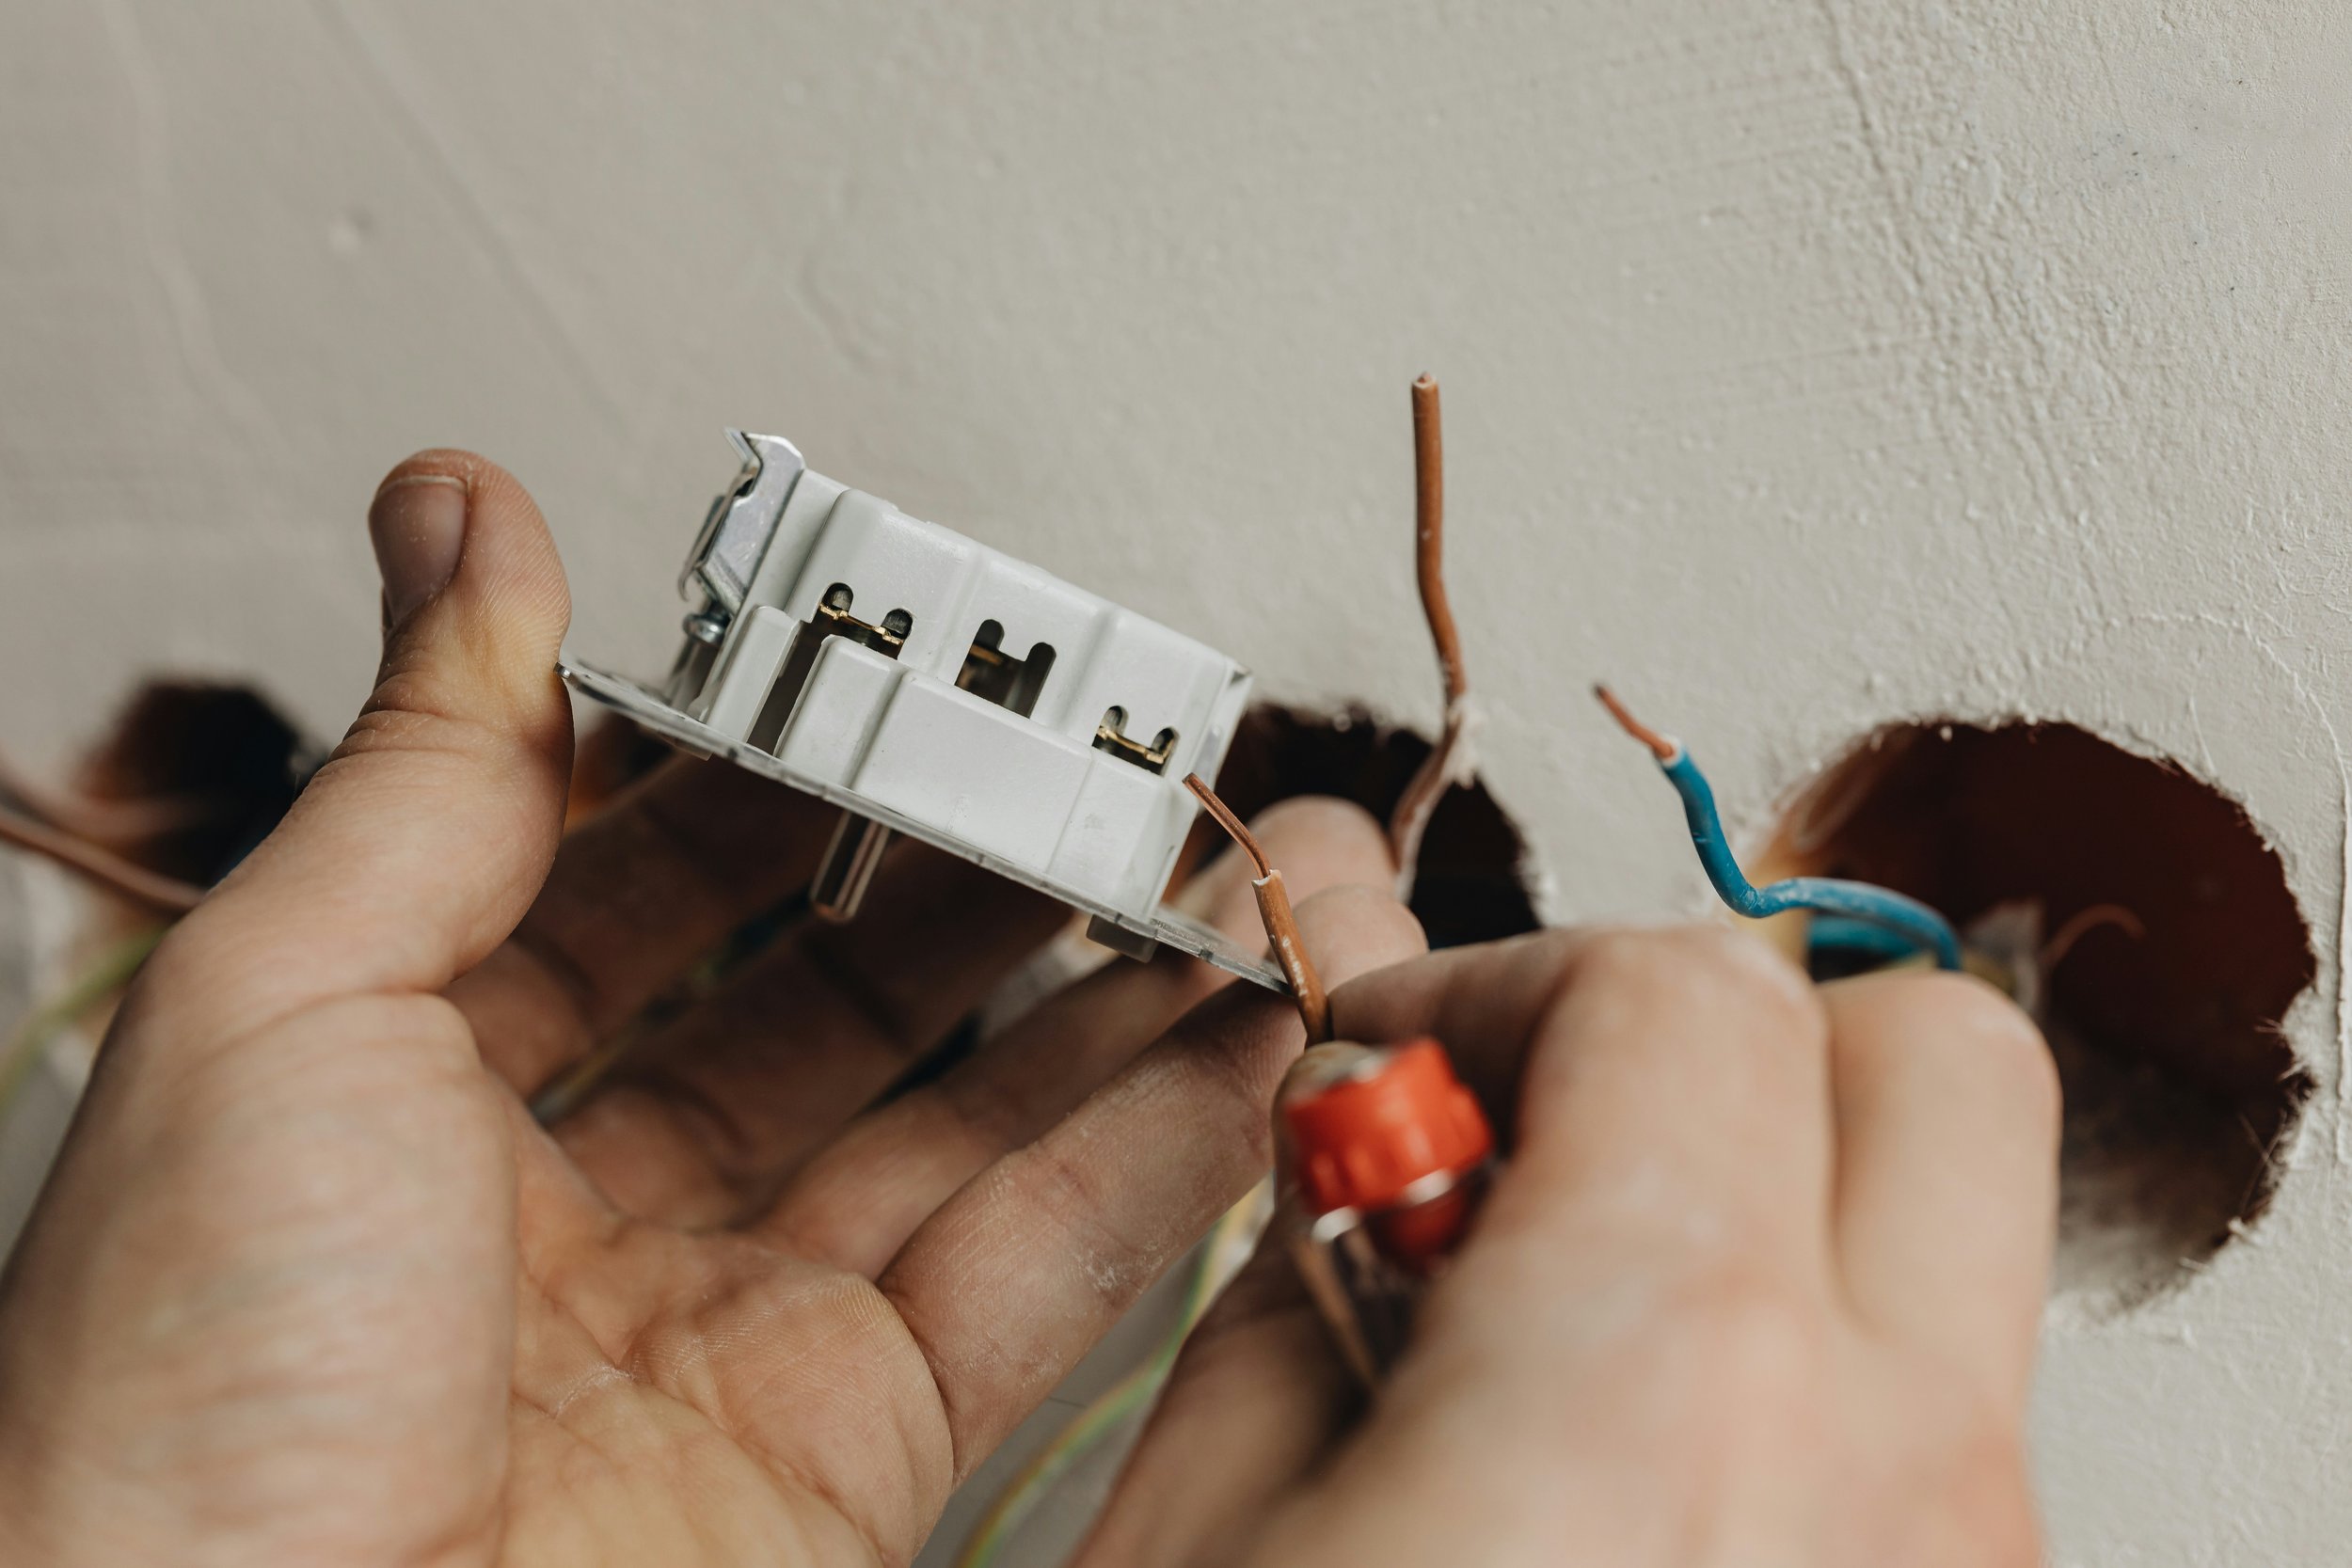
Use a voltage tester to see if the outlet is getting power. If it’s not, and the breaker’s fine, there may be a loose connection. Turn off the power again, remove the outlet cover, and gently check that the wires are secure.
If anything looks damaged or worn out, it’s safer to replace it rather than try to patch it up. Stick to products that meet Australian safety standards—or better yet, let a licensed electrician handle the swap.
Step 3: Unplug and Test Appliances
Still no luck? The problem might lie with an appliance rather than the wiring.
Start by unplugging everything in the room. Then, plug in each item one at a time, switching it on to see if the power trips again. If a particular appliance causes the power to go out, you’ve found the culprit.
Also, take a good look at appliance cords and plugs—fraying, exposed wires, or scorch marks are red flags. Some older devices draw more electricity than they should. In that case, replacing them with energy-efficient models not only solves the issue but can help reduce your power bill too.
Final Thoughts: Stay Proactive and Safe with Your Home’s Power
Restoring power to one room doesn’t have to feel overwhelming. With a little patience and a methodical approach, you can often solve the problem yourself, starting with the breaker, then moving on to outlets, switches, and appliances.
Keep in mind, though: while basic troubleshooting is fine, it’s never worth risking your safety. If anything seems beyond your comfort level, don’t hesitate to call a professional.
Regularly inspecting your home’s electrical system and understanding the warning signs of trouble can help prevent many issues before they start. And with the steps above, you’ll be better prepared to tackle small outages confidently, safely, and efficiently.
Stay up to date with our latest ideas!