10 Easy DIY Handmade Gift Ideas to Make at Home
Discover 10 easy DIY handmade gift ideas you can create at home—thoughtful, budget-friendly, and perfect for any occasion or celebration.
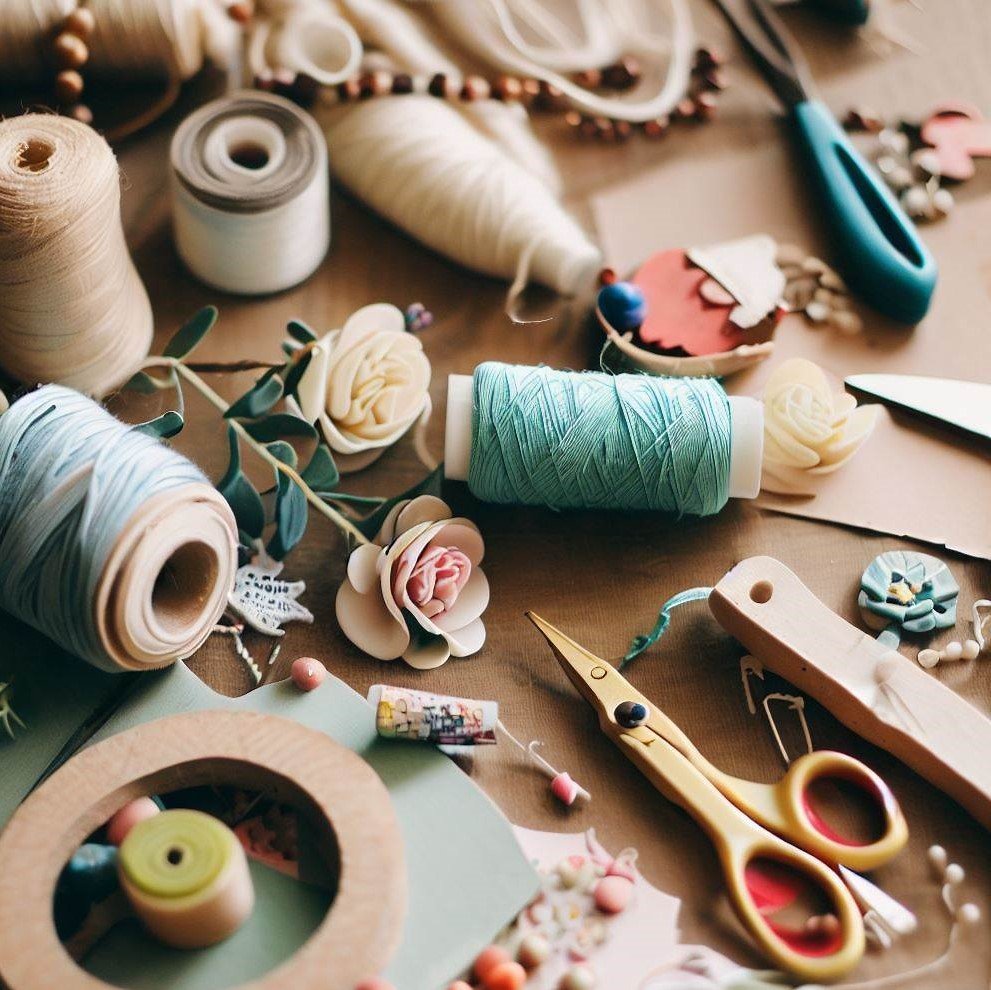
Making handmade crafts not only helps you relax but also allows you to create unique, personalized products. If you're looking for creative and easy-to-make ideas, check out these 10 handmade gift ideas from Lord Decor.
What is Handmade?
Handmade refers to products that are crafted entirely or mostly by hand, instead of being mass-produced by machines. These items often carry a distinct style and showcase the creator’s creativity.
Characteristics of Handmade Items
Uniqueness – No two items are exactly alike due to the handmade nature.
Personal Touch – Reflects the creator's aesthetic and creativity.
High Sentimental Value – Makes meaningful gifts as they are made with care.
Eco-Friendly – Often use recycled or natural materials.
Customizable Designs – Easily tailored to personal preferences.
Benefits of Making Handmade Crafts
Cost-effective: Utilize available materials to make useful items.
Encourages creativity: Handmade crafting fuels imagination and originality.
Stress-relieving: The creative process is a great way to unwind.
Meaningful gifts: Handmade presents show thoughtfulness and love.
Potential income: With good skills, handmade crafts can become a business.
Are these exciting enough to you? If you are already intrigued and wonder where to find necessary materials for these creative handmade products, Etsy’s got your back!
10 Easy Handmade Gift Ideas
1. Handmade Greeting Cards
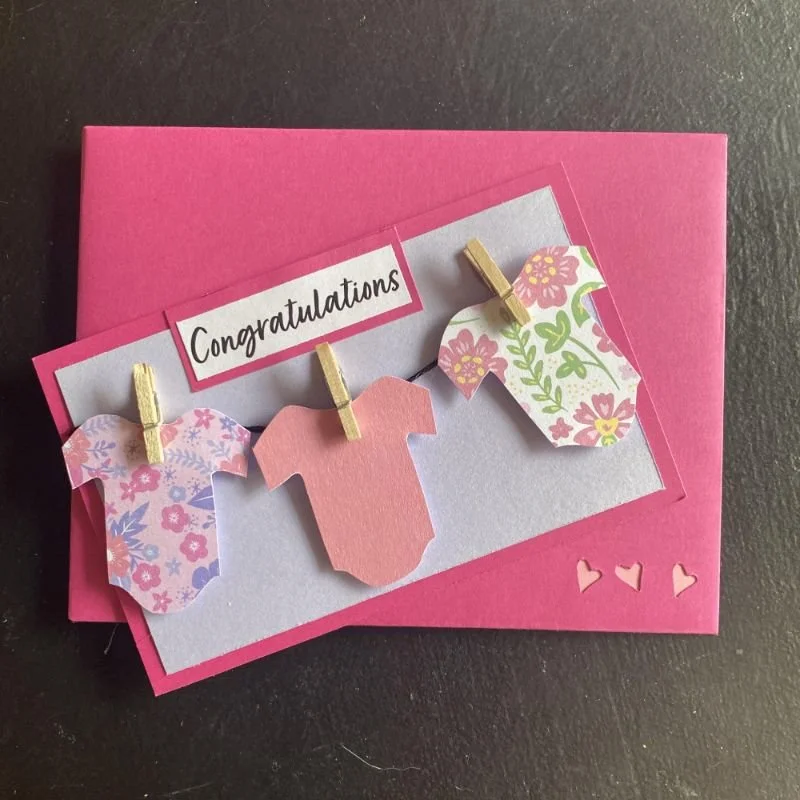
These are manually made without using industrial machinery. Each step from design to decoration requires patience and skill.
Materials:
Recycled cardboard or thick paper (30x40cm)
Dried flowers, leaves, or grass
Old newspapers
Glue or adhesive
Knife, scissors, ruler
Decorative art paper
Paper punches, rose paper flowers, beads, buttons
How to make:
Cut your base paper to the desired size (e.g., 22x28cm).
Fold it in half using a ruler to create a clean crease.
Attach decorative paper on the front.
Arrange your accessories and glue them once satisfied.
2. Yarn Keychain
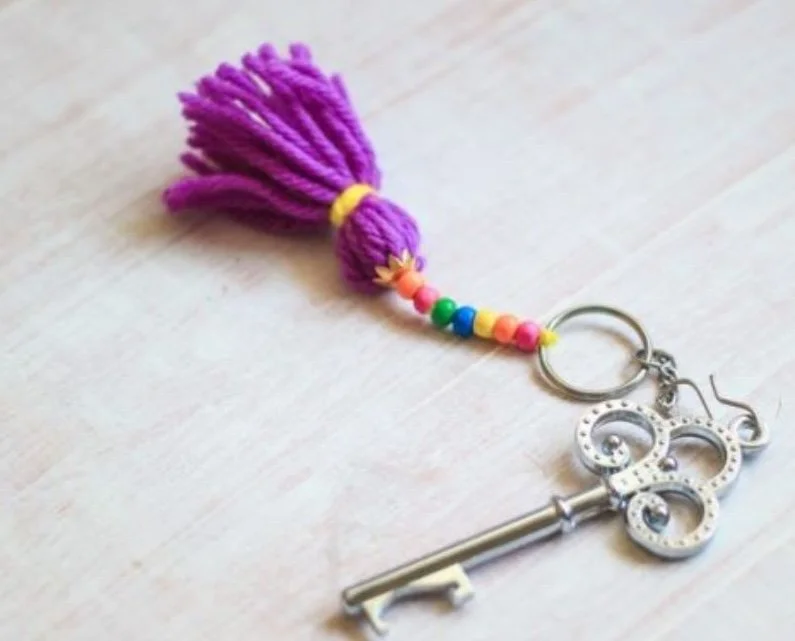
These cute accessories are made from colorful yarn and crochet tools, expressing the maker's style and creativity.
Materials:
Multi-colored yarn
Scissors
Fork
Cardboard
Keychain ring
How to make:
Wrap yarn around a fork (at least 50 loops).
Tie and remove carefully.
Trim into a neat pom-pom.
Make a tassel using a cardboard strip.
Attach both the pom-pom and tassel to the keychain ring.
3. DIY Notebook
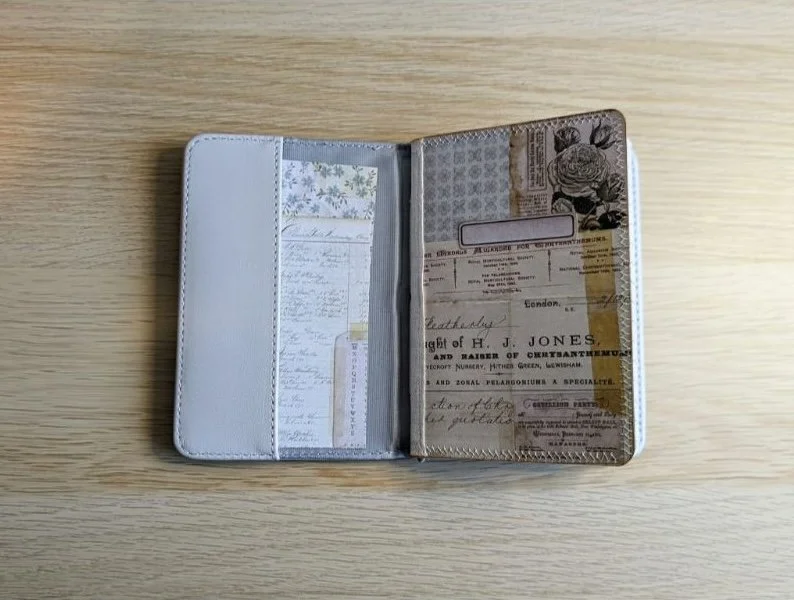
Handmade notebooks are personalized, from folding paper to stitching the spine.
Materials:
10 A4 sheets (plain or lined)
Hard cardboard
Fabric (canvas, denim)
Needle, thread
Glue, double-sided tape
Scissors, ruler, pencil
Decorative supplies (stickers, washi tape, ribbon)
How to make:
Fold each A4 sheet individually and stack neatly.
Punch holes and stitch together.
Add glue to the spine for durability.
Create the cover using fabric and cardboard.
Decorate the notebook as desired.
4. Dreamcatcher
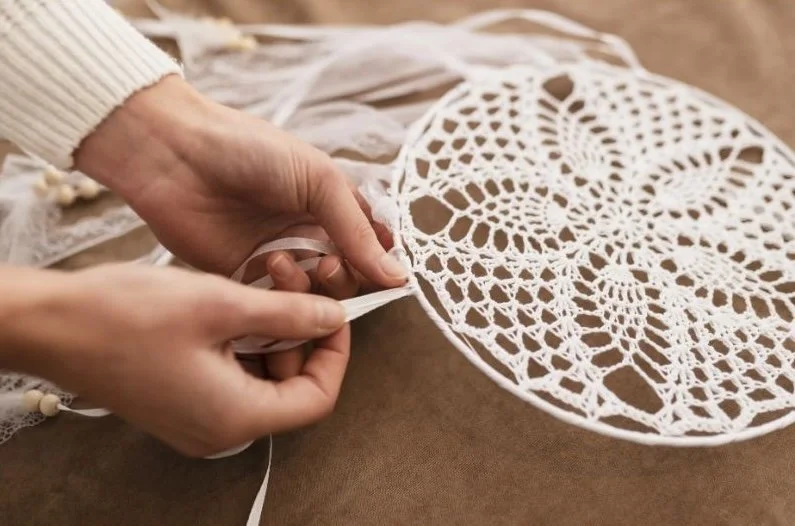
Originating from Native American culture, dreamcatchers are symbolic and decorative.
Materials:
Metal or wooden hoop
Jute or suede cord
Feathers, beads
Glue, scissors
How to make:
Wrap the cord around the hoop tightly.
Create a loop to hang the dreamcatcher.
Weave the web inside the hoop.
Add beads into the web for decoration.
Hang feathers from the bottom using beads and string.
5. Paper Lantern
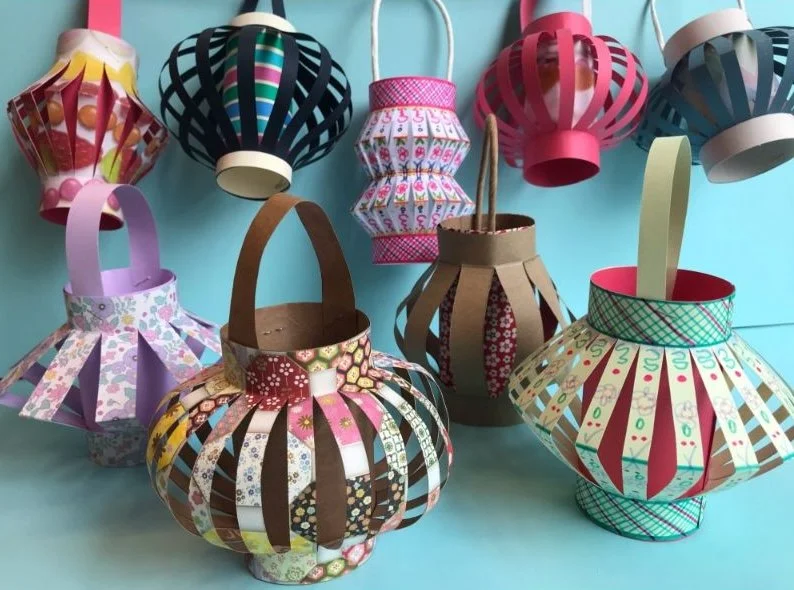
Handmade lanterns are creative and decorative, often made from paper or fabric. Even pomelo peels can be used!
Materials:
Colored A4 paper
Scissors, ruler, pen
Gift wrapping string
Glue
How to make:
Fold and mark the paper to create a diamond shape.
Cut and join segments to form the lantern.
Secure with a round base made from stiff paper.
6. Photo Frame
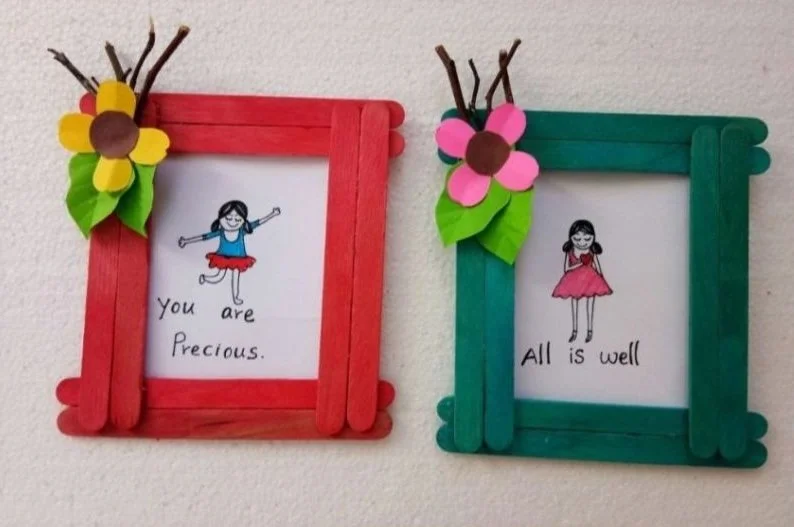
Handmade photo frames can be made from ice cream sticks, cardboard, or even old magazines.
Materials:
Popsicle sticks
Glue
Paint or markers
Decorative items (glitter, gems)
Ribbon
How to make:
Paint sticks if desired.
Line up sticks and glue them side-by-side.
Add sticks across the back for stability.
Glue the photo and decorate the frame.
Attach ribbon for hanging or a stick stand for a tabletop display.
7. Mini Plant Pots
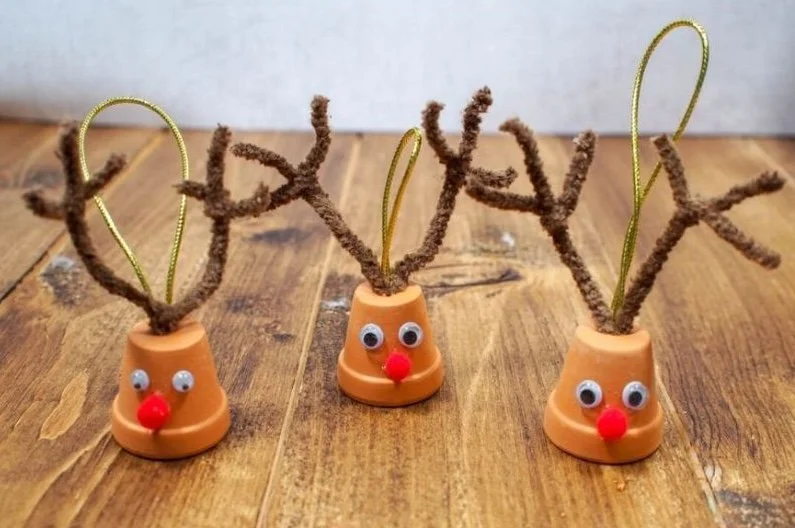
These tiny pots are both decorative and calming, often made from recycled materials or air-dry clay.
Materials:
Air-dry Japanese clay
Acrylic paint
Leather or colored yarn
Mini plants (succulents, cacti)
Tools: knife, bottle cap, glue, toothpick, brush
How to make:
Roll clay into a sheet, cut into a circle (base) and rectangle (body).
Form a cylinder and attach the base.
Poke two holes for hanging.
Paint with ombré effects.
Insert string and knot to finish.
8. Scented Candles
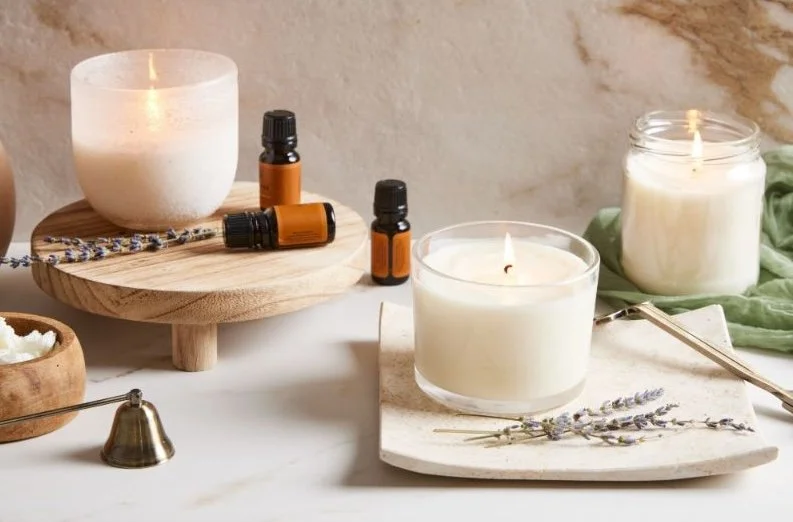
Made from natural waxes and essential oils, these candles are eco-friendly and customizable.
Materials:
Soy, beeswax, or palm wax
Favorite essential oils
Wick (cotton or wood)
Food coloring (optional)
Glass jar, thermometer, glue, wick holder
How to make:
Melt the wax, ensuring no water gets in.
Attach wick to the jar base and secure it.
Add coloring if desired.
Let wax cool to ~70°C, then add essential oil.
Pour wax into the jar slowly.
Let it set for 1–3 hours and trim the wick.
9. Handmade Soap
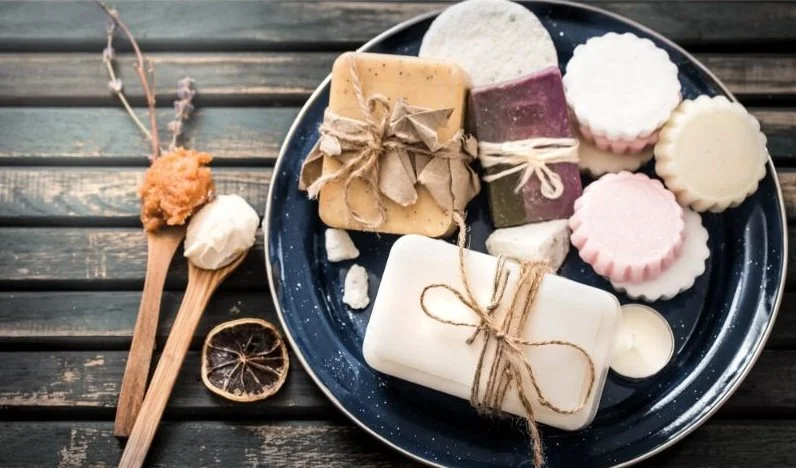
These artisanal soaps are made in small batches using cold or hot processing methods.
Materials:
Soap base (glycerin, goat milk, shea butter)
Coconut oil, olive oil
Lye (NaOH)
Distilled water
Essential oils
Herbs or fruit peels
Optional: honey, crushed walnuts, loofah, vitamin E
How to make:
Melt the soap base.
Add oils, herbs, and essential oils.
Pour into molds.
Let them set completely before use.
10. Fabric Tote Bag
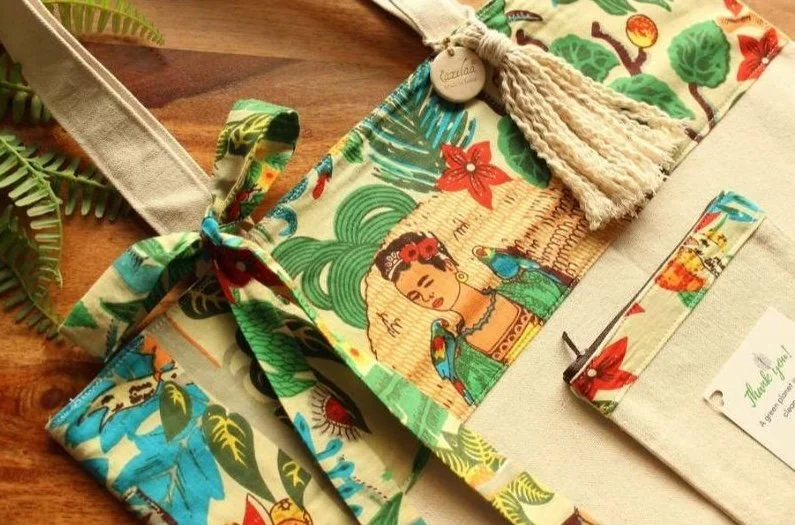
Handmade fabric bags are uniquely crafted from various types of fabric, showcasing personal style and individuality. These bags don't follow any strict patterns and allow the maker to freely express their creativity. Loved by young people, handmade fabric bags are great for school, work, or casual outings and pair easily with many types of outfits.
Materials:
Choose your fabric: canvas, cotton, denim, or burlap. Cotton with soft, elegant patterns is also a good choice. Opt for medium-thickness fabric that’s breathable and absorbent.
A piece of lining fabric – plain fabric without patterns works well.
Scissors, sewing needle, thread, sewing machine (if available), measuring tape, pins, tailor’s chalk or fabric marker.
Cotton cord, rope, or matching fabric strips to make the straps.
Two 16cm lace strips (optional).
Two round wooden beads (optional).
Zipper or snap buttons (optional).
Other decorative materials (optional).
How to make:
> Design and Measure:
Decide the bag style (e.g., tote bag, drawstring pouch, bottle holder).
Determine the size. A basic tote bag typically measures around 35cm x 40cm, with 50cm-long straps.
Use chalk or fabric marker to draw your cutting and sewing lines on the fabric.
> Cut the Fabric:
Cut two pieces for the main body of the bag (e.g., 28cm x 23cm each).
If lining is needed, cut two more pieces of lining fabric of the same size.
Cut two fabric strips (50cm long x 6cm wide) for the straps or prepare cords.
If using lace, cut two 16cm strips.
> Assemble and Sew the Bag Body:
Pin the two outer fabric pieces together with right sides facing in.
Sew along the two sides and bottom, leaving the top open. Use a 1cm seam allowance.
Turn the bag right-side out and press the seams flat to shape the bag nicely.
> Make and Attach the Straps:
If making fabric straps: Fold each fabric strip lengthwise into three layers, press flat, and sew along both edges.
Position the straps about 7–10cm from each side at the top edge. Pin them and stitch securely using a box or X-shaped stitch pattern.
> Final Sewing Steps:
Fold the top edge of the bag down by 1–2cm, press, and sew a straight seam to finish the edge.
If desired, decorate with embroidery, fabric flowers, or buttons.
> If Making a Drawstring Bag:
Place the lace strips horizontally 4cm below the top edge of the outer fabric.
Sew along the top and bottom edges of each lace strip, leaving space between them to insert the drawstring.
> Sew the Lining:
Repeat the same sewing steps for the lining fabric as for the outer fabric.
Insert the lining inside the outer fabric, with right sides facing each other.
Align the top edges and pin them securely.
Sew around the top edge, leaving a 5cm opening to turn the bag inside out.
Turn the bag right-side out through the opening, then hand-stitch the opening closed.
> Add the Drawstring:
Topstitch around the top of the bag with a seam 0.5cm from the edge using contrasting thread.
Cut the cord into two equal lengths, slightly longer than the top opening.
Thread the first cord from right to left through one lace channel and back through the second one.
Thread the second cord in the opposite direction.
Insert the ends of each cord into the wooden beads and tie knots to secure.
Wrap-up
Here are 10 fun handmade craft ideas you can try right at home. With just a bit of creativity and patience, you can create unique and useful items. If you’re looking for something out of the ordinary, why not paying a visit to Etsy.
Stay up to date with our latest ideas!