Can You Wallpaper Over Tile?
Learn whether you can wallpaper over tile, what preparation is needed, and how to achieve a smooth, long lasting finish for your space.
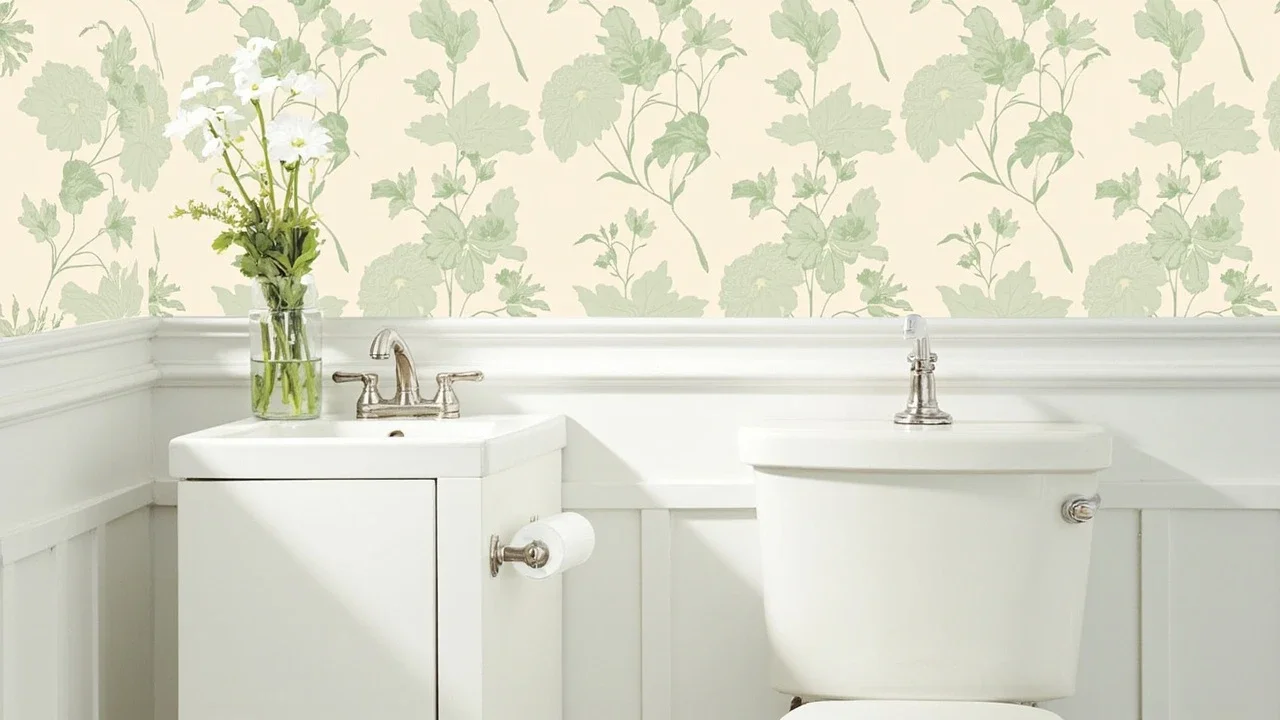
You can wallpaper over tile & you can do it without ripping out a single grout line. But only on walls that stay dry. And only with the right paper and the right prep. There are two challenges. The first is a slick, glossy surface that fights adhesive. The second is a deep grid of grout lines that show right through thin paper. Beat both, and a wall of dated 4-inch glazed ceramic can vanish under a botanical print in an afternoon. The materials cost less than a hundred dollars.
This guide covers where wallpapering over tile works and where it does not. It names the three paper types that work and the four to avoid. It walks through how to prep a tiled wall so paper will stick. It walks through how to hang the paper, step by step. It says how long the install lasts. And it lists three other fixes if your tile is too rough, too glossy, or too wet for paper.
Where wallpapering over tile makes sense, and where it does not
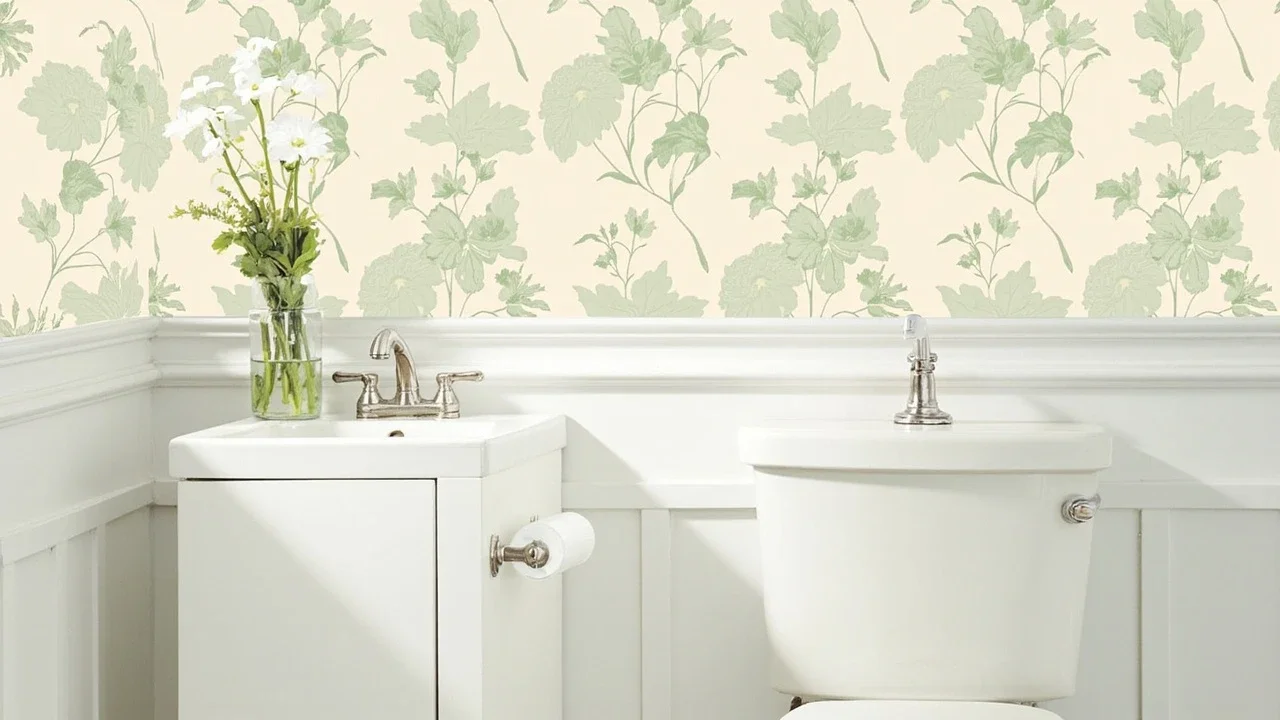
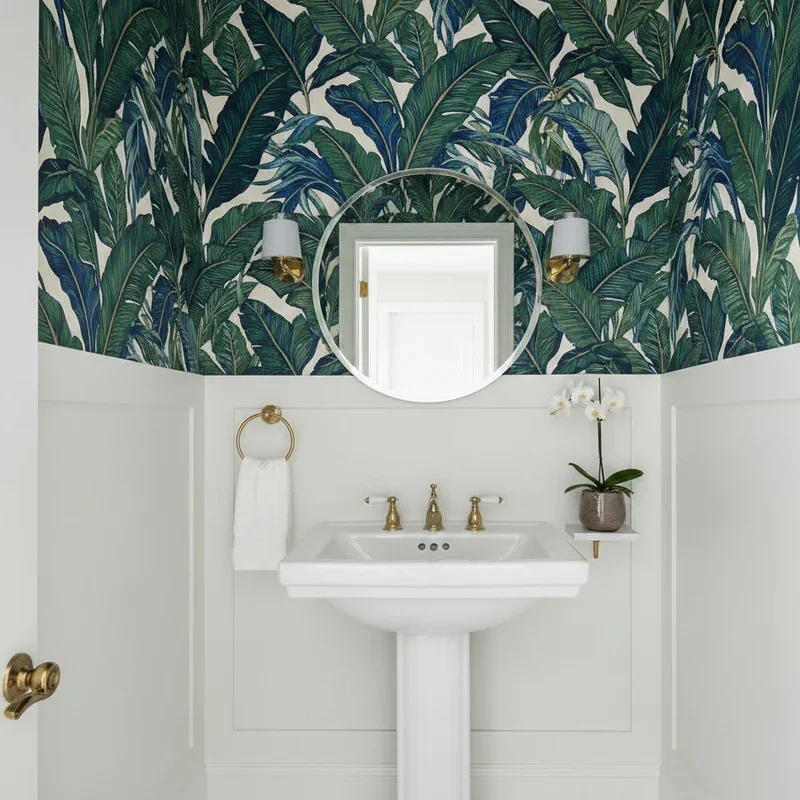
Wallpaper over tile works best on dry walls a few feet away from any water source. Good spots include the bathroom half-wall above the wainscot. The wall behind a vanity. The top run of a kitchen backsplash. A powder room with no shower. A laundry room behind the appliances. An entryway with a tiled accent wall left over from the 1980s. A fireplace surround in a room with no fire. Renters often use peel-and-stick wallpaper for these spots. It pulls down clean. So it does not break a lease.
Wallpaper over tile is a bad idea where water hits the surface. Skip it on shower walls. Skip it on tub surrounds. Skip the splash zone next to a tap. Skip the lower part of any wet wall. Skip the steam zone over a stove with no hood. Skip a humid sunroom. Skip any outdoor tile. Wet-dry cycles lift the seams. Mold can grow between the paper and the tile. Once water gets behind the paper, you cannot dry it out. The rule of thumb is this. If you would put a curtain rod or towel hook there because it gets splashed, do not wallpaper there.
Half-walls and accent walls in a bathroom sit in the sweet spot. The wall looks updated. The paper sits above the worst splashing. The tile stays put if you ever want to peel the paper back off.
What wallpaper can go over tiles
Three paper types work over tile in different ways.
Peel-and-stick vinyl is the easiest by far. It has a vinyl face with a removable sticky back. No paste. No water tray. Full reversibility. It bridges shallow grout lines well. It pulls down clean. It is the only choice that makes sense in a rental. The trade-off is that the seams show more. And steam exposure cuts its life.
Vinyl-on-non-woven traditional wallpaper is the longest-lasting option. You install it paste-the-wall over a tile surface that has been skim-coated flat and primed. The vinyl face shrugs off the odd splash. As a primer on vinyl wallpaper, the PVC face does not soak up water. That is why vinyl-faced papers stand up to humid bathrooms and steamy kitchens better than any other format. The non-woven backing does not stretch when wet or shrink when dry. So the seams stay tight. According to a bathroom-specific guide from William Morris Wallpaper, vinyl-on-non-woven is the modern standard for bathroom installs. With silicone-sealed seams and good airflow, a wall in this category can last fifteen to twenty years.
Heavy-grade prepasted vinyl is the third option. It is the middle pick. It is thicker than peel-and-stick. It hides grout lines better than the thin peel-and-stick papers. It uses standard activated paste. But it is harder to move once wet. The install is closer to real paperhanging than to a sticker.
Four paper types do not belong over tile. Skip uncoated paper. It has no moisture resistance. The seams will lift in months. Skip traditional non-woven without a vinyl face. Same problem in any humid room. Skip grasscloth. It soaks up every splash and stains for good. Skip fabric and flock papers. They trap moisture against the tile. Then they grow mold.
For US shoppers, archival reissues from established design houses like William Morris Wallpaper ship in the traditional paste-the-wall format. That format bonds well over a properly primed tile surface. It is the right category to shop in when you want the install to last more than a few seasons.
How to prep tile for wallpaper
The whole job lives in the prep. The goal is to take a glossy, grouted wall and make it flat, dull, and ready to grip glue. There are two routes that work. Both start with cleaning the tile.
Wash the tile with a degreaser to strip soap scum, cooking grease, and silicone. Rinse the tiles twice with clean water. Let it all dry overnight. Any leftover residue will wreck the primer.
Then inspect the tiles. Loose tiles must be re-set or replaced first. A tile that lets go behind the paper takes a square foot of finished wall with it. Fill cracks and chips in the field with a paintable tile patch.
Then pick your prep route. The light route uses a high-grip bonding primer like Zinsser Gardz or BIN. Paint it over the cleaned tile. Sand the glaze lightly first with 120-grit sandpaper. This route only works with peel-and-stick paper on smooth tile with narrow, shallow grout. The grout lines will still show through somewhat.
The full route is to skim-coat the whole tile surface flat. Use two or three thin coats of joint compound. Sand between coats. Keep going until the grooves between the tiles disappear and the wall is one smooth plane. Then prime the skim coat with a wallcovering primer. The full route adds a day to the job. It is required for any paste-the-wall vinyl-on-non-woven install.
Tile adhesive squeezed out between tiles and dried in a ridge gets scraped flat first. Heavy texture (slate, hand-glazed, deep relief) cannot be made smooth enough for paper to look right. For those tiles, skip ahead to the alternatives section.
How to put wallpaper on tile, step by step
Step one: clean and inspect the tiles. Wash, rinse, dry. Replace loose tiles. Fill chips with a paintable patch.
Step two: sand and dull. Lightly scuff the tile field with 120-grit sandpaper to break the glaze. Wipe the dust off with a damp cloth.
Step three: skim coat (full route only). Trowel two or three thin coats of joint compound across the wall. Sand flat between coats. Stop when the grout lines disappear and the wall is one flat plane.
Step four: prime. Roll a coat of bonding primer or wallcovering primer over the prepped surface. Let it dry for the time on the can. That is usually two to four hours.
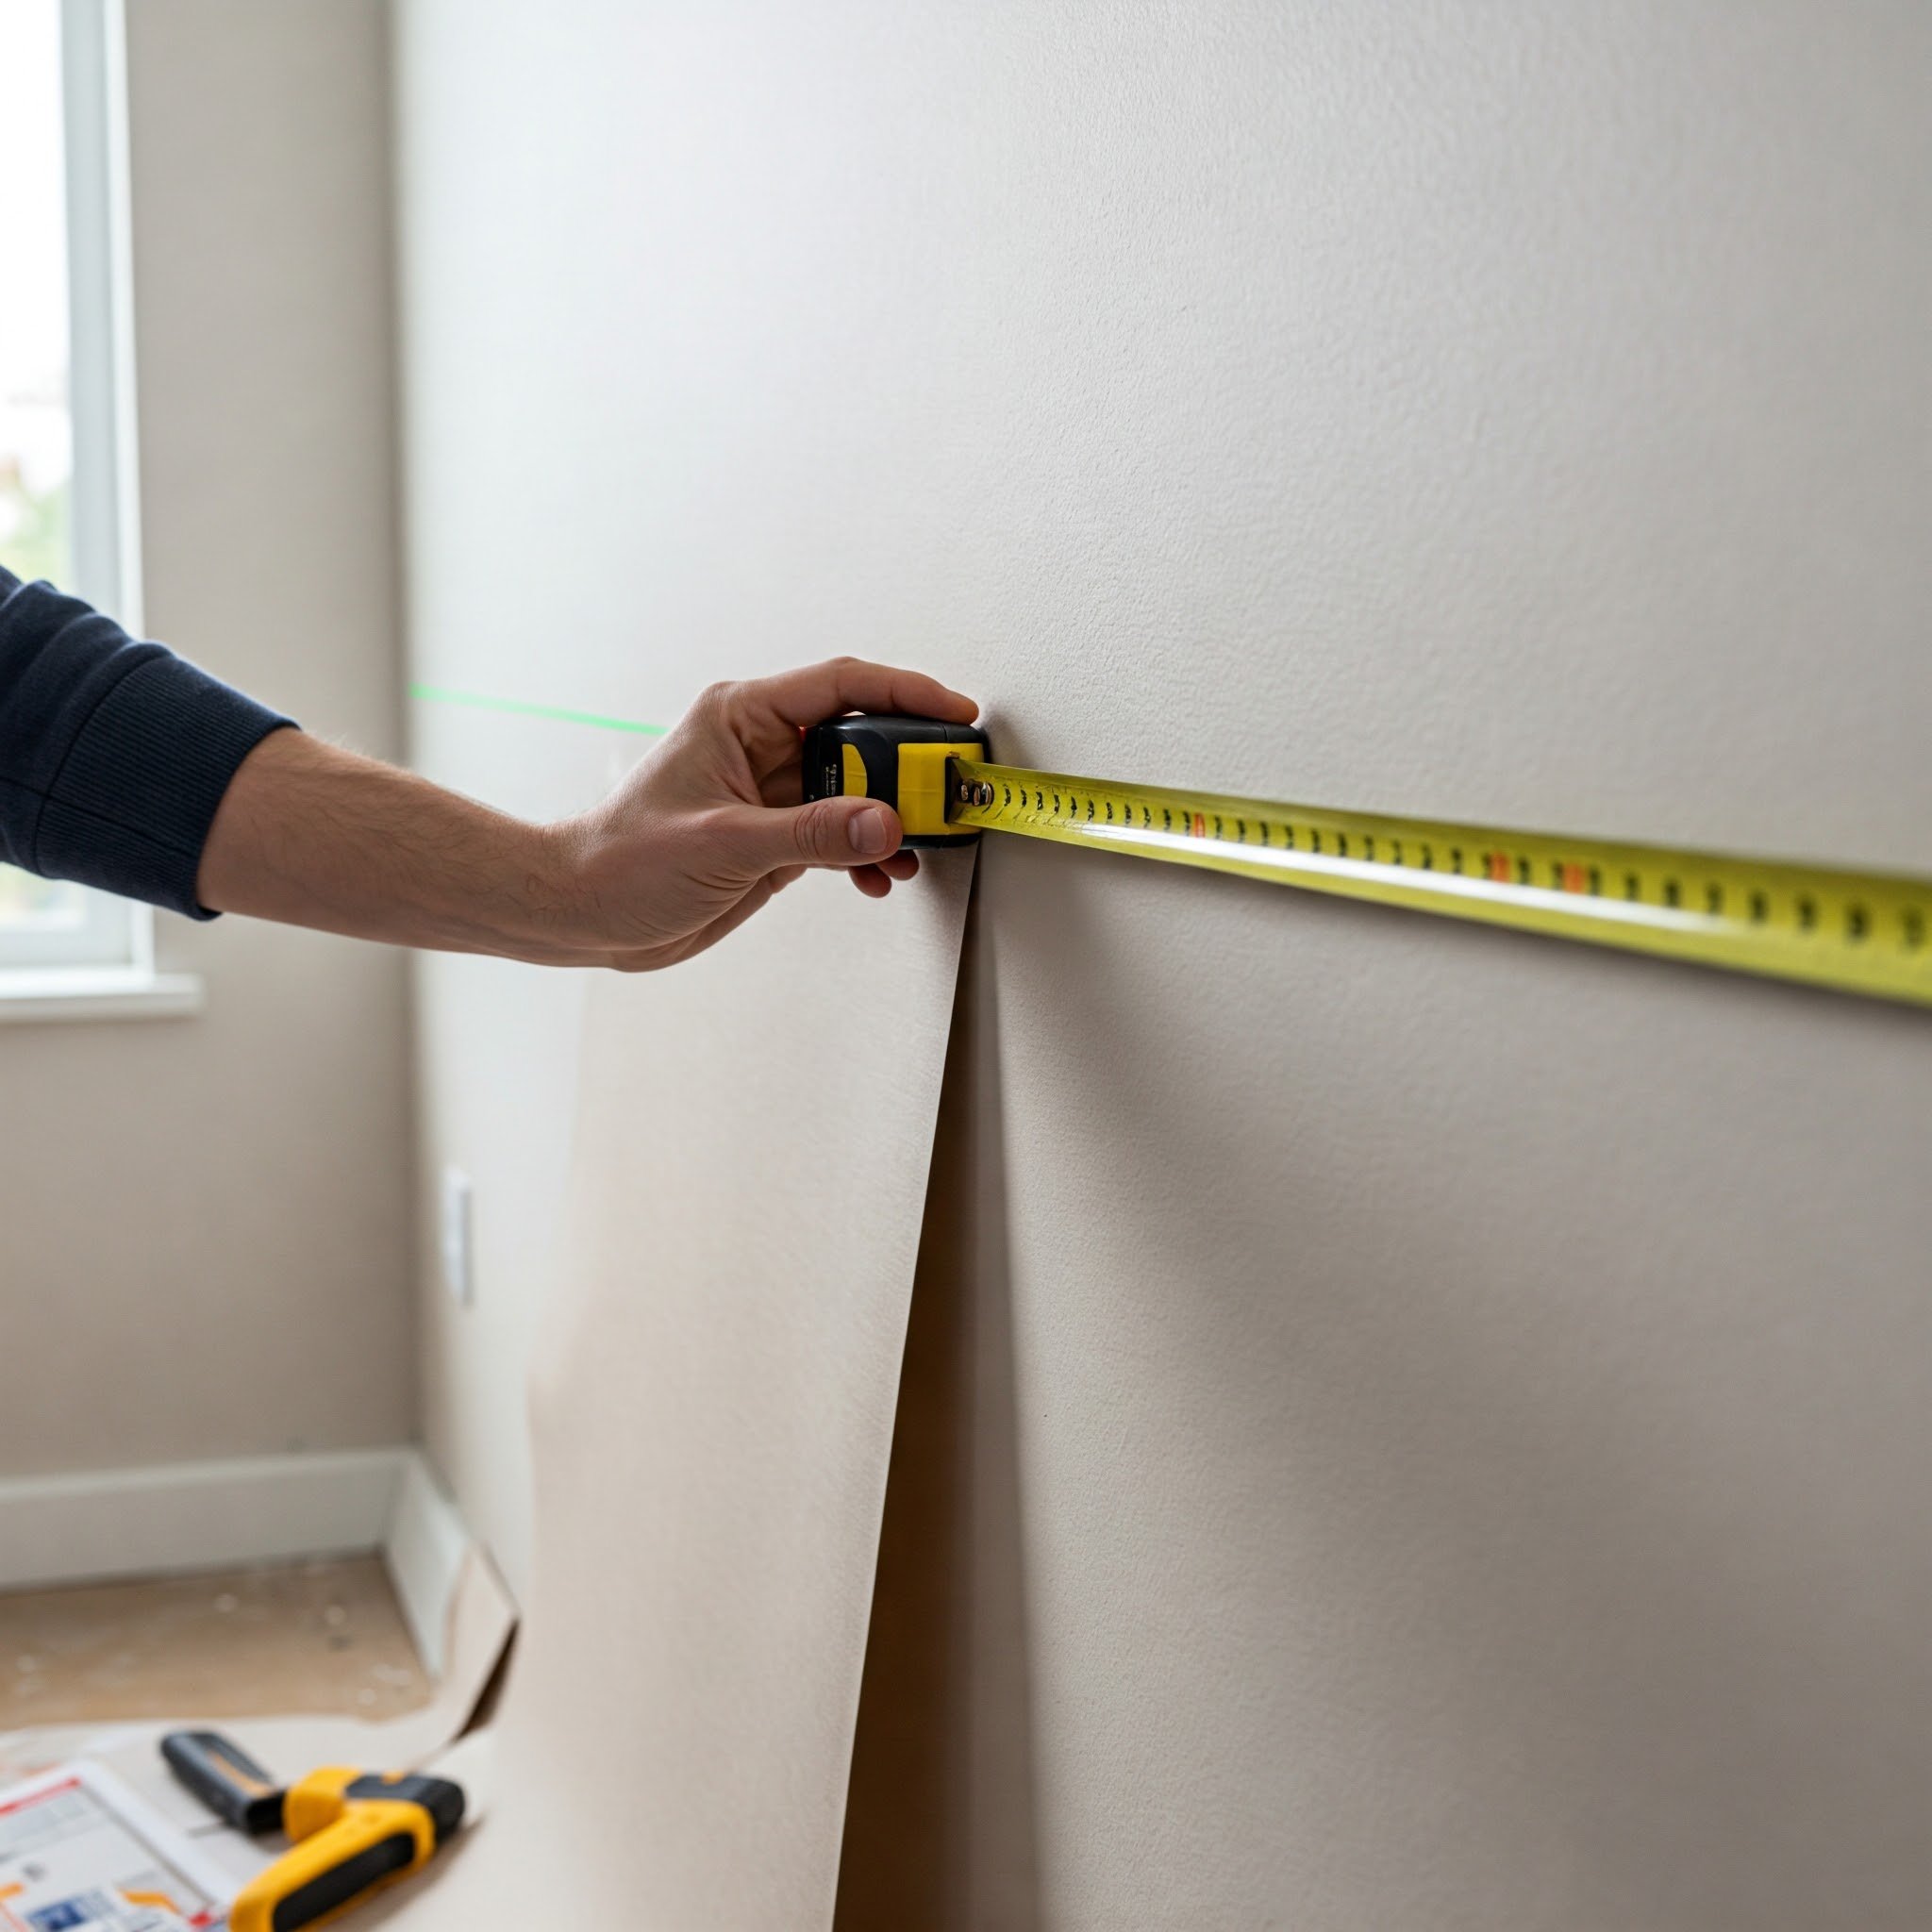
Step five: snap a plumb line. Measure out from the corner. Use the width of your paper minus half an inch. Drop a level vertical line down the wall. Corners are never plumb.
Step six: hang the first drop. For peel-and-stick paper, peel a foot of backing. Line up the top at the ceiling. Press against the plumb line. Keep peeling and smoothing as you go down. For paste-the-wall paper, roll wallpaper adhesive onto the wall. Hang the dry strip into the wet paste.
Step seven: smooth, trim, and seam. Smooth from the center out with a plastic smoother. Trim top and bottom with a fresh blade against a broad knife. Butt the next strip tight against the first. No overlap.
Step eight (wet rooms only): seal the seams. Run a thin bead of clear silicone along any seam within three feet of a tap or shower head. Wipe it flush. The bathroom guide cited above says to let the paste cure for forty-eight hours before silicone goes on.
How long it lasts and what can go wrong
A peel-and-stick install over lightly sanded and primed tile, in a dry room, usually looks good for three to five years. After that the seams start to lift. The same paper over unprimed, unsanded tile starts curling at the seams in months.
A vinyl-on-non-woven install over a skim-coated and primed tile wall, with silicone-sealed seams and a working fan, can hold up for well over a decade in a normal home bathroom. The fifteen-to-twenty-year figure assumes the fan runs during and after every shower. It assumes no water pools against the bottom edge of the paper. And it assumes the wall is not in a direct splash zone.
Three things can go wrong. The first is seam lift. That is almost always a primer or glue problem. A small bead of seam adhesive fixes it. The second is bubbling. That is usually trapped moisture from a skim coat that was not fully dry before the primer went on. The third is grout-line telegraphing. The grid of grout lines shows as faint ridges through the finished paper. Only the full skim-coat prep route stops this. That is why anyone who cares about the long-term look does the full prep.
Alternatives if tile is too textured or too wet
If your tile is very textured (hand-glazed, mosaic, deep relief), skim-coating it flat would mean burying the wall in joint compound. Three other cover-up routes work better than wallpaper.
Tile paint is the first. A two-part epoxy tile paint, like Rust-Oleum's tub-and-tile kit, bonds to glazed ceramic after a sand-and-clean prep. You get a solid color in any shade you want. It is tough enough for tub surrounds. Wallpaper is not.
Peel-and-stick tile cover-up is the second. It is thicker than wallpaper. It often comes in a metallic or stone look. It is made for tile and backsplash. The seams line up with the existing grout grid. The material is rated for splash zones.
Vinyl tile decals are the third. These are square stickers sized to common tile sizes (2x2, 4x4, 6x6, 8x8 inches). They go right over the existing tile face. They leave the grout exposed. The look is more obviously a cover-up than wallpaper. But the install is the fastest of any option. And it is fully reversible.
Wallpaper over tile questions
What wallpaper can go over tiles?
Three types work. Peel-and-stick vinyl is the easiest and the only renter-safe pick. Heavy-grade prepasted vinyl is the middle option. Vinyl-on-non-woven traditional wallpaper installed paste-the-wall is the longest-lasting. Avoid uncoated paper. Avoid traditional non-woven without a vinyl face. Avoid grasscloth. Avoid any fabric or flock paper over tile.
How can I cover bathroom tiles without removing them?
Wallpaper is the cheapest fix for dry walls in the bathroom. For splash zones, epoxy tile paint or peel-and-stick tile cover-up panels work better. All three skip demolition. All three are reversible to some degree. Paint and tile cover-up are basically permanent. Peel-and-stick wallpaper pulls down clean if you change your mind.
How do you put wallpaper on tile?
Clean the tile with a degreaser. Dull the glaze with 120-grit sandpaper. Skim-coat the surface flat with joint compound. You can skip the skim coat only with peel-and-stick on smooth small-grout tile. Prime with a high-grip bonding primer. Snap a plumb line. Hang the paper using the method that matches the paper type. In a wet area, seal the seams with clear silicone after the paste has fully cured.
How to prep tile for wallpaper?
The minimum prep is clean, sand the glaze, prime. The proper prep for any paste-the-wall install is clean, sand, skim-coat flat to bury the grout lines, prime. Loose tiles always have to be re-set first. Any dried tile-adhesive ridges have to be scraped flat before the skim coat goes on.
Stay up to date with our latest ideas!