Painting in Winter—Everything You Need to Know
Learn when winter painting works in Wisconsin, when to wait, how to handle exterior painting, interior projects, ventilation, and frozen paint.
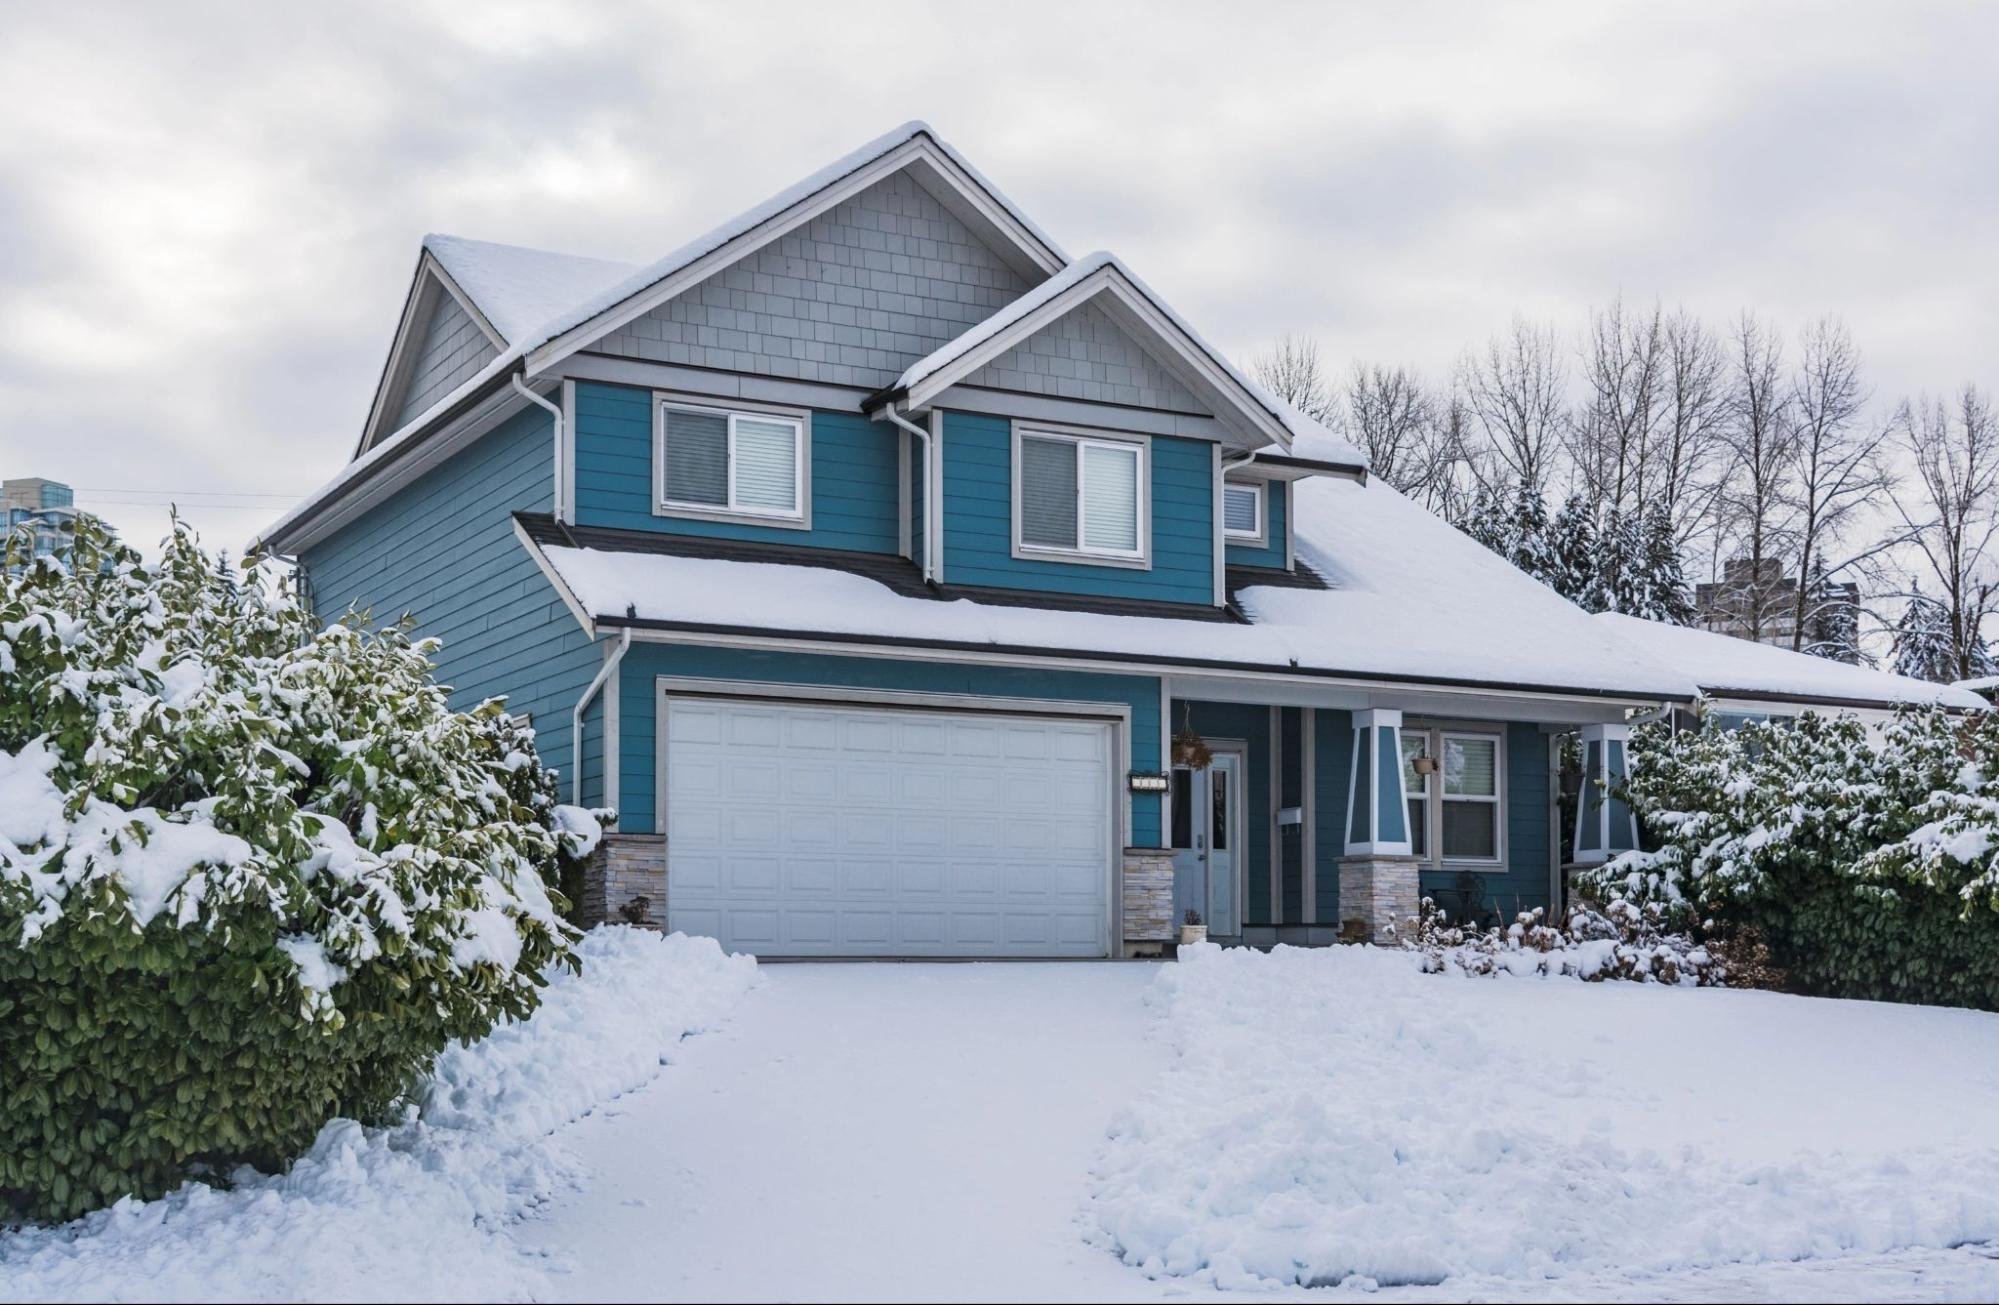
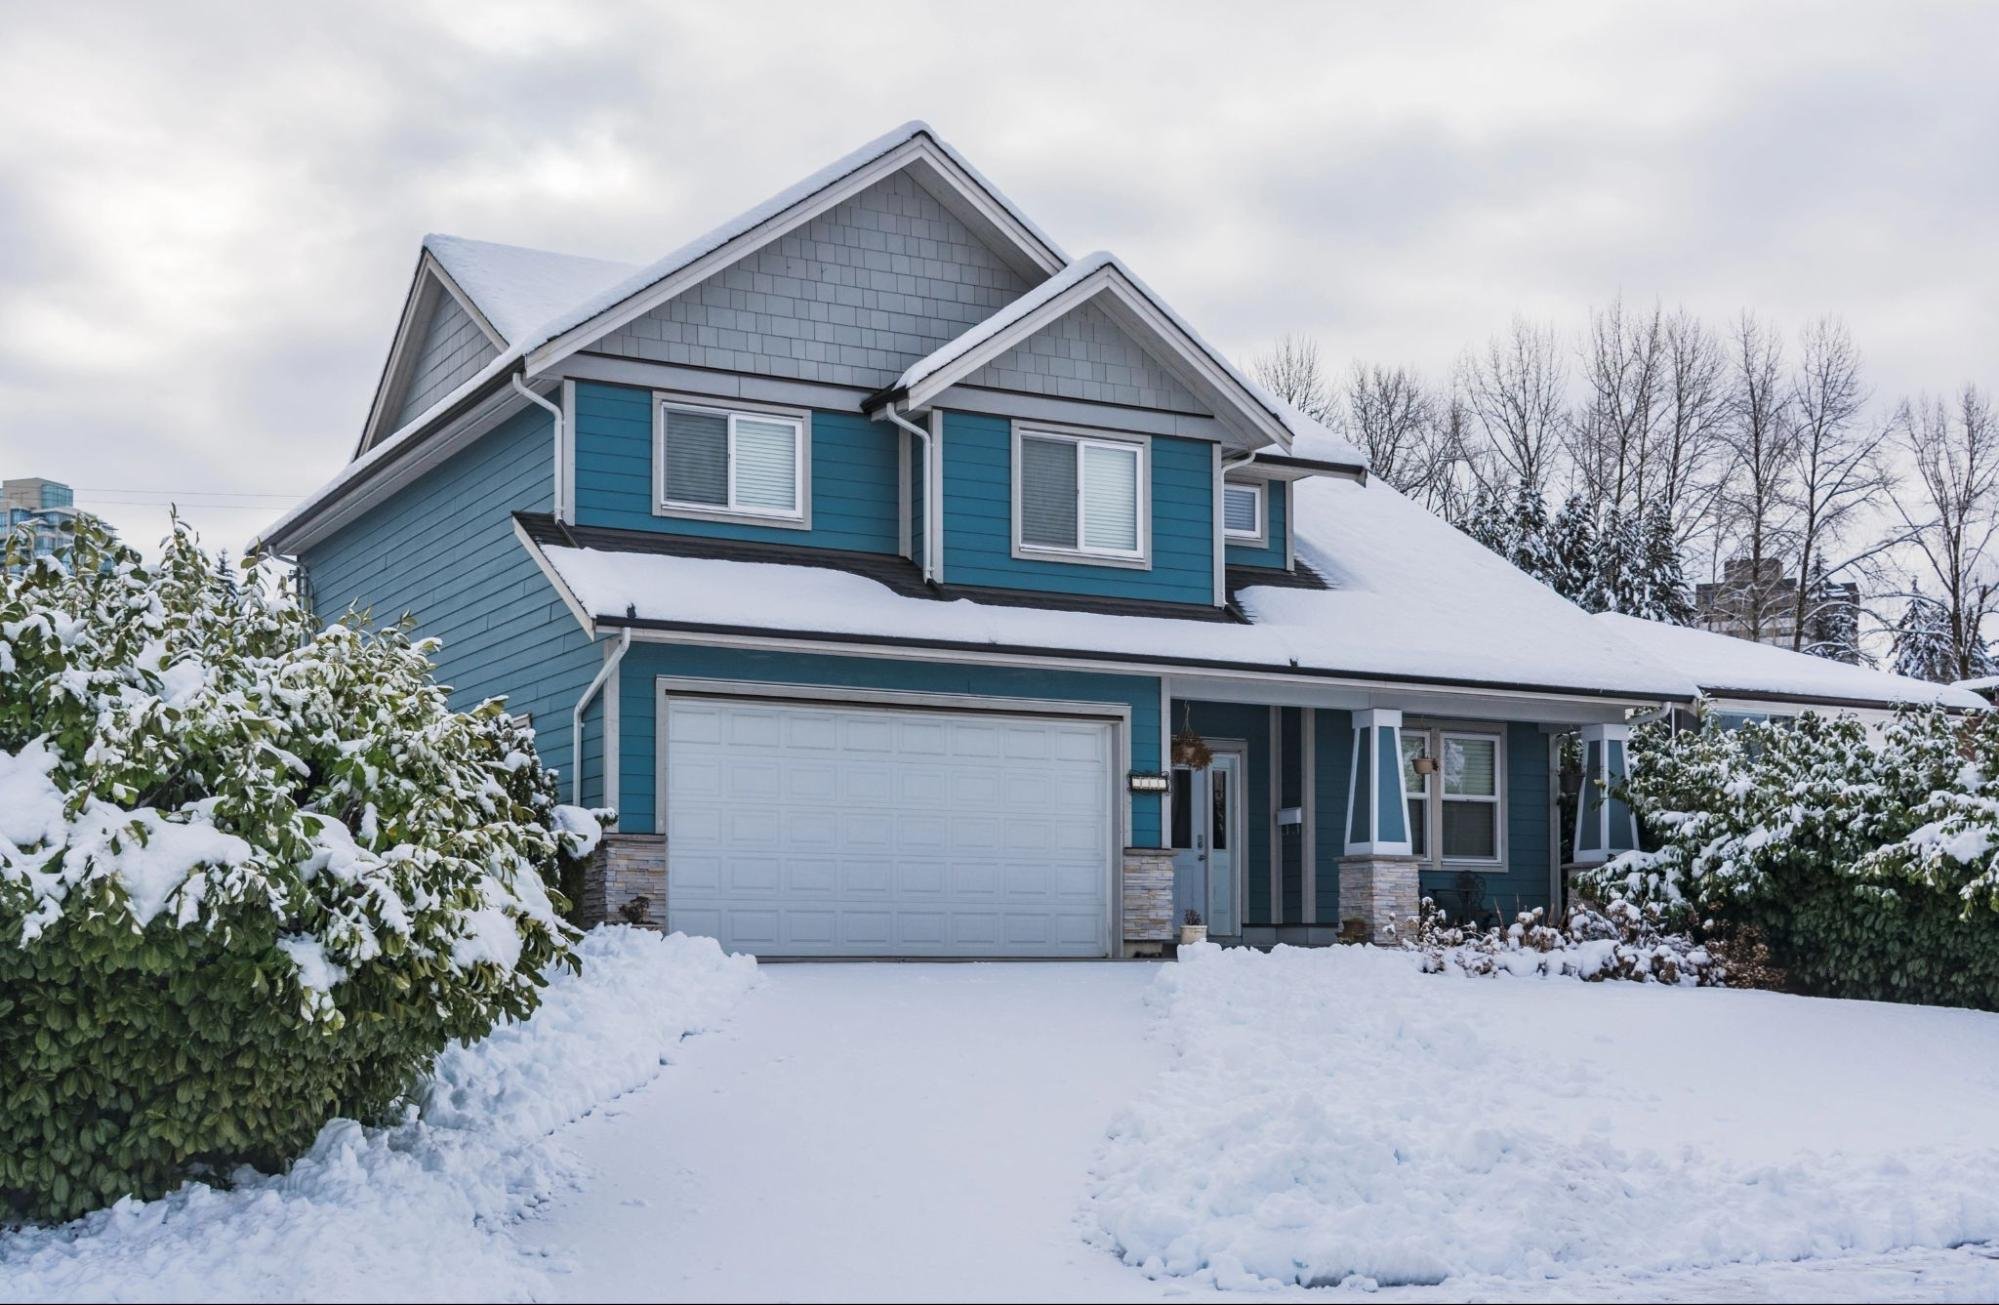
Wisconsin Weather Makes This Question Real
You’re in Wisconsin. It’s November. The siding needs paint before a sale closes, or you’ve got one half-finished room staring at you every night. Then you search Google and get ten different answers.
Some people say, “Never paint in winter.” Others say, “Use the right paint, and you’ll be fine.”
The honest answer sits in the middle.
I’m Phil, a local house painter based near Muskego and owner of Perfection Painting and Drywall. I’ve handled several winter painting projects for homeowners in Mukwonago, Muskego, New Berlin, Wales, Brookfield, Franklin, and throughout Southeast Wisconsin. Winter painting can work, but the rules change depending on whether we’re talking about exterior painting or interior painting.
Exterior painting in cold weather is possible in very specific conditions, but it comes with real limits. Interior painting in winter, on the other hand, can be one of the smartest projects to tackle during the colder months.
Exterior Painting in Winter
Can You Paint Outside in Winter?
Sometimes, yes. Often, no.
Exterior paint does not only need to “look dry.” It needs enough warmth to bond, level out, cure, and form a strong protective film. That gets harder when the siding is colder than the air or the temperature drops below freezing overnight.
Many modern exterior paints are designed for lower temperatures. Benjamin Moore says some exterior painting can be planned in the 35°F to 100°F range when humidity is low. Sherwin-Williams also specifies exterior products made for application at 35°F and above.
What the Label Says vs. What a Painter Actually Checks
A paint label may say the product can be applied at 35°F. That does not mean every 35°F day is a good painting day.
Here is what I check before I’d even consider exterior painting in cold weather:
Air Temperature
The air needs to meet the paint manufacturer’s minimum temperature. With many cold-weather exterior paints, that may be around 35°F. With other paints, it may be closer to 50°F.
Surface Temperature
This matters more than homeowners realize. The siding, trim, garage door, or deck surface may be colder than the air. Sherwin-Williams specifically notes that when air temperature is 35°F, substrates may be colder. So before painting, you should check for air and surface temperature using a non-contact infrared thermometer.
Overnight Temperature
A mild afternoon does not help much if the temperature crashes below freezing soon after painting. The paint needs enough warm drying time before the cold night sets in.
To predict an overnight freeze, check the daytime temperature. If it’s a few degrees above freezing, it’s very likely to frost overnight.
Moisture
Cold siding can hold frost or hidden moisture. Paint over that, and you can get peeling, blistering, bubbling, or poor adhesion later.
When Exterior Winter Painting Is Actually Possible
A Good Winter Painting Window
Exterior painting may be possible when:
The paint is rated for low-temperature application.
The air and surface stay above the product’s minimum temperature.
The surface is dry.
There is no frost, snow, rain, or heavy dew.
The day offers several warmer hours for drying.
The overnight forecast does not drop too quickly.
The area gets sun or steady warmth during the day.
In Wisconsin, this usually means a mild late-fall or early-winter day, not a bitter January cold snap.
When I Would Avoid Exterior Painting
I would avoid exterior painting when:
The surface has frost, moisture, or condensation.
Temperatures fall below the paint label’s limit.
The siding stays cold even when the air warms up.
Snow or rain is expected.
The paint will not have enough time to dry before freezing temperatures return.
The homeowner expects a full long-term finish in poor conditions.
Exterior paint failures are expensive. Peeling paint can require scraping, sanding, priming, and repainting later. Waiting often costs less than rushing.
What If There Is No Choice?
Closing Deadline or Emergency Touch-Up
Sometimes a homeowner has no choice. Maybe a home inspection flagged peeling trim. Maybe a closing deadline is coming. Maybe one side of the house needs quick attention before winter fully sets in.
In that case, I treat the project differently. Here’s what I do:
Use the Right Product
Cold-weather exterior paint matters. Do not use leftover summer paint just because it is sitting in the garage. Choose a product that clearly allows lower-temperature application.
Paint Smaller Areas
Instead of painting the whole house, focus on the areas that truly need attention: exposed trim, small peeling sections, repaired siding, or inspection-related spots.
Work During the Warmest Part of the Day
Late morning through mid-afternoon usually gives the safest window. Early morning surfaces may still hold frost or dew. Late afternoon paint may not dry enough before temperatures fall.
Prep More Carefully
Cold-weather painting gives less room for mistakes. Scraping, sanding, cleaning, drying, and priming matter even more.
Be Honest About Expectations
A rushed winter exterior paint job may solve a short-term need, but it should not be treated the same as a full exterior repaint done in ideal weather.
Interior Painting in Winter
Interior painting is a different story.
Inside the home, we can control the temperature and work away from snow, wind, and freezing siding. In many homes, winter is actually a practical time for interior painting.
Dry Winter Air Can Help
Winter air is usually drier, especially when the heat is running. That can help interior paint dry at a steady pace. The key is not to make the room too cold or too dry.
The Schedule Is Often Easier
Spring and summer get busy with exterior work, decks, siding, and outdoor projects. Winter can be a good time to handle bedrooms, living rooms, hallways, kitchens, bathrooms, cabinets, basements, and drywall repairs.
You Notice Interior Problems More
During winter, families spend more time indoors. That is when scuffed walls, old colors, water stains, drywall cracks, and worn trim become harder to ignore.
For homeowners planning a home interior painting, winter can be a smart time to refresh the rooms you use every day.
Best Practices for Interior Winter Painting
Keep the Room Warm
Most interior paints work best when the room, wall surface, and paint are kept at a comfortable indoor temperature. I like the room to feel like normal living conditions before, during, and after painting.
Some ways to do that include turning up the heat several hours before painting and closing nearby doors. You can use a space heater as well, but don’t point it directly at fresh paint, as that can dry the surface too quickly.
To get the best results when painting in winter, do the following:
Use Interior Paint Indoors
This sounds obvious, but it can be overlooked. Do not use exterior paint inside the living room just because you have an extra can. Interior paint is made for indoor air quality, cleanability, appearance, and normal household conditions.
Choose Low-VOC or Zero-VOC Paint When Possible
Because windows stay closed more often in winter, low-VOC and zero-VOC interior paints can be helpful. The EPA advises increasing ventilation when using products that emit VOCs and following label precautions.
Use the Right Finish
Different rooms need different finishes:
Bedrooms and Living Rooms
Eggshell or matte finishes often work well because they soften the look of walls and hide minor imperfections.
Kitchens and Bathrooms
Satin or washable finishes often make more sense because these rooms are exposed to moisture, fingerprints, and frequent cleaning.
Trim and Doors
Semi-gloss or satin enamel works well for trims and doors because these areas take more wear.
Cabinets
Cabinet painting needs more attention and prep. You must use better bonding primers and durable enamel. It is not the same as rolling a bedroom wall.
How to Ventilate Without Freezing the House
You Do Not Need to Leave Every Window Open All Day
In Wisconsin winter, that is not realistic. You can ventilate in short, controlled periods instead.
Use Short Air Exchanges
Open a window slightly for 10 to 15 minutes, use a fan to push air outside, then close it again. Repeat as needed.
Close Off the Room
If possible, close the door to the painted room. That keeps fumes from spreading and helps you control temperature.
Use a Fan Carefully
A fan can help move air out, but do not blast cold air directly across wet paint. That can affect drying and texture.
Keep Ventilation Going After Painting
The CPSC recommends using ventilation during painting and continuing ventilation after painting when possible, especially by exhausting vapors and providing cross-ventilation.
Common Interior Winter Painting Mistakes
Painting Over Cold Walls
A room may feel warm, but exterior-facing walls can still be cold. Give the room time to warm up before painting.
Skipping Cleaning
Dust, grease, fingerprints, and smoke residue can stop paint from bonding well.
Not Repairing Drywall First
Paint does not hide cracks, dents, water damage, or bad texture. It often makes them more noticeable.
Closing the Room Too Tight
You need ventilation, even in winter. Use controlled ventilation rather than no ventilation.
Rushing the Second Coat
Cold or humid rooms may need more dry time. Follow the paint label and use common sense.
Will Paint Freeze in Winter?
Yes. Paint can freeze in winter.
Water-based paints, including many latex and acrylic paints, can freeze when left in an unheated garage, shed, truck, or porch during Wisconsin winter.
When water-based paint freezes, the formula can separate. The texture may become grainy, clumpy, ropey, or cottage-cheese-like. That can affect how the paint spreads during application and how it ends up looking.
What Happens When Paint Freezes?
The Emulsion Can Break
Paint is a carefully mixed product. When it freezes, that balance can break down.
Texture Can Change
Frozen paint may not roll smoothly. It may leave grit, lumps, streaks, or an uneven finish.
Adhesion Can Suffer
Even if the paint looks usable in the can, it may not bond properly once applied.
Color and Sheen May Look Uneven
Frozen paint can dry with strange patches, inconsistent sheen, or poor coverage.
Do Different Paint Types Freeze Differently?
Yes they do. Here’s how each paint type reacts to cold:
Latex Paint
Latex paint is water-based, so it is vulnerable to freezing.
Acrylic Paint
Many acrylic paints are also water-based, so they can freeze and separate.
Oil-Based Paint
Oil-based paint does not behave exactly like water-based latex paint, but it still should not be stored carelessly in extreme cold. Always follow the label.
Primer
Many primers are water-based too, so treat them like paint. Do not leave them in a freezing garage.
How to Check If Frozen Paint Is Still Usable
Step 1: Thaw It Slowly
Bring the can indoors and let it return to room temperature naturally. Do not heat it.
Step 2: Stir It Thoroughly
Use a paint stick or drill mixer. If it stays lumpy, stringy, gritty, or separated, do not use it on a real project.
Step 3: Strain It If Needed
For minor dried bits, a paint strainer may help. But straining will not fix paint that has chemically broken down.
Step 4: Brush a Test Patch
Apply it to scrap drywall or cardboard. Let it dry fully.
Step 5: Inspect the Finish
If it dries smooth, bonds well, and looks normal, it may be usable for small touch-ups. If it looks grainy, streaky, or uneven, replace it.
For important walls, cabinets, trim, or exterior surfaces, I would rather use fresh paint than risk a failed finish.
Where to Store Paint in Winter
Store Paint Indoors
A basement storage room or utility closet is usually better than a garage.
Keep It Away From Extreme Heat
Do not store paint next to a furnace, radiator,. Don’t put it in a location with direct sunlight.
Seal the Can Well
Lastly, wipe the rim and make sure the lid is closed tightly tightly.
Final Thoughts
Winter painting is not one simple yes-or-no answer.
For exterior painting, Wisconsin weather can make the job tricky. The right paint, surface temperature, dry conditions, and timing all matter. If the weather does not cooperate, waiting is often the better choice.
For interior painting, winter can be a great season. You can refresh rooms, repair drywall, update cabinets, repaint trim, and plan color changes while your home is already closed up for the season.
If you need painting, drywall repair, drywall installation, drywall texturing, cabinet painting, water damage drywall repair, or home remodeling help in Mukwonago, Muskego, Brookfield, Wales, New Berlin, or nearby Southeast Wisconsin, call Perfection Painting and Drywall at (262) 272-0593 for a free estimate.
FAQs About Painting in Winter
Can I Paint the Outside of My House in Wisconsin in December?
Sometimes, but it depends on the product. Surface temperature and moisture also matter. If temperatures stay too cold or the siding has frost or moisture, wait until conditions improve.
Is Winter a Good Time for Interior Painting?
Yes. Interior painting can work very well in winter when the room is heated and ventilated properly. Bedrooms, living rooms, kitchens, bathrooms, trim, cabinets, and drywall repairs are common winter projects.
How Cold Is Too Cold to Paint Outside?
Always follow the paint label. Some cold-weather exterior paints can be applied at around 35°F, but the surface and paint material must also meet that temperature requirement. If the surface is colder than the air, painting may still be risky.
Can I Store Paint in My Garage During Winter?
It is not a good idea in Wisconsin unless the garage stays heated. Garages are usually exposed to the cold and freezing can damage latex and acrylic paint. Store leftover paint in a dry, temperature-stable area like a basement or closet.
Should I Paint Before or After Drywall Repair?
Repair the drywall first. Patch cracks, fix nail pops, repair water-damaged drywall, sand smooth, prime where needed, and then paint. Paint should be the final finish, not the cover-up for unfinished repair work.
Stay up to date with our latest ideas!