How To Turn A Favorite Photo Into A Personalized Portrait Canvas
Learn how to transform a favorite photo into a personalized portrait canvas, creating unique wall art that adds charm and meaning to your home.
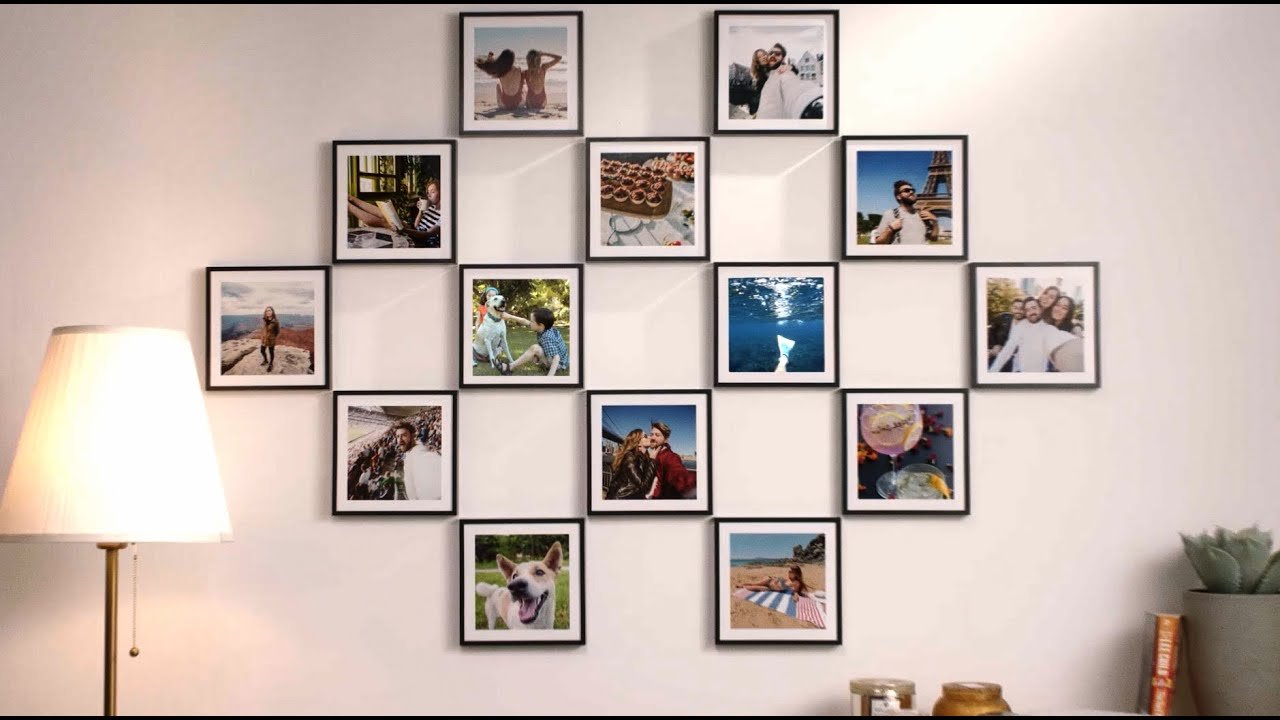
Photos are a testament to cheerful memories, especially when they can be transformed into a personalized portrait canvas. Whether a family photo, a pet, or a much-adored travel moment, transforming it into an artwork adds emotion and improves its visual appeal on the canvas.
Moreover, unlike traditional framed prints or digital albums, a personalized portrait canvas allows you to dive into the realm of art, permitting you to paint your favorite moment and connect with it on a deeper level. It ultimately adds more essence to your picture.
Painting with a personalized portrait canvas may sound troublesome to many, but actually, it is way easier with the help of photo-to-canvas kits, as everything you need comes included, from a printed canvas and matching paint colors to paintbrushes and professional step-by-step guidance.
The result?
A custom-made and unique piece of artwork that showcases both the original photo and your personal touch.
Interested in exploring further how you can make it all happen with a personalized portrait canvas?
Continue reading the full article.
1. Pick the Right Photo for Your Canvas
The first step in the process is to select the best image possible for an excellent end product. Choose a high-resolution photo, so all the details are distinguishable and well-lit.
A great choice is if the subject is a close-up portrait or has a transparent background. If a photo is blurry or murky or even taken from a distance, it may not translate well on the canvas. That is why picking the right photo is crucial.
Make sure faces are clear, and the subject is clearly separated from the background to ensure strong contrast and better definition on the canvas. Further, for portrait painting, consider selecting images that are dear to you or hold an importance in your life.
Overall, the better the quality of the image, the better it will be reflected on the canvas. So before uploading a picture, take a few moments and assess the aforementioned important factors in order to make your meaningful photo into a vibrant and appealing art.
2. Uploading and Previewing Your Design
Having selected the best image, the next step is to upload it onto a site that transforms photos into paint-by-number kits. The uploading procedure is relatively straightforward and usually conducted online.
Upon submitting your upload, you may be presented with a preview of the design once converted. This step is extremely important as it gives you an idea of what the image will look like when translated into numbered sections for painting.
Some professional and trusted service provider also offers editing tools to allow crops, brightness adjustments, and contrast adjustments to enhance the clarity and results. Another option you can opt for is selecting a free photo preview service, which allows designers or professionals to check your photo for clarity and suitability.
Reviewing the preview ensures you have peace of mind that the finished product will meet your expectations.
3. Choosing the Canvas Format
Canvas kits are sold in different formats, and accordingly, selecting the right option creates a difference in the enjoyment of the process of painting. Most common choices include a rolled canvas, a stretched canvas on a wooden frame, or a mounted canvas board.
A rolled canvas is quite flexible and is best if you intend to do the framing yourself after the work has been completed. Stretched canvas, on the other hand, comes ready to hang, saving time and effort.
Your choice may depend on cost, display preference, and storage considerations. Think of where you are going to be working on the painting and where it will finally be put on display.
Perhaps pre-stretched canvas is better suited for beginners, while more experienced individuals may prefer rolled canvases for their flexibility and stretching options.
4. Understanding What’s in the Kit
When your customized kit arrives, it comes equipped with all the necessary items to start, usually a canvas with numbered sections, acrylic paint, and brushes in different sizes.
Some also include a paper reference image and simple instructions to go with it. The number on the paint pot should correspond to a number on the canvas so that you know what to match and apply.
Different brush sizes are helpful in working on large spaces with fine details in between, allowing beginners an engaging brush-on experience.
5. Painting the Canvas Step by Step
Once you're all set, painting begins. After organizing your materials and setting your canvas on a flat, brightly illuminated platform, begin painting one digit at a time, top to bottom, or left to right, to avoid smudging areas that are still wet.
Use larger brushes for broad spaces and switch to smaller ones for finer details. Take breaks when needed, and enjoy the process; it’s meant to be relaxing. There’s no rush to finish quickly.
Some people find the painting process meditative, as it requires focus without being stressful. Mistakes are easy to fix with a second coat, and patience often leads to a cleaner, more polished result.
6. Displaying and Preserving Your Art
Once your painting is complete, allow it to dry fully, ideally for 24 hours. Rolled canvases may need framing, while stretched or mounted ones are ready to hang.
For extra protection, apply a clear varnish to enhance color and durability. Hence, display it proudly or gift it as a heartfelt, handmade keepsake.
Bottomline
Turning a favorite photo into a personalized portrait canvas is a unique way to celebrate cherished memories. This creative process combines art with sentiment, allowing you to produce a meaningful, hand-painted keepsake.
With easy-to-use kits and guided steps, anyone can transform a special image into vibrant artwork. Whether for yourself or as a thoughtful gift, the final canvas becomes a lasting reminder of a treasured moment, enriched by your personal touch.
Embrace the journey and enjoy creating a truly one-of-a-kind masterpiece.

