How to Replace an Interior Door
Discover how to replace an interior door with ease, from removing the old frame to fitting and finishing a stylish new door for your space.
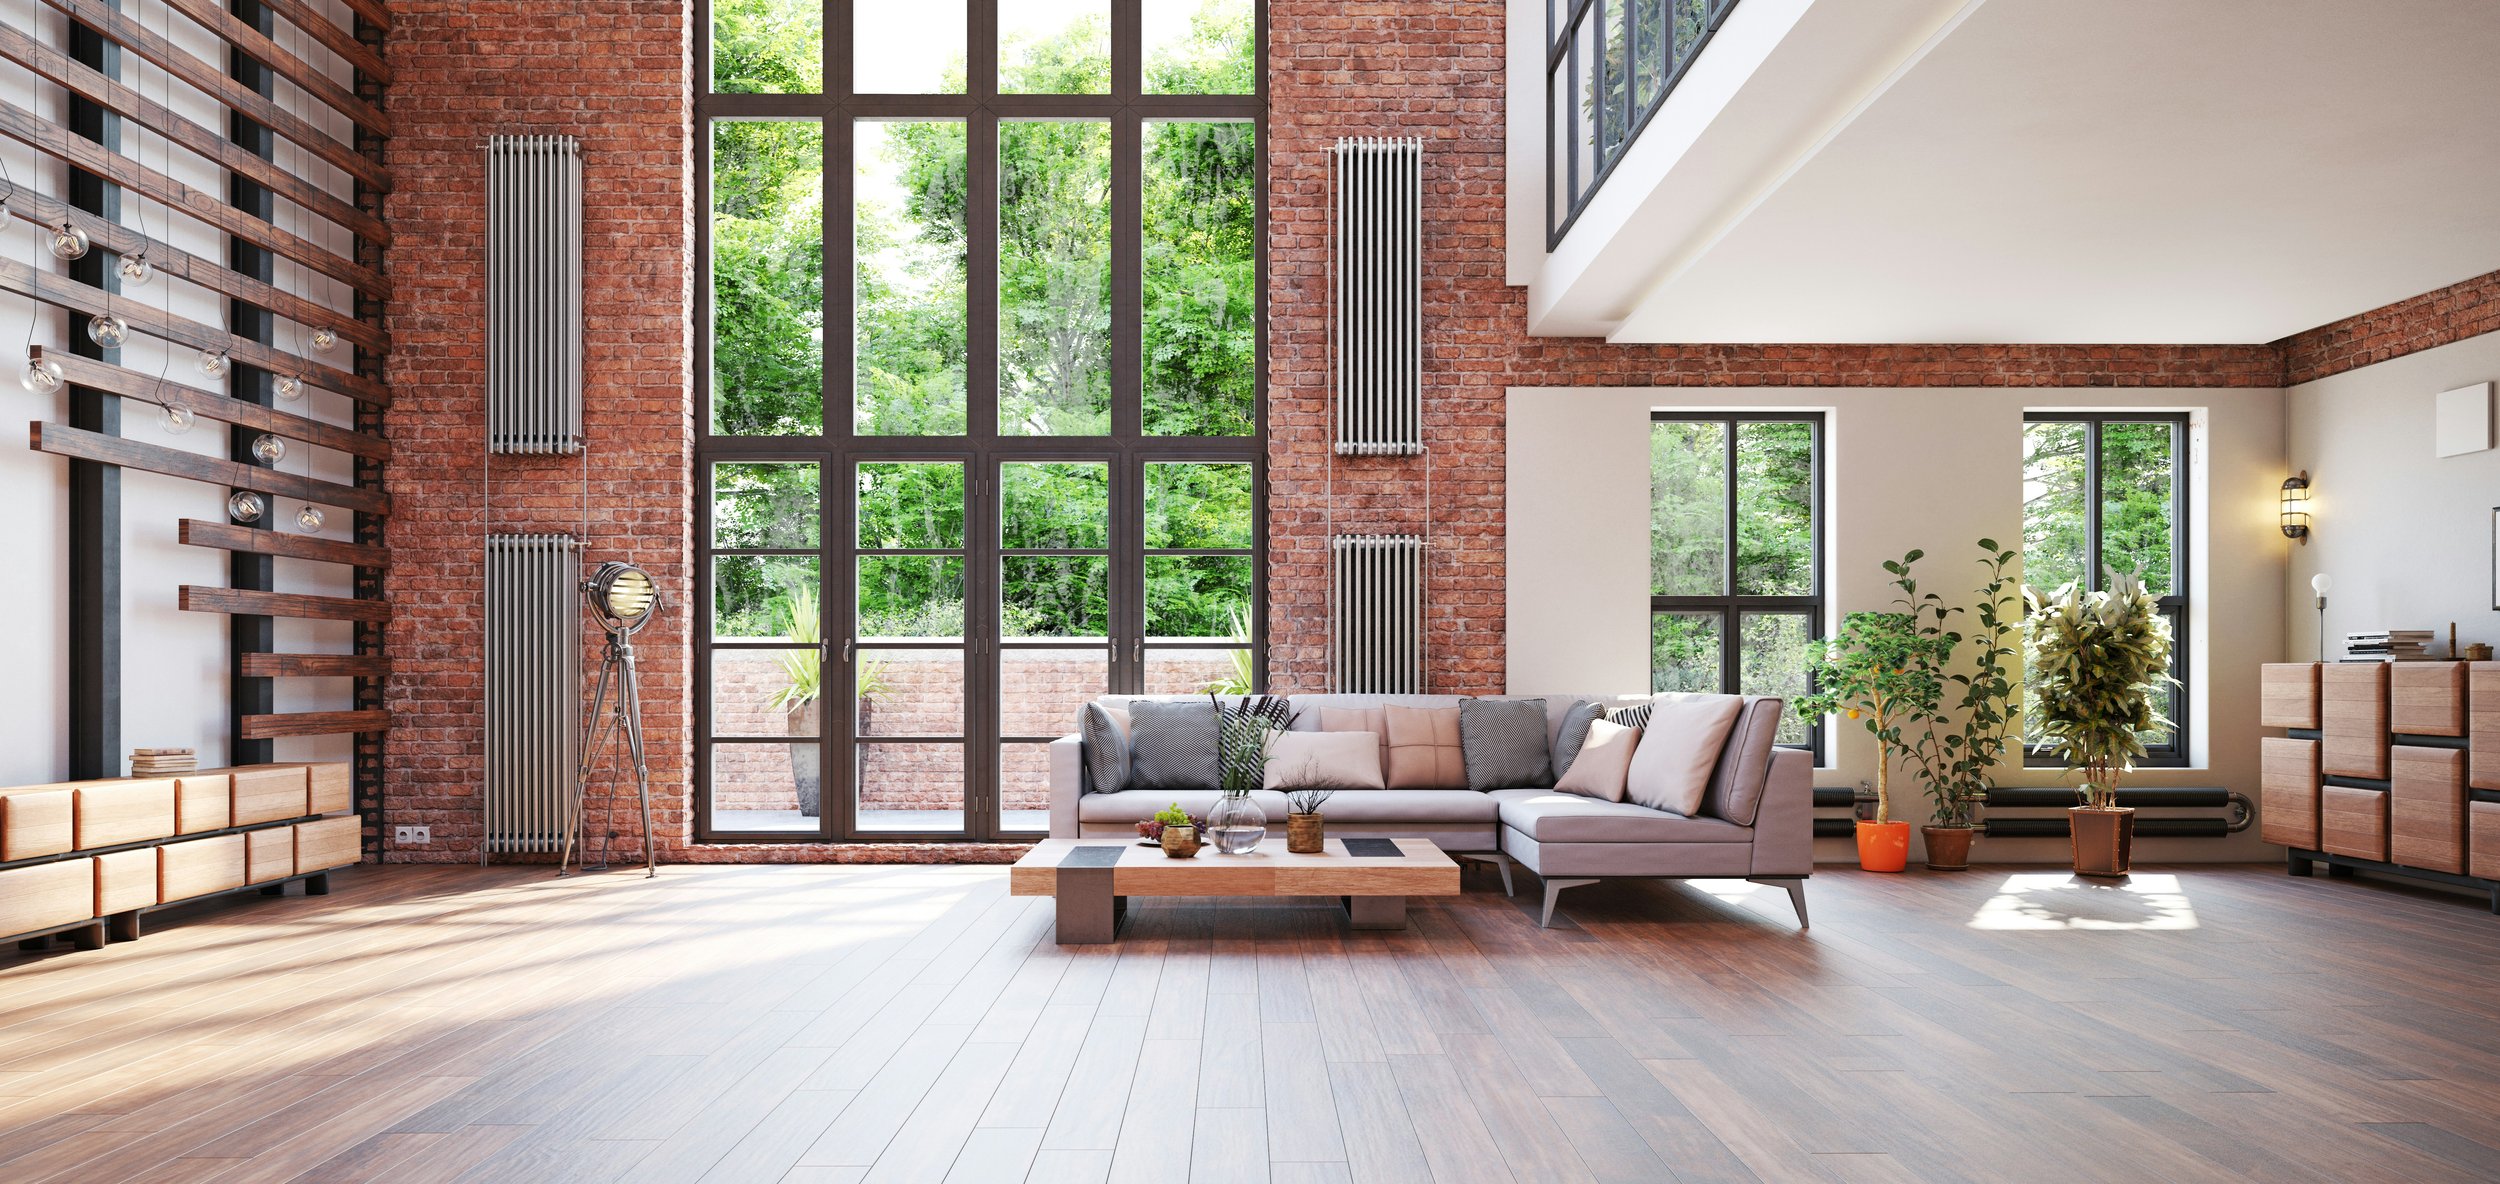
Replacing an interior door is one of the simplest yet most effective ways to refresh your home. Beyond just improving appearance, a new door enhances function, sound control, and comfort while tying your interior style together. Whether you’re swapping out an outdated door or upgrading to something more durable and modern, this guide walks you through each step — from safely removing the old one to installing a new prehung door with precision. Inspired by Doors in Crystal Lake offers stylish and easy-to-install options that make this upgrade even smoother.
How Do You Remove the Existing Interior Door and Trim?
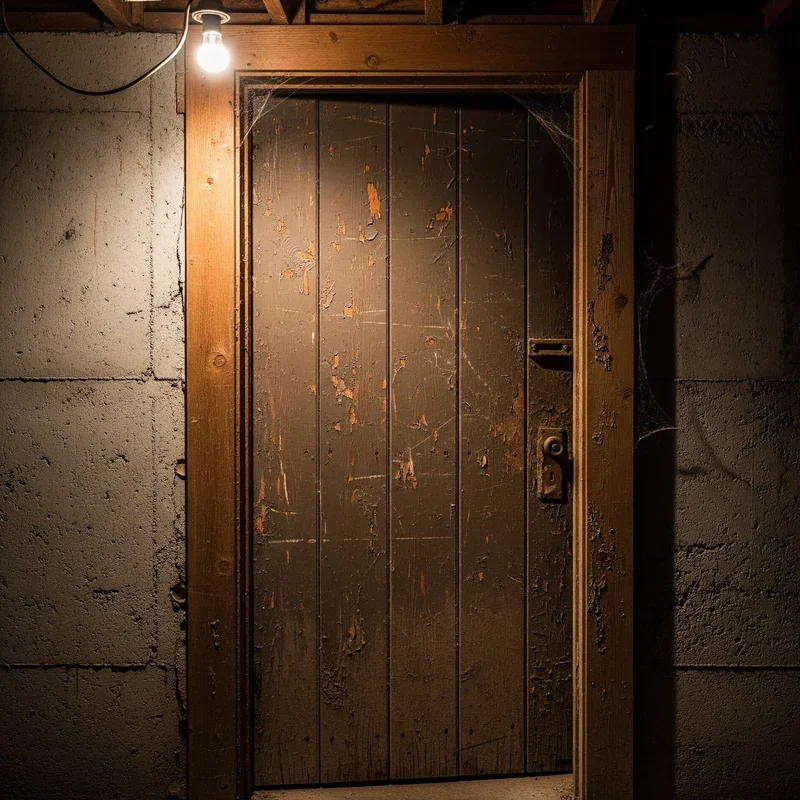
Before you can install a new door, you’ll need to take out the old one carefully. Start by opening the door halfway and supporting it with one hand. Use a hammer and screwdriver to tap out the hinge pins, then lift the door slab off the hinges and set it aside. If the hinges are painted over or rusty, a few gentle taps with a mallet can help loosen them.
Next, turn your attention to the trim — also called the casing — that surrounds the door frame. Slide a putty knife or pry bar gently between the wall and trim to loosen it. Work slowly and evenly to avoid cracking the drywall or splitting the wood. If you plan to reuse the trim, label each piece as you remove it for easy reinstallation later.
Once the trim is off, you’ll see the jamb (the frame around the door). Cut through any caulk or expanding foam between the jamb and wall using a utility knife. Then, use a reciprocating saw to cut through the nails or screws holding the jamb in place. Carefully pry out the frame, starting from the top corner and working down each side. Take your time — damaging the drywall or opening can create extra repair work.
After removing everything, clean the opening and inspect the wall studs. Remove leftover nails, old foam, or debris. You should be left with a clean, square rough opening ready for your new prehung door.
How to Install a Prehung Door Using Shims
Prehung doors come with their frame already attached, making installation faster and more precise. Before you begin, make sure your new door fits the rough opening — there should be about ½ inch of extra space around the frame to allow for adjustment with shims.
Set the prehung unit into the opening and center it. Begin by placing shims behind the hinges, starting at the bottom hinge first. Use a level to ensure the hinge side of the frame is perfectly vertical (plumb). Once aligned, temporarily secure the hinge side with a screw near the center hinge.
Next, close the door gently to check the gap between the door and the frame. It should be even all around — typically ⅛ inch. Add shims to the latch side and top as needed to maintain consistent spacing. Adjust and recheck until everything looks balanced.
Once you’re satisfied, drive screws through the jamb and shims at each hinge and latch point. Make sure to countersink the screws slightly so they don’t interfere with the trim later. Test the door by opening and closing it several times — it should swing smoothly without rubbing or sticking.
When the frame is securely in place, fill any gaps between the jamb and wall with low-expanding foam insulation. This step improves energy efficiency and soundproofing. Allow the foam to cure completely before trimming off any excess. Finally, reinstall or replace the casing around the door to give it a finished look.
What Should You Know Before Replacing an Interior Door?
Before diving into a replacement project, take a few minutes to plan. First, inspect your existing frame and wall condition. If you notice cracks, moisture damage, or uneven surfaces, make necessary repairs before installing a new door.
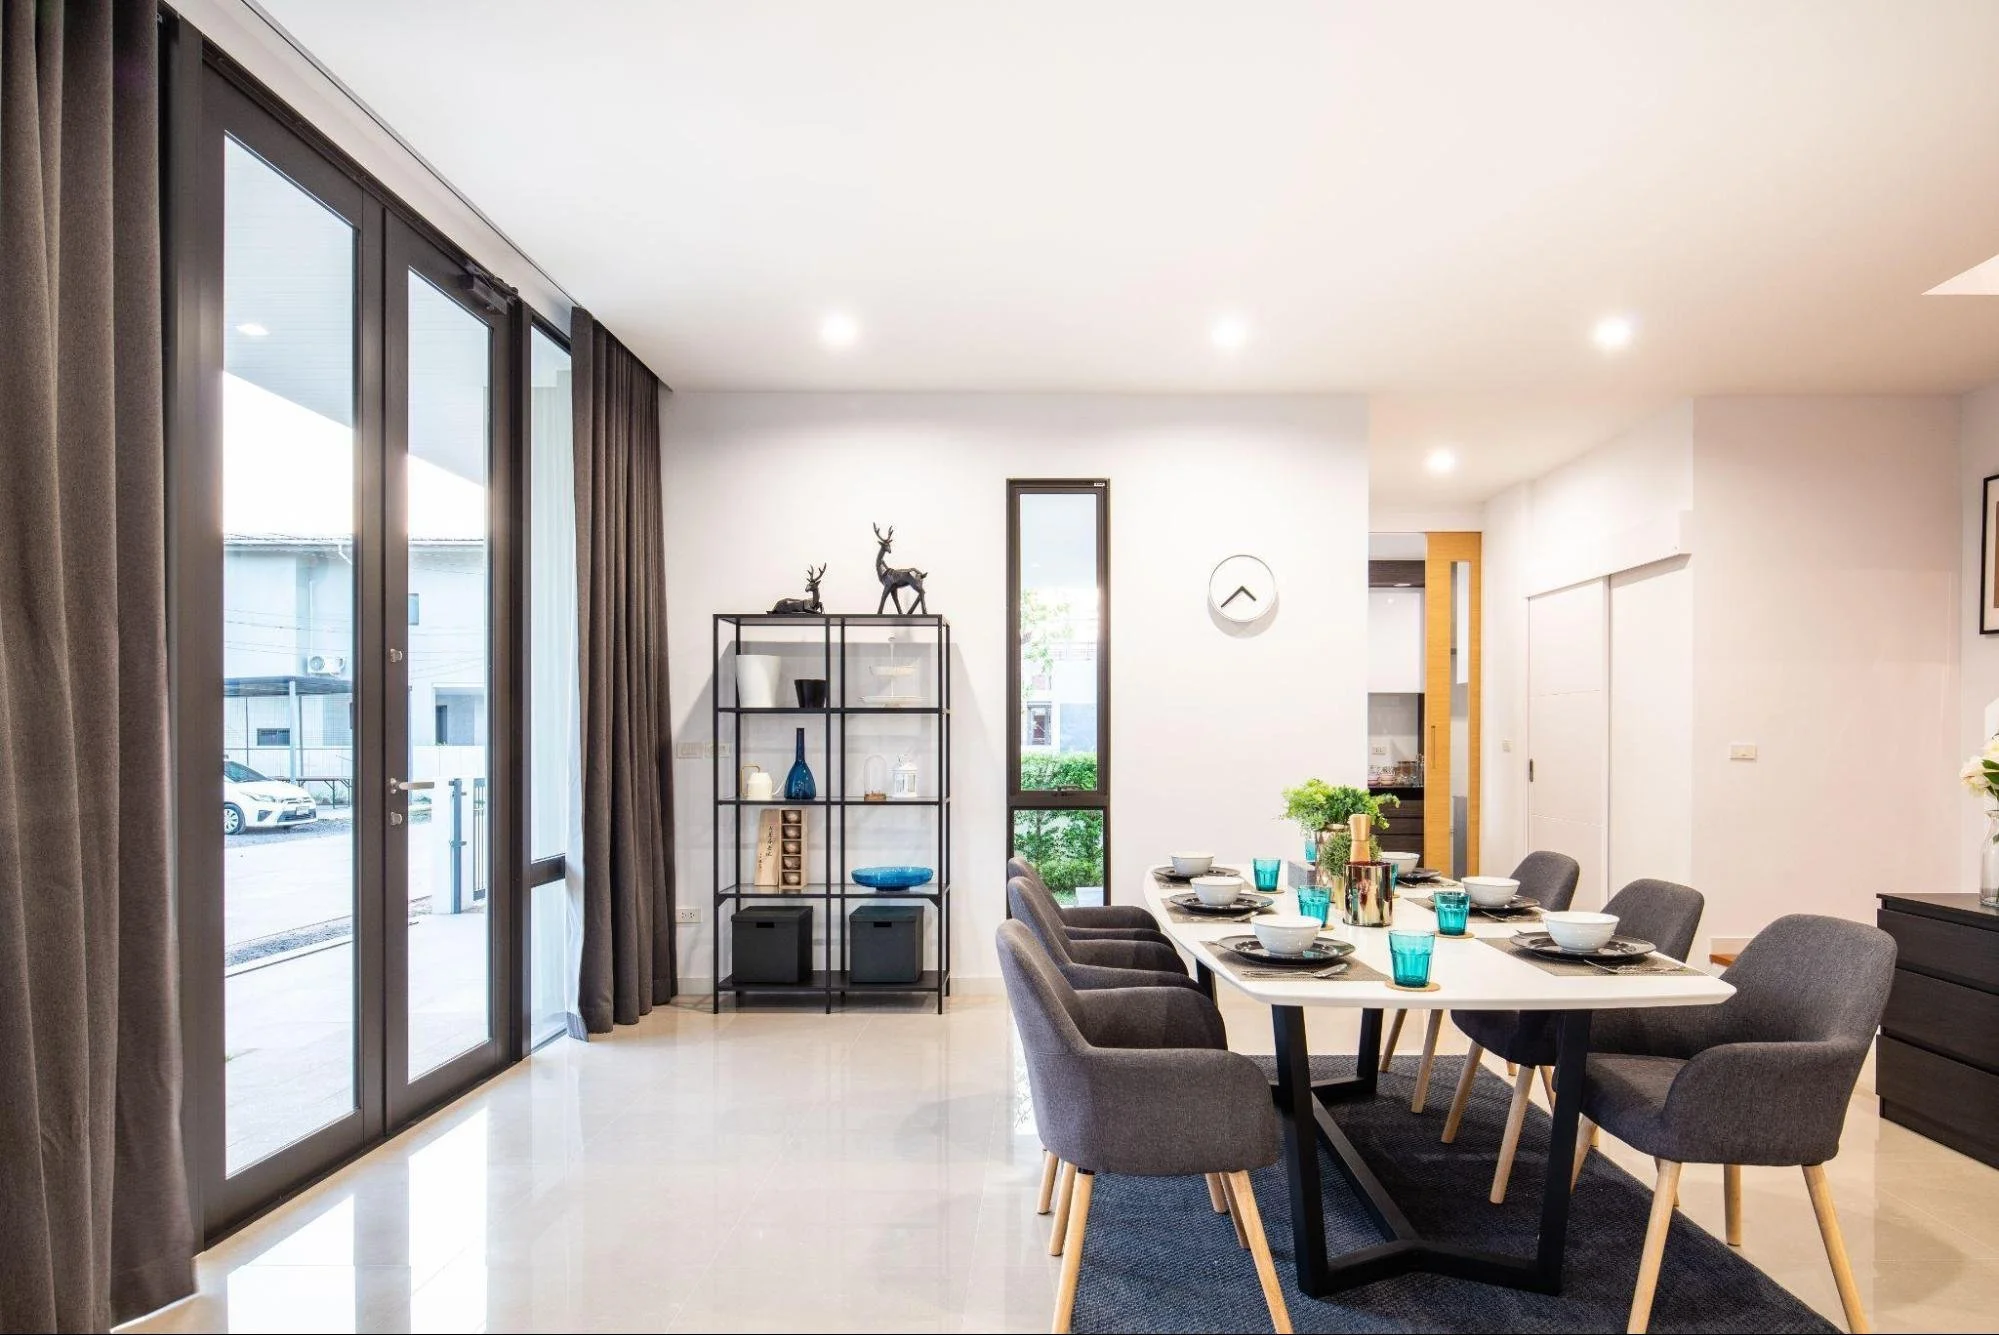
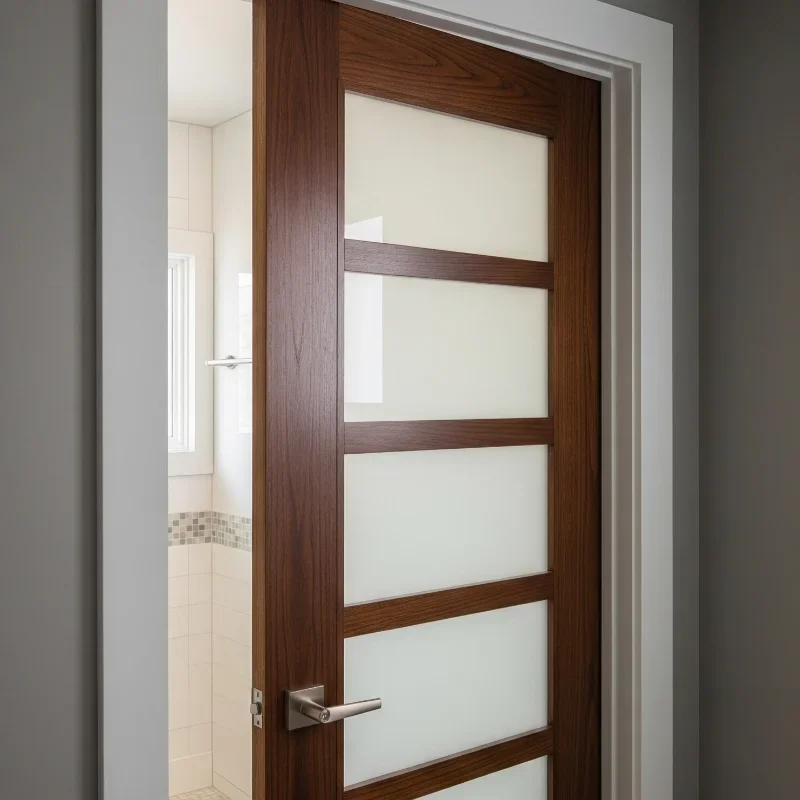
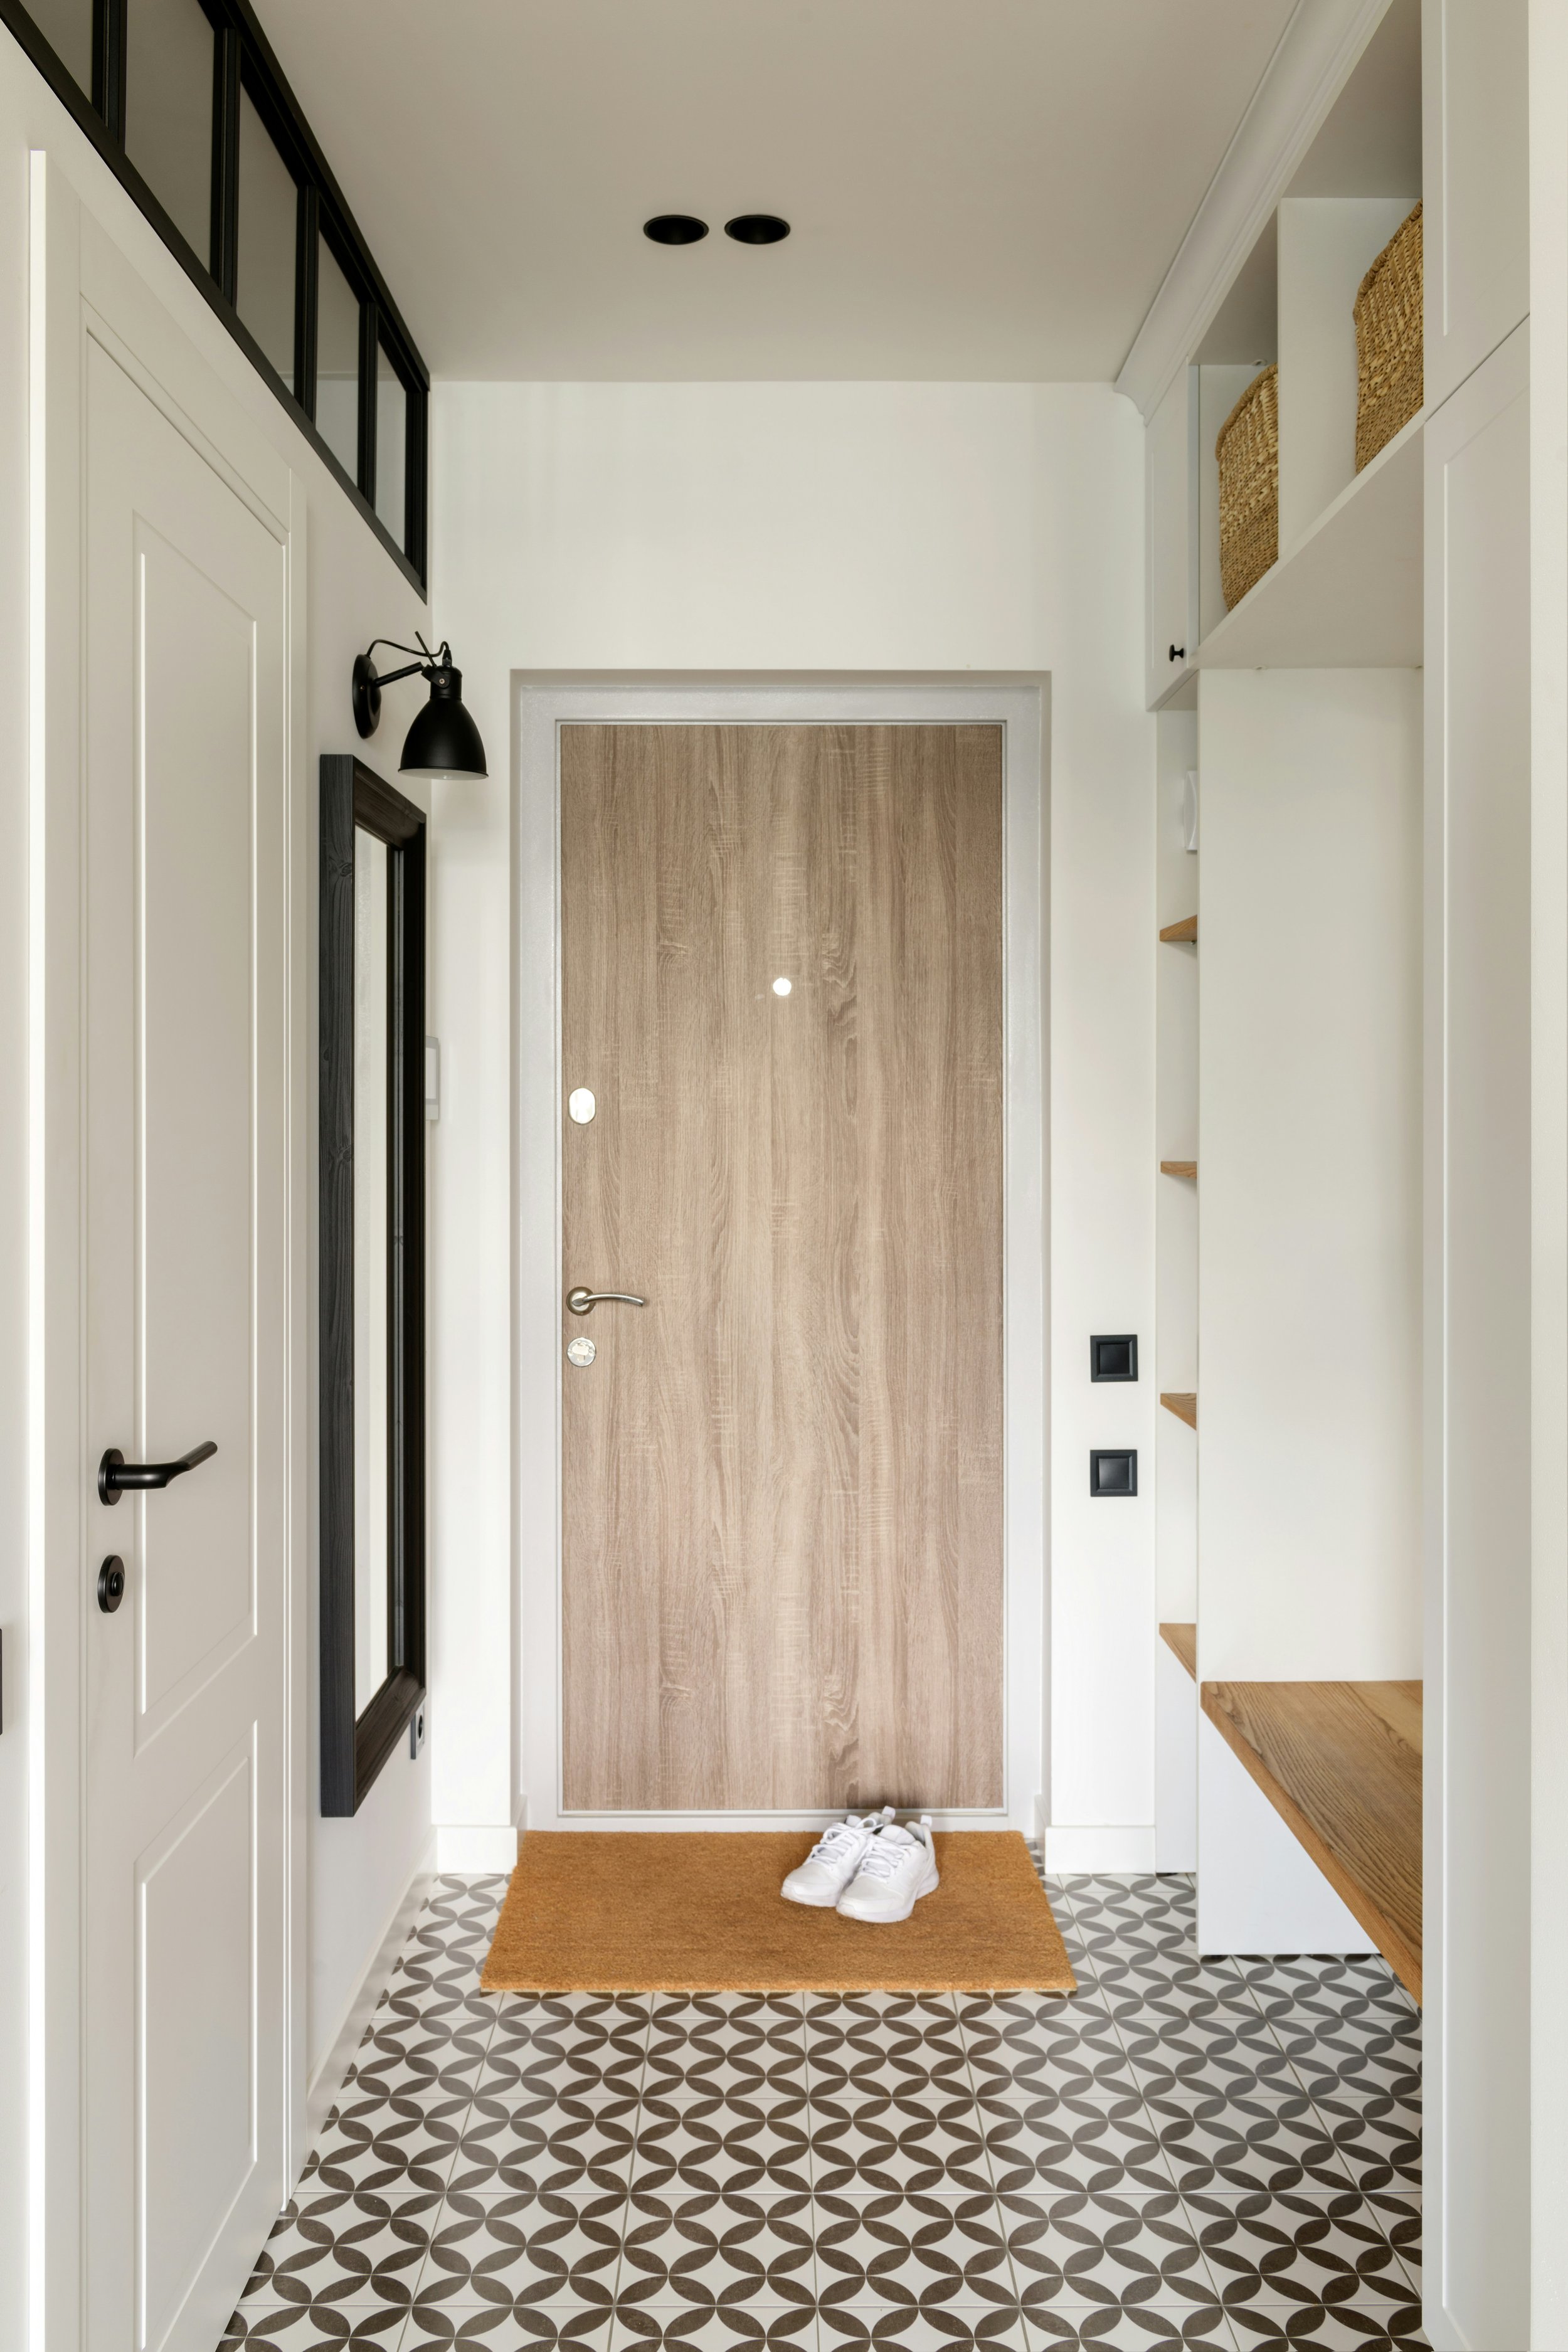
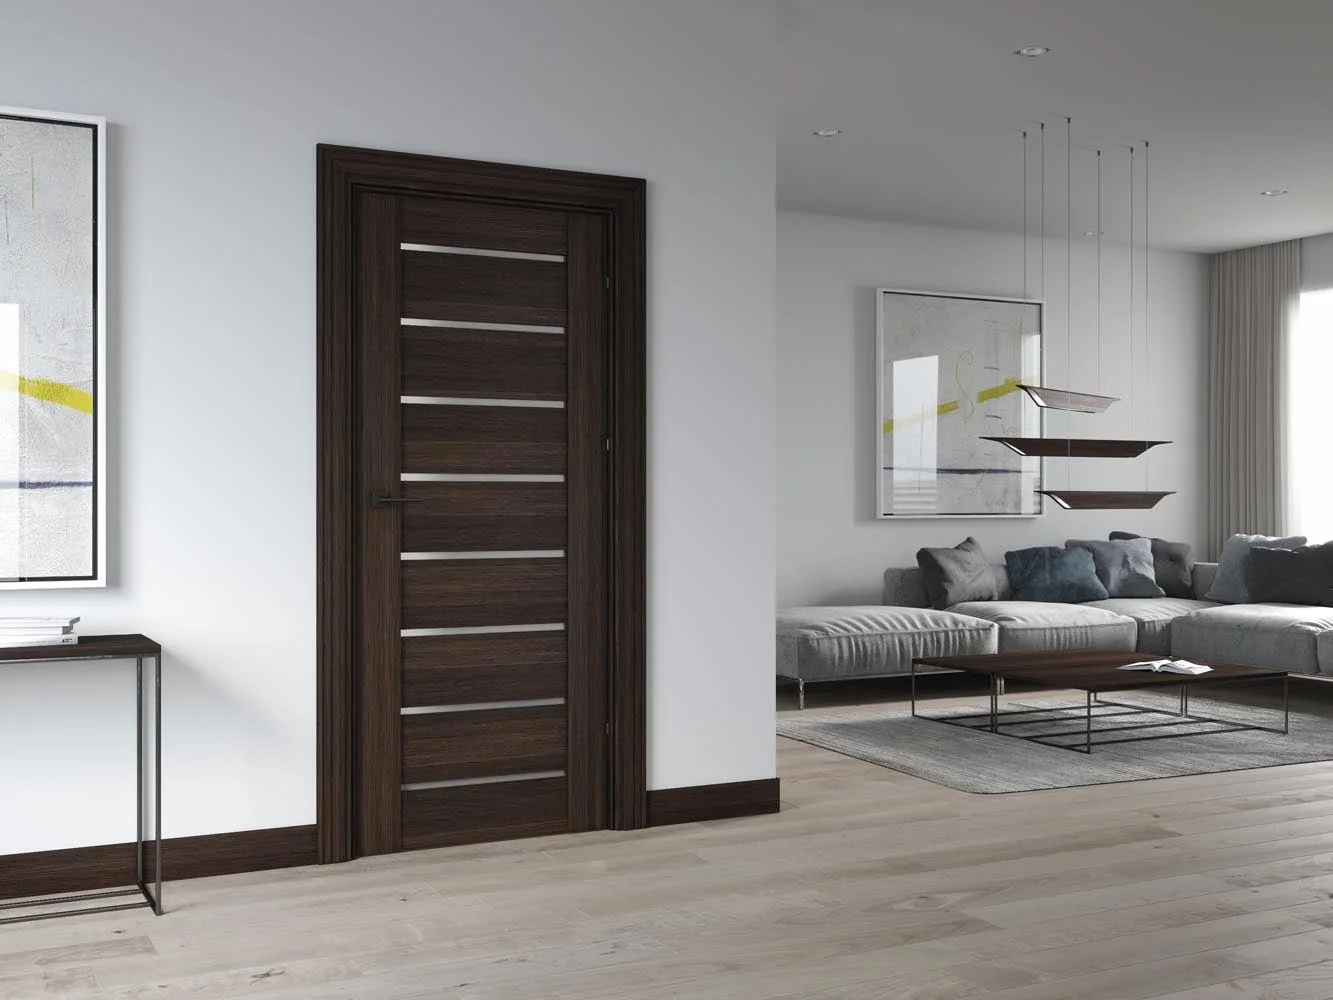
Next, choose the right door for your needs and design preferences. Solid core doors are heavier and provide better sound insulation — ideal for bedrooms or offices. Hollow core doors are lighter and more affordable, making them a practical choice for closets or hallways. If you want more light flow, consider a glass-panel or French door. For utility spaces like laundry rooms, a louvered (vented) door can improve airflow.
Also, determine the swing direction (left-hand or right-hand) before ordering your door. This ensures it opens conveniently without blocking traffic or furniture. Check the floor clearance too, especially if you have thick rugs or raised thresholds.
Gather all the tools you’ll need: a hammer, level, measuring tape, drill, shims, screws, utility knife, and foam insulation. Having everything on hand saves time and prevents frustration once you start.
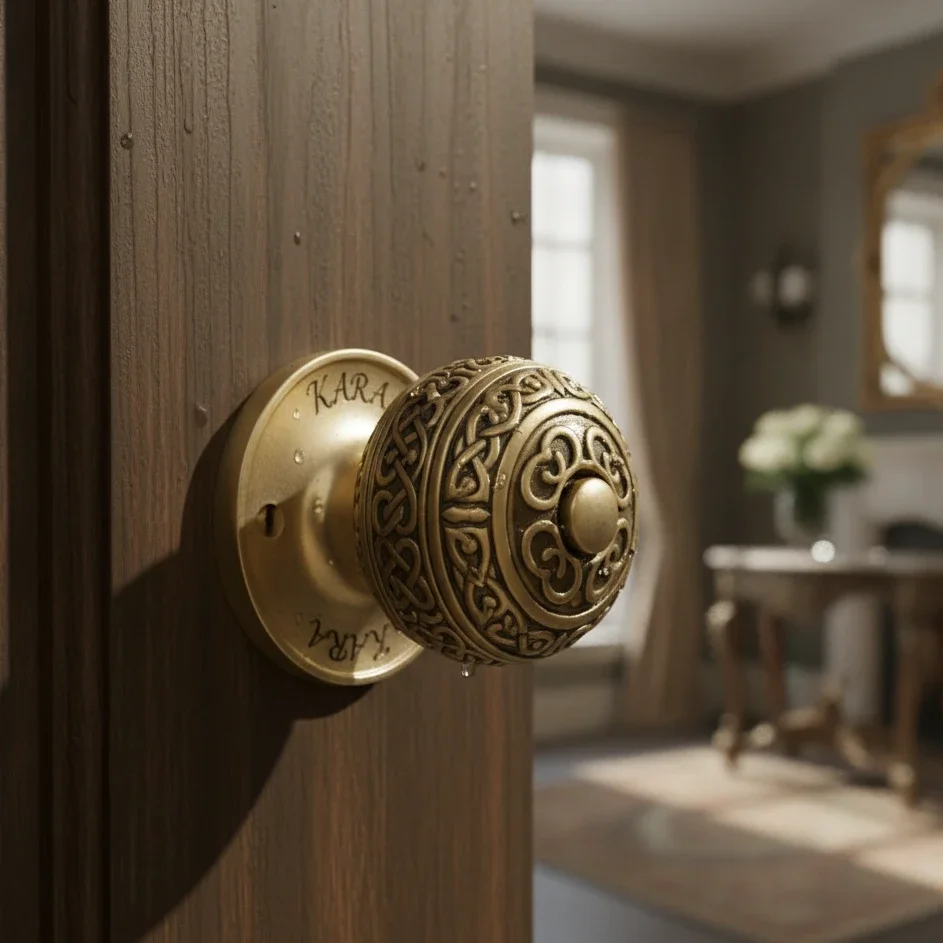
If you’re replacing multiple doors, consistency is key. Choosing a similar style and finish for all interior doors can make your home feel cohesive and professionally designed. Whether you prefer modern minimalism, rustic charm, or traditional panel doors, keep the hardware finishes (like handles and hinges) matching throughout your home.
Replacing an interior door may seem intimidating, but with patience and the right tools, it’s a manageable DIY project for most homeowners. You’ll enjoy the results immediately — smoother operation, better sound control, and a fresh aesthetic that complements your home’s design.
If you’re ready to upgrade, Inspired By Doors offers an impressive selection of prehung and slab doors designed for easy installation and long-lasting style. From contemporary finishes to classic wood designs, you can find the perfect fit to enhance your interior spaces and bring renewed life to every room in your home.
Stay up to date with our latest ideas!