How to Choose and Set Up a Solar Charge Controller for Home Solar Projects
Discover how to choose and set up the right solar charge controller for your home solar projects to ensure efficiency, safety, and reliable power.

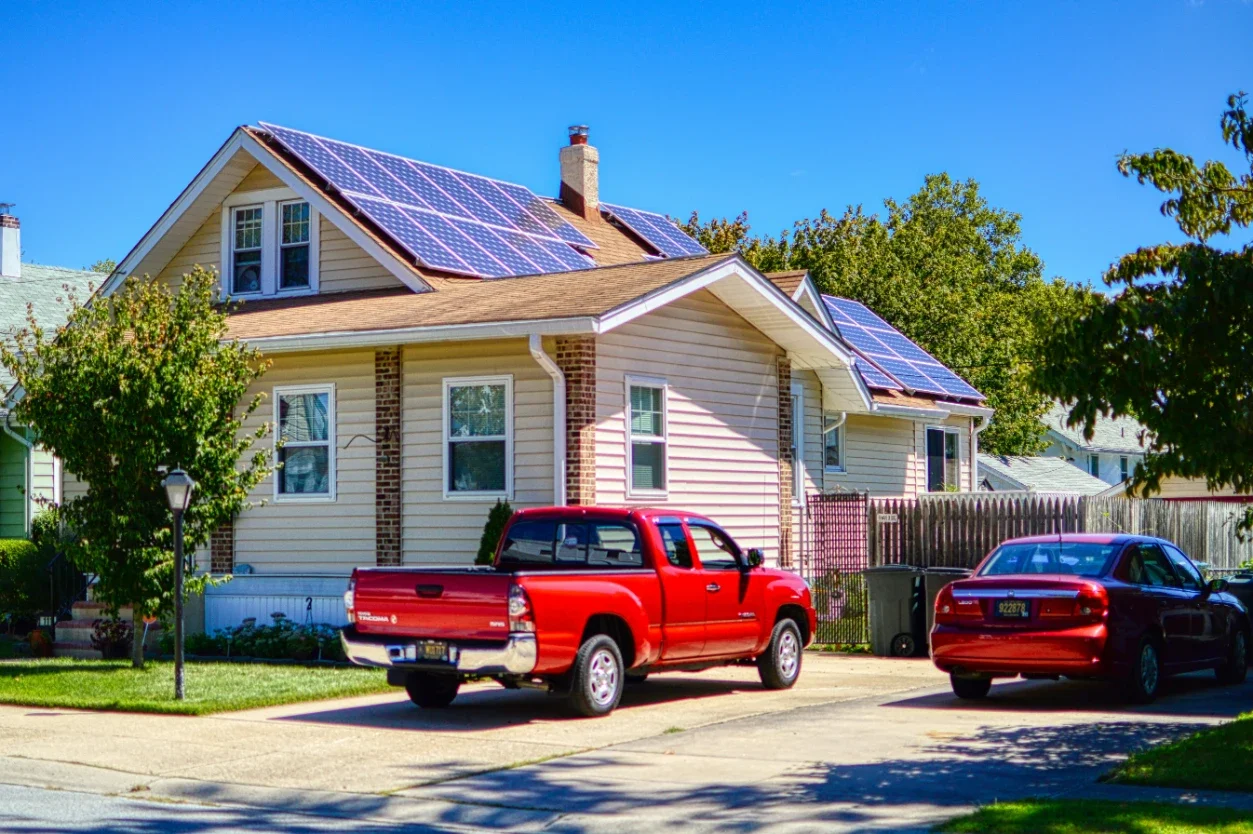
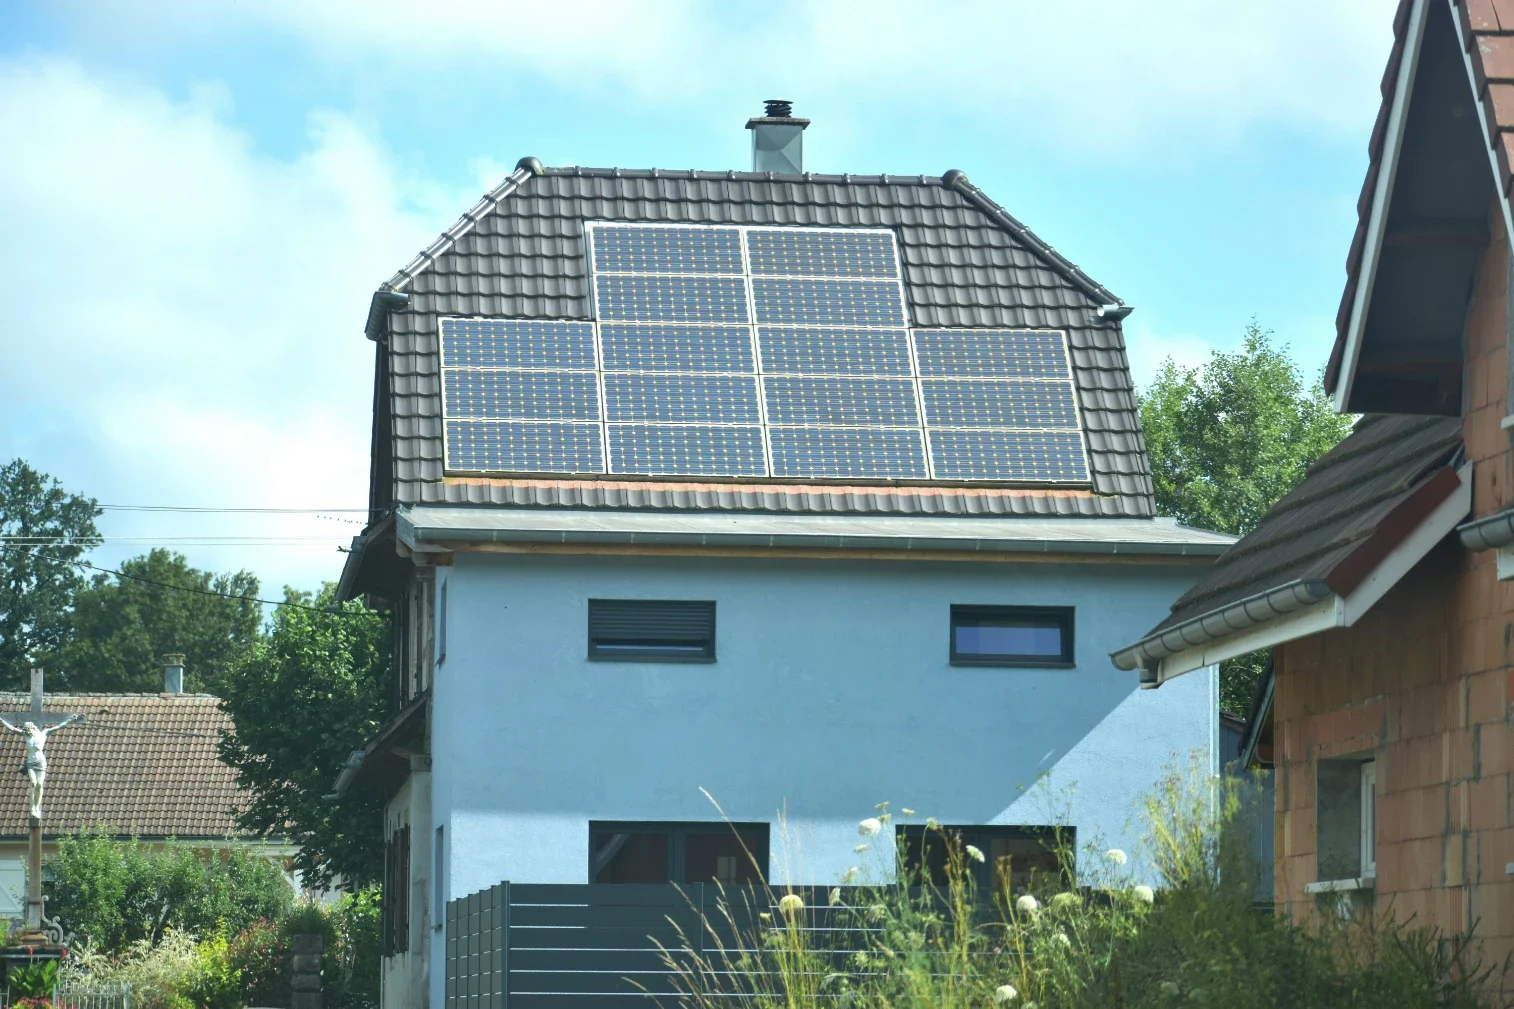
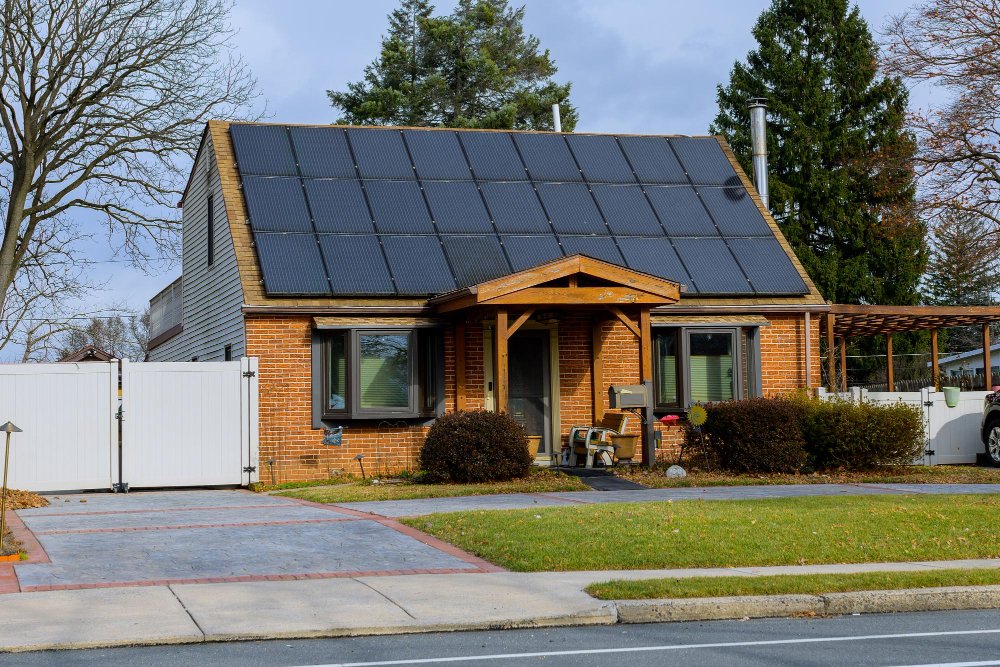
As solar power becomes increasingly popular for U.S. homeowners, many are exploring ways to design small to medium solar systems for backup electricity, cost savings, or sustainability. At the center of any effective solar setup lies the solar charge controller—the device that regulates the flow of electricity between solar panels, batteries, and loads.
Choosing the right controller and installing it correctly can add years of life to your batteries, improve system efficiency, and help you meet NEC safety requirements. This article explains the fundamentals of solar charge controllers, how to select the right type for your needs, and how to set one up properly for a home project, with added guidance for U.S. installations.
What Is a Solar Charge Controller?
A solar charge controller, sometimes called a solar regulator, is an electronic device that manages how electricity from solar panels is delivered to batteries. Its primary roles are:
Preventing overcharging – ensuring batteries don’t receive more current than they can handle.
Preventing over-discharging – cutting off loads when batteries reach a low voltage threshold.
Voltage regulation – matching the output of solar panels with the battery bank’s voltage requirements.
System monitoring – many modern controllers provide data on battery state, charging status, and performance.
Without a controller, batteries degrade quickly due to uncontrolled charging—leading to higher replacement costs and reduced safety.
Types of Solar Charge Controllers
PWM Controllers – These regulate current by rapidly switching the connection between the solar panel and battery on and off. They are best for small systems with low power needs and panels that match the battery voltage. Advantages include simple design, low cost, and long lifespan. Limitations include reduced efficiency, typically around 70–80% in real conditions, and incompatibility with higher-voltage panels.
MPPT Controllers – These use advanced electronics to track the optimal operating voltage and current of the solar panel, converting excess voltage into usable current. They are best for larger systems or higher-voltage panels. Advantages include up to 30% more energy harvested compared to PWM and more flexible system design. Limitations are higher cost and slightly more complex installation.
Quick Comparison:
Best for garden lights or single panels → PWM
Best for home backup systems and multi-panel arrays → MPPT
A homeowner in Arizona shared that after switching from PWM to MPPT on a 1kW array, their monthly battery charging performance improved by roughly 25%, reducing generator backup time by several hours per week.
Product Comparison: Power Home 30A Controllers
To make the decision clearer, let’s look at two commonly used 30A solar charge controllers side by side. By comparing their price, efficiency, compatibility, and features, you can quickly see which one is better suited for small backup setups and which one offers higher efficiency for long-term residential systems.
30A MPPT Solar Charge Controller
Price: $177.89
System Voltage: 12V / 24V / 48V (auto recognition)
Rated Current: 30A (protection up to 32A)
Efficiency: 96.5% (PV utilization 99.97%)
Battery Types: Lead-acid, gel, flooded, lithium
Protection: Over-voltage, under-voltage, over-current, reverse connection, over-temp, short-circuit
Features: Large LCD, RS485, smart cooling fans, 3-stage MPPT charging
Best Use Cases: Residential solar, off-grid cabins, wind + solar hybrid
Buyer Profile: Efficiency-focused, long-term ROI
30A PWM Solar Charge Controller
Price: $92.96
System Voltage: 12V / 24V / 48V (auto recognition)
Rated Current: 30A
Efficiency: 70–80%
Battery Types: Li-ion ternary, LiFePO4, lead-acid
Protection: Over-voltage, under-voltage, over-current, short-circuit, USB protection
Features: LCD screen, dual USB ports, 3-stage PWM charging
Best Use Cases: Small off-grid homes, RVs, backup lighting
Buyer Profile: Budget-conscious, low-demand setups
Factors to Consider When Choosing a Controller
System Voltage: Most home systems use 12V, 24V, or 48V battery banks. Your controller must support the battery voltage.
Solar Panel Current and Voltage: Check the short-circuit current (Isc) and open-circuit voltage (Voc) of your solar panels. The controller must handle the combined current and voltage of your array.
Battery Type: Lead-acid, AGM, gel, and lithium batteries all have different charging requirements. Modern controllers allow you to select chemistry and adjust charging profiles.
Load Control: Some controllers have direct load terminals that shut down automatically when battery voltage is too low.
Monitoring and Connectivity: Advanced controllers may have LCD screens, Bluetooth, or Wi-Fi for performance monitoring.
Budget: PWM solar charge controllers typically cost $15–$150, MPPT solar charge controllers $100–$500+. A quality controller pays off with improved efficiency and longer battery life.
Brand Reliability: Look for UL-listed or NEC-compliant controllers. This ensures the unit meets U.S. safety standards and qualifies for incentives such as the federal solar tax credit.
Tip: If you are unsure which model fits your setup, request a sizing guide or comparison chart from a trusted supplier.
Homeowner Application Scenarios
1kWh/day (lighting + fans/small devices)
→ Recommended: 30A PWM + 12V/200W × 2 panels + small lead-acid battery.
Low cost, good for backup or camping.2kWh/day (lighting + refrigerator + small appliances)
→ Recommended: 40–60A MPPT + 24V/200W × 4 panels + LiFePO4 battery pack.
Stable performance, prevents battery stress.4–5kWh/day (typical U.S. backup needs)
→ Recommended: 60–80A MPPT + 48V/400W × 6–8 panels + larger lithium battery.
Supports fridge, TV, lights, and small outlets during outages.Off-grid cabins/farms (>8kWh/day)
→ Recommended: 100A MPPT + large 48V array.
MPPT is essential—PWM would waste too much energy.
How to Size a Solar Charge Controller
Proper sizing ensures your controller can handle the power generated by your solar panels.
Find your panel’s current output. A 200W panel at 12V produces about 16.6A.
Multiply by the number of panels in parallel. Two panels = 33.2A.
Add a safety margin of 25–30%. 33.2A × 1.3 ≈ 43A → choose at least a 45A controller.
Note: The diagram below shows the key interfaces of a typical 30A MPPT controller, which you’ll be working with when wiring panels and batteries.
For higher-voltage panels in series with an MPPT controller, calculate based on total wattage ÷ battery voltage.
ROI insight: Although a 45A MPPT unit may cost $250 compared to a $60 PWM, over a 10-year system life it can harvest an extra 1,500–2,000 kWh of energy. At U.S. average electricity rates ($0.16/kWh), that’s $240–$320 of extra value, enough to cover most of the cost difference.
Common Mistakes to Avoid
Undersizing the controller – Always leave a 25–30% safety margin.
Skipping fuses or breakers – A key safety requirement under NEC, don’t cut corners.
Using non-certified equipment – Choose UL-listed and NEC-compliant controllers to avoid code and insurance issues.
Forum feedback example: One homeowner on a DIY solar forum shared that their 40A no-name controller failed within 3 months due to overheating. Switching to a UL-certified 60A MPPT not only solved the issue but improved charging efficiency.
Pro tip: Download a checklist of recommended fuse and breaker ratings to avoid common errors.
Common Concerns Among Homeowners
ROI Concerns – Many buyers worry whether the higher price of MPPT is justified. The ROI math shows it pays off in 3–4 years.
Compliance & Insurance – U.S. buyers care about UL/NEC/FCC. Non-certified products may:
Fail local inspections
Disqualify federal ITC tax credits
Void homeowner insurance coverage in case of fire
DIY vs Professional Install – Many homeowners want to DIY, but wiring mistakes cause risks (overheating, shorts). Hiring a licensed electrician helps secure permits and warranties.
Longevity & Reliability – Cheap PWM controllers often fail in 2–3 years, while MPPT can last 7–10 years. Long-term buyers prioritize durability over upfront savings.
Conclusion
A solar charge controller is the heart of any home solar project, ensuring safe and efficient battery charging. Choosing the right one means considering system size, voltage, battery chemistry, budget, and brand reliability. PWM solar charge controllers may be fine for small setups, but MPPT is usually the best option for home systems due to higher efficiency.
Correct installation, compliance with U.S. safety codes, and regular maintenance maximize battery lifespan and overall system performance. For homeowners, selecting UL-certified equipment and aligning with NEC standards not only improves safety but may also qualify your system for federal solar tax credits—boosting long-term ROI.
Stay up to date with our latest ideas!