Step-by-Step Guide to Building an Inviting Garden Walkway
Create a stunning garden walkway with this step-by-step guide featuring design ideas, materials, and tips for lasting outdoor charm.
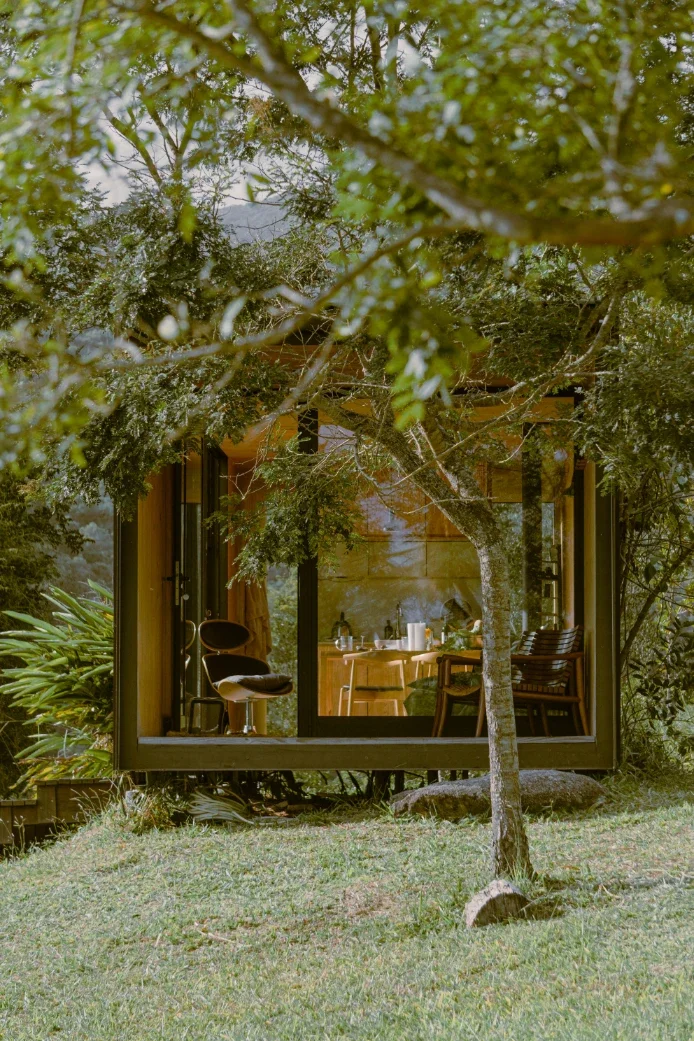
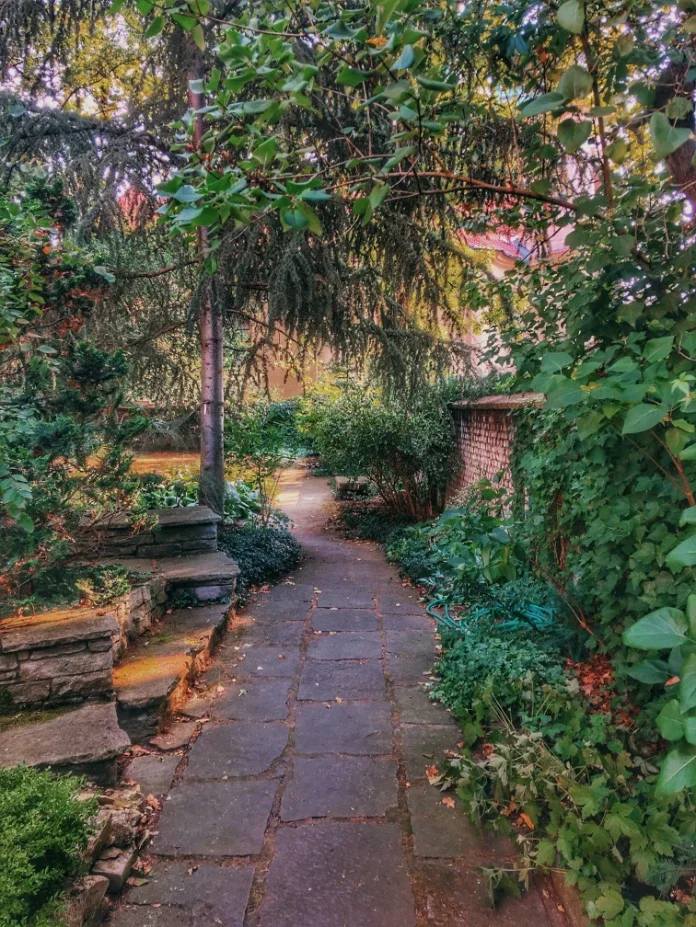
If you are looking to add some calm and serenity to your garden, then look no further. A garden path serves the purpose, and it is also a great addition to your landscape.
Whether you use it as a route for bare-footed summer-morning walk or to lead visitors along an organized path through your garden, a well-made walkway can be your garden’s best feature. We will lightly step through the process of building one for yourself.
Plan Your Path First
Before picking up your tools, take a little walk around your garden. Think about where you want the path to go. Maybe it’s from your patio to your flower bed or from your porch to the gate. Use a garden hose or a rope to mark the shape. Curves add a natural flow, while straight lines feel neat and formal.
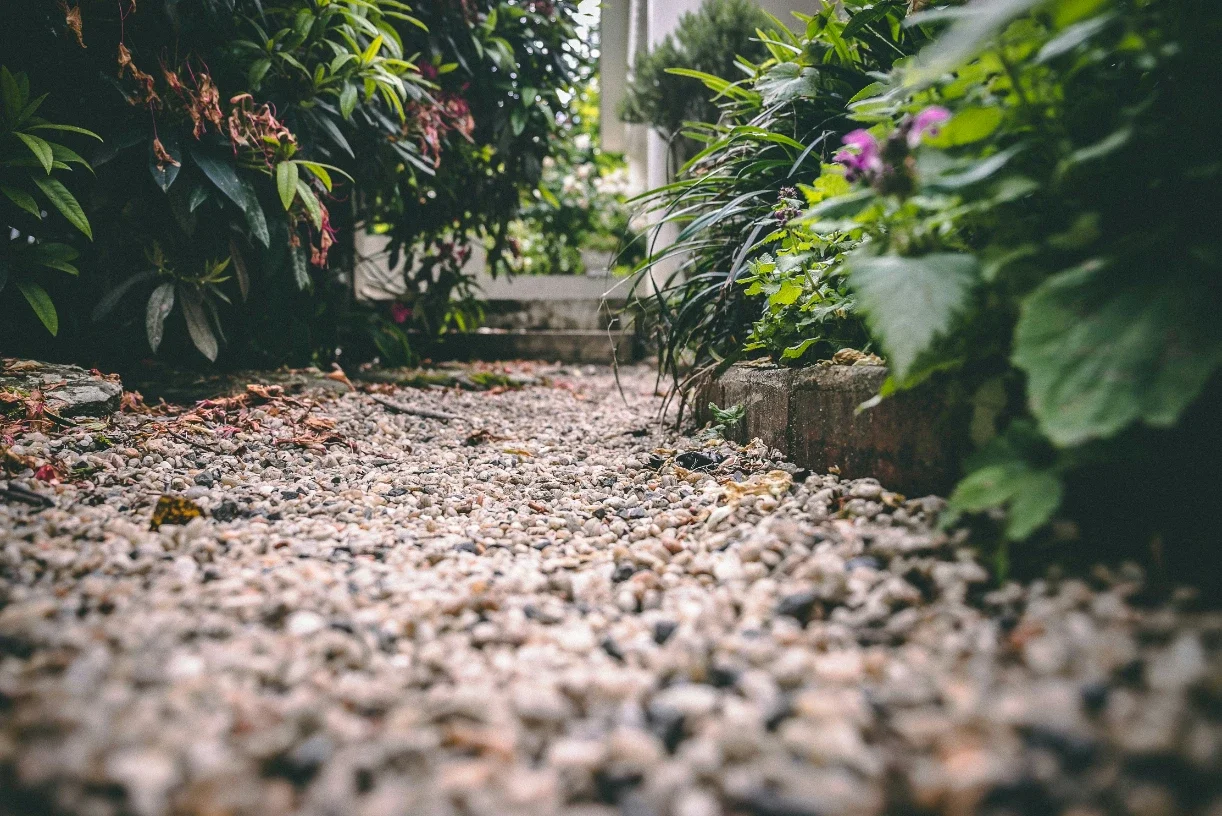
Also, think about the materials. Do you want stepping stones, bricks, or simple gravel? If you love a rustic look, gravel works wonderfully. Homeowners often rely on resources like Gravel Monkey to find durable gravel materials for outdoor paths that blend perfectly with nature.
Gather Your Tools and Materials
You don’t need heavy machinery for this project; just a few everyday tools will do:
Shovel or spade
Rake
Wheelbarrow
Garden hose or string for marking
Gravel, stones, or pavers
Landscape fabric to stop weeds
Edging material like wood or metal
Sand for levelling
Step 1: Clear and Dig the Path
Start by clearing away grass or weeds along your marked area. Dig down around 4 to 6 inches deep. That’s enough room for your base layer (gravel or sand) and your top material. Keep the ground level so your path feels even when walking on it.
Use a spirit level to check the surface as you go. This small detail will save time later.
Step 2: Lay the Base Layer
Your base is what gives the walkway strength. Add a 2-3 inch layer of gravel or crushed stone and spread it evenly. This helps with drainage and makes sure your walkway stays firm after rain. Compact it down tightly with a hand tamper or by walking over it.
Next, roll out landscape fabric over the gravel. It acts as a barrier to stop weeds from sprouting through your path.
Step 3: Create the Surface
Now the fun part starts, laying your top layer. You can place pavers, bricks, flagstone, or loose gravel. If you prefer natural charm, crushed granite or pea gravel adds a soft texture underfoot. Spread the material evenly and pat it down gently so it feels solid to walk on.
Keep the top layer of compost at least an inch below ground level. The lip also prevents your mulch from spilling into your lawn or garden beds.
Step 4: Add Edging
Edging neatly separates everything. You might opt for wooden planking, metal strips or stone borders, depending on your garden style. Spread them on either side of the path, and stake them in place. It’s like putting a frame around your garden’s art piece.
Step 5: Finishing Touches
Water the path lightly to help the materials settle. Fill in any low spots with more gravel or sand. Then, clean up the edges by trimming away loose fabric or dirt.
If you would like, add solar lights or small garden plants alongside the walkway for extra beauty. With the soft lights that twinkle when you walk around in the evening, it’s absolute magic.
Maintenance Tips
Maintain your walkway with easy care:
Keep it swept free of leaves or debris.
Yank out any weeds that crop up.
Fill in areas that gravel washes away over the years.
In the rainy months, inspect drainage so water runs away without difficulty. In the rainy months, inspect drainage so water runs away without difficulty. During winter, avoid using harsh salt that can wear out the surface; try sand instead for traction. With these easy habits, your garden walkway will stay safe and beautiful all year round.
Bring Your Garden Path to Life
Creating a garden walkway is easier. For a weekend’s worth of work, you can revamp your yard. It’s not only about stones and gravel, but it creates a place where you can slow down for even brief moments to enjoy sitting outside.
So grab your shovel, roll up your sleeves, and start today. Your inviting garden walkway is waiting.
Stay up to date with our latest ideas!